
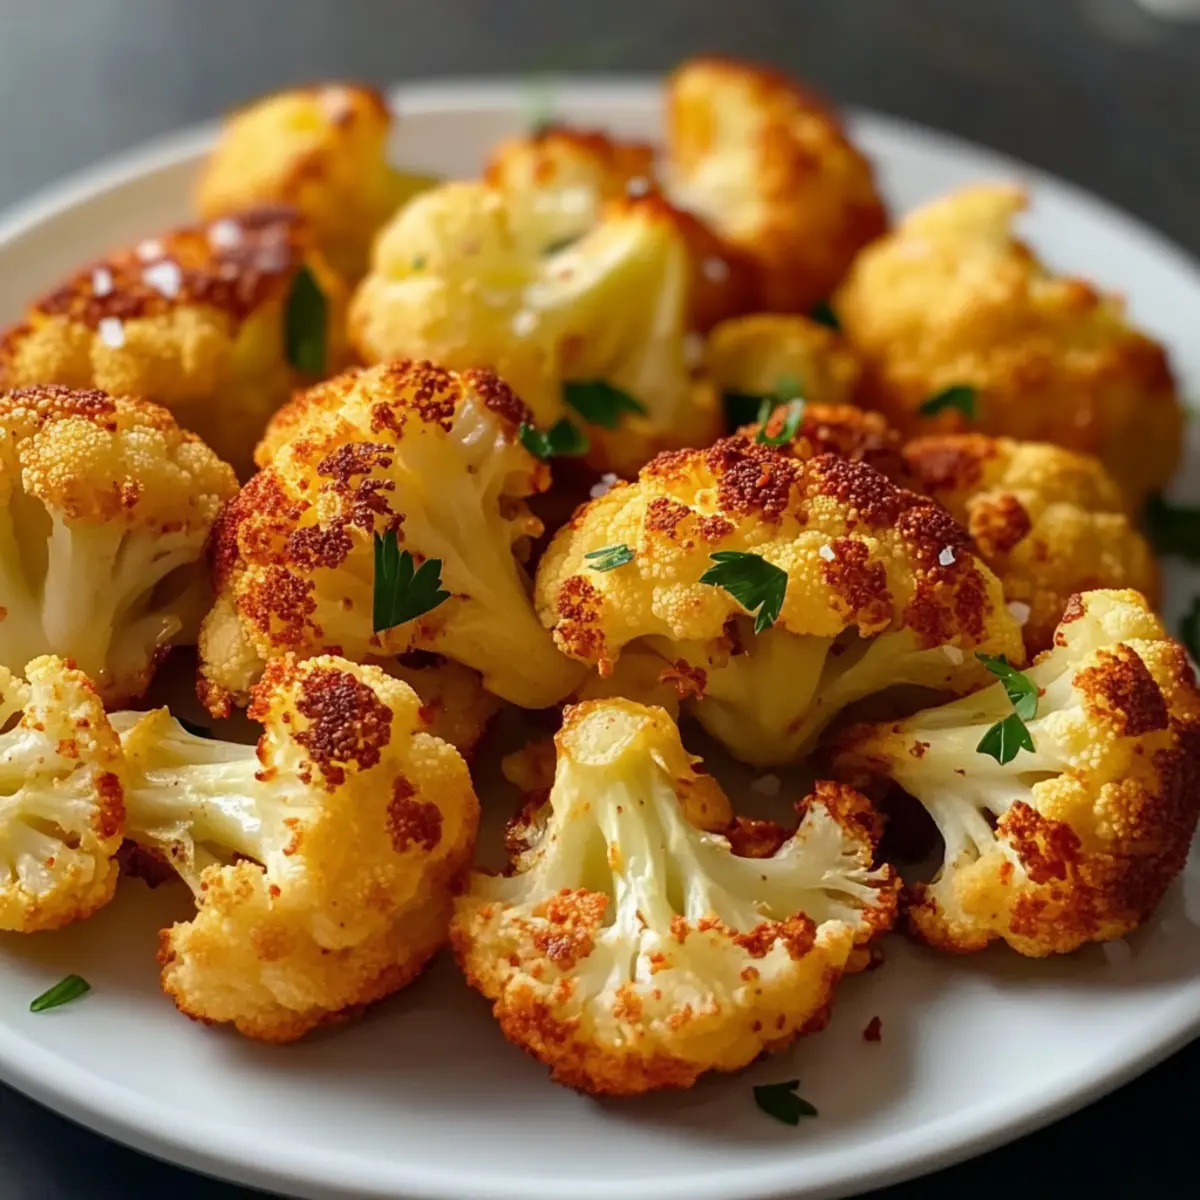
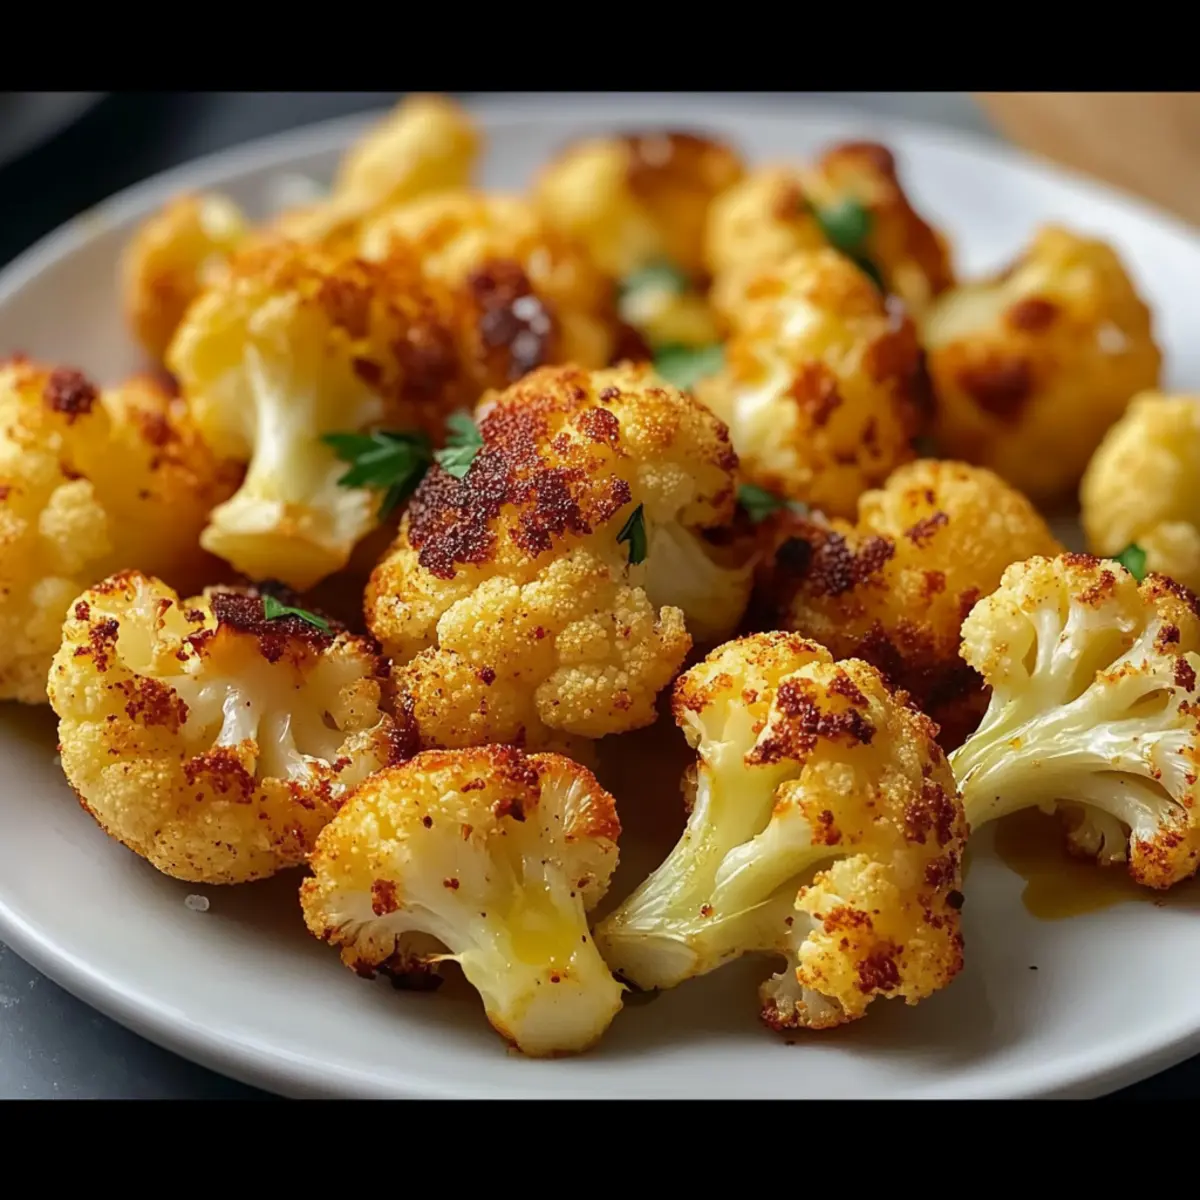
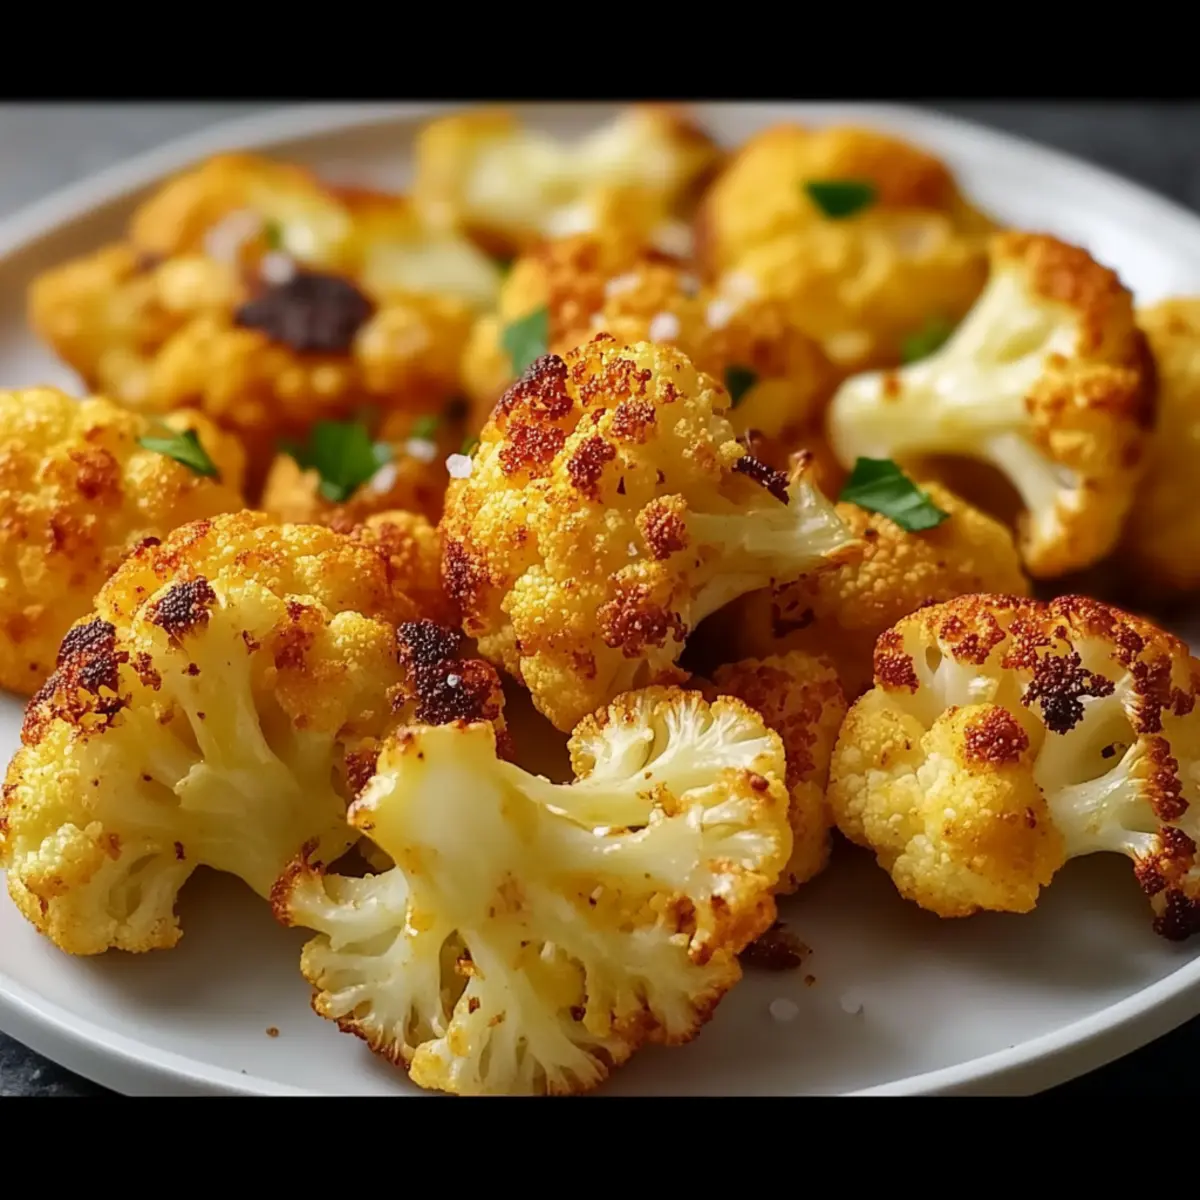
As I stood in my kitchen, the savory aroma of cauliflower roasting filled the air, transporting me to a cozy bistro where flavorful vegetables take center stage. With this Crispy Gluten-Free Roasted Cauliflower recipe, you’ll discover how a simple head of cauliflower can transform into an irresistible side dish. Each bite boasts crispy edges and a tender interior, offering the perfect balance of textures. This dish not only showcases cauliflower’s natural sweetness with bold seasonings but is also a reliable crowd-pleaser that’s gluten-free and quick to prepare. Whether enjoyed hot as a side or cold as a snack, it’s a versatile addition to any meal. Are you ready to make your family fall in love with veggies all over again?
Why Is This Cauliflower Recipe Special?
Crispy edges and tender interiors make this roasted cauliflower an absolute delight! Bold seasonings enhance the natural sweetness, creating a versatile side dish that pairs beautifully with almost any meal. Quick and easy to prepare, it’s perfect for busy weeknights or leisurely weekend gatherings. Looking for variations? Try it with sticky lemon cauliflower or sprinkle in seasonal herbs for a fresh twist. Gluten-free goodness has never been so tasty—your family will be begging for seconds!
Roasted Cauliflower Ingredients
For the Cauliflower
• Cauliflower – The star of the dish; fresh florets provide fiber, vitamins C and K.
• Olive Oil – Enhances crispiness and flavor; substitute with avocado oil for a different taste.
• Sea Salt – Balances flavors; using kosher salt gives a coarser texture.
For the Seasoning
• Smoky Paprika – Adds depth and smokiness; swap for cumin for a unique flavor twist.
• Garlic (optional) – Introduces aromatic flavor; fresh is best, but garlic powder works too.
• Parmesan (optional) – Offers a savory, cheesy layer; use nutritional yeast for a vegan alternative.
Step‑by‑Step Instructions for Crispy Gluten-Free Roasted Cauliflower
Step 1: Preheat Your Oven
Begin by preheating your oven to 425°F (220°C). This high temperature is essential for achieving beautifully crispy edges on your roasted cauliflower. Ensure that you give your oven ample time to reach the perfect temperature while you prepare your ingredients.
Step 2: Prepare the Cauliflower Florets
Next, take a fresh head of cauliflower and cut it into bite-sized florets. Place them in a large mixing bowl, ensuring they are roughly equal in size for even roasting. This step is crucial, as uniform florets will cook more consistently and achieve a delightful texture.
Step 3: Add Olive Oil and Seasonings
Drizzle a generous amount of olive oil over the cauliflower florets. Then, sprinkle in sea salt and smoky paprika to enhance the dish’s flavor. For an extra kick, consider adding chopped fresh garlic if desired. Toss everything together until all the florets are evenly coated in oil and seasoning. This promotes that irresistible, crispy finish.
Step 4: Arrange on a Baking Sheet
Spread the seasoned cauliflower florets in a single layer on a baking sheet. Make sure they are not overcrowded; space allows for proper air circulation, which is key for crispiness. If needed, use a second baking sheet to ensure each piece gets a chance to roast beautifully.
Step 5: Roast the Cauliflower
Place the baking sheet in your preheated oven and roast the cauliflower for 25-30 minutes. Halfway through the cooking time, give them a gentle stir to ensure even browning. Keep an eye out for a golden-brown hue and a crispy texture, which indicates that your crispy gluten-free roasted cauliflower is nearing perfection.
Step 6: Serve and Enjoy
Once the cauliflower is roasted to golden perfection, remove it from the oven and allow it to cool for a few minutes. Serve this deliciously healthy side dish warm, perhaps alongside grilled meats or tossed in a salad. Whether as a side dish or a tasty snack, your family will love this delectable roasted cauliflower!
How to Store and Freeze Roasted Cauliflower
Fridge: Store leftover roasted cauliflower in an airtight container in the fridge for up to 4 days. Make sure it’s completely cooled before sealing to maintain freshness.
Freezer: For long-term storage, freeze roasted cauliflower in a single layer on a baking sheet until solid. Then transfer to a freezer-safe bag for up to 3 months.
Reheating: To revive the crispy texture, reheat the cauliflower in an oven or air fryer at 400°F (200°C) for about 10-15 minutes until warm and crisp.
Room Temperature: Serve any fresh batch of roasted cauliflower right away for the best taste and texture. If left out, it should not sit at room temperature for more than 2 hours.
Roasted Cauliflower: Endless Variations!
Feel free to make this roasted cauliflower your own by trying out these fun variations and substitutions!
- Curry Spices: Replace smoky paprika with curry powder for a warm, aromatic flavor that dances on your palate.
- Herb Blend: Toss in fresh thyme or rosemary for a fragrant burst that complements the cauliflower beautifully.
- Heat Level: Add red pepper flakes or a splash of hot sauce before roasting for a spicy kick that warms the soul.
- Cheesy Goodness: Swap parmesan with nutritional yeast for a vegan option that still delivers cheesy flavor without dairy.
- Zesty Lemon: Squeeze fresh lemon juice over the roasted cauliflower before serving for a bright, zesty finish that enhances every bite.
- Nutty Twist: Mix in some toasted pine nuts or slivered almonds for added crunch and nutty richness.
- Balsamic Glaze: Drizzle balsamic vinegar or glaze during the last five minutes of roasting for a sweet and tangy depth.
- Asian Flair: Replace garlic with ginger and drizzle with soy sauce or sesame oil for an Asian-inspired twist.
Feeling adventurous? You could even try this dish with some sticky lemon cauliflower on the side for a delightful contrast. The choices are endless, so let your creativity shine in the kitchen!
Expert Tips for Roasted Cauliflower
-
Even Coating: Ensure the cauliflower florets are evenly coated with oil and seasonings for consistent roasting. This helps achieve that perfect crunch!
-
Avoid Overcrowding: Spread the florets out in a single layer on your baking sheet. Overcrowding can trap steam, preventing proper browning.
-
Check for Tenderness: For extra tenderness, consider blanching the florets in boiling water for 2-3 minutes before roasting. It enhances the texture without compromising flavor.
-
Flexibility with Seasonings: Experiment with different spices and herbs like thyme or curry powder. This versatility keeps your roasted cauliflower exciting meal after meal.
-
Fresh Ingredients Matter: Use fresh garlic and quality olive oil to truly elevate the flavors. Fresh ingredients make a significant difference in this gluten-free dish.
What to Serve with Crispy Gluten-Free Roasted Cauliflower
Elevate your mealtime with delightful sides that complement the rich flavors of roasted cauliflower.
-
Grilled Chicken: The lightly charred, juicy meat pairs perfectly with the crunchy cauliflower, creating a satisfying texture contrast. Add a drizzle of lemon to brighten up the flavors.
-
Quinoa Salad: This fresh, nutty salad introduces a light and nutritious element, featuring colorful veggies that enhance both presentation and taste. Toss it with a citrusy vinaigrette for an extra zing.
-
Creamy Hummus: Offering a rich and smooth counterpoint to the crispy cauliflower, hummus makes for a delightful dip. Spread it on your plate for a beautiful, inviting presentation alongside the roasted florets.
-
Honey Glazed Carrots: Sweet and tender, these carrots add a burst of color and a sweet contrast, complementing the savory roasted cauliflower without overwhelming it. A perfect balance for any meal.
-
Crispy Garlic Bread: The buttery, garlicky flavor of crisply toasted bread is a wonderful accompaniment, allowing you to savor the essence of the seasonings as you mop up extra roasted goodness.
-
Red Wine: A soft Pinot Noir or a light Merlot pairs beautifully, complementing the smokiness of the paprika while enhancing the meal’s overall warmth.
With these flavorful pairings, your crispy gluten-free roasted cauliflower will shine as the star of a memorable meal!
Make Ahead Options
These Crispy Gluten-Free Roasted Cauliflower bites are perfect for meal prep enthusiasts! You can chop and season the cauliflower up to 24 hours in advance, placing it in an airtight container in the refrigerator to maintain flavor and prevent dryness. When you’re ready to cook, simply spread the seasoned florets on a baking sheet and roast them directly from the fridge. For optimal results, aim to roast them within a day for the best texture. Alternatively, you can roast the cauliflower ahead and store it in the fridge for up to 3 days; just reheat in the oven or air fryer before serving to restore that beloved crispiness. Enjoy the convenience of wholesome homemade goodness, ready in a pinch!

Crispy Gluten-Free Roasted Cauliflower Recipe FAQs
How do I choose the best cauliflower for roasting?
Absolutely! Look for heads of cauliflower that are firm and compact with tightly packed florets. Avoid any with dark spots or signs of wilting, as these might be past their prime. Fresh cauliflower typically has a creamy white color and should feel heavy for its size.
What’s the best way to store leftover roasted cauliflower?
Roasted cauliflower can be stored in an airtight container in the fridge for up to 4 days. Make sure it completely cools before sealing; this helps maintain its crispness. When you’re ready to enjoy, I suggest reheating it in the oven or air fryer to regain that delicious crunch!
Can I freeze roasted cauliflower? If so, how?
Very! To freeze roasted cauliflower, first arrange it in a single layer on a baking sheet and freeze until solid. After freezing, transfer the florets to a freezer-safe bag. This method prevents them from sticking together. They can last for up to 3 months in the freezer! Just remember to label the bag with the date for easy future reference.
What should I do if my roasted cauliflower isn’t crispy?
If your roasted cauliflower lacks crispiness, it may be due to overcrowding on the baking sheet or not enough olive oil. To achieve that ideal crunch, ensure the florets are spread out in a single layer and are coated generously with oil. If you want to double-check, you can also try blanching the florets in boiling water for 2-3 minutes before roasting to enhance texture.
Is roasted cauliflower safe for pets?
Roasted cauliflower is generally safe for pets, but it’s essential to avoid using any seasoning, especially garlic or salt, which can be harmful to them. For a healthy treat, offer your furry friend plain, cooked cauliflower in moderation.
What are some gluten-free alternatives to traditional seasonings?
Absolutely! If you’re looking to bolden the flavors while keeping things gluten-free, consider using spices like cumin or curry powder. You can also enhance your dish with fresh herbs such as rosemary or thyme, adding an aromatic burst without compromising the health benefits of your roasted cauliflower.
Crispy Roasted Cauliflower: A Deliciously Healthy Side Dish
Ingredients
Equipment
Method
- Preheat your oven to 425°F (220°C) for crispy edges.
- Cut the cauliflower into bite-sized florets and place in a mixing bowl.
- Drizzle olive oil and add sea salt and smoky paprika to the florets. Toss to coat evenly.
- Spread the seasoned florets on a baking sheet in a single layer.
- Roast in the oven for 25-30 minutes, stirring halfway through.
- Remove from oven, let cool, then serve warm or chilled.
Leave a Reply