
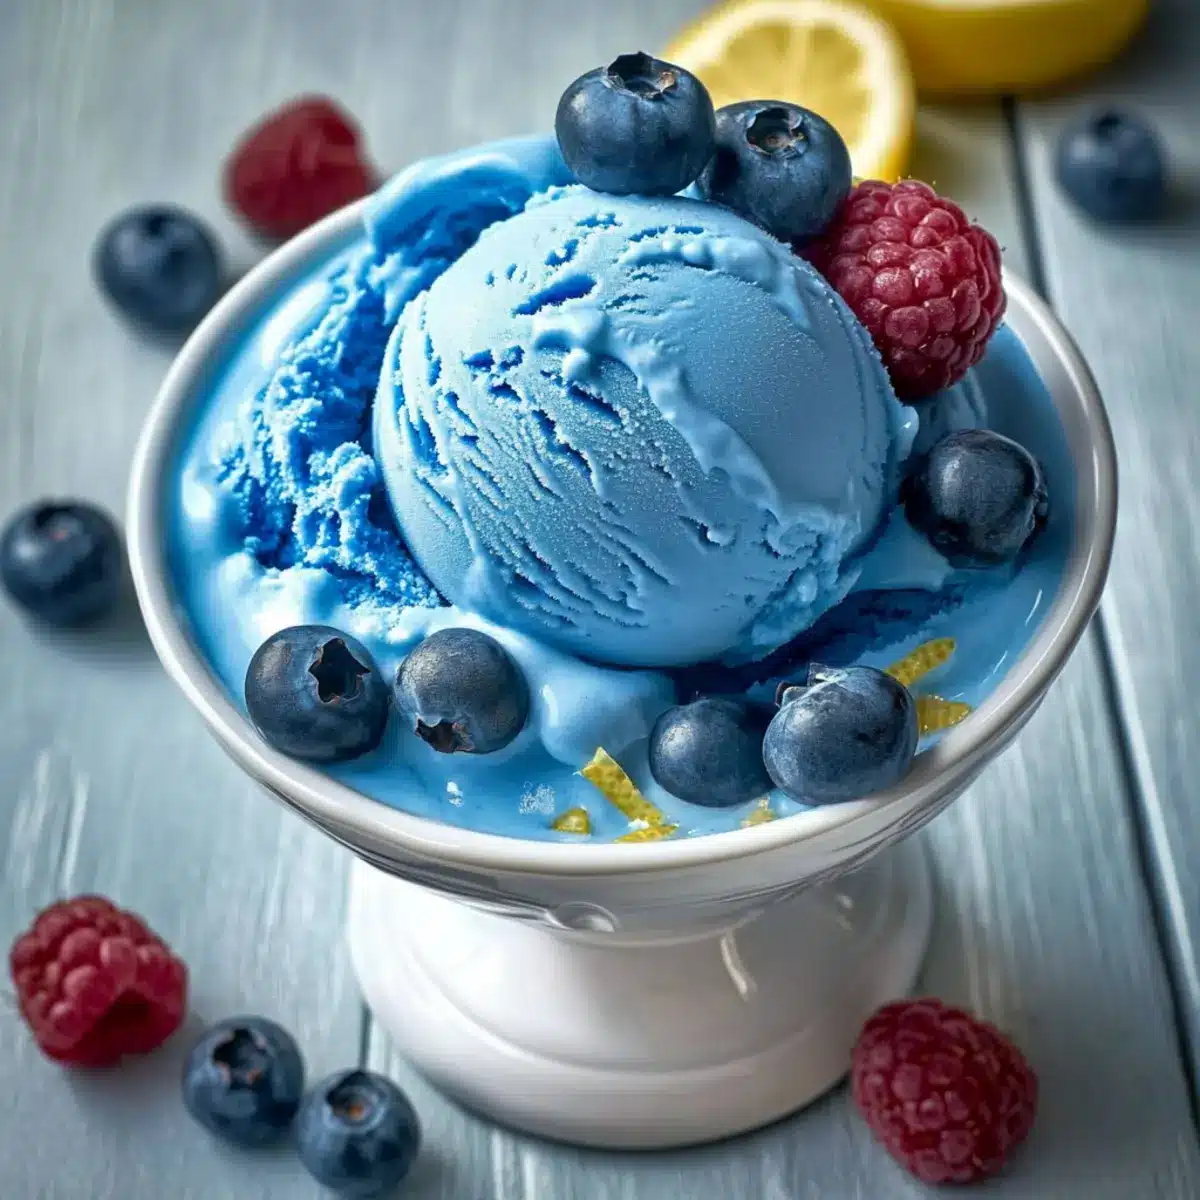
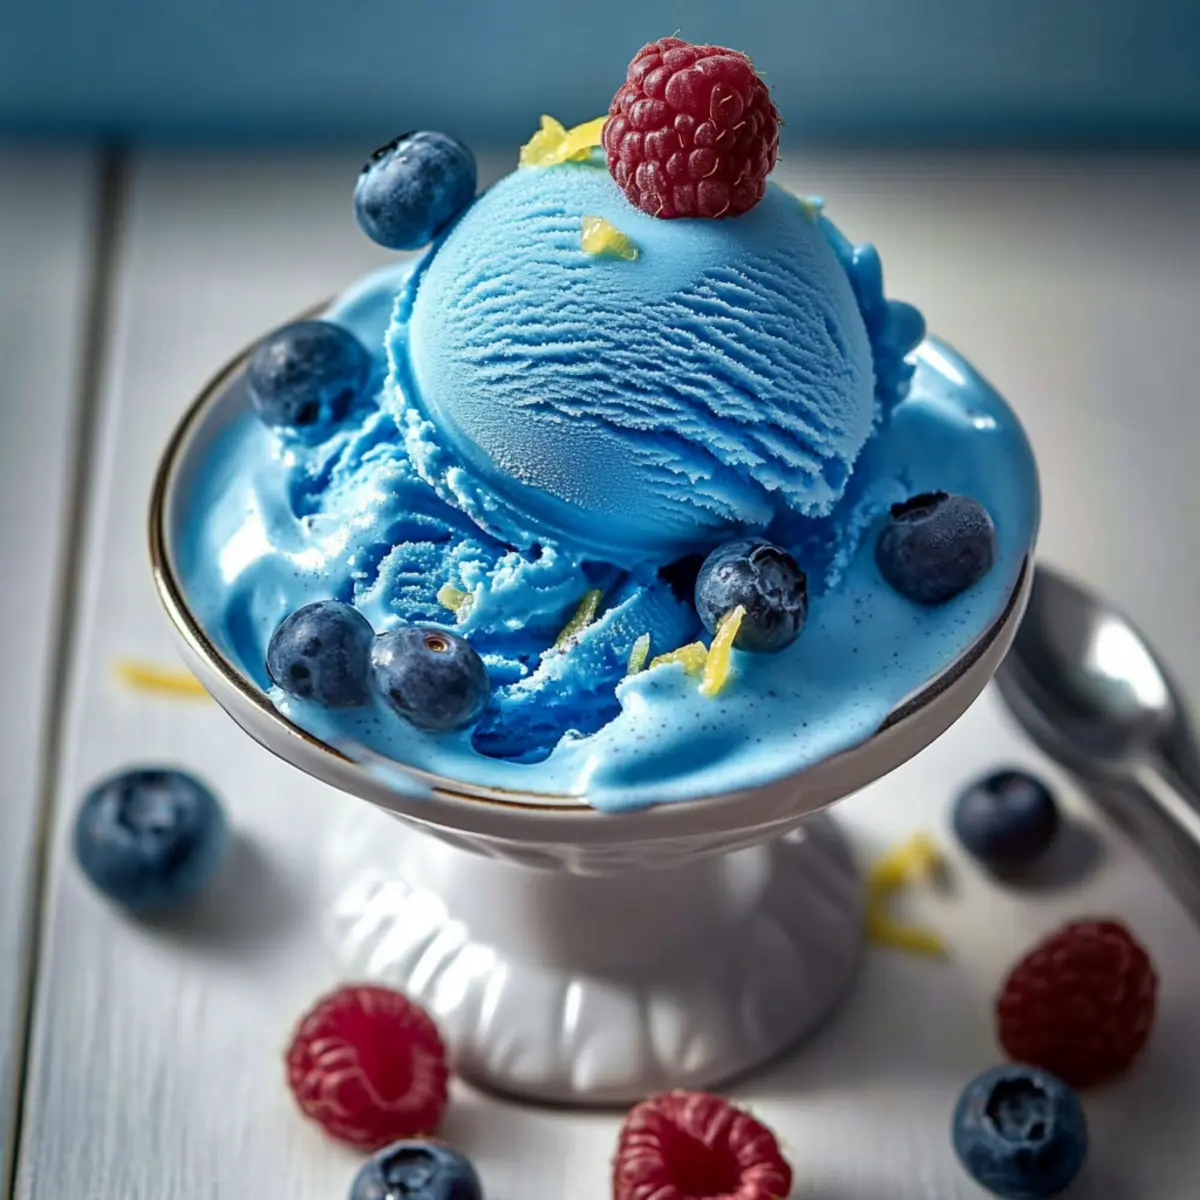
As I whisked the mixture of creamy milk and playful blue hues, a wave of nostalgia washed over me. Homemade Blue Moon Ice Cream is more than just dessert; it’s a trip down memory lane, filled with laughter and sunny days. What I love most about this recipe is its quick prep time—just 30 minutes—and the way it transforms simple ingredients into a stunning, colorful treat that dazzles everyone at the table. Whether hosting a summer gathering or simply seeking a sweet escape from the daily grind, this creamy delight brings smiles all around. So, are you ready to whip up a batch of joy that’s just as delightful to make as it is to eat?
Why Is Blue Moon Ice Cream Special?
Nostalgic Delight: Each scoop invites you to relive childhood memories.
Quick Prep: Ready in just 30 minutes, it’s perfect for spontaneous cravings.
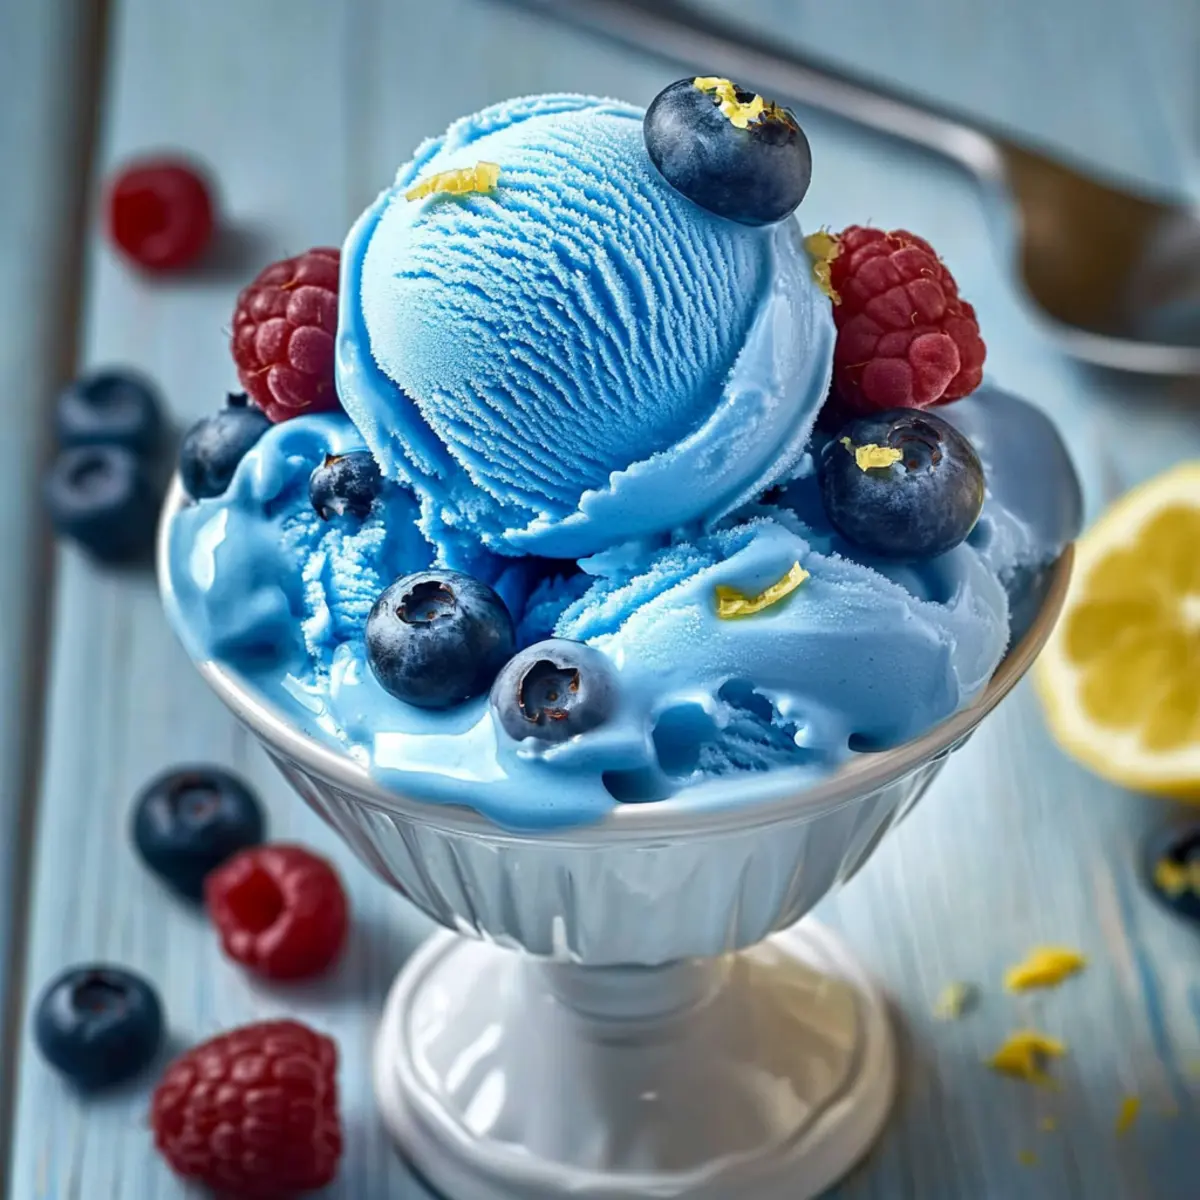
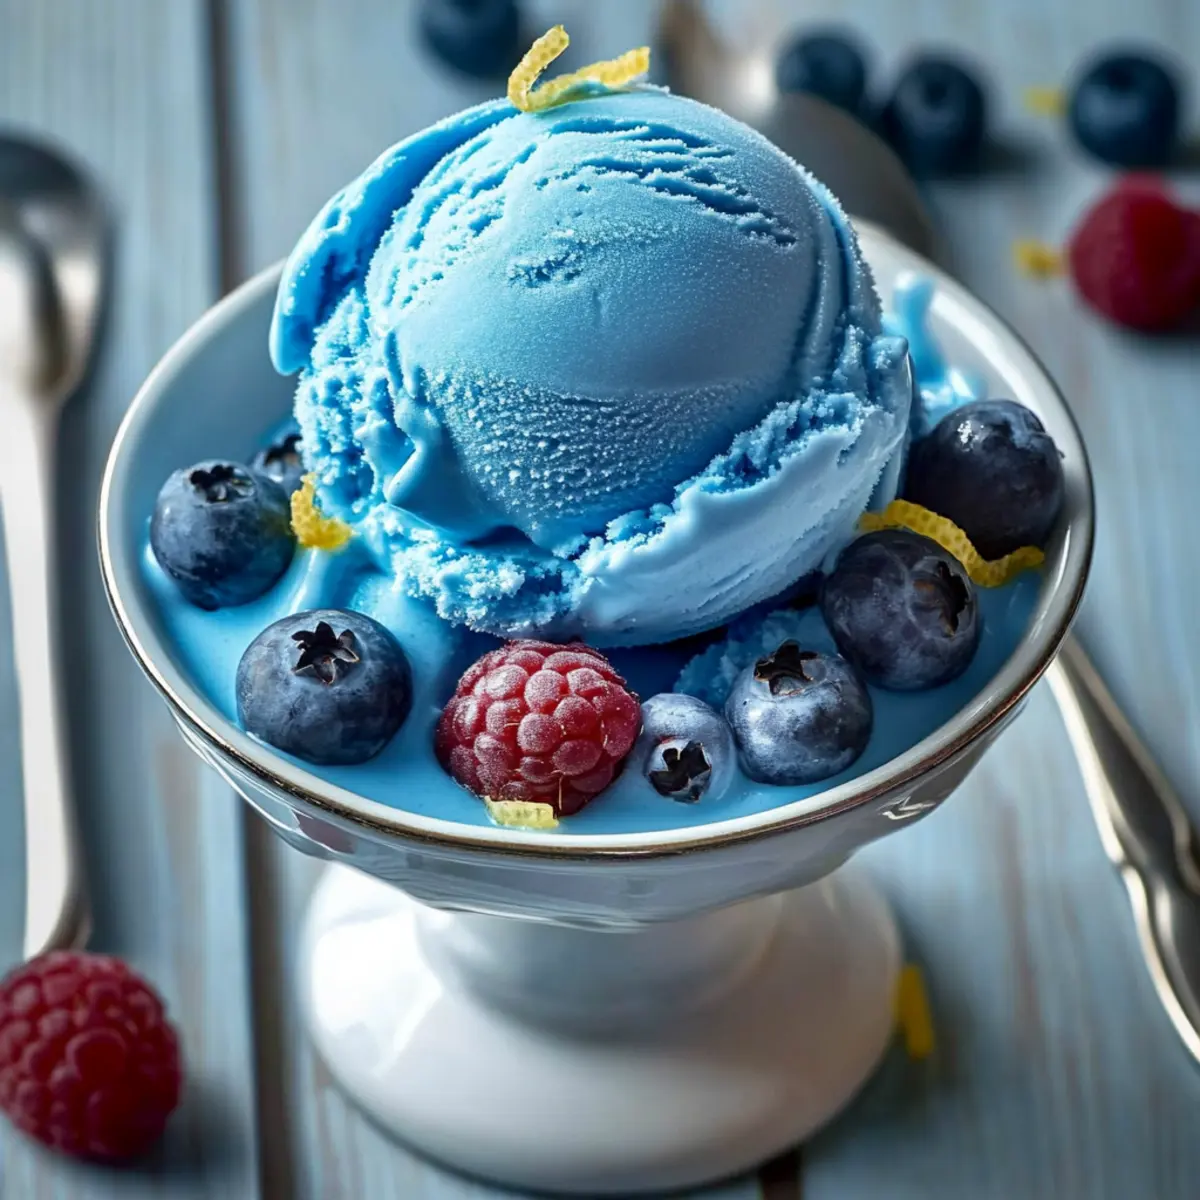
Vibrant Colors: The stunning blue hue makes it an eye-catching centerpiece at any gathering.
Versatile Base: Add fruits, nuts, or even coconut cream for unique twists!
Creamy Texture: Expect a velvety, smooth finish that melts in your mouth.
Crowd Pleaser: Loved by kids and adults alike, it’s a guaranteed hit for summer parties and family gatherings. Treat yourself to this whimsical delight and leave the fast food behind!
Blue Moon Ice Cream Ingredients
• Delight in the vibrant flavors of homemade Blue Moon Ice Cream with these simple ingredients!
For the Base
- Whole Milk – Provides the base creaminess essential for a smooth texture. No substitutions recommended.
- Heavy Whipping Cream – Adds richness and contributes to a velvety mouthfeel. Can substitute with coconut cream for a tropical twist.
- Sugar – Balances flavors while enhancing sweetness. Alternatives include sweeteners like honey or agave syrup.
- Salt – Enhances all the flavors. Typically not substituted in desserts.
For Flavoring
- Vanilla Pudding Mix – Thickens the mixture, giving it a delightful creamy consistency; instant pudding mix is preferred.
- Vanilla Extract – Infuses warmth and depth with its aromatic essence; no substitutions needed.
- Raspberry Extract or Raspberries – Introduces fruity notes that brighten each scoop; fresh raspberries can be used instead of extract.
- Lemon Extract – Offers a zesty kick that complements other flavors beautifully; alternatives may include fresh lemon juice or zest.
For Color
- Blue Food Coloring – Creates an attractive blue hue for visual appeal; optional or adjustable based on aesthetic preference.
Whip up this homemade Blue Moon Ice Cream, and experience the joy it brings to your family and friends!
Step‑by‑Step Instructions for Blue Moon Ice Cream
Step 1: Heat the Milk
In a medium saucepan, warm 1 cup of whole milk over medium heat for about 5 minutes. Stir gently as you heat, watching for tiny bubbles to form along the edges. This is crucial for dissolving the sugar and bringing out the flavors in your Blue Moon Ice Cream.
Step 2: Dissolve Sugar and Salt
Once the milk is steaming and bubbles appear, add ½ cup of sugar and ¼ teaspoon of salt. Stir continuously for about 2-3 minutes until the sugar fully dissolves, creating a sweet base that enhances your ice cream’s flavor.
Step 3: Mix in Cream and Flavorings
Remove the saucepan from heat and stir in 1 ½ cups of heavy whipping cream, along with 1 teaspoon of vanilla extract, 3 teaspoons of instant vanilla pudding mix, 1 teaspoon of raspberry extract, and 1 teaspoon of lemon extract. Mix thoroughly for about 1 minute until the ingredients are well combined, ensuring a creamy and flavorful base.
Step 4: Add Food Coloring
Next, add ½ teaspoon of blue food coloring to your mixture, adjusting to achieve your desired vibrancy. Stir well to evenly distribute the color, making sure each swirl reflects the playful hue of Blue Moon Ice Cream.
Step 5: Chill the Mixture
Transfer the mixture to an airtight container and refrigerate for about 2 hours. This chilling step is essential for developing the creamy texture that your homemade Blue Moon Ice Cream is known for, so don’t rush it!
Step 6: Churn the Ice Cream
Once chilled, pour the mixture into your ice cream maker and churn according to the manufacturer’s instructions—typically around 20-25 minutes—until the ice cream reaches a soft-serve consistency. Watch closely for the transformation, as it becomes thick and creamy!
Step 7: Store or Serve
Finally, serve your Blue Moon Ice Cream immediately for a delightful soft texture or transfer it to an airtight container to freeze for a firmer scoop. If freezing, allow it to sit at room temperature for a few minutes before serving for easier scooping.
What to Serve with Homemade Blue Moon Ice Cream
Bring your dessert experience full circle with these delightful pairings that enhance the playful joy of your blue-hued treat.
-
Fresh Berries: Juicy strawberries or blueberries add a luscious contrast, elevating the fruity notes in the ice cream while adding a pop of color to your dessert plate.
-
Waffle Cones: The crunchy texture of freshly baked waffle cones gives a satisfying bite, allowing you to savor each creamy scoop and enjoy that classic ice cream parlor feel.
-
Chocolate Sauce: Drizzling rich chocolate sauce over Blue Moon Ice Cream creates a delightful contrast. The sweetness complements the fruity flavors perfectly and adds an indulgent flair.
-
Whipped Cream: Fluffy whipped cream brings an airy lightness to the dish, making each bite a cloud of creamy goodness that balances the vibrant flavors of the ice cream.
-
Coconut Macaroons: These chewy treats introduce a tropical twist that harmonizes beautifully with the raspberry-lemon profile, making your dessert even more festive.
-
Mint Sprig Garnish: A fresh mint leaf not only adds a charming visual touch but also enhances the creamy dessert’s vibrant flavors, introducing a refreshing hint to your sweet experience.
Expert Tips for Blue Moon Ice Cream
• Chill Thoroughly: Ensure the mixture is chilled completely before churning to achieve that signature creamy texture.
• Taste as You Go: Taste the base before freezing. Adjust sweetness with extra sugar or flavors to suit your preference.
• Avoid Ice Crystals: Store your Blue Moon Ice Cream in an airtight container to prevent ice crystals and maintain smoothness.
• Serving Ease: Use a warm scoop or spoon to easily serve the ice cream from the freezer.
• Creative Additions: Feel free to experiment with swirl-ins or toppings—the fun of this dessert is in its versatility!
Make Ahead Options
Making Blue Moon Ice Cream ahead of time is a wonderful way to save time and ensure you have this delightful treat ready for any occasion! You can prepare the ice cream mixture up to 24 hours in advance by simply completing steps 1 through 4, then refrigerating the combined mixture until you’re ready to churn it. This chilling allows the flavors to meld beautifully. When you’re ready to serve, just churn the ice cream in your ice cream maker as instructed in step 6. To maintain its creamy texture while stored, keep the Blue Moon Ice Cream in an airtight container and let it soften at room temperature for a few minutes before scooping. This way, you can enjoy a refreshing dessert without the last-minute rush!
Blue Moon Ice Cream Variations
Feel free to get creative with your Blue Moon Ice Cream, making it truly your own!
-
Raspberry Swirl: Add a vibrant raspberry puree swirl to elevate the fruity flavor. This not only enhances taste but also adds a beautiful marbled effect.
-
Lemon Zest Infusion: Incorporate fresh lemon zest for an extra citrus punch. The zest will brighten the flavor profile, offering a refreshing zing with every bite.
-
Nutty Crunch Variation: Toss in chopped nuts like almonds or pecans for a delightful crunch. This twist adds an enjoyable texture contrast to the creamy base, perfect for nut lovers.
-
Chocolate Chip Delight: Stir in mini chocolate chips to introduce a touch of chocolatey sweetness. The combination of fruity ice cream and chocolate is simply irresistible!
-
Coconut Cream Addition: Swap part of the heavy cream for coconut cream to create a tropical-inspired version. The coconut adds luscious flavor and a hint of the exotic, transporting you to a beach getaway.
-
Minty Freshness: Replace the lemon extract with peppermint extract for a minty Blue Moon treat. It’s a fun twist that’s refreshing and nostalgic, like a summer garden party!
-
Flavorful Layering: Create layers by alternating scoops of Blue Moon Ice Cream with Coconut Cream Dream or Cream Cheese Banana for a delightful dessert experience.
-
Spicy Kick: Add a pinch of cayenne pepper or chili powder for a surprising spicy twist that tingles your taste buds. This unexpected heat makes every scoop an adventure!
Feel free to mix and match these ideas, and let your taste buds be your guide. After all, the joy of cooking lies in making each dish uniquely yours!
How to Store and Freeze Blue Moon Ice Cream
Fridge: Store homemade Blue Moon Ice Cream in the fridge for up to 3 days if you plan to consume it quickly. Keep it in an airtight container to prevent it from absorbing any strong odors.
Freezer: For longer storage, place Blue Moon Ice Cream in the freezer where it can last up to 2 months. Ensure it’s in an airtight container to maintain its creamy texture and flavor.
Reheating: If your ice cream becomes too hard, let it sit at room temperature for about 5-10 minutes to soften before scooping. A warm scoop helps achieve perfect servings, making those delightful scoops even more enjoyable!
Blue Moon Ice Cream Recipe FAQs
How do I select ripe ingredients for Blue Moon Ice Cream?
Absolutely! When choosing fresh raspberries, look for those that are plump and vibrant red in color, without any dark spots or mushiness. For the lemon extract, opt for a high-quality brand to ensure a bright, zesty flavor that truly enhances the overall taste of your Blue Moon Ice Cream.
How should I store leftover Blue Moon Ice Cream?
For best results, store your homemade Blue Moon Ice Cream in an airtight container in the freezer. It can last up to 2 months while maintaining its delicious, creamy texture. If you plan to enjoy it soon, you can keep it in the fridge for up to 3 days, but be sure to cover it tightly!
Can I freeze Blue Moon Ice Cream, and how do I do it properly?
Absolutely! To freeze your Blue Moon Ice Cream, transfer it to an airtight container after churning. Press a piece of plastic wrap directly against the surface before sealing the container to avoid ice crystals. Let it freeze for at least 4 hours for the best texture, and when ready to serve, let it sit at room temperature for about 5-10 minutes before scooping.
What if my ice cream is too icy or hard?
Very! If your Blue Moon Ice Cream becomes too hard, it’s likely because it wasn’t churned long enough or wasn’t stored properly. To fix this, simply let it sit at room temperature for 5-10 minutes before trying to scoop. If you encounter a gritty texture, ensure your mixture is well combined and that the sugar fully dissolves during preparation.
Are there allergy considerations I should be aware of?
Definitely! This Blue Moon Ice Cream recipe contains dairy and sugar, so it’s not suitable for those with lactose intolerance or certain allergies. For a dairy-free version, consider using coconut cream and alternative sweeteners. Always check ingredient labels if you’re sensitive to additives or extracts, as these may contain allergens.
Creamy Blue Moon Ice Cream: Nostalgic Flavor in Every Scoop
Ingredients
Equipment
Method
- In a medium saucepan, warm 1 cup of whole milk over medium heat for about 5 minutes while stirring gently.
- Add ½ cup of sugar and ¼ teaspoon of salt to the steaming milk. Stir continuously for about 2-3 minutes until the sugar dissolves.
- Remove from heat and stir in 1 ½ cups of heavy whipping cream, 1 teaspoon of vanilla extract, 3 teaspoons of instant vanilla pudding mix, 1 teaspoon of raspberry extract, and 1 teaspoon of lemon extract.
- Add ½ teaspoon of blue food coloring to the mixture and stir well to distribute.
- Transfer the mixture to an airtight container and refrigerate for about 2 hours.
- Pour the chilled mixture into an ice cream maker and churn according to the manufacturer's instructions for about 20-25 minutes.
- Serve immediately for a soft texture or transfer to an airtight container to freeze for a firmer scoop.
Leave a Reply