
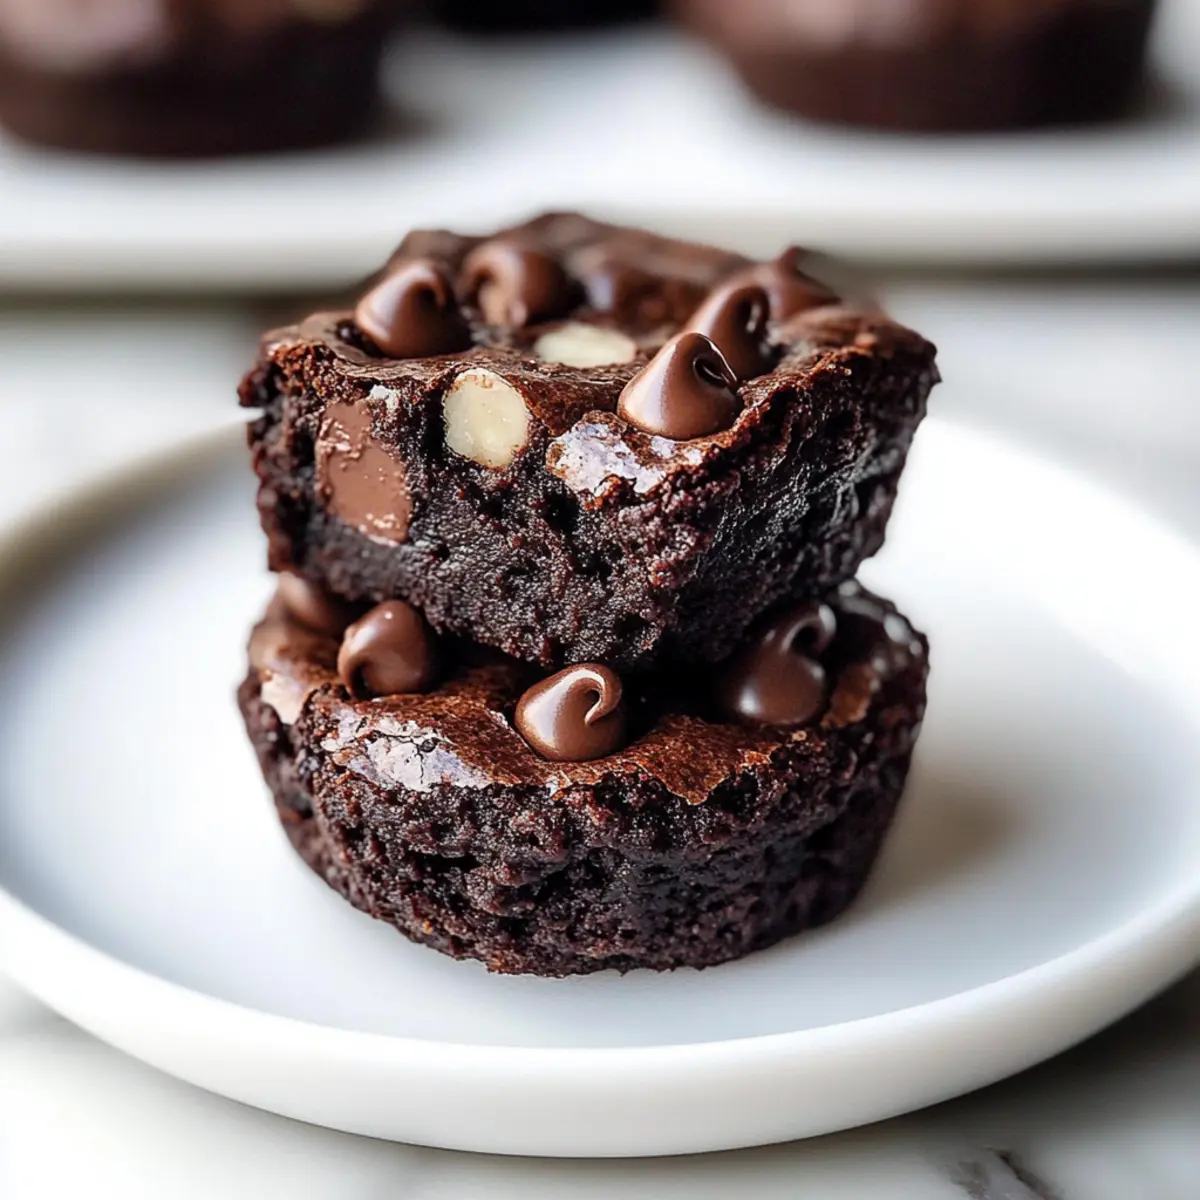
As I rummaged through my pantry, determined to create a treat that wouldn’t leave me in a sugar slump, I stumbled upon a bunch of very ripe bananas. It hit me; these would be the perfect base for my Flourless Chocolate Protein Brownie Bites! Crafted with wholesome ingredients, these little bites pack a punch of nutrition while still satisfying my intense chocolate cravings. Ready in just 30 minutes, they’re perfect not just as a quick post-workout snack but also as a guilt-free dessert option that even your non-health-conscious friends will love. Plus, with their gluten-free and dairy-free profile, they fit seamlessly into various dietary preferences. Curious about how to whip up these deliciously healthy bites? Let’s dive in!
Why Are These Protein Brownie Bites Amazing?
Wholesome Ingredients: Made primarily with ripe bananas and nut butter, these brownie bites are not only nutrient-dense but also naturally sweet, eliminating the need for refined sugars.
Easy to Make: With just a handful of ingredients and a 30-minute prep time, these bites are perfect for busy schedules.
Customizable Options: Feeling adventurous? Substitute almond butter for a different flavor, or throw in some chia seeds for an extra nutrition boost.
Guilt-Free Indulgence: These gluten-free, dairy-free snacks allow you to satisfy sweet cravings without the worry of sugar crashes. Perfect paired with fresh fruit or a dollop of yogurt for a balanced treat!
Versatile Snack: Enjoy them post-workout or as a delicious dessert; their high-protein content makes them an ideal choice anytime! You might also love our Peanut Butter Bites for another nutritious snack option.
Protein Brownie Bites Ingredients
Crafted with wholesome goodness, these Protein Brownie Bites are simple yet fulfilling!
For the Batter
- Bananas – Use very ripe bananas for maximum sweetness and moisture in your brownie bites.
- Peanut Butter or Almond Butter – Acts as a binding agent while providing healthy fats; substitute with sunflower seed butter for a nut-free version.
- Protein Powder (Vanilla or Chocolate) – Adds protein and structure, replacing traditional flour; choose a plant-based powder to keep it vegan-friendly.
- Unsweetened Cocoa Powder – Provides a rich chocolate flavor; consider organic or raw cacao for added health perks.
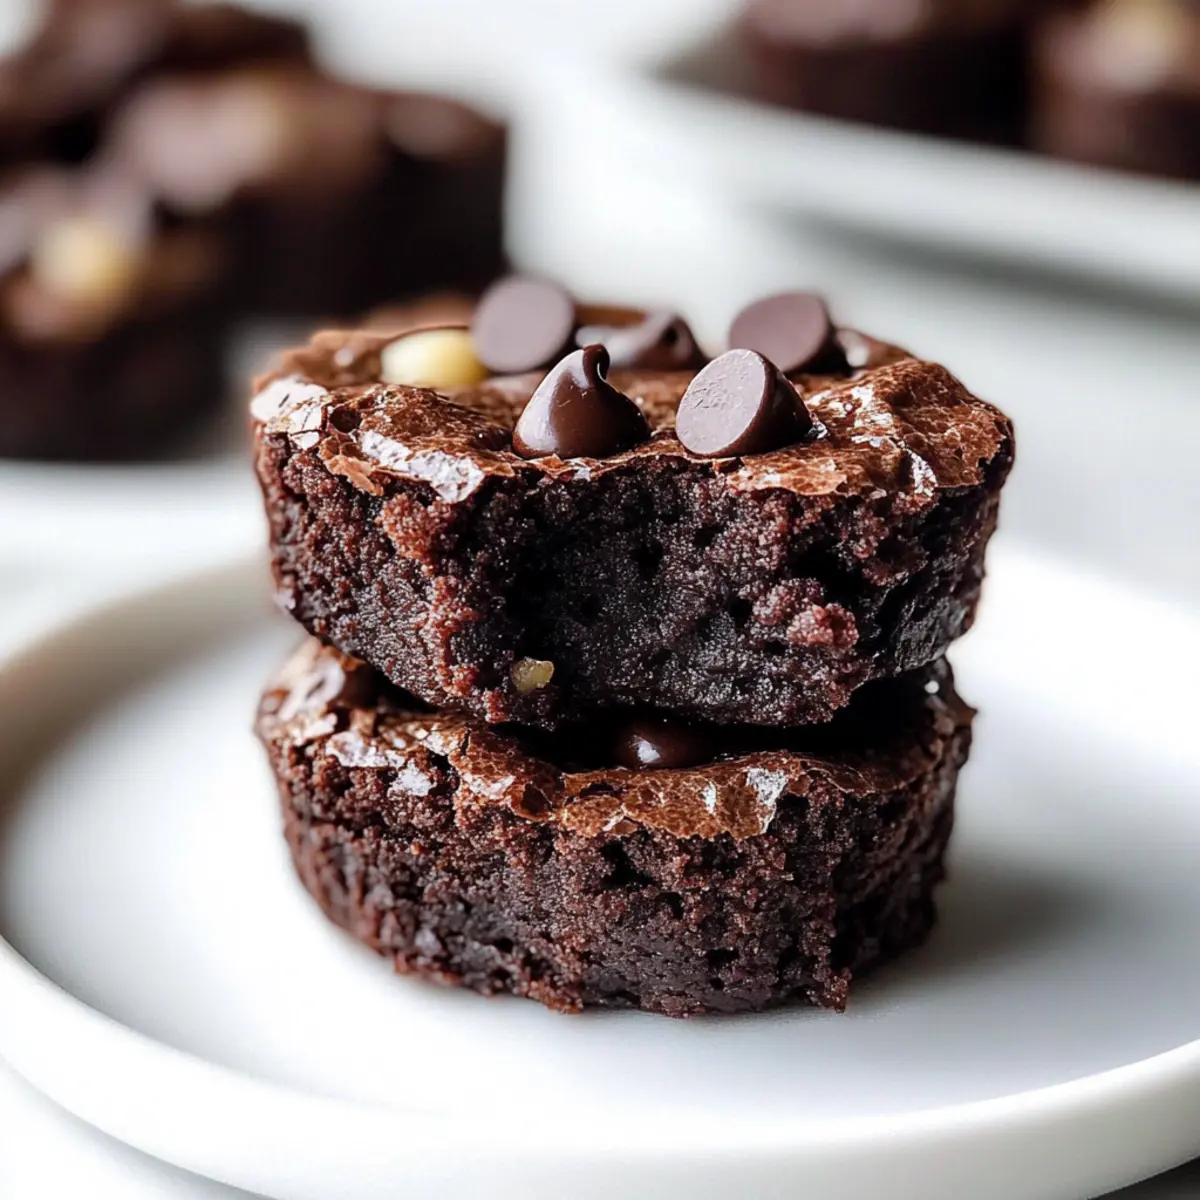
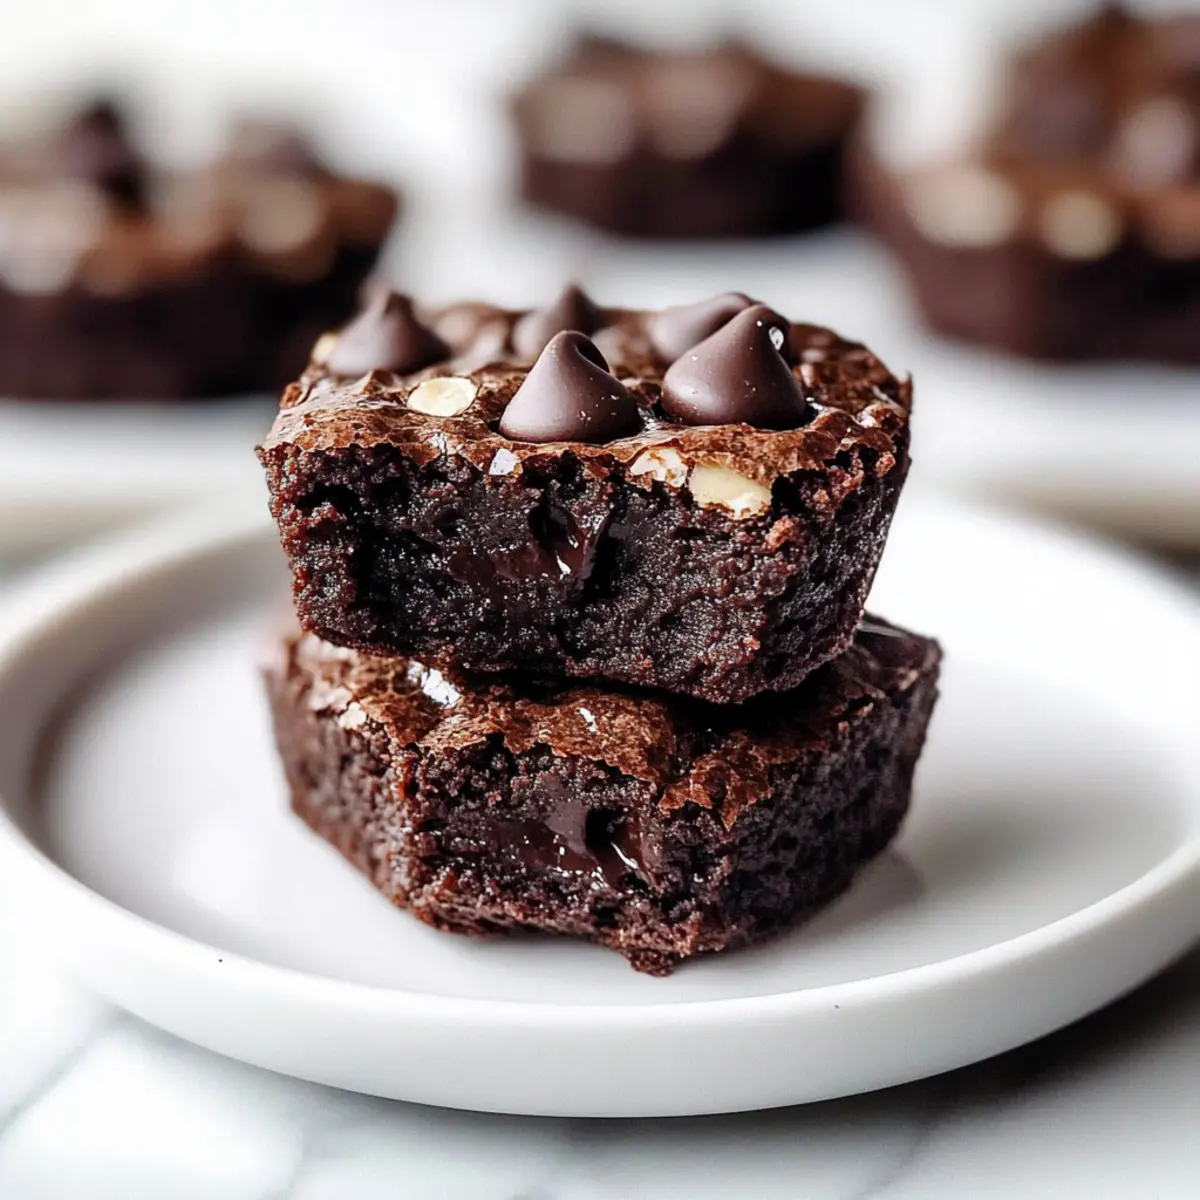
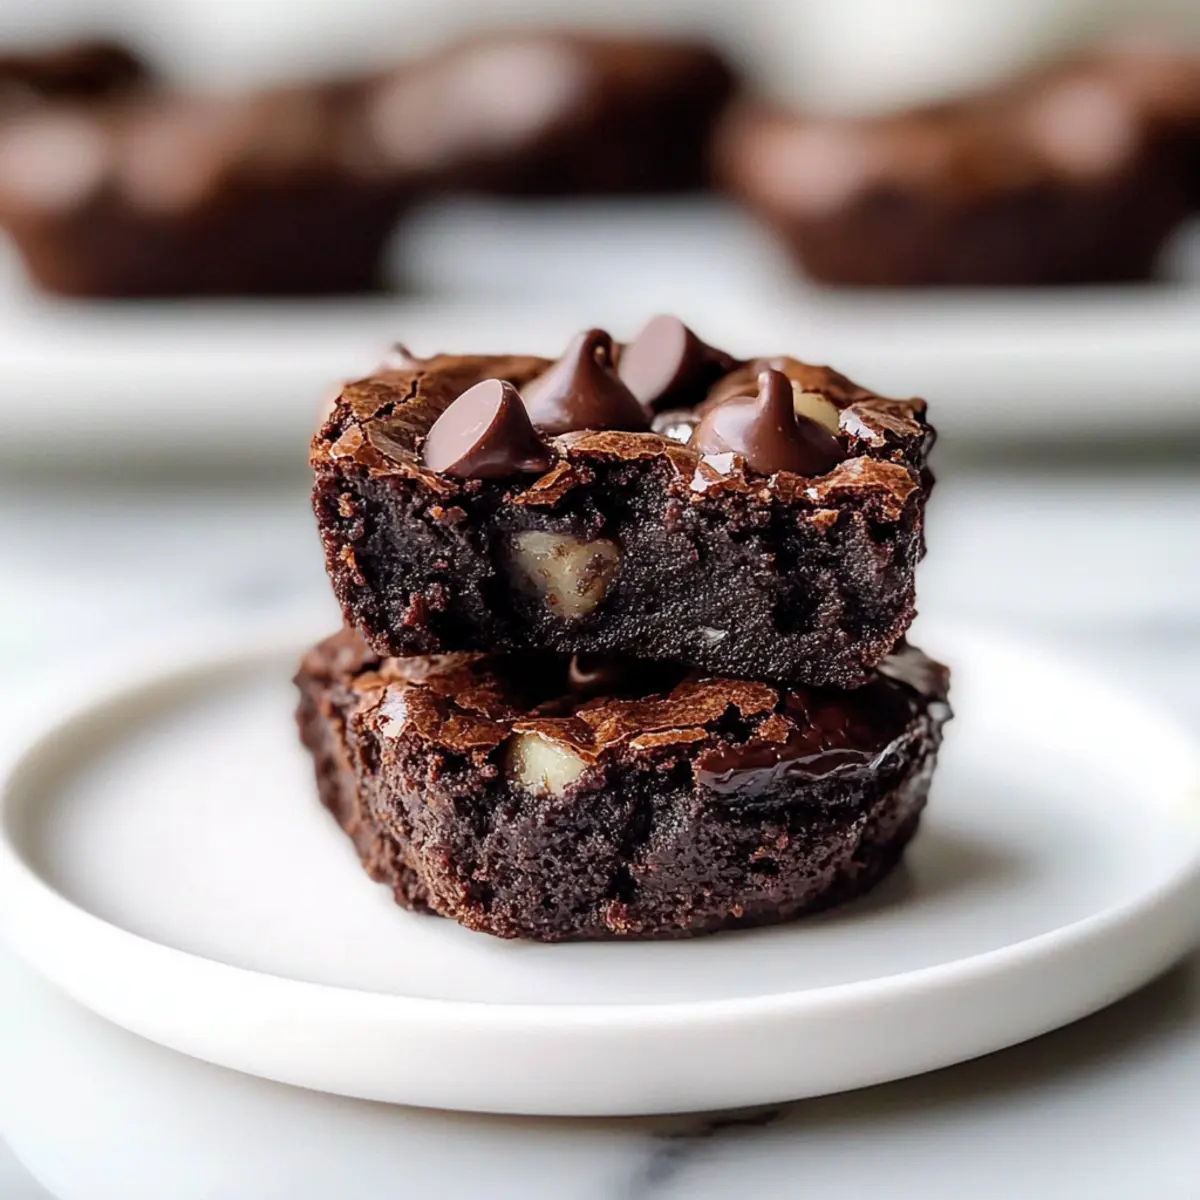
- Mini Chocolate Chips (optional) – Adds a delightful texture; feel free to omit for a lower-calorie treat.
Now that you’re all set with the ingredients, let’s get baking those delicious Protein Brownie Bites!
Step‑by‑Step Instructions for Flourless Chocolate Protein Brownie Bites
Step 1: Preheat the Oven
Begin by preheating your oven to 350°F (175°C). This ensures a perfectly baked texture for your Flourless Chocolate Protein Brownie Bites. While the oven heats up, gather your silicone baking cups and a muffin tin, as these will be essential for shaping your delicious bites.
Step 2: Mash the Bananas
In a medium bowl, mash the very ripe bananas using a fork or potato masher until they’re mostly smooth, with just a few lumps remaining. This should take about 2-3 minutes. The bananas will provide natural sweetness and moisture, creating a rich base for your brownie bites.
Step 3: Combine with Nut Butter
Add the peanut butter or almond butter to the mashed bananas. Stir using a spatula or whisk until the mixture is well-combined and smooth. This binding agent works beautifully to add healthy fats and ensures your Flourless Chocolate Protein Brownie Bites hold their shape during baking.
Step 4: Mix in Dry Ingredients
Next, incorporate the protein powder and unsweetened cocoa powder into the banana-butter mixture. Stir thoroughly for about 1-2 minutes until a smooth batter forms. The protein powder not only boosts nutrition but also helps achieve that brownie-like structure, making each bite satisfying and healthy.
Step 5: Divide the Batter
Using a spoon or small cookie scoop, evenly distribute the batter into the silicone baking cups, filling each about three-quarters full. You should get approximately eight servings. Placing the cups in a muffin tin will help keep them upright during baking, ensuring they maintain their shape.
Step 6: Sprinkle Optional Chocolate Chips
If desired, sprinkle mini chocolate chips on top of the filled cups. This adds a delightful texture and indulgence to your Flourless Chocolate Protein Brownie Bites. Feel free to omit them if you prefer a lower-calorie treat or want to keep the bites entirely sugar-free.
Step 7: Bake to Perfection
Place the muffin tin in your preheated oven and bake for about 20 minutes. You’ll know they are ready when the tops look set and a toothpick inserted into the center comes out clean or with just a few moist crumbs. Keep an eye on them to prevent overbaking!
Step 8: Cool and Serve
Once baked, remove the muffin tin from the oven and let it cool for 5-10 minutes. Gently remove the Flourless Chocolate Protein Brownie Bites from the silicone cups and allow them to cool completely on a wire rack. This cooling step is crucial for achieving that delightful chewy texture.
Storage Tips for Protein Brownie Bites
Fridge: Store your Protein Brownie Bites in an airtight container for up to 5 days, maintaining their delicious soft texture.
Freezer: To keep them fresh for longer, freeze the brownie bites for up to 3 months. Simply thaw at room temperature before enjoying for a tasty treat.
Reheating: If desired, you can gently warm the bites in the microwave for about 10-15 seconds to bring back their fudgy texture.
Wrapping: For individual servings, consider wrapping them in plastic wrap or parchment paper before placing in an airtight container to keep them protected and fresh.
Expert Tips for Protein Brownie Bites
-
Ripe Bananas Matter: Ensure you’re using very ripe bananas; they’ll provide the natural sweetness and moisture that help make the brownie bites so delicious.
-
Watch Your Bake Time: Keep a close eye on your brownie bites as they bake. Overcooking can lead to a dry texture; remove them when the tops look set.
-
Cooling is Key: Allow your Protein Brownie Bites to cool completely before serving. This step gives them a firmer texture, making each bite more satisfying.
-
Flavor Variations: Feel free to experiment with different nut butters for unique flavors, or add mix-ins like chia seeds or nuts for a delightful crunch.
-
Serve Fresh or Store: Enjoy your bites fresh for the best taste, or store them in an airtight container for up to 5 days in the fridge, or freeze for longer shelf life!
Protein Brownie Bites Variations
Feel free to let your creativity shine! Customers love customization, and these brownies can be easily adapted to suit your taste.
- Nut-Free: Substitute almond or peanut butter with sunflower seed butter to keep it nut-free while maintaining deliciousness.
- Vegan Twist: For a completely vegan treat, ensure your protein powder is plant-based and avoid chocolate chips.
- Higher Protein: Boost the protein content by using a double serving of protein powder, although this may affect texture.
- Add Texture: Mix in chopped pecans or walnuts for a crunchy contrast to the soft brownie bites.
- Spice It Up: Add a pinch of cinnamon or a splash of vanilla extract to elevate the flavor profile without extra calories.
- Give It a Fun Swirl: Swirl in your favorite nut butter on top before baking for a delightful presentation and rich taste.
- Fruity Surprise: Incorporate fresh or freeze-dried fruits like raspberries or cranberries into the batter for a tangy twist.
- Oil-Free: For an even lighter version, you can skip the peanut butter altogether and replace it with unsweetened applesauce.
Whichever variation you choose, these Vegan Oreo Brownies or our indulgent Cheesecake Swirl Brownies also make delicious alternatives to enjoy!
What to Serve with Flourless Chocolate Protein Brownie Bites
Satisfy your cravings even further by pairing these delightful brownie bites with complementary sides and treats!
- Fresh Berries: The tartness of strawberries or raspberries refreshes your palate, perfectly balancing the rich chocolate flavor.
- Greek Yogurt: A dollop of creamy yogurt adds protein and a cool, tangy contrast to the sweet brownie bites. Try adding a drizzle of honey for extra flair.
- Coconut Whipped Cream: Light and airy, this is a lovely topping that enhances the brownies while keeping them dairy-free.
- Nut Butter Drizzle: A simple drizzle of almond or peanut butter on top deepens the flavor and adds delightful richness. This combination creates a candy-like experience!
- Mocha Smoothie: Blend coffee, banana, and almond milk for a refreshing drink that echoes the brownie’s flavors, creating a wonderfully unified experience.
- Dark Chocolate Bark: A few pieces of dark chocolate bark on the side can elevate your dessert experience. It introduces a satisfying crunch and pairs well with fruity notes.
- Fruit Salad: A mix of seasonal fruits brings a vibrant freshness, creating a lighter contrast to the fudgy brownie bites and enhancing their nutritional profile.
- Herbal Tea: A warm cup of chamomile or peppermint tea complements the sweetness while relaxing your senses, perfect for winding down after a indulgent snack.
Make Ahead Options
For those busy weeknights or meal prep enthusiasts, these Flourless Chocolate Protein Brownie Bites are perfect for making ahead of time! You can prepare the batter and refrigerate it for up to 24 hours before baking, ensuring maximum convenience without compromising quality. Simply mix the ingredients, store the batter in an airtight container, and when you’re ready to bake, just scoop it into your silicone cups, sprinkle with mini chocolate chips, and pop them in the oven. If you’d like, you can also bake the bites ahead and keep them in the fridge for up to 5 days or freeze them for up to 3 months. To enjoy, just thaw and either serve cold or warm them up in the microwave for a delightful, freshly-baked taste!
Flourless Chocolate Protein Brownie Bites Recipe FAQs
What type of bananas should I use for this recipe?
Absolutely! For the best results, you should use very ripe bananas. They should have dark spots all over, which indicates optimal sweetness and moisture content. If your bananas are still slightly green, they won’t provide the same level of sweetness, making your brownie bites feel a little bland.
How should I store my Protein Brownie Bites?
Store your Protein Brownie Bites in an airtight container in the refrigerator for up to 5 days. Keep them chilled to maintain their deliciously soft texture. When stored properly, they will be ready to enjoy at any time as a nutritious snack!
Can I freeze these brownie bites?
Yes, you can! To freeze your Protein Brownie Bites, wrap each piece individually in plastic wrap and then store them together in an airtight container or freezer bag. They will stay fresh for up to 3 months. When you’re ready to enjoy them, just thaw them at room temperature for about 30-60 minutes or in the microwave for 10-15 seconds.
What if my brownie bites are too dry?
If your Protein Brownie Bites come out drier than expected, it’s possible they were overbaked. Always check them at the 20-minute mark, and remember, a toothpick should come out clean or with just a few moist crumbs. To salvage dryer bites, you can serve them with a dollop of yogurt or a drizzle of nut butter for extra moisture.
Are these brownie bites safe for those with nut allergies?
Great question! If you need a nut-free option, simply substitute the peanut butter with sunflower seed butter. It works beautifully in this recipe while also providing healthy fats. Always double-check any ingredients, like protein powder, to ensure they are free from cross-contamination if allergies are a concern.
Can I use sweeteners instead of bananas?
I recommend sticking with bananas for natural sweetness and moisture. However, if you prefer to use a sweetener, you could try mashed applesauce or a sugar substitute. Keep in mind that the texture and flavor will vary, and you might need to adjust other ingredients accordingly to make up for the moisture.
Decadent Protein Brownie Bites That Satisfy Cravings Guilt-Free
Ingredients
Equipment
Method
- Preheat your oven to 350°F (175°C). Gather your silicone baking cups and muffin tin.
- Mash the very ripe bananas in a medium bowl until mostly smooth.
- Add the peanut butter or almond butter to the mashed bananas and stir until smooth.
- Incorporate the protein powder and unsweetened cocoa powder into the mixture, stirring until smooth.
- Divide the batter into the silicone baking cups, filling each about three-quarters full.
- Sprinkle mini chocolate chips on top of the filled cups if desired.
- Bake for about 20 minutes, until the tops look set.
- Allow to cool for 5-10 minutes, then remove from the silicone cups and cool completely on a wire rack.
Leave a Reply