
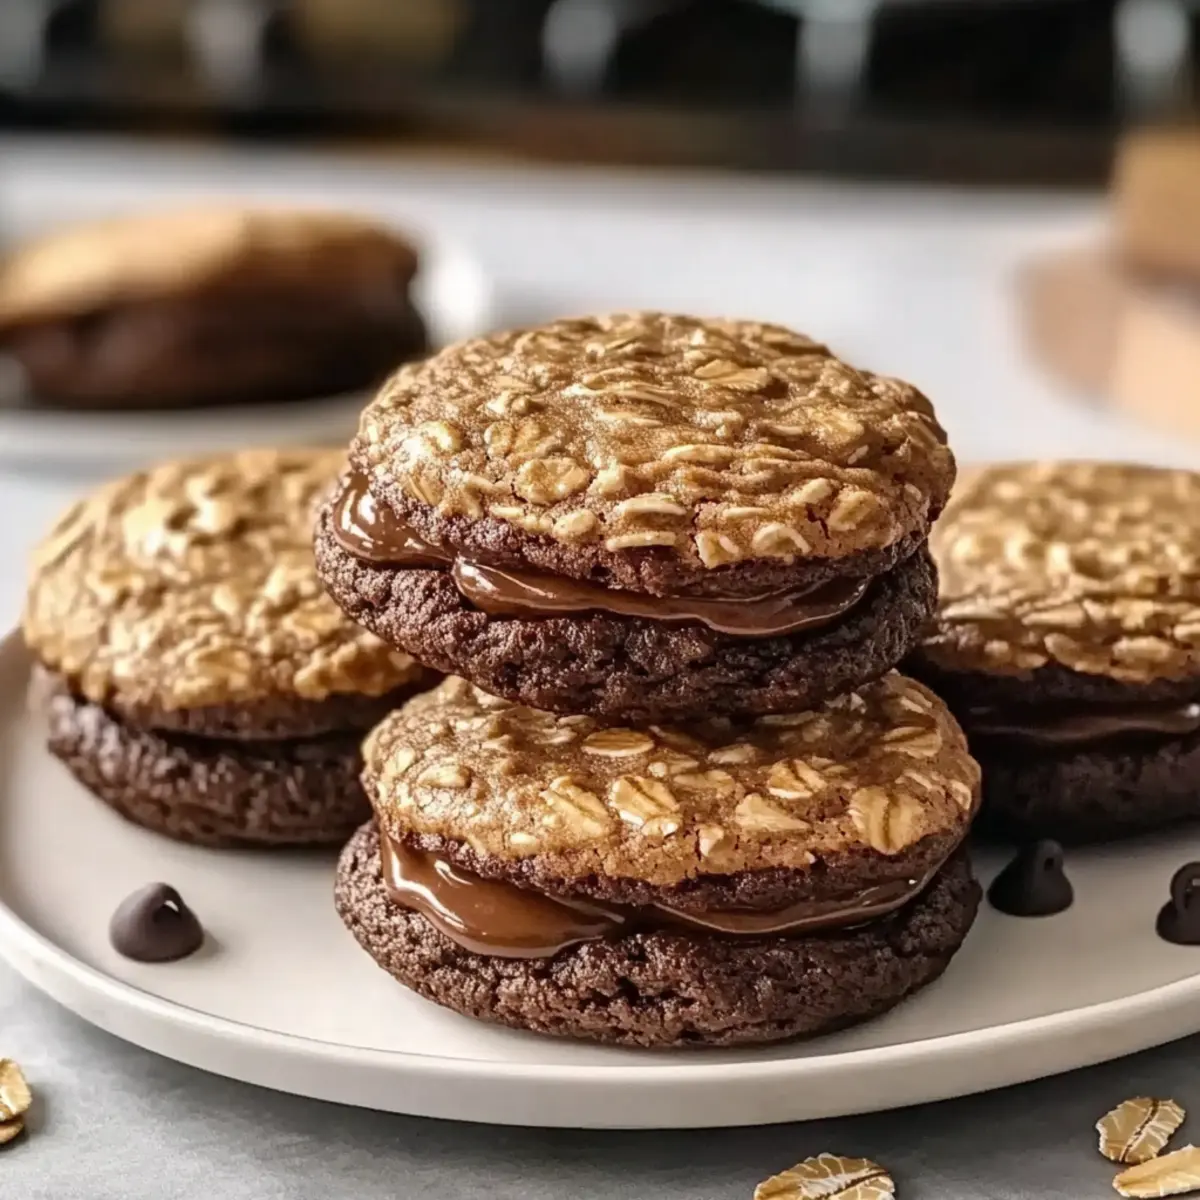
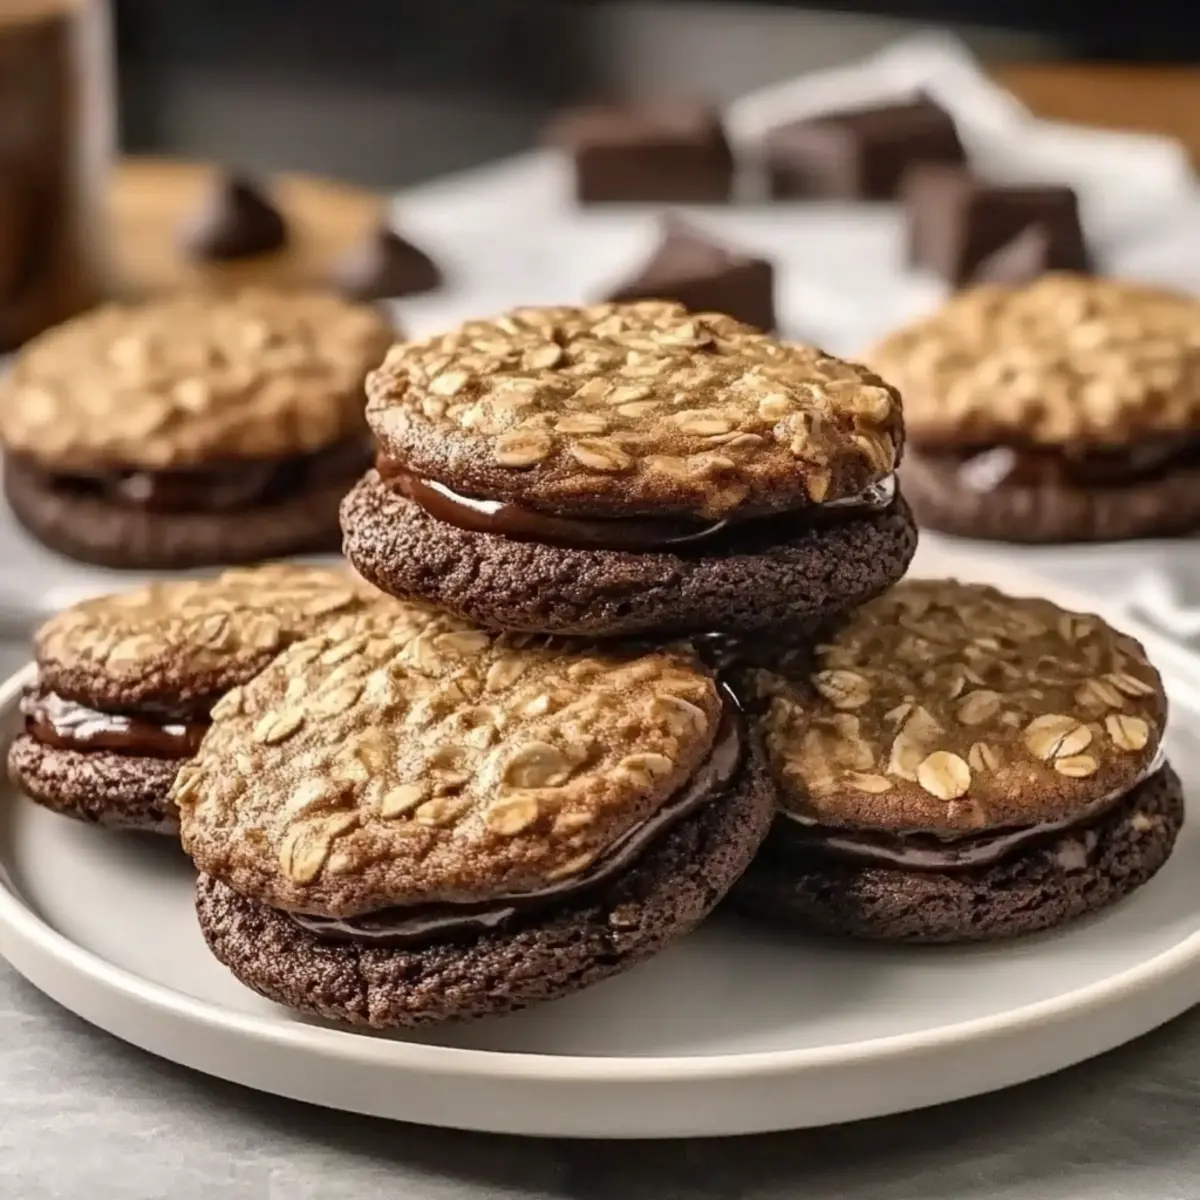
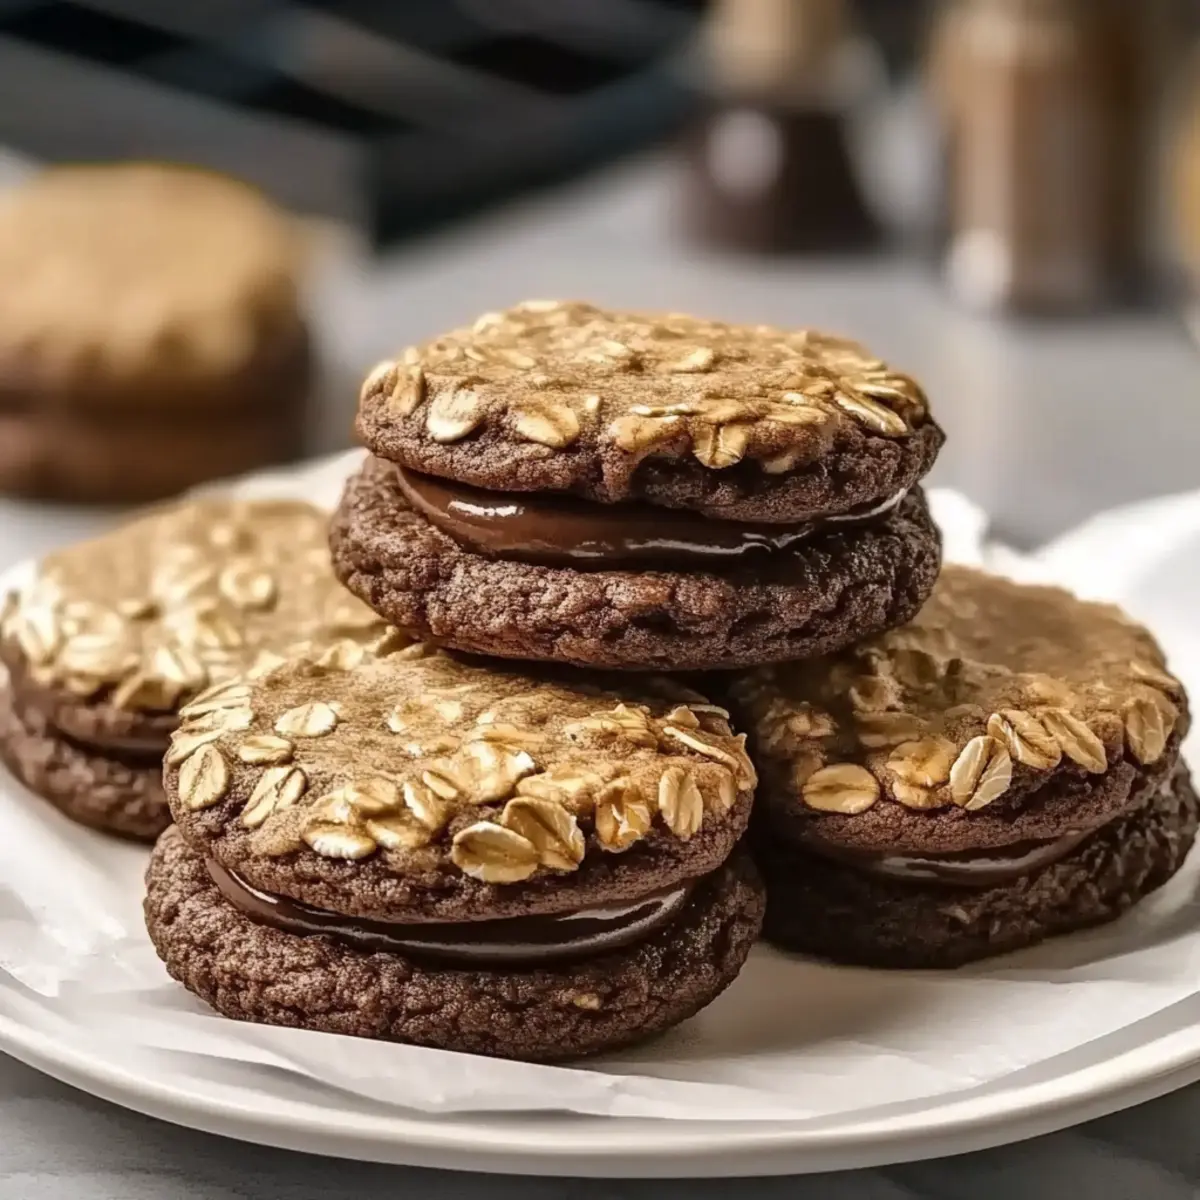
As I stumbled upon a stash of oats and my favorite nut butter, an idea sparked. What if I combined them into something utterly delightful? Enter the 4-Ingredient Crispy Chocolate Oat Cookies, a quick and satisfying treat that transforms everyday ingredients into an indulgent snack. Perfect for those moments when you crave something sweet yet wholesome, these cookies not only come together in minutes, but they also work beautifully as a gluten-free option for anyone mindful of their diet. With the satisfying crunch of oats and the richness of chocolate, it’s a recipe that even the busiest home chefs will appreciate. Have you ever tasted a cookie that feels both like a treat and a nutritious boost? Let’s dive into this simple recipe that promises to elevate your snacking game!
Why are these cookies so amazing?
Simplicity: With just four ingredients, these cookies are incredibly easy to whip up, perfect for busy folks who still crave a homemade treat.
Deliciously Nutritious: The combination of oats and nut butter provides a wholesome boost without sacrificing flavor, making them a guilt-free indulgence.
Crisp & Chewy: Expect a delightful blend of textures—the crispy outside gives way to a chewy interior packed with melting chocolate goodness.
Versatility: Feel free to customize by adding nuts or dried fruits, or swapping in gluten-free oats for a tailored snack that suits your needs.
Perfect Pairing: Enjoy them alongside a glass of milk or even scoop a bit of ice cream on top for a delightful dessert! For those seeking more chocolatey goodness, check out my recipes for German Chocolate Cupcakes or the decadent Chocolate Biscoff Tart.
Chocolate Oat Cookies Ingredients
Ready to bake your deliciously crispy Chocolate Oat Cookies? Here’s everything you need!
For the Cookies
- Oats – A hearty base that provides the perfect structure; opt for rolled or quick oats for the best texture.
- Nut Butter – Acts as a creamy binder; almond or peanut butter works beautifully, and you can switch to sunflower seed butter for a nut-free option.
- Honey or Maple Syrup – A natural sweetener that enhances the cookie’s flavor; you can replace it with agave syrup for a vegan-friendly choice.
- Chocolate Chips – Adds rich sweetness and decadent chocolate flavor; try dark chocolate chips for a healthier twist or dairy-free versions for a vegan treat.
Feel free to get creative with these ingredients and enjoy the bliss of homemade sweetness!
Step‑by‑Step Instructions for 4-Ingredient Crispy Chocolate Oat Cookies
Step 1: Preheat the Oven
Begin by preheating your oven to 350°F (175°C). This ensures that your cookies will bake evenly, achieving that perfect crispy texture. While the oven warms up, gather your baking sheets and line them with parchment paper to prevent sticking and make cleanup a breeze.
Step 2: Mix the Ingredients
In a large mixing bowl, combine your oats, nut butter, honey (or maple syrup), and chocolate chips. Use a spatula or wooden spoon to mix everything thoroughly until it forms a sticky, cohesive dough. The nut butter should be creamy for easy combining, and you want to ensure that the chocolate chips are evenly distributed throughout the mixture.
Step 3: Form the Cookies
Using a tablespoon, scoop generous amounts of the cookie dough onto your prepared baking sheet, spacing them about two inches apart. Flatten each scoop slightly with the back of the spoon for even baking. Keep in mind that the 4-Ingredient Crispy Chocolate Oat Cookies will spread just a little, so make sure they have some room to spread.
Step 4: Bake the Cookies
Place the baking sheet into your preheated oven and bake for 10-12 minutes. You’ll know they’re ready when the edges turn golden brown, giving you that sumptuous, crispy exterior. Keep a close eye on them during the last few minutes, as baking times can vary slightly based on your oven.
Step 5: Cool the Cookies
Once baked, remove the cookies from the oven and let them rest on the baking sheet for about 5 minutes. This allows them to firm up a bit. Then, carefully transfer the cookies to a wire rack to cool completely. This step is crucial for achieving the ideal texture of your crispy Chocolate Oat Cookies! Enjoy your delicious creation!
Expert Tips for 4-Ingredient Cookies
- Creamy Nut Butter: Ensure your nut butter is smooth and creamy for easier mixing. This helps achieve a consistent dough and prevents clumping.
- Watch the Bake Time: Be careful not to overbake your cookies; they should be golden brown at the edges. Remember, they will firm up as they cool!
- Cooling is Key: Allow your cookies to cool on the baking sheet before transferring them to a wire rack. This helps maintain their delightful crispy and chewy texture.
- Customize Wisely: Feel free to experiment with add-ins like nuts or dried fruits but keep the core ingredient balance in mind for the best chocolate oat cookies.
- Storing Secrets: Store cookies in an airtight container at room temperature to keep them fresh for up to a week, or freeze for longer shelf life.
Make Ahead Options
These 4-Ingredient Crispy Chocolate Oat Cookies are perfect for meal prep enthusiasts looking to save time during busy weeks! You can mix the dough ahead of time and refrigerate it for up to 24 hours without sacrificing taste or texture. Simply combine your oats, nut butter, honey (or syrup), and chocolate chips, then store it in an airtight container in the fridge. When you’re ready to bake, scoop and flatten the cookies on a lined baking sheet, then bake them as usual. This ensures they come out just as fresh and delicious, ready to enjoy whenever a sweet craving strikes!
Chocolate Oat Cookies Variations
Feel free to let your creativity shine with these delightful variations that will take your Chocolate Oat Cookies to new heights!
-
Gluten-Free: Use certified gluten-free oats to ensure everyone can enjoy these cookies without worry. This makes them a great option for those with gluten sensitivities.
-
Nut-Free: Swap out the nut butter for sunflower seed butter to create a nut-free cookie that still has that creamy texture. It’s perfect for school lunches or gatherings where allergies might be a concern.
-
Vegan: Replace honey or maple syrup with agave syrup for a vegan-friendly treat. This keeps the sweetness and flavor intact while catering to your plant-based friends.
-
Flavor Boost: Add a teaspoon of vanilla extract or a sprinkle of cinnamon to the dough for an extra flavor dimension. It creates a delightful aroma while baking that’s simply irresistible!
-
Textural Add-Ins: Mix in a handful of chopped nuts or dried fruits like raisins or cranberries for added texture and natural sweetness. These add-ins provide a pleasant chewiness and make each cookie unique.
-
Dark Chocolate: Opt for dark chocolate chips to create a richer, more indulgent cookie. The deep flavor of dark chocolate pairs beautifully with the oats, elevating the overall taste.
-
Decadent Swirl: Drizzle melted chocolate or your favorite nut butter over the cooled cookies for an extra layer of decadence. This creates an eye-catching presentation that’s sure to impress!
For more melt-in-your-mouth chocolate goodness, check out my recipe for Whipped Hot Chocolate or the luscious Chocolate Covered Stuffed Dates. Enjoy customizing your cookies!
Storage Tips for Chocolate Oat Cookies
Room Temperature: Keep your cookies in an airtight container at room temperature for up to 1 week to maintain their delightful crispness and chewy interior.
Fridge: If you prefer a longer shelf life, you can store them in the fridge for up to 2 weeks, although it may affect their texture slightly.
Freezer: For even longer storage, freeze the cookies in a single layer on a baking sheet, then transfer to an airtight container or freezer bag for up to 3 months.
Reheating: To enjoy your cookies warm, simply warm them in the microwave for about 10-15 seconds or place them in a preheated oven at 350°F (175°C) for a few minutes, bringing back that fresh-baked taste in your chocolate oat cookies.
What to Serve with 4-Ingredient Crispy Chocolate Oat Cookies
Looking to create a memorable snack time experience? Pair these delightful cookies with some complementary treats to enhance your enjoyment.
-
Glass of Cold Milk: The classic pairing! The creamy richness of milk beautifully balances the sweetness and crunch of the cookies.
-
Vanilla Ice Cream: A scoop of smooth vanilla ice cream on top creates a delightful dessert combination, melting in with the warm cookie.
-
Fresh Berries: Juicy strawberries or raspberries offer a bright, tart contrast that complements the chocolatey richness and adds a refreshing touch.
-
Nutty Yogurt Parfait: Layer your favorite yogurt with granola and fruit; it’s a creamy and crunchy addition that harmonizes perfectly with the cookies.
-
Homemade Hot Cocoa: Indulging in a comforting cup of hot cocoa elevates your cookie experience, providing a rich and delightful chocolatey moment.
-
Caramel Drizzle: A light drizzle of warm caramel sauce over the cookies transforms them into a decadent treat, taking your snack to new heights.
-
Coffee or Espresso: Pairing with a cup of freshly brewed coffee intensifies the chocolate flavors, creating a delightful balance of sweetness and bitterness.
-
Chocolate Dipped Pretzels: The salty crunch of pretzels enhances the sweetness of the cookies, offering a perfect mix of salty and sweet textures.
-
Fruit Smoothie: A refreshing fruit smoothie, packed with berries and bananas, serves as a nourishing drink that pairs well with your wholesome cookie delight.
Chocolate Oat Cookies Recipe FAQs
What type of oats should I use?
I recommend using rolled or quick oats for the best texture in your Chocolate Oat Cookies. Rolled oats provide more chewiness, while quick oats create a finer consistency. If you’re looking for a gluten-free option, make sure to choose certified gluten-free oats!
How should I store my cookies for freshness?
Keep your cookies in an airtight container at room temperature for up to 1 week. This helps maintain their delightful crispy exterior and chewy interior. If you prefer them a bit firmer, storing them in the fridge for up to 2 weeks is also an option, although it may slightly affect their texture.
Can I freeze Chocolate Oat Cookies?
Absolutely! To freeze, lay the cookies in a single layer on a baking sheet and freeze them until solid. Then, transfer them to an airtight container or freezer bag. They can be stored in the freezer for up to 3 months. When you’re ready to enjoy, simply thaw at room temperature or warm them in the microwave for a few seconds!
What if my cookies spread too much while baking?
If your cookies are spreading excessively, there are a few things to consider. First, ensure that your nut butter is well-mixed and not too warm before incorporating it into the dough. Additionally, if you’re using a natural nut butter, it can be more liquidy—try refrigerating it before use. Lastly, be sure to space your cookie scoops adequately on the baking sheet to give them room to spread.
Are these cookies suitable for those with nut allergies?
You can definitely make these cookies nut-free! Just substitute the nut butter with sunflower seed butter, which is a fantastic alternative that won’t compromise the texture or flavor of your Chocolate Oat Cookies. Always check for cross-contamination if you’re serving those with strict allergies.
Can I modify the recipe for different dietary needs?
Certainly! For a vegan version, swap honey or maple syrup with agave syrup. If you want to make them gluten-free, use gluten-free oats. You can also opt for dairy-free chocolate chips or even dark chocolate chips for a healthier alternative. The more the merrier—get creative with your mix-ins!

Decadent Chocolate Coffee Whoopie Pies for Ultimate Indulgence
Ingredients
Equipment
Method
- Preheat your oven to 350°F (175°C) and line your baking sheets with parchment paper.
- In a large mixing bowl, mix oats, nut butter, honey (or maple syrup), and chocolate chips until a sticky dough forms.
- Using a tablespoon, scoop cookie dough onto prepared baking sheets, spacing them about two inches apart.
- Flatten each scoop slightly and bake for 10-12 minutes until edges are golden brown.
- Allow cookies to cool on the baking sheet for 5 minutes before transferring to a wire rack.
Leave a Reply