
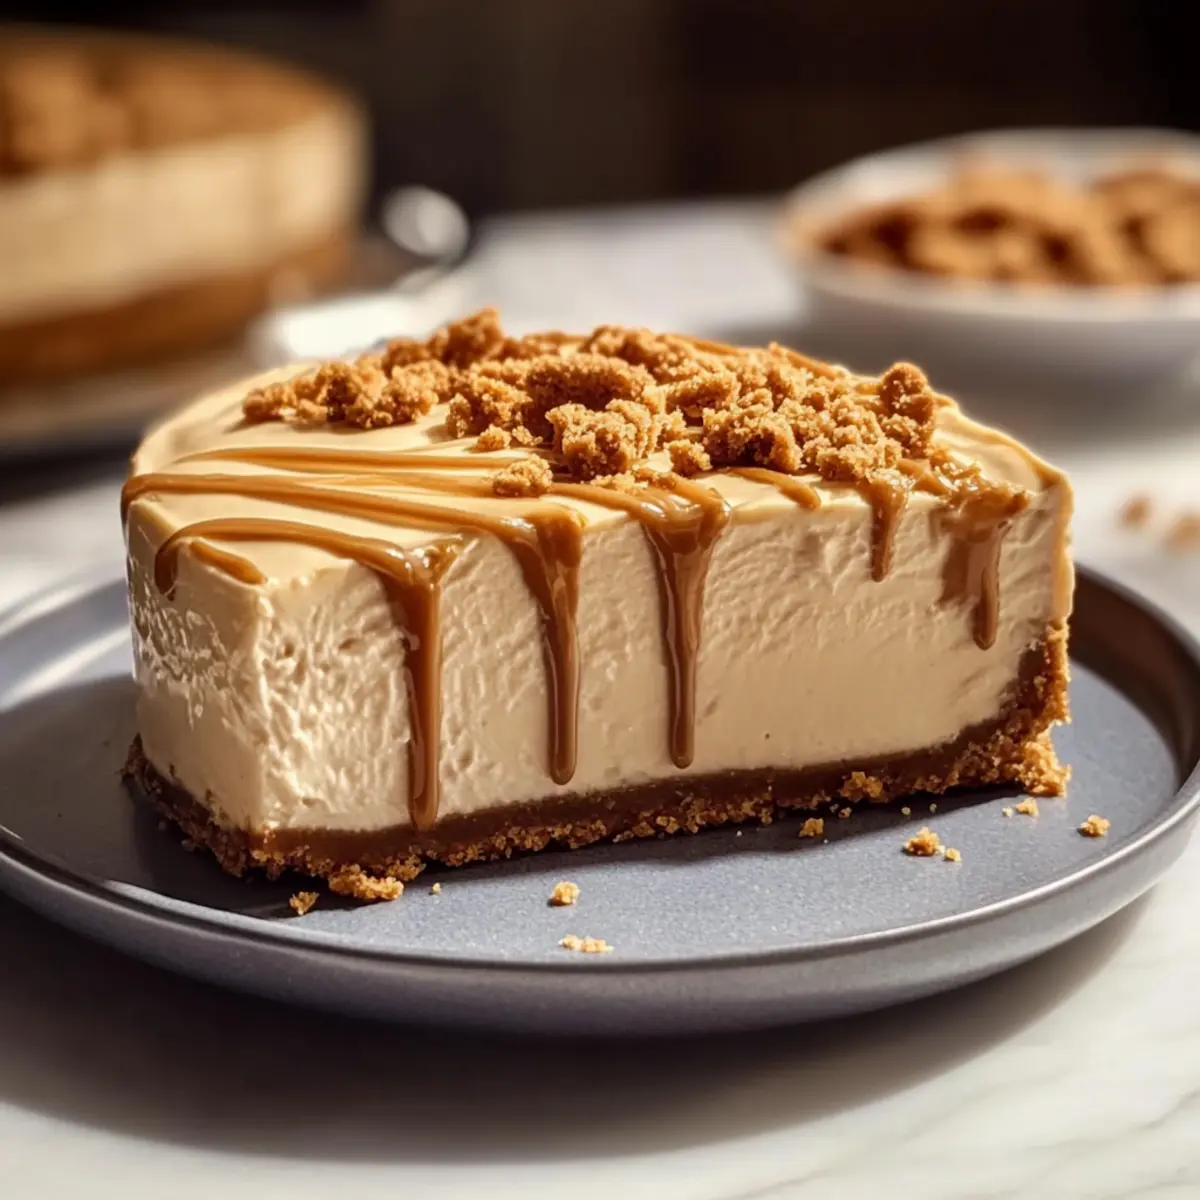
I stood mesmerized in my kitchen, a jar of silky Biscoff cookie butter in one hand and a handful of Biscoff cookies in the other. The desire to whip up something effortless yet indulgent was strong, leading me straight to this No Bake Biscoff Cheesecake! Trust me, this creamy delight is a game-changer when it comes to make-ahead desserts. With its buttery cookie crust and luscious filling, this cheesecake ensures you can have a stunning dessert ready without ever turning on the oven. Not only is it a crowd-pleaser that will leave everyone asking for seconds, but it also requires minimal prep time—perfect for those busy days when you want to impress without the stress. Are you ready to dive into a world of caramelized cookie bliss?
Why is No Bake Biscoff Cheesecake a Must-Try?
Effortless Delight: This No Bake Biscoff Cheesecake is incredibly simple to prepare, requiring just a few key ingredients and no oven!
Irresistible Flavor: The unique caramelized spice of Biscoff cookies creates an unforgettable taste that will have your taste buds dancing.
Perfect for Any Occasion: Whether it’s a casual family dinner or a festive celebration, this cheesecake is a stunning dessert that suits all occasions.
Make Ahead Magic: You can whip it up a day in advance, making it an excellent choice for busy schedules! Refer to this Peach Cobbler Cheesecake for more scrumptious make-ahead ideas.
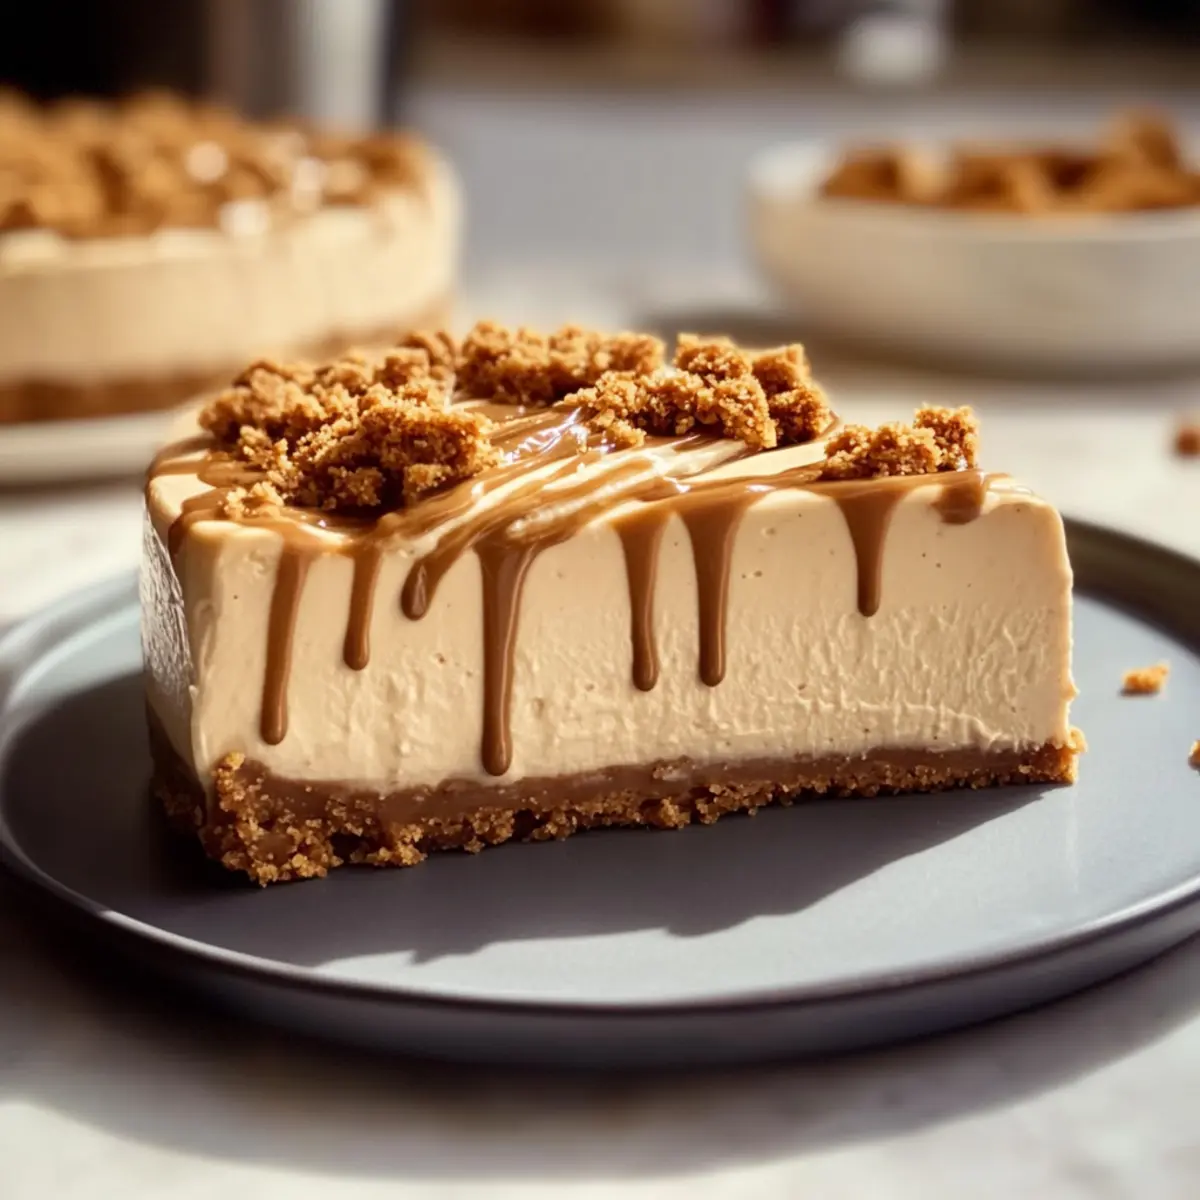
Textural Contrast: Enjoy the smooth and creamy filling, paired with a crunchy, buttery crust—every bite is a heavenly experience.
Customization Galore: Feel free to experiment with flavors! Try a chocolate swirl or mini cheesecakes for a fun twist. Trust me; you’ll find endless ways to love this recipe!
No Bake Biscoff Cheesecake Ingredients
• For the Crust
- Biscoff cookies – The base for the crust, these cookies offer a flavorful, sweet, and spicy crunch; feel free to substitute with graham crackers for a different flavor profile.
- Melted butter – This helps bind the crust together, and using unsalted butter provides better control over flavor.
• For the Filling
- Cream cheese – The main component of the filling, it provides richness and a creamy texture; always opt for full-fat brick-style cream cheese for best results.
- Biscoff cookie butter – Adds depth and enhances flavor; you can swap with speculoos cookie butter if needed.
- Powdered sugar – Sweetens the filling; adjust based on your preference for sweetness.
- Vanilla extract – Enhances the overall flavor; pure vanilla is recommended for the best quality.
- Heavy whipping cream – Helps achieve a light and fluffy consistency in the cheesecake; make sure to use cold cream for optimal whipping.
• For the Topping
- Melted Biscoff cookie butter – Adds an elegant finishing touch; this ingredient may be optional, but it’s highly recommended for flavor enhancement.
- Crushed Biscoff cookies – Offers both crunch and visual appeal as a garnish; this is optional but definitely enhances the cookie experience.
Step‑by‑Step Instructions for No Bake Biscoff Cheesecake
Step 1: Prepare the Crust
Begin by finely crushing your Biscoff cookies in a food processor until they resemble sand. In a mixing bowl, combine the crushed cookies with melted butter, mixing until the crumbs are evenly moistened. Firmly press this mixture into the bottom of a 9-inch springform pan to create a solid crust. Once finished, chill the crust in the refrigerator for about 30 minutes to help it set.
Step 2: Make the Filling
While the crust chills, take your softened cream cheese and beat it in a large mixing bowl until it becomes smooth and creamy. Gradually add the Biscoff cookie butter, powdered sugar, and vanilla extract, mixing until combined and fluffy. The filling should be well-mixed and free of lumps, creating a rich and velvety base for your No Bake Biscoff Cheesecake.
Step 3: Whip the Cream
In a separate chilled bowl, pour in the cold heavy whipping cream. Using a hand mixer or stand mixer, whip the cream on medium speed until stiff peaks form, which should take about 3-5 minutes. This step is crucial for achieving a light and airy texture in your cheesecake, so keep an eye on it to avoid over-whipping.
Step 4: Combine Mixtures
Gently fold the whipped cream into the cream cheese mixture using a spatula. Start by adding one-third of the whipped cream to lighten the cream cheese mixture and then carefully incorporate the rest. Be gentle to maintain the airy texture, ensuring the filling is fully combined and fluffy for your No Bake Biscoff Cheesecake.
Step 5: Assemble Cheesecake
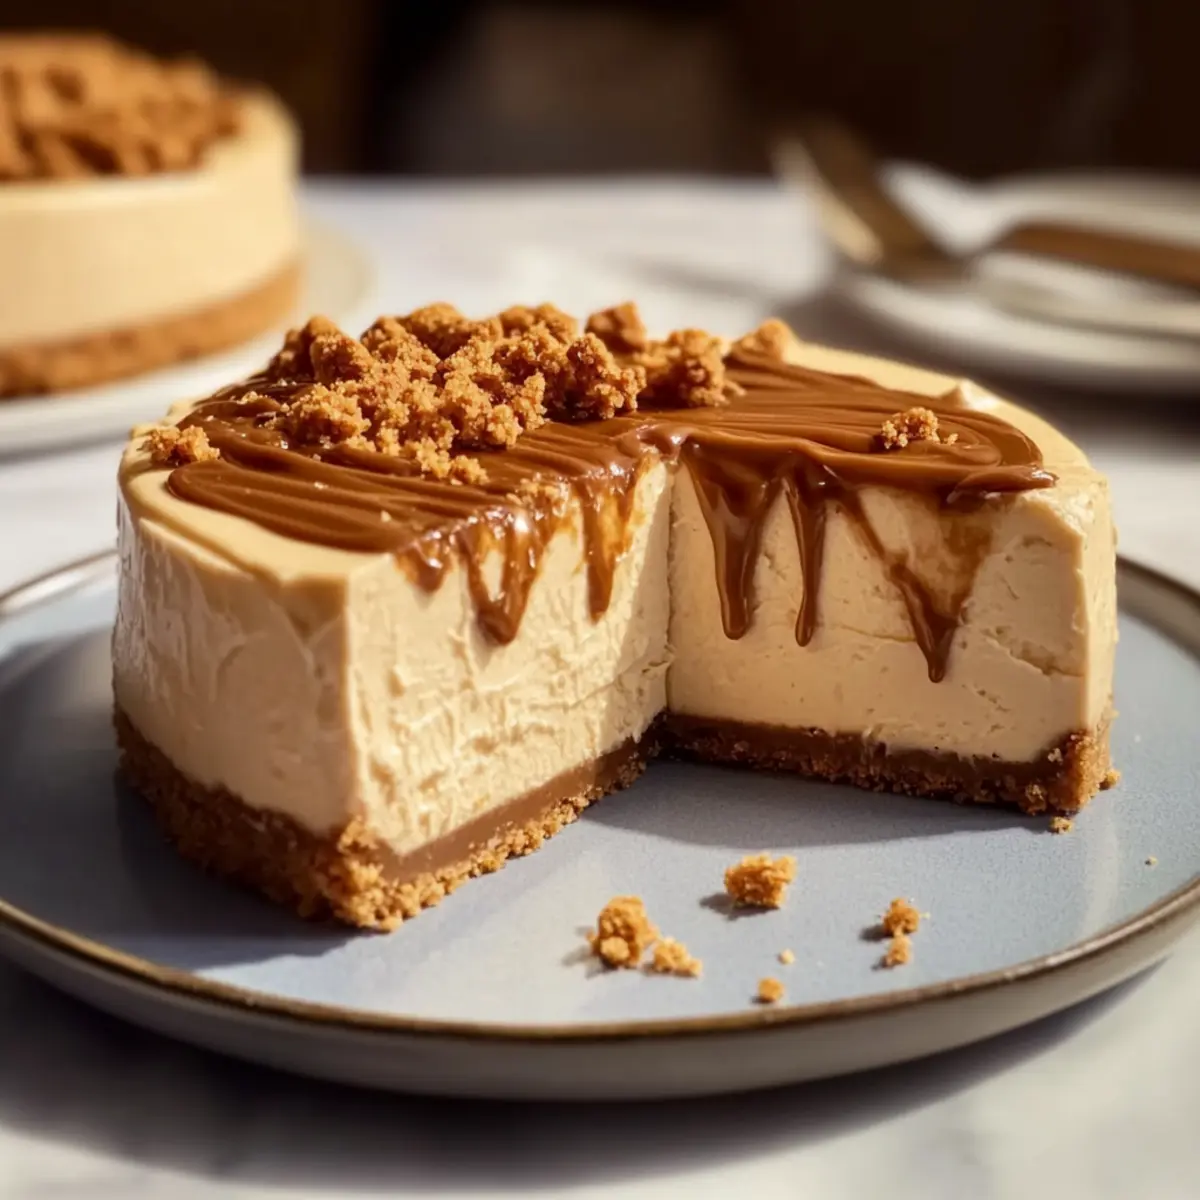
Once the filling is ready, spoon it over the chilled crust in the springform pan. Use a spatula to smooth the top evenly, making sure there are no air bubbles. After assembling, cover the cheesecake with plastic wrap and chill in the refrigerator for at least 6 hours or overnight; this setting time ensures the best flavor and texture.
Step 6: Finalize
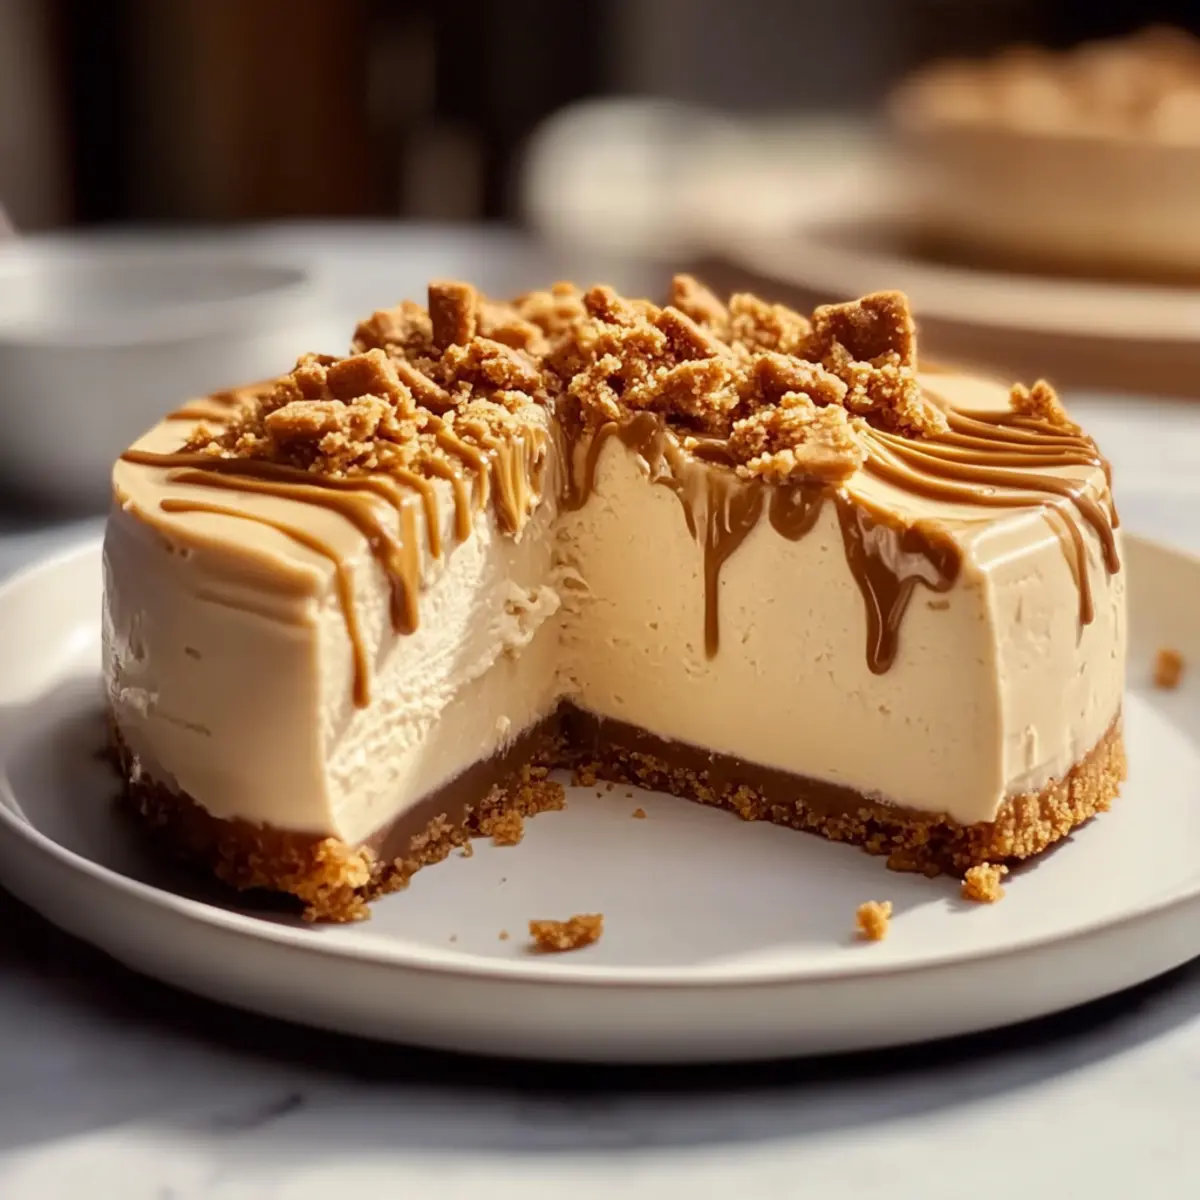
When you’re ready to serve, melt some Biscoff cookie butter in the microwave until it’s pourable, and drizzle it over the top of your chilled cheesecake for a delicious finish. Optionally, sprinkle crushed Biscoff cookies on top for added texture and visual appeal. Slice and enjoy your delightful No Bake Biscoff Cheesecake!
No Bake Biscoff Cheesecake Variations
Feel free to explore these delightful twists to make your No Bake Biscoff Cheesecake even more enjoyable!
-
Chocolate Swirl: Melt high-quality chocolate and gently swirl it into the cheesecake filling before chilling for a rich flavor contrast. Just imagine indulging in that chocolatey goodness amidst the creamy layers!
-
Whipped Cream Topping: Top each slice with a dollop of freshly whipped cream for added lightness. This little addition elevates the dessert without overpowering the glorious Biscoff flavor.
-
Mini Cheesecakes: Create individual servings by using muffin tins lined with paper cups. Perfect for parties or when you want just a tiny treat to satisfy those sweet cravings!
-
Frozen Version: For a refreshing cold treat, freeze the cheesecake and let it thaw at room temperature for about 15 minutes before serving. The texture becomes an indulgently creamy ice cream alternative on warm days.
-
Nutty Crunch: Incorporate chopped nuts like pecans or walnuts into the crust for an added layer of flavor and texture. A crunchy layer complements the smooth filling perfectly; plus, who doesn’t love a nutty touch?
-
Fruit Infusion: Add a layer of fresh fruit like strawberries or blueberries between the crust and filling for a fruity surprise. The tartness from the fruit balances beautifully with the sweet, spiced cheesecake!
-
Caramel Drizzle: Drizzle some caramel sauce on top of the cheesecake just before serving. That warm, gooey sweetness takes an already indulgent dessert to another divine level—trust me!
-
Vegan Alternative: Replace cream cheese with vegan cream cheese and use a coconut cream or cashew whipped cream to create a luscious, dairy-free version of this cheesecake. Everyone deserves a slice of creamy heaven!
For additional inspiration, consider whipping up a batch of Baileys Cheesecake Balls or even trying your hand at some festive Grinch Mini Cheesecakes! The possibilities are endless when it comes to customizing these delightful desserts!
What to Serve with No Bake Biscoff Cheesecake
Elevate your dessert experience with delightful complements that enhance the rich, creamy flavors of this cheesecake.
- Coffee or Espresso: The rich bitterness of coffee perfectly balances the sweet notes of the cheesecake, making each bite even more indulgent.
- Fresh Berries: Juicy strawberries or tart raspberries add a burst of freshness, cutting through the creaminess and adding a pop of color.
- Whipped Cream: A dollop of light, fluffy whipped cream on each slice offers an airy contrast to the dense cheesecake, making it a visually appealing treat.
- Chocolate Drizzle: Drizzling melted chocolate over the cheesecake adds an extra layer of richness, marrying beautifully with the Biscoff flavors for chocolate lovers.
- Mint Sprigs: Fresh mint garnishes not only add a lovely touch but also bring a refreshing aroma that lifts the dessert’s flavors and offers a nice cooling effect.
- Spiced Chai Latte: Serve this cheesecake with a warm spiced chai latte. The chai’s aromatic spices resonate with the caramelized flavors of the Biscoff, creating a comforting pairing.
- Ice Cream: A scoop of vanilla or caramel ice cream complements the cheesecake’s smooth texture, providing an indulgent, creamy experience.
- Dark Beer: A rich stout or porter pairs surprisingly well, with the chocolatey, malty notes enhancing the caramelized flavors of the cheesecake beautifully.
These pairings will not only enhance the tasting experience but also create a memorable dessert presentation that delights your guests!
Expert Tips for No Bake Biscoff Cheesecake
-
Room Temperature Cheese: Ensure that your cream cheese is at room temperature before beating; this helps achieve a smooth, lump-free filling for your cheesecake.
-
Whip with Care: Be mindful when whipping the cream; stop once stiff peaks form to avoid a grainy texture in your No Bake Biscoff Cheesecake.
-
Chill for Success: For the best results, chill your cheesecake overnight. This not only enhances flavor but also ensures a firm texture that slices beautifully.
-
Springform Alternative: If you don’t have a springform pan, a regular pie dish works, though slicing may be less neat. Consider this when presenting.
-
Customize Your Toppings: Feel free to experiment with toppings like chocolate drizzle or fresh fruit to add new flavors and visual interest to your dessert.
How to Store and Freeze No Bake Biscoff Cheesecake
Fridge: Store your No Bake Biscoff Cheesecake covered in the refrigerator for up to 3 days. This allows the flavors to meld beautifully while retaining its creamy texture.
Freezer: You can freeze the cheesecake for up to 1 month. Wrap it tightly in plastic wrap and then aluminum foil to prevent freezer burn. Thaw in the fridge overnight before serving.
Serving: When ready to serve, let the cheesecake sit at room temperature for about 15 minutes for optimal softness and flavor.
Reheating: There’s no need to reheat as this cheesecake is best enjoyed chilled, allowing you to savor its cool, creamy goodness!
Make Ahead Options
This No Bake Biscoff Cheesecake is perfect for meal prep enthusiasts! You can prepare the crust and filling up to 24 hours in advance, ensuring a quick assembly before serving. To do this, simply make the crust and filling as directed, then cover and refrigerate each component separately to maintain their quality. When you’re ready to enjoy, assemble the cheesecake by spooning the filling over the chilled crust, smoothing the top, and chilling for at least 6 hours or overnight for the best flavor and texture. Just drizzle the melted Biscoff cookie butter and sprinkle crushed Biscoff cookies before serving, and you’ll have a stunning, crowd-pleasing dessert ready in no time!
No Bake Biscoff Cheesecake Recipe FAQs
What type of Biscoff cookies should I use for the crust?
For the crust, I highly recommend using traditional Biscoff cookies for their unique caramelized flavor and spicy crunch. If you need an alternative, graham crackers provide a different yet delicious base that can work nicely with the filling.
How should I store the No Bake Biscoff Cheesecake?
You can store your cheesecake covered in the refrigerator for up to 3 days. This will allow it to maintain its creamy texture and allow flavors to meld beautifully. Just make sure it’s wrapped well or in an airtight container to prevent any fridge odors from creeping in!
Can I freeze the cheesecake, and if so, how do I do it?
Absolutely! To freeze your No Bake Biscoff Cheesecake, wrap it tightly in plastic wrap followed by aluminum foil to prevent freezer burn. It can be kept in the freezer for up to 1 month. When you’re ready to enjoy it, simply thaw in the fridge overnight before serving.
What can I do if my cream cheese filling is lumpy?
If your filling turns out lumpy, it’s likely that the cream cheese wasn’t softened to room temperature before mixing. To fix this, you can try beating the mixture longer until it smoothens. If it’s still not cooperating, blend the filling in a food processor for a quick fix, adding a splash of heavy cream if needed to help it blend smoothly.
Are there any dietary considerations I need to keep in mind?
Yes! If you have allergies, ensure that no one consuming the cheesecake is allergic to any components, particularly dairy, gluten from the cookies, and nuts if you decide to use nut-based alternatives. If making it pet-friendly, keep in mind that chocolate and certain sweeteners can be harmful, so it’s best to stick with the original ingredients.
Can I make individual servings instead of one large cheesecake?
Yes, you can create mini cheesecakes using muffin tins lined with paper cups! Just follow the same steps for the filling and crust, but layer them in the cups instead. These bite-sized treats are perfect for parties and make adorable treats for guests!
Irresistible No Bake Biscoff Cheesecake That's Simply Divine
Ingredients
Equipment
Method
- Finely crush your Biscoff cookies in a food processor until they resemble sand. In a mixing bowl, combine the crushed cookies with melted butter, mixing until the crumbs are evenly moistened. Firmly press this mixture into the bottom of a 9-inch springform pan and chill in the refrigerator for about 30 minutes.
- Beat softened cream cheese in a large mixing bowl until smooth. Gradually add the Biscoff cookie butter, powdered sugar, and vanilla extract, mixing until combined and fluffy.
- In a separate chilled bowl, pour in the cold heavy whipping cream and whip on medium speed until stiff peaks form, taking about 3-5 minutes.
- Gently fold the whipped cream into the cream cheese mixture, starting with one-third to lighten it, then incorporate the rest carefully.
- Spoon the filling over the chilled crust in the springform pan. Smooth the top evenly, cover with plastic wrap, and chill in the refrigerator for at least 6 hours or overnight.
- Melt some Biscoff cookie butter and drizzle it over the top of your cheesecake. Optionally, sprinkle crushed Biscoff cookies on top, slice, and enjoy!
Leave a Reply