
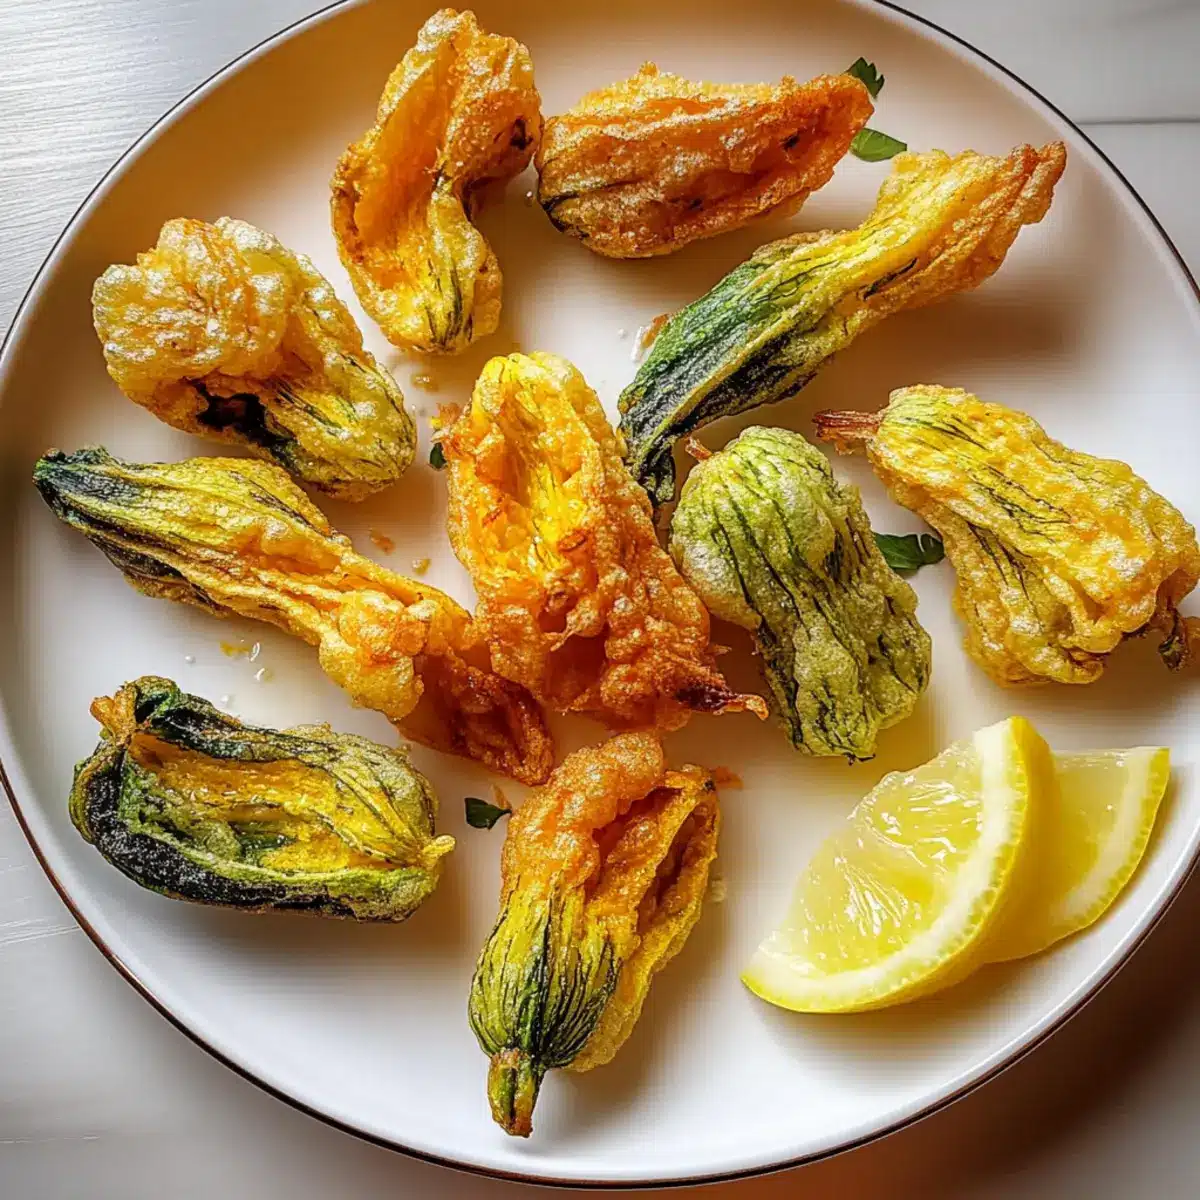
The moment I first tasted healthy pumpkin blossoms, I felt like I had unlocked a secret culinary treasure. Crisp, golden, and wrapped in a spiced chickpea flour batter, these delights are far more than just a pretty appetizer—they’re a guilt-free indulgence loaded with flavor and nutrition. Ideal for casual brunches or elegant dinners, these crispy healthy pumpkin blossoms are vegan and gluten-free, making them the perfect crowd-pleaser for any occasion. Plus, with quick prep time and minimal fuss, you can whip them up in a flash and impress your friends or family without breaking a sweat. Are you ready to dive into the world of crisp perfection? Let’s get cooking!

Why Are These Pumpkin Blossoms So Special?
Crispy Texture: The distinctive crunch of the chickpea batter enveloping the tender blossoms creates an irresistible contrast.
Nutritious Ingredients: Packed with vitamins A and C, these delights provide a guilt-free indulgence that aligns with a healthy diet.
Vegan and Gluten-Free: Perfect for a variety of dietary needs, making them a versatile crowd-pleaser at any gathering.
Quick and Easy: The simple preparation means you can have these crispy delights ready to impress in no time! For a deliciously sweet treat afterward, check out our Pumpkin Cheesecake Cookies that pair perfectly with these blossoms.
Flavor Explosion: Infused with spices and a hint of garlic, each bite is a burst of savory goodness that will have everyone coming back for more!
Healthy Pumpkin Blossom Ingredients
• Get ready to transform your kitchen with these delightful blossoms!
-
For the Batter
-
Chickpea Flour – Provides a rich, nutty flavor and a fantastic crunch; it’s packed with protein and fiber. Substitute with gluten-free all-purpose flour if needed.
-
Water – Thins the batter to allow for even coating; adjust for your preferred thickness.
-
Olive Oil – Adds moisture and richness while introducing a subtle fruity flavor; can be replaced with avocado oil for a different twist.
-
Garlic Powder – Gives a gentle garlic essence without overwhelming the dish; fresh garlic can work too, just adjust quantity.
-
Onion Powder – Enhances the savory flavors, creating a well-rounded taste; fresh onions may need a volume adjustment.
-
Salt – Essential for seasoning; tweak to accommodate dietary preferences.
-
Black Pepper – Introduces a mild kick and aroma; swap with other ground peppers for a flavor change.
-
Chili Flakes (optional) – Adds a delightful spicy punch; use paprika for a milder alternative.
-
For Cooking
-
Olive Oil Spray or More Olive Oil – Essential for greasing your skillet, helping achieve that beautiful golden-brown crust on the blossoms.
-
For Serving
-
Fresh Lemon Wedges – A squeeze of lemon brightens the dish and adds a refreshing citrus flair; limes can be a fun substitute too.
With these ingredients on hand, you’re just a step away from enjoying these Healthy Pumpkin Blossoms that are sure to wow your taste buds!
Step‑by‑Step Instructions for Healthy Pumpkin Blossoms
Step 1: Clean the Blossoms
Begin by gently washing the fresh pumpkin blossoms under cool running water to remove any dirt. Pat them dry thoroughly with a clean kitchen towel, treating them gently to avoid tearing. Remove the inner stamens or pistils from inside each blossom, ensuring they are ready for coating and frying.
Step 2: Prepare the Batter
In a large mixing bowl, combine the chickpea flour, water, olive oil, garlic powder, onion powder, salt, black pepper, and optional chili flakes. Whisk together until you achieve a smooth, lump-free batter with a consistency that allows it to evenly coat the pumpkin blossoms. Set this aside while you heat the skillet.
Step 3: Heat the Skillet
Preheat a non-stick skillet over medium heat, allowing it to warm up adequately for about 3-5 minutes. Lightly grease the skillet with olive oil spray or a brush of olive oil to ensure the blossoms don’t stick and to promote a golden crust on the Healthy Pumpkin Blossoms as they cook.
Step 4: Coat the Blossoms
Carefully dip each pumpkin blossom into the chickpea batter, ensuring they are fully coated. Allow any excess batter to drip off back into the bowl; this prevents clumping and ensures even frying. Arrange the coated blossoms in a single layer, ready for frying, to maximize crispiness.
Step 5: Cook
Once the skillet is heated, place the battered pumpkin blossoms in the skillet without overcrowding. Cook for about 3-4 minutes on one side until they turn golden brown and crispy. Gently flip them using a spatula, and cook for another 3-4 minutes until both sides are beautifully golden and have a satisfying crunch.
Step 6: Drain Excess Oil
After the Healthy Pumpkin Blossoms are cooked to perfection, transfer them to a plate lined with paper towels. This helps absorb any excess oil and keeps them crispy. Allow them to drain for a minute while you prepare the serving platter.
Step 7: Serve
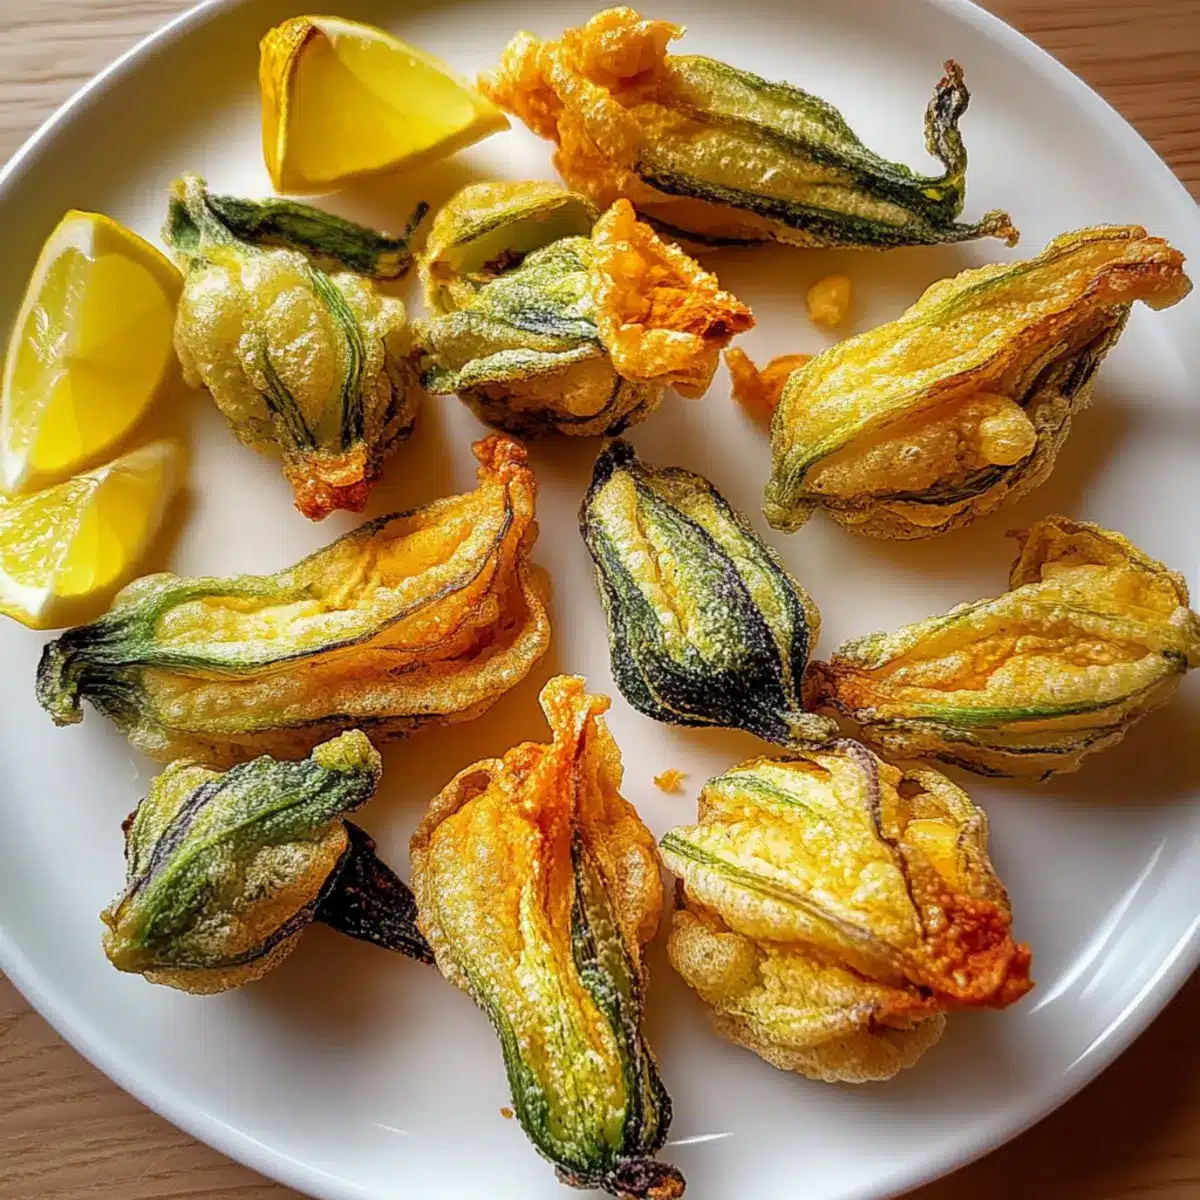
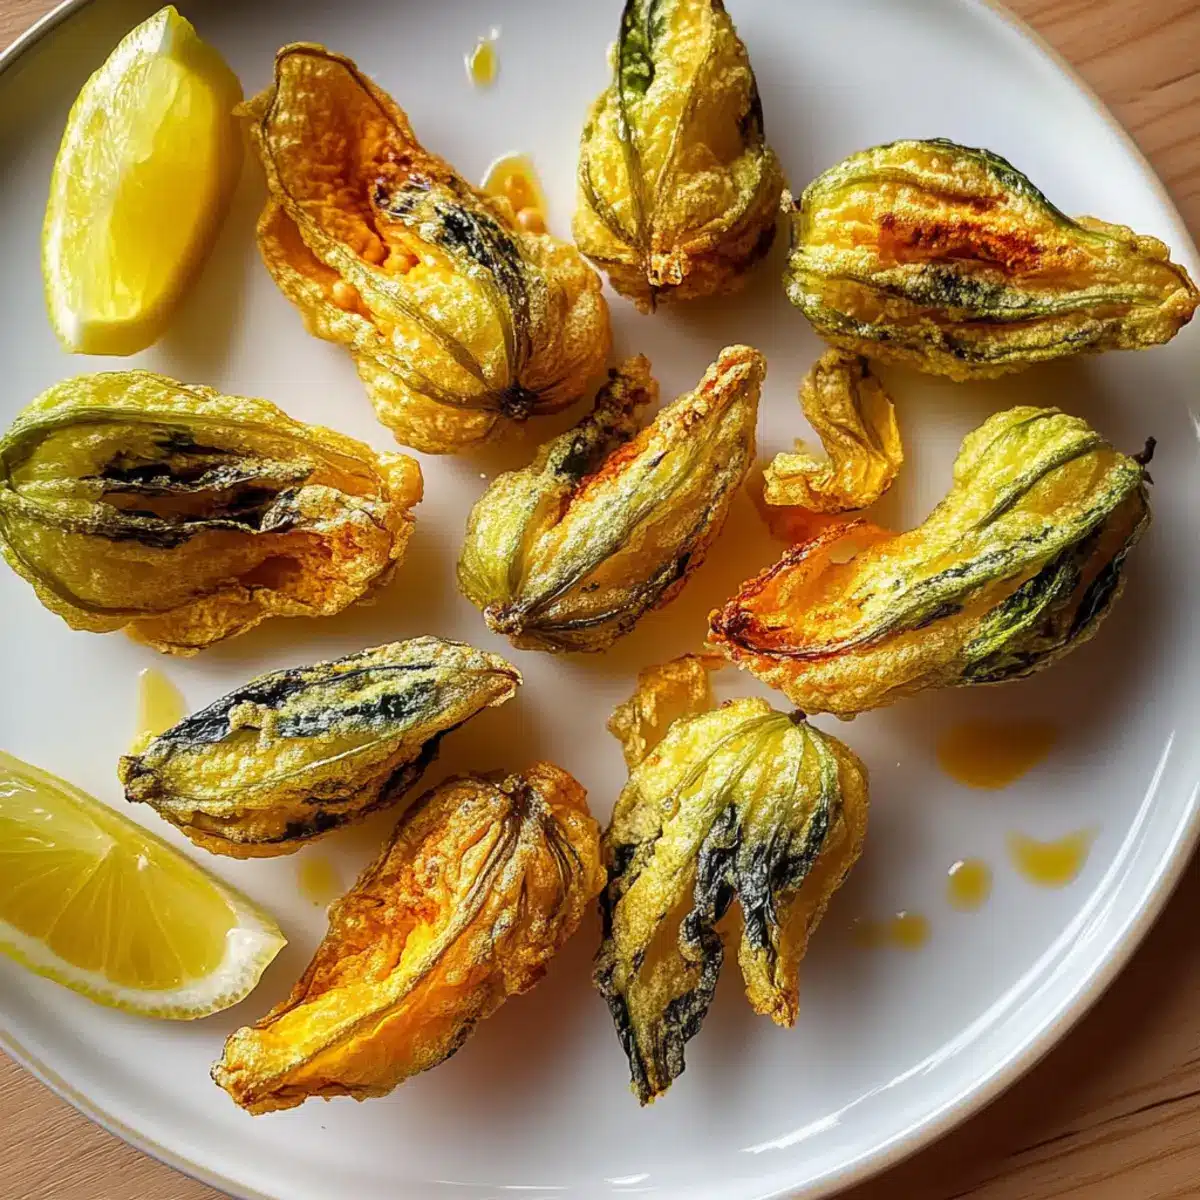
Arrange the crispy pumpkin blossoms on a serving platter, presenting them beautifully for your guests. Serve with fresh lemon wedges on the side, encouraging diners to squeeze the citrus over the blossoms before enjoying the vibrant flavors. Let the delightful crunch and aromatic spices wow everyone at your gathering!
What to Serve with Crispy Healthy Pumpkin Blossoms
Treat your guests to a delightful meal that balances flavors and textures alongside these crispy delights.
-
Herbed Yogurt Dip: A tangy yogurt infused with fresh herbs complements the crispy, spiced blossoms perfectly, adding a creamy richness that enhances each bite.
-
Fresh Tomato Salsa: Bright, zesty salsa made with ripe tomatoes, onions, and cilantro provides a refreshing contrast, cutting through the richness of the batter and enhancing the overall flavor profile.
-
Crispy Sweet Potatoes: Roasted or fried sweet potato wedges add a sweet contrast to the savory blossoms. Their natural sweetness creates a delightful harmony that will have your diners coming back for more.
-
Garlic Hummus: A rich garlic hummus pairs beautifully, providing a nutty backdrop and silky texture. The creaminess of the hummus intensifies the hearty flavor of the blossoms, creating a wonderful blend.
-
Mixed Greens Salad: A light, crisp salad with a citrus vinaigrette elevates the meal, introducing freshness as a palate cleanser and brightening the flavors of the pumpkin blossoms.
-
Sparkling Lemonade: Refreshing and fizzy, sparkling lemonade adds a sweet and tart kick. Its bubbly nature will enliven the entire dining experience and harmonizes beautifully with the earthy tones of the dish.
These pairing ideas will create an inviting spread that makes your crispy healthy pumpkin blossoms the star of the table!
Storage Tips for Healthy Pumpkin Blossoms
- Room Temperature: Enjoy your crispy pumpkin blossoms immediately after cooking for optimal freshness and crunch. They are best served hot!
- Fridge: Store any leftovers in an airtight container in the refrigerator for up to 2 days. Reheating in the oven is recommended to restore their crispy texture.
- Freezer: For longer storage, freeze the cooked blossoms in a single layer on a baking sheet. Once frozen, transfer them to an airtight container or freezer bag for up to 1 month.
- Reheating: When ready to enjoy, reheat frozen pumpkin blossoms in a preheated oven at 375°F (190°C) for 10-15 minutes until they are heated through and regain their crunch.
Make Ahead Options
These Healthy Pumpkin Blossoms are perfect for meal prep enthusiasts! You can prepare the batter and clean the pumpkin blossoms up to 24 hours in advance, ensuring a smooth and seamless cooking process. Simply store the batter in an airtight container in the refrigerator to keep it fresh and prevent it from thickening—just give it a quick whisk before using. When you’re ready to serve, dip the blossoms in the batter and cook them as instructed. This prep-ahead method not only saves time on busy weeknights but also preserves their delightful crunch, allowing you to enjoy these crispy treats just as deliciously as if you made them fresh!
Healthy Pumpkin Blossoms Variations
Feel free to let your culinary creativity shine by making these delightful tweaks to the classic recipe!
-
Spicy Kick:
Add more chili flakes or swap for cayenne pepper to elevate the heat level. This zest will definitely wake up your taste buds! -
Cheesy Flavor:
Sprinkle nutritional yeast into the batter for a cheesy, umami flavor that complements the pumpkin blossoms beautifully. It’s a fantastic way to enhance the flavor without dairy! -
Herb-Inspired:
Mix in fresh or dried herbs like basil, oregano, or thyme to create a fragrant, garden-fresh twist. These herbs will infuse every bite with an aromatic goodness. -
Flour Alternatives:
If chickpea flour isn’t on hand, try a gluten-free all-purpose flour for a similar crunchy texture. Each version offers its own unique undertone! -
Savory Stuffing:
Consider stuffing the blossoms with a mixture of vegan cream cheese and herbs before dipping them into the batter. This adds creaminess that pairs wonderfully with the crispy coating. -
Mediterranean Flair:
Serve with tzatziki sauce or a vibrant roasted red pepper dip. This pairing will enhance the dish and make it a wonderful starter or side. -
Tangy Option:
Add a splash of apple cider vinegar or lemon juice into the batter for a zesty touch that balances the rich flavors. This little hit of acidity can make all the difference! -
Sweet Finish:
For a delicious dessert twist, try making a batter with a hint of cinnamon and nutmeg for a sweeter flavor. Serve them with a drizzle of maple syrup or a scoop of vegan ice cream for a fun dessert idea!
These variations are just as delightful as the original, and if you’re feeling adventurous, why not explore both savory and sweet flavors? Enjoy these crispy healthy pumpkin blossoms with an exceptional dip, like our creamy Pumpkin Cheesecake Cookies as a finishing touch!
Expert Tips for Healthy Pumpkin Blossoms
- Batter Consistency: Aim for a smooth, lump-free batter; too thick won’t adhere, while too thin won’t coat evenly. Adjust with water for the perfect mix.
- Gentle Handling: Be careful when cleaning and flipping the blossoms; their delicate petals tear easily. Use a spatula for flipping to keep them intact.
- Optimal Crispiness: Serve the blossoms immediately after frying for the best texture and taste. They lose their crunch if left sitting.
- Substitution Advice: If you’re out of chickpea flour, gluten-free all-purpose flour works well, but keep the seasoning proportions in mind.
- Avoid Overcrowding: Fry the blossoms in small batches; overcrowding can lead to uneven cooking and a less crispy texture.
Healthy Pumpkin Blossoms Recipe FAQs
How do I know if my pumpkin blossoms are fresh?
Absolutely! You should choose fresh pumpkin blossoms that are vibrant and unwilted. Look for blossoms that are firm and without any dark spots or blemishes. If they feel mushy or have visible browning, they might be past their prime.
What’s the best way to store leftover pumpkin blossoms?
After cooking, allow your crispy pumpkin blossoms to come to room temperature. Store any leftovers in an airtight container in the refrigerator for up to 2 days. To restore their crunch, simply reheat them in the oven instead of the microwave.
Can I freeze cooked pumpkin blossoms?
Yes, you can! To freeze your healthy pumpkin blossoms, first allow them to cool completely. Lay them out in a single layer on a baking sheet and freeze until solid, usually about 1-2 hours. Once frozen, transfer the blossoms to an airtight container or freezer bag. They’ll keep well in the freezer for up to 1 month.
What if my batter is too thick or too thin?
Don’t worry! If your batter is too thick, simply add a little water, a tablespoon at a time, until you reach your desired consistency. The perfect batter should smoothly coat the blossoms without being gloppy. Conversely, if it’s too thin, you can whisk in a bit more chickpea flour to thicken it up until it coats well.
Are pumpkin blossoms safe for pets?
Very! Pumpkin blossoms are generally safe for pets, but if you’re offering them to your furry friends, ensure there are no additional seasonings, especially salt or spices that could be harmful. Always check with your vet if you’re unsure about new foods for your pets.
Can I use other flours instead of chickpea flour?
Certainly! If you don’t have chickpea flour on hand, you can substitute it with gluten-free all-purpose flour. Just keep in mind that the flavor and texture might vary slightly, so adjust the spices to ensure your healthy pumpkin blossoms still taste delightful.
Crispy Healthy Pumpkin Blossoms That Wow Your Taste Buds
Ingredients
Equipment
Method
- Begin by gently washing the fresh pumpkin blossoms under cool running water to remove any dirt. Pat them dry thoroughly with a clean kitchen towel, treating them gently to avoid tearing.
- In a large mixing bowl, combine the chickpea flour, water, olive oil, garlic powder, onion powder, salt, black pepper, and optional chili flakes. Whisk together until you achieve a smooth, lump-free batter.
- Preheat a non-stick skillet over medium heat for 3-5 minutes. Lightly grease the skillet with olive oil spray.
- Carefully dip each pumpkin blossom into the chickpea batter, ensuring they are fully coated.
- Place the battered pumpkin blossoms in the skillet without overcrowding. Cook for about 3-4 minutes on one side until golden brown, then flip and cook for another 3-4 minutes.
- Transfer the cooked pumpkin blossoms to a plate lined with paper towels to absorb any excess oil.
- Arrange the crispy pumpkin blossoms on a serving platter and serve with fresh lemon wedges.
Leave a Reply