
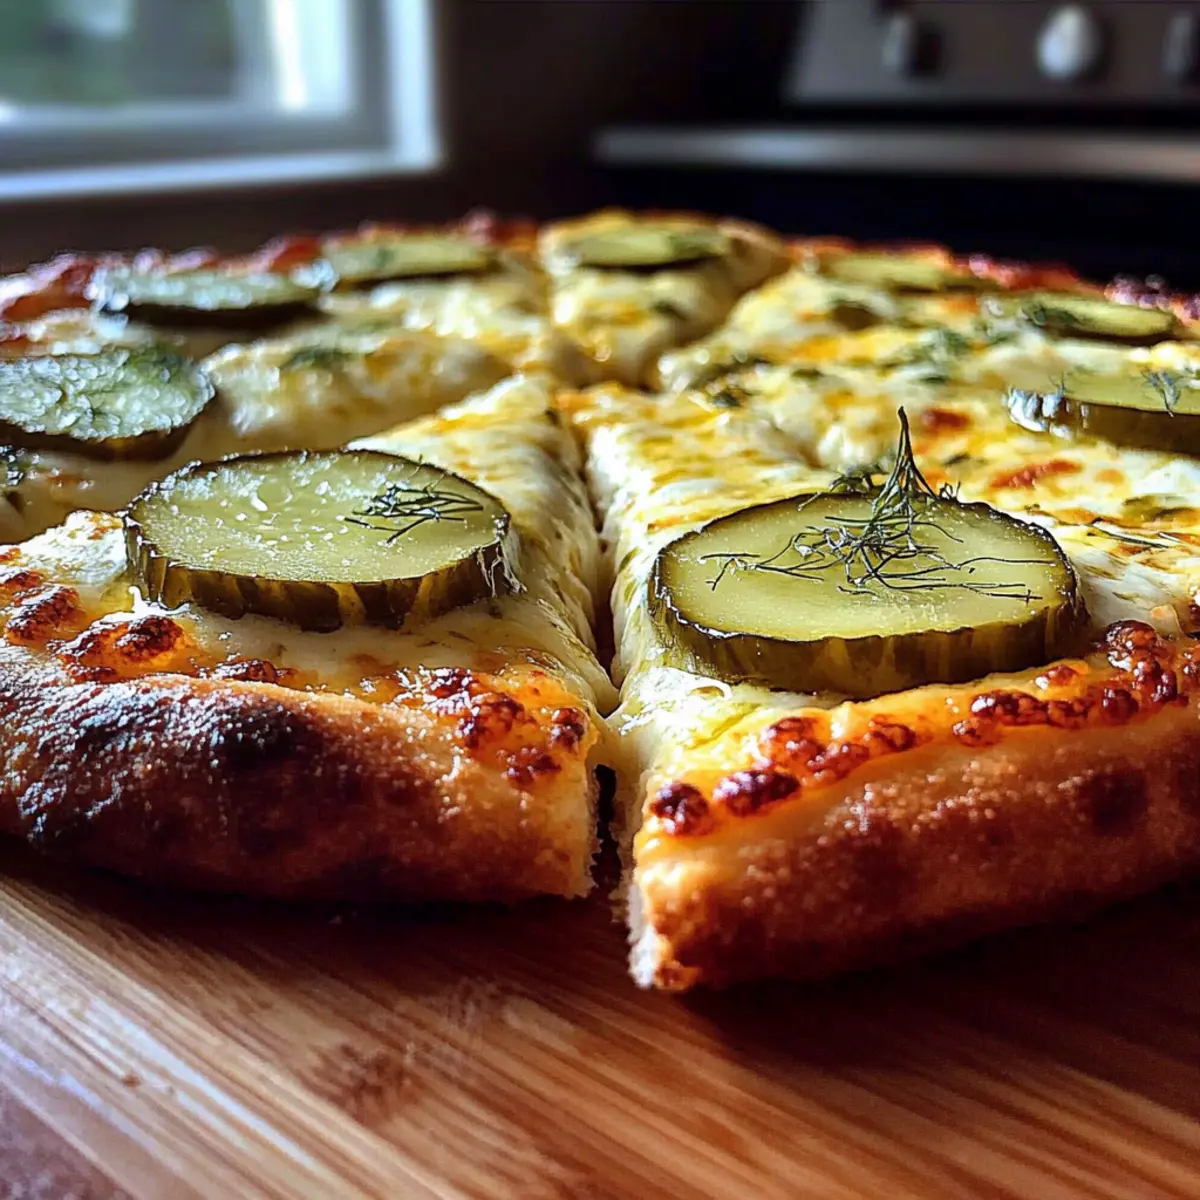
While scrolling through endless pizza options, I stumbled upon a flavor combination that sparked my curiosity—dill pickle pizza. Yes, you heard that right! This quirky twist takes classic pizza to new heights with a creamy garlic ranch base, melty mozzarella, and zesty dill pickle slices. Not only is it a fun and unique dish that’ll have everyone raving at your next gathering, but it’s also incredibly easy to make—perfect for those busy weeknights when you still want something homemade. Trust me; even the most skeptical eaters won’t be able to resist a slice of this savory delight. Are you ready to dive into this deliciously unexpected culinary adventure?
Why is Dill Pickle Pizza a Must-Try?
Uniqueness: This dish combines flavors you wouldn’t normally find together, creating a one-of-a-kind pizza experience.
Simplicity: With just a few ingredients, including a creamy ranch dressing and gooey mozzarella, it’s easy for home cooks of all skill levels.
Crowd-Pleaser: Perfect for sharing at gatherings, this pizza will intrigue your guests and make a memorable impression.
Time-Saving: Quick prep time means you can whip this up in under 30 minutes—ideal for busy weeknights!
Flavor Explosion: The tangy dill pickles and savory ranch create a delightful harmony that’s both creamy and zesty, offering something truly special in every bite.
Dill Pickle Pizza Ingredients
For the Crust
- Pizza Crust – Choose pre-made for convenience or make your own from scratch for a personal touch.
For the Sauce
- Ranch Dressing – Provides a creamy and savory flavor profile; you can swap it for white sauce if you prefer.
- Minced Garlic – Adds an aromatic pop to the ranch; feel free to adjust the amount based on your taste preference.
For the Toppings
- Mozzarella Cheese – Essential for that gooey, melty texture; consider mixing with other cheeses for a unique twist.
- Dill Pickles – The stars of the show, adding tanginess; make sure to pat them dry to avoid a soggy crust.
- Fresh Dill – A lovely garnish that enhances both flavor and visual appeal.
Optional Add-ins
- Crispy Bacon Bits – For a heartier pizza, these add a delicious crunch.
- Spicy Dill Pickles – If you like a kick, consider using these instead for added zest.
Step‑by‑Step Instructions for Dill Pickle Pizza
Step 1: Preheat and Prepare
Preheat your oven to 425°F (220°C) while you prepare your pizza pan. Lightly grease a pizza pan with cooking spray or olive oil to prevent sticking. This ensures your dill pickle pizza comes out golden and crispy. Setting the right temperature now will give your pizza that perfect bake when you’re ready.
Step 2: Roll Out the Crust
Unroll your pizza crust onto the prepared pan, gently stretching it to fit the edges. If using homemade dough, roll it out to about 12 inches in diameter, ensuring a nice thickness for that satisfying crust. You want a smooth surface where the toppings can adhere beautifully, leading to a well-balanced dill pickle pizza.
Step 3: Mix the Sauce
In a mixing bowl, whisk together the ranch dressing and minced garlic until well combined. This garlic ranch mixture will serve as a savory base for your pizza. Once combined, spread it evenly over the crust using a spatula, ensuring every inch is coated for maximum flavor in every bite of your dill pickle pizza.
Step 4: Add the Cheese
Sprinkle 1 1/2 cups of mozzarella cheese generously over the ranch mixture. This step creates a gooey, melty layer that holds everything together. Make sure to cover all areas of the pizza for even melting, which will contribute to that delicious, cheesy experience once your dill pickle pizza is baked.
Step 5: Layer the Pickles
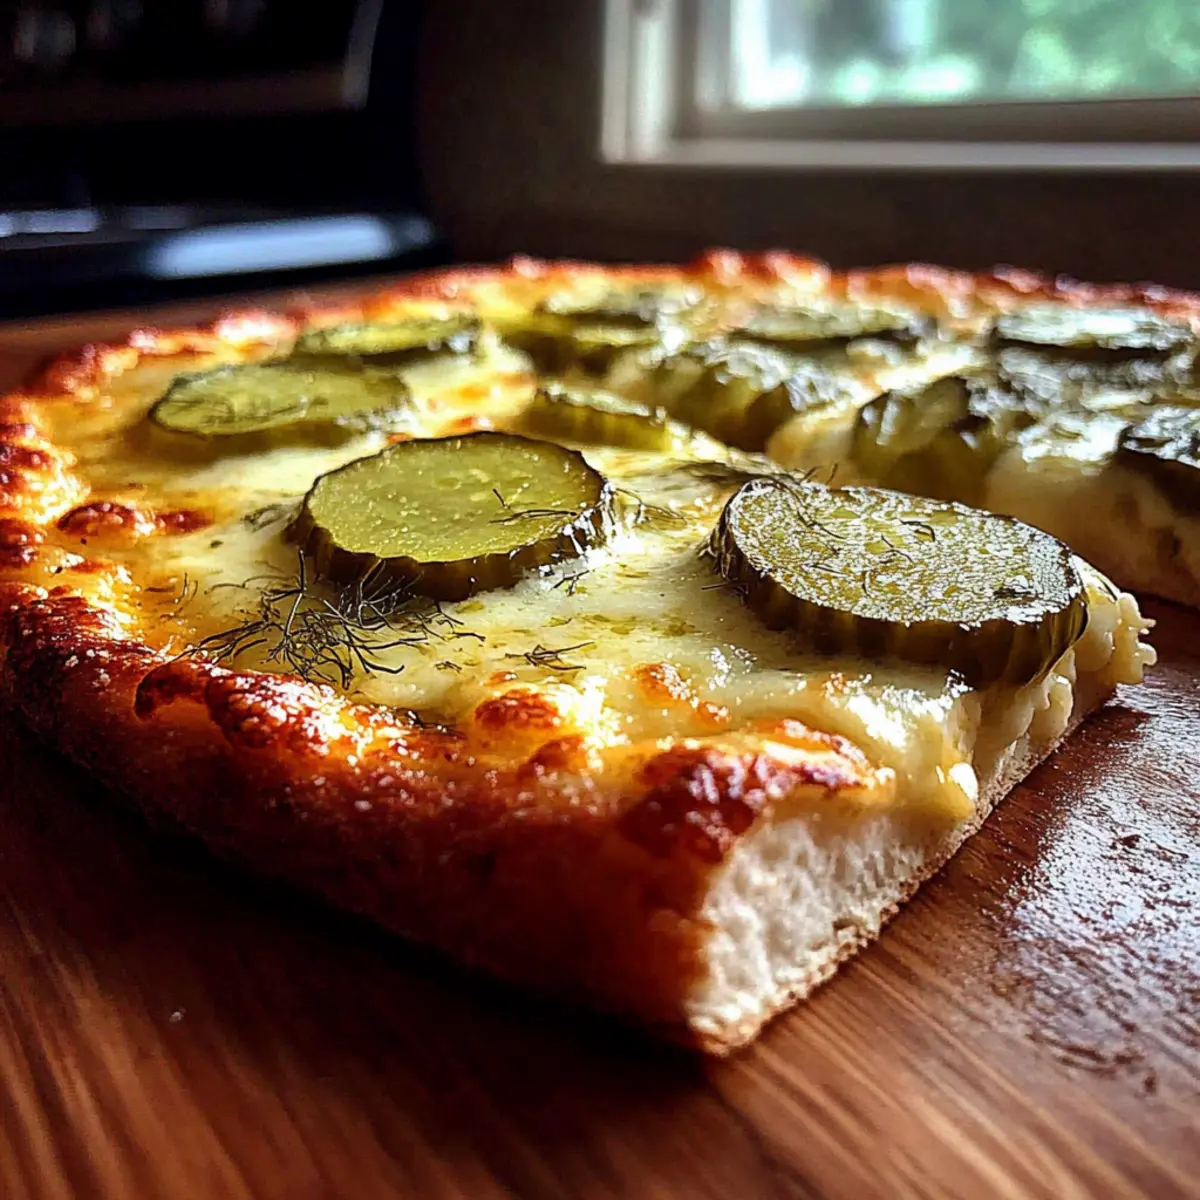
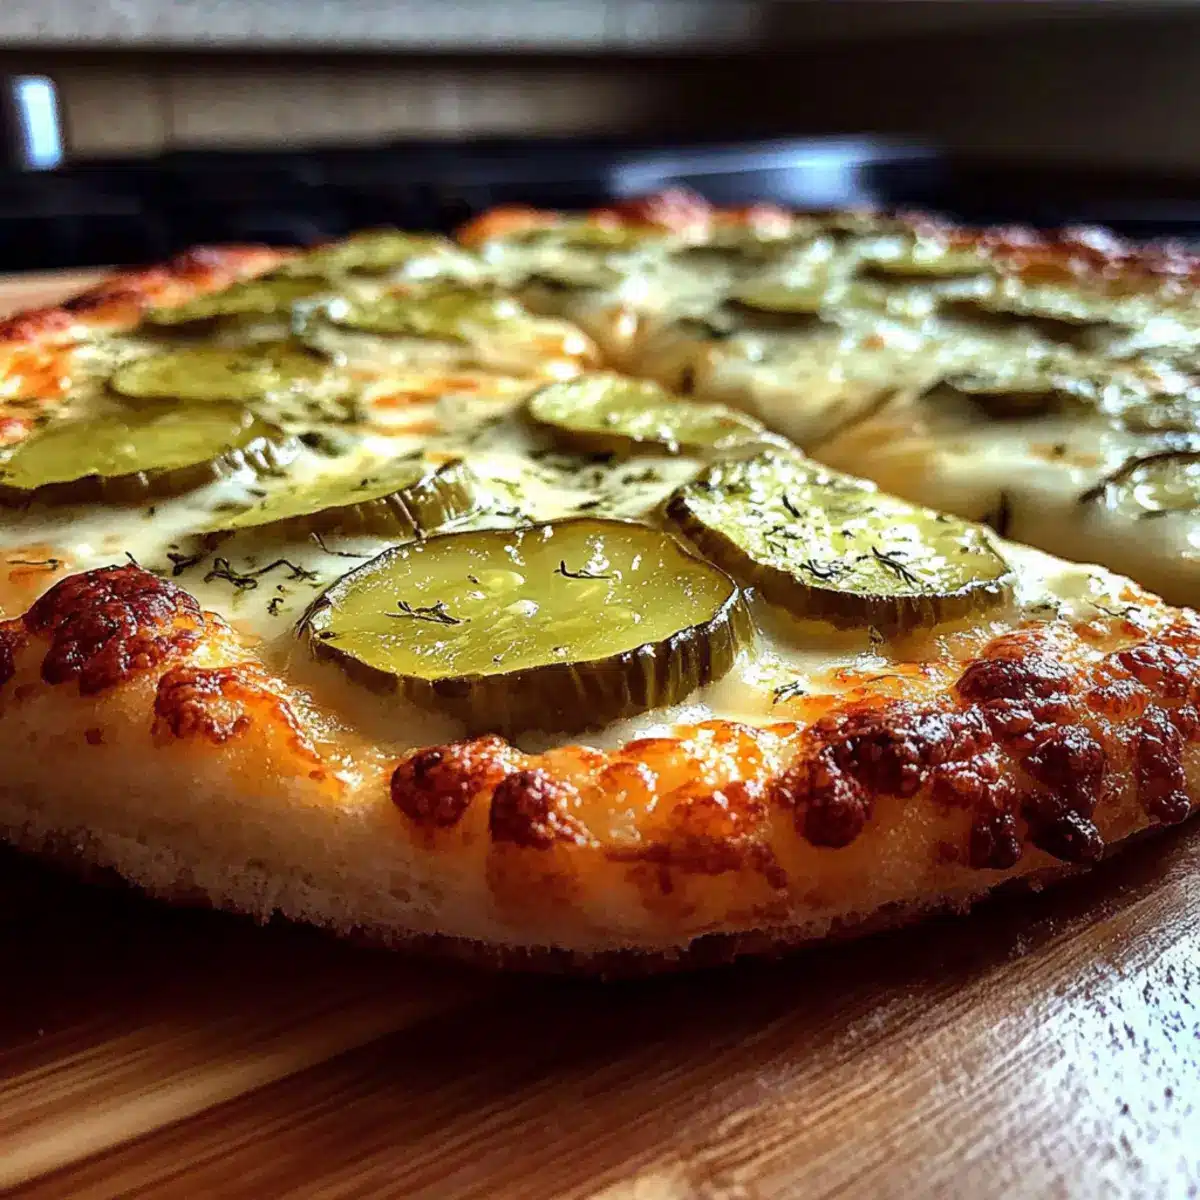
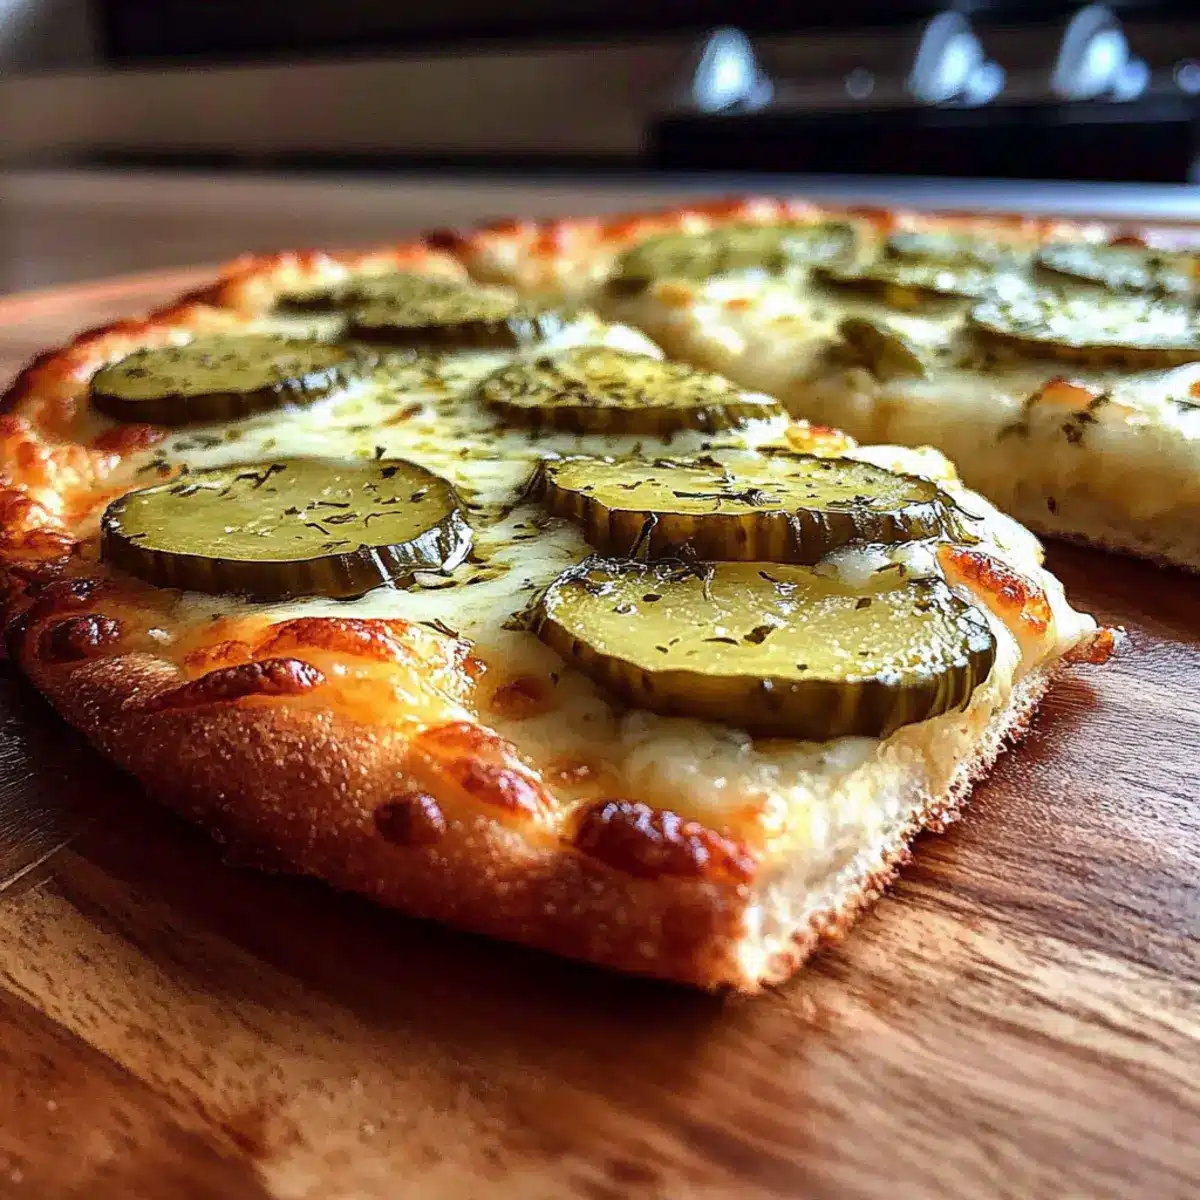
Carefully arrange the dried dill pickle slices evenly over the mozzarella cheese. Make sure they are not overlapping too much, as you want every slice to showcase that tangy flavor. The pickles are the star of this dish, and their vibrant green will add to the visual appeal of your dill pickle pizza.
Step 6: Finish with More Cheese
Top the pickle layer with the remaining 1/2 cup of mozzarella cheese for an extra cheesy finish. This will help create a bubbly, golden crust that is visually enticing when the pizza comes out of the oven. It’s this final sprinkle that harmonizes all the flavors in your delightful dill pickle pizza.
Step 7: Bake to Perfection
Place your assembled pizza in the preheated oven and bake for 12-15 minutes. Look for a golden brown crust and bubbly cheese—it should be a tantalizing sight! Keep an eye on it towards the end, as ovens can vary, and you want that perfect finish for your dill pickle pizza.
Step 8: Garnish and Cool
Once baked, remove your pizza from the oven and sprinkle fresh dill over the top for a burst of flavor and freshness. Allow the pizza to cool slightly for about 5 minutes; this makes it easier to slice and serve. The wait will be worth it when you experience that delightful combination on your first bite of dill pickle pizza.
Dill Pickle Pizza Variations & Substitutions
Feel free to adjust and personalize your dill pickle pizza to make it truly your own!
-
Dairy-Free: Substitute mozzarella with vegan cheese for a plant-based twist that still melts beautifully.
-
Spicy Kick: Replace dill pickles with spicy dill pickles or add red pepper flakes to enhance the flavor profile.
-
BBQ Flavor: Swap ranch dressing for your favorite BBQ sauce for a tangy, smoky variation that’s perfect for summer gatherings.
-
Cheese Variety: Mix in other cheese types like cheddar or gouda to create a richer taste and texture delight.
-
Protein Boost: Top with crispy bacon, grilled chicken, or sausage for a heartier pizza that satisfies meat lovers.
-
Herb Infusion: Add finely chopped fresh herbs such as basil or chives alongside the dill for an aromatic freshness that elevates each bite.
-
Veggie Lovers: Add sliced red onions, bell peppers, or mushrooms to incorporate more vegetables, enhancing flavor and nutrition.
-
Gluten-Free: Use a gluten-free pizza crust for a delicious option that accommodates dietary restrictions while still being tasty.
These variations allow you to explore different flavors and make the pizza your family’s new favorite meal. Don’t hesitate to get creative with your culinary choices!
How to Store and Freeze Dill Pickle Pizza
Fridge: Store leftovers in an airtight container for up to 3 days. This helps retain freshness while keeping the flavors intact for your next craving.
Freezer: Wrap individual slices tightly in plastic wrap, then place them in a freezer bag. They can stay frozen for up to 2 months. Perfect for a quick indulgence later!
Reheating: For the best results, reheat in the oven at 350°F (175°C) for 10-15 minutes. This will ensure that your dill pickle pizza stays crispy while warming the toppings just right.
Room Temperature: If your pizza is still warm, it’s best to enjoy it within 2 hours to prevent any food safety issues. After that, refrigerate it to preserve its deliciousness.
Make Ahead Options
Dill Pickle Pizza is a fantastic recipe to prep in advance, making it perfect for busy weeknights! You can prepare the ranch dressing mixture and layer it over the pizza crust up to 24 hours ahead of time; simply cover it with plastic wrap and refrigerate to maintain freshness. The dill pickle slices can also be patted dry and arranged on the cheese up to 3 days in advance, ensuring they retain their crispiness. When you’re ready to serve, just bake the assembled pizza in the preheated oven as instructed, and you’ll enjoy a delicious meal with minimal effort, perfect for a homemade touch without the last-minute stress!
Expert Tips for Dill Pickle Pizza
-
Pickle Preparation: Pat your pickle slices dry before adding them to the pizza. This prevents excess moisture and ensures a crispy crust.
-
Garlic Levels: Adjust the amount of minced garlic in your ranch dressing to match your taste preference. Start small if you’re unsure; you can always add more!
-
Cheese Choices: Feel free to mix mozzarella with other cheeses like cheddar or provolone to enhance flavors in your dill pickle pizza.
-
Layering is Key: Make sure to evenly layer your ingredients, so every bite has the perfect blend of pickle and cheese flavor.
-
Use Fresh Dill Last: For the best aroma and visual appeal, sprinkle fresh dill on AFTER baking to preserve its vibrant color and taste.
What to Serve with Dill Pickle Pizza
Delight your taste buds by pairing your meal with these complementary dishes and drinks that elevate your dill pickle pizza experience.
-
Creamy Potato Salad: Perfectly balanced with tangy dressing, this classic side dish provides a lovely contrast to the pizza’s rich flavors.
-
Garlic Breadsticks: Crunchy on the outside and soft on the inside, these breadsticks are ideal for dipping into any leftover ranch dressing.
-
Coleslaw: The crunchy, fresh vegetables bring a refreshing balance to the creamy pizza, adding a delightful contrast in texture and flavor.
-
Caesar Salad: A Caesar salad with its crisp romaine, tangy dressing, and crunchy croutons will complement the savory elements of the pizza beautifully.
-
Pickle Chips: For those who can’t get enough pickle flavor, crispy, seasoned pickle chips make a fun and fitting side that echoes the pizza’s theme.
-
Sparkling Lemonade: The fizzy, refreshing taste of sparkling lemonade cuts through the richness, making it a perfect beverage to enjoy alongside your meal.
-
Chocolate Chip Cookies: End on a sweet note with soft, homemade chocolate chip cookies; their warm, gooey texture offers a delightful contrast to the pizza’s creamy elements.
Dill Pickle Pizza Recipe FAQs
What type of pickles should I use for dill pickle pizza?
Absolutely! Opt for classic dill pickles to capture that tangy flavor you love. Look for firm pickles without dark spots all over, and make sure to pat them dry to keep your crust nice and crispy. If you’re feeling adventurous, spicy dill pickles can give your pizza an extra kick!
How long can I store leftover dill pickle pizza?
Very! Store any leftovers in an airtight container in the fridge for up to 3 days. This method keeps the flavors fresh while also preserving that delightful crunch. Just reheat in the oven for 5-10 minutes at 350°F (175°C) to restore its original glory.
Can I freeze dill pickle pizza?
Yes, you can! Wrap individual slices tightly in plastic wrap or aluminum foil, then place them in a freezer bag. They’ll maintain their quality for up to 3 months. When you’re ready to enjoy, simply reheat in the oven at 350°F (175°C) for 10-15 minutes or until warmed through.
What if my pizza crust is soggy after baking?
No worries! To avoid a soggy crust, ensure that you pat your dill pickle slices dry before adding them. Excess moisture can make the bottom wet. If you encounter this issue, try placing your pizza back in the oven for a few extra minutes to help it crisp up.
Is dill pickle pizza suitable for dietary restrictions?
Certainly! This recipe can be easily modified for vegetarian diets by ensuring you use meat-free toppings. However, watch for allergies—make sure to check that the ranch dressing and any other components you include are free from common allergens. Homemade ranch can be a great way to control ingredients!
Can I prepare dill pickle pizza in advance?
Of course! While you can’t fully bake it ahead of time, you can assemble the pizza, cover it tightly with plastic wrap, and store it in the fridge for up to a day before baking. This is a great way to save time during busy weeknights or when hosting gatherings. Just allow a bit of extra baking time if it’s cold from the fridge!
Dill Pickle Pizza: Unexpected Flavor to Thrill Your Taste Buds
Ingredients
Equipment
Method
- Preheat your oven to 425°F (220°C) and prepare the pizza pan by greasing it.
- Roll out the crust onto the prepared pan, stretching it to fit the edges.
- Whisk together the ranch dressing and minced garlic in a mixing bowl.
- Spread the garlic ranch mixture evenly over the crust.
- Sprinkle 1 1/2 cups of mozzarella cheese over the ranch mixture.
- Arrange the dill pickle slices evenly over the cheese.
- Top with an additional 1/2 cup of mozzarella cheese.
- Bake in the oven for 12-15 minutes until golden brown.
- Remove from the oven and garnish with fresh dill; cool slightly before slicing.
Leave a Reply