
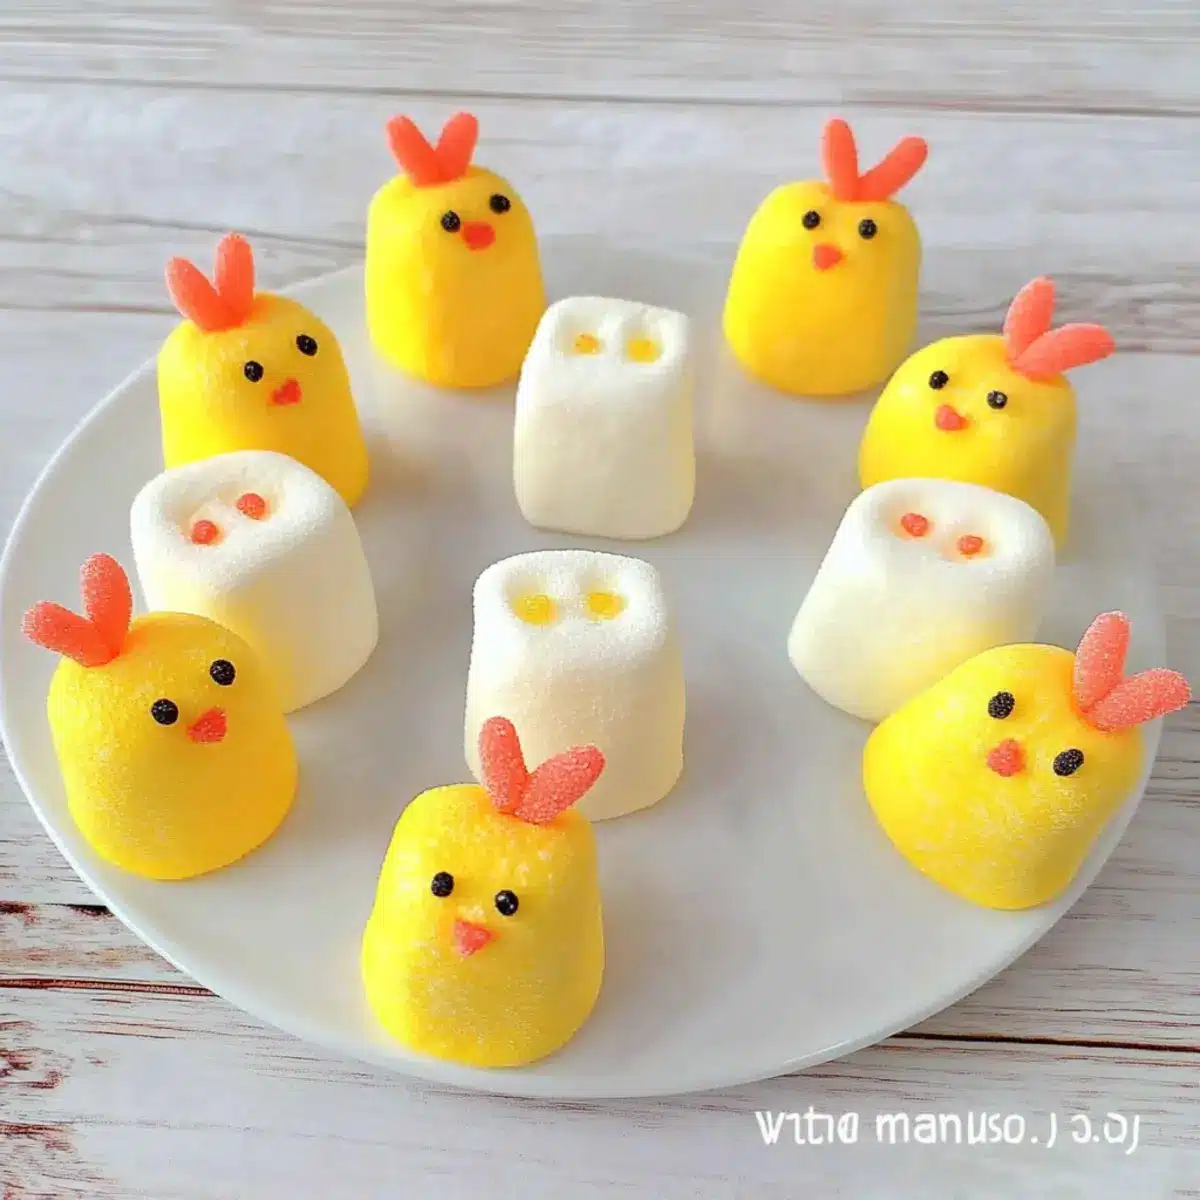
As I sat on the porch watching the kids scurry about, I couldn’t help but feel the excitement of Easter creeping in. This year, I decided to bring a little whimsy to our celebrations with these Super Cute Marshmallow Chicks. Not only are they an easy Easter dessert that requires minimal fuss, but they also invite kids into the kitchen for a fun, hands-on activity. The result? Adorable little treats that are sure to bring smiles and laughter to any gathering! With their soft texture and vibrant colors, these marshmallow delights are perfect party food that can double as decorations or a sweet centerpiece. So, are you ready to discover the joy of making these delightful treats? Let’s hop right in!
Why You’ll Adore These Marshmallow Chicks
Fun for Everyone: Create memories while the kids help assemble these adorable chicks!
Vibrant Colors: The bright yellow coating brings a festive flair that’s perfect for Easter.
Quick to Make: Ready in just a few steps, they’re a fantastic last-minute addition to any celebration.
Versatile Treats: Use these as cupcake toppers or simply enjoy them as a delightful snack.
Creative Variations: Try making Marshmallow Roosters or different color themes to keep things exciting.
Kid-Friendly: A no-bake recipe that ensures everyone can join in on the fun—perfect for family bonding!
Cute Marshmallow Chicks Ingredients
• Get ready to create these delightful treats!
For the Chicks
- Marshmallows – The key ingredient for shaping the adorable chicks; use large marshmallows for better results.
- Yellow Candy Melts – Coats the marshmallows with a bright, cheerful finish; white chocolate is a great substitute for a different flavor.
- Sprinkles – Adds a fun texture and a burst of color; consider using edible glitter for a magical touch.
- Lollipop Sticks – Makes it easy to handle and serve the chicks; can be omitted if placing directly on desserts.
Optional Decorating Supplies
- Chocolate Eyes – Adds personality with cute little peepers; use candy eyes or small chocolate chips.
- Edible Grass – An adorable base for your chicks; this adds a playful presentation for your Easter dessert table.
Step‑by‑Step Instructions for Cute Marshmallow Chicks
Step 1: Prepare Your Workspace
Begin by setting up a clean, spacious workspace to create your Cute Marshmallow Chicks. Gather all your ingredients, including large marshmallows, yellow candy melts, sprinkles, and any optional decorations. Grab your parchment-lined tray for easy assembly. Having everything in reach will make the process smooth and enjoyable as you create these adorable treats.
Step 2: Melt the Candy Melts
In a microwave-safe bowl, melt the yellow candy melts by heating them in 30-second intervals at medium power, stirring between each round. This process should take about 1-2 minutes in total. Ensure they reach a smooth, pourable consistency without overheating, as this will help achieve an even coating on the marshmallows.
Step 3: Dip the Marshmallows
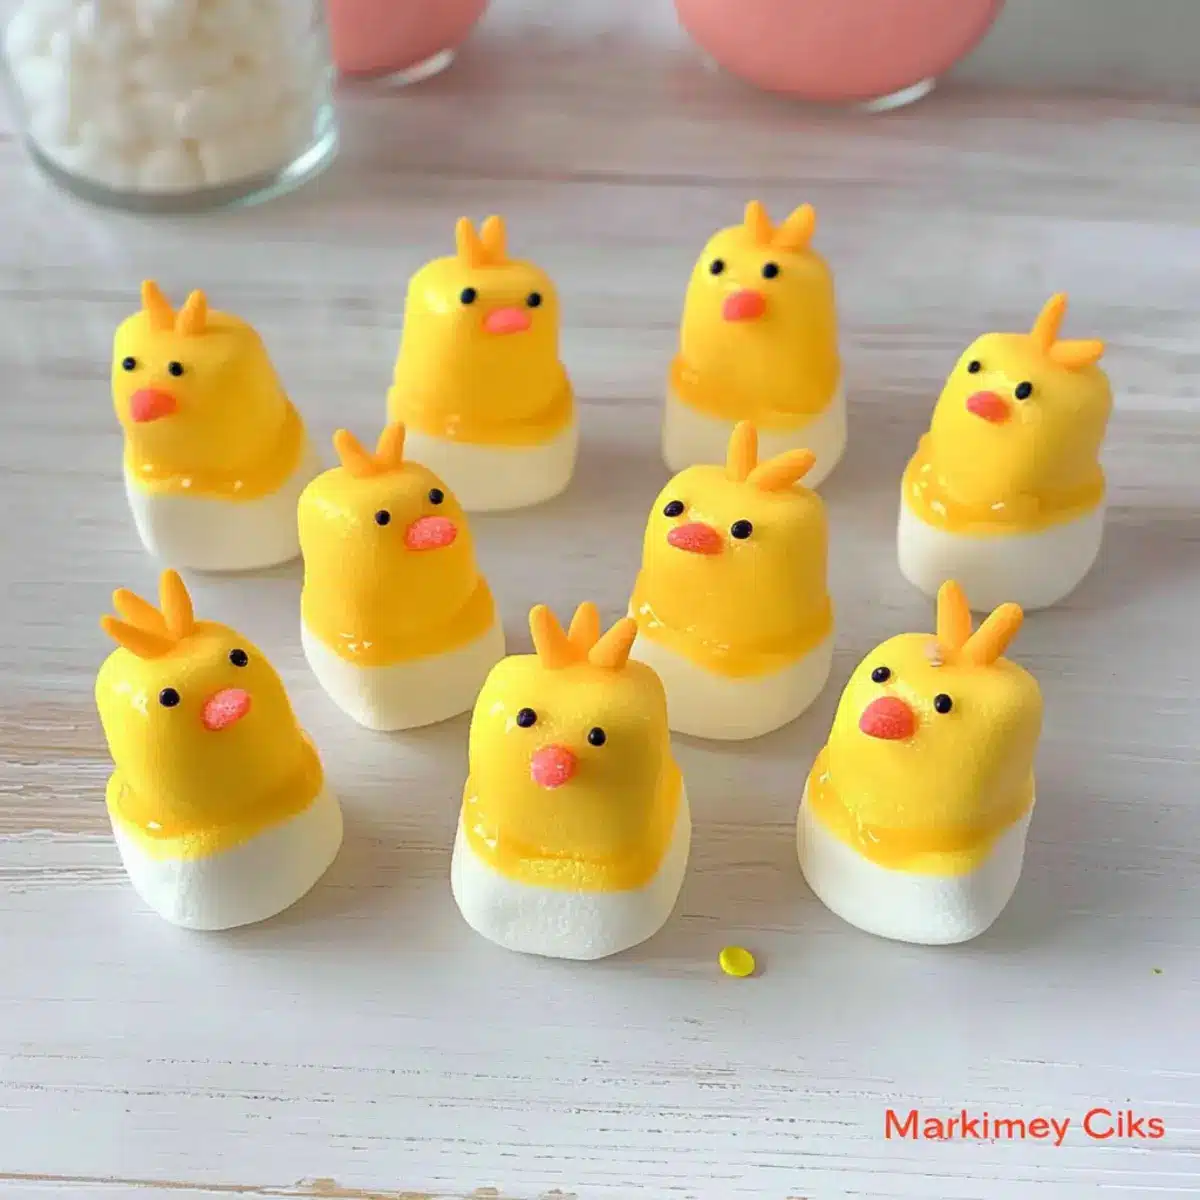
Once your candy melts are ready, take a large marshmallow and dip it into the melted candy using the stick or just your fingers. Swirl the marshmallow around until it is fully coated, then lift it out and allow excess candy to drip back into the bowl. The bright yellow coating should look vibrant and glossy, signaling it’s ready to set.
Step 4: Arrange on the Tray
Carefully place each dipped marshmallow onto the prepared parchment-lined tray. Ensure they have space between them to prevent sticking. As you line up your Cute Marshmallow Chicks, take a moment to admire their cheerful yellow color, a delightful preview of the finished treats!
Step 5: Add Sprinkles
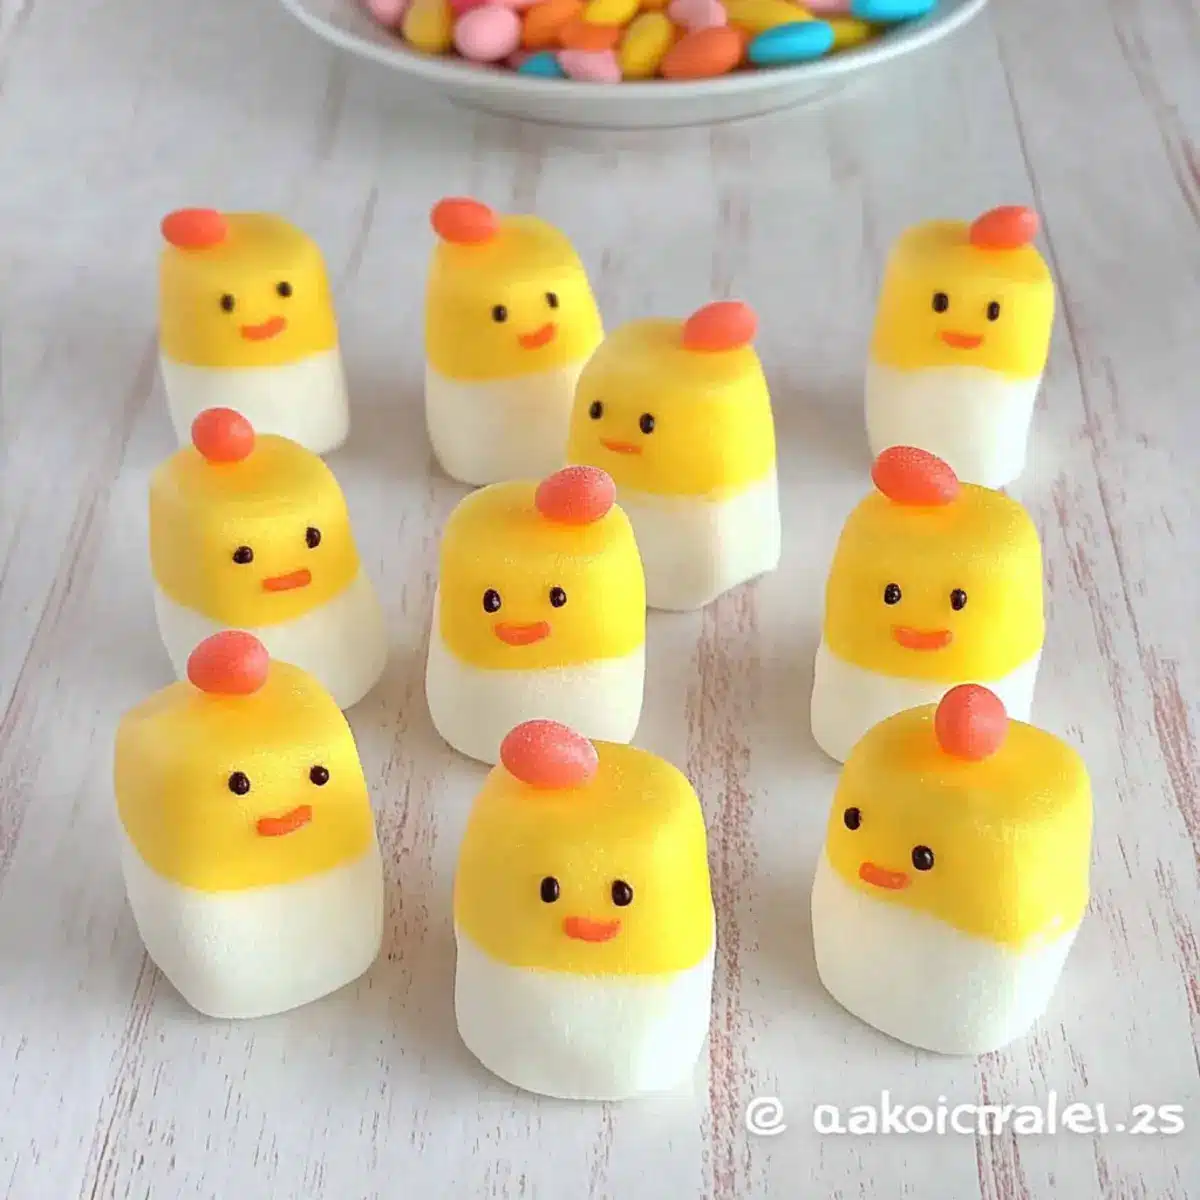
While the yellow candy coating is still slightly wet, generously sprinkle colorful decorations over each marshmallow, ensuring they stick well. This is your chance to get creative, so feel free to mix and match sprinkles, adding a whimsical touch. Each chick will come to life with its own unique personality.
Step 6: Insert Lollipop Sticks
If you’re using lollipop sticks, gently insert one into the base of each marshmallow before the candy coating sets completely. Press it in carefully so it holds securely without shifting the marshmallow shape. This makes them easier to handle and adds to the fun presentation of your Cute Marshmallow Chicks.
Step 7: Allow to Set
Let the marshmallow chicks sit at room temperature until the candy coating is completely set, which should take about 15 to 30 minutes. You can speed up the setting process by placing them in the refrigerator for about 10 minutes, but be cautious not to let them become too cold, as this could affect their texture.
Step 8: Serve and Enjoy
Once fully set, your Cute Marshmallow Chicks are ready to shine at your Easter gathering! They can be displayed on a festive cake stand or serve as charming cupcake toppers. These delightful treats not only look great but also deliver a fun, chewy experience that everyone will love.
What to Serve with Cute Marshmallow Chicks
Looking to create a delightful Easter table that charms both kids and adults alike?
- Chocolate Cupcakes: These sweet treats add rich chocolate flavor, perfectly balancing the airy marshmallow texture. Top them with the chicks for a whimsical touch!
- Fruit Skewers: Fresh fruits like strawberries and pineapple add a refreshing crunch and vibrant colors that contrast beautifully with the sweetness of the marshmallow chicks.
- Carrot Sticks and Hummus: A crunchy and healthy addition that adds a savory element to your dessert table, perfect for dipping and balancing out the sweetness.
- Vanilla Ice Cream: This creamy delight rounds out the meal with its smooth texture, creating a delightful contrast to the chewy marshmallow chicks. Serve them alongside for the kids to enjoy!
- Lemonade or Iced Tea: Refreshing beverages add a tangy twist that enhances your Easter spread, appealing especially to family members celebrating outdoors.
- Easter Cookies: Colorful decorated cookies bring another layer of fun to the table while allowing kids to engage in decorating alongside the marshmallow chicks.
- Mini Cheesecakes: Rich and creamy, these desserts provide a sophisticated touch to your Easter gathering while contrasting with the playful character of the marshmallow chicks.
- Chocolate Milk: A nostalgic drink that resonates with both children and adults, enhancing the fun feel of your festive gathering with its familiar taste.
Storage Tips for Cute Marshmallow Chicks
Room Temperature: Keep the finished Cute Marshmallow Chicks in an airtight container at room temperature for up to one week to maintain their freshness and soft texture.
Fridge: If you prefer, you can store the chicks in the refrigerator; however, this can alter their texture slightly. Consume within 5 days for best results.
Freezer: For longer storage, place the marshmallow chicks in a freezer-safe container, layered with parchment paper, for up to 3 months. Thaw at room temperature before enjoying.
Reheating: There’s no need to reheat these treats; they are best enjoyed at room temperature straight from storage to capture their delightful chewiness!
Cute Marshmallow Chicks Variations & Substitutions
Feel free to get creative and customize these delightful marshmallow treats to suit your taste!
- Dairy-Free: Use dairy-free candy melts instead of regular ones to keep it plant-based and just as fun!
- Crunchy Alternative: Swap marshmallows for rice cereal treats shaped into chicks for a satisfying crunch and whimsical twist.
- Different Colors: Try using pastel candy melts for a beautiful rainbow effect—perfect for spring celebrations!
- Spice it Up: Add a dash of cinnamon or nutmeg to your melted candy melts for a warm, cozy flavor that surprises the palate.
- Chocolate Coating: Opt for dark or milk chocolate instead of candy melts for a rich taste that chocolate lovers will adore.
- Add Some Zest: Mix in a bit of lemon or orange zest into the coating for a fresh citrus burst that will brighten up the flavors.
- Decorative Touches: Instead of sprinkles, use edible flowers or chocolate shavings for a stunning presentation that elevates your Easter dessert table.
- Mini Chicks: Create mini marshmallow chicks by cutting large marshmallows in half and coating them for cute little bite-sized delights!
With these variations, you’ll never run out of delightful ways to celebrate Easter with your family. Don’t forget to check out chocolate eyes for a fun addition that brings these chicks to life! And let me tell you, making Marshmallow Roosters with your family will add even more fun to the festivities!
Make Ahead Options
These Super Cute Marshmallow Chicks are the perfect treat to make ahead of time, saving you stress and time during your Easter festivities! You can prepare the marshmallow chicks up to 24 hours in advance by dipping and decorating them as instructed, then storing them in an airtight container at room temperature to maintain their fresh texture. To prevent any clumping or sticking, place parchment paper between layers. When you’re ready to serve, simply arrange them on a festive tray — they’ll be just as delightful and chewy as if you’d made them that day! This way, you can focus on enjoying the celebration with your loved ones rather than rushing in the kitchen.
Expert Tips for Cute Marshmallow Chicks
Perfect Temperature: Ensure the melted candy melts are warm but not too hot to prevent marshmallows from losing shape.
Sprinkle Smart: Use freshly opened sprinkles for a vibrant appearance; humidity can cause clumping, so store them properly.
Stick to It: If using lollipop sticks, insert them gently to avoid disturbing the marshmallow shape, which helps maintain the cute marshmallow chicks.
Mix and Match: Experiment with different colored candy melts to create a variety of marshmallow characters for a fun Easter dessert display.
Avoid Overheating: If melting candy melts in the microwave, do so in short intervals, as overheating can ruin the texture needed for coating.
Cute Marshmallow Chicks Recipe FAQs
What type of marshmallows should I use?
I recommend using large marshmallows for shaping your Cute Marshmallow Chicks. They provide a better base for coating and tend to hold their shape much better than mini marshmallows.
How should I store my Cute Marshmallow Chicks?
Keep the finished marshmallow chicks in an airtight container at room temperature for up to one week to maintain their soft texture. If you need to store them for longer, you can place them in the refrigerator for up to 5 days, or freeze them in a freezer-safe container layered with parchment paper for up to 3 months. Just remember to thaw them at room temperature before enjoying!
Can I use different colors of candy melts?
Absolutely! You can experiment with various colored candy melts to create different themed marshmallow characters. For example, using pink candy melts can transform them into adorable little bunnies or flamingos!
What should I do if the candy coating is too hot and causes the marshmallows to lose shape?
If you find that the melted candy melts are too hot and your marshmallows are losing shape after dipping, simply remove the marshmallow from the coating and let it cool slightly. Reheat the candy melts in 10-second intervals to bring it back to a warm but manageable temperature before dipping again.
Can these marshmallow chicks be made ahead of time?
Yes, these adorable marshmallow chicks can be made a day in advance! This is actually a great idea because it saves you time on the day of your gathering. Just keep them in an airtight container at room temperature until you’re ready to serve.
Are these suitable for people with allergies?
While they’re fun for many, keep in mind that some candy melts and sprinkles may contain allergens, including gluten or dairy. I recommend checking the packaging for any allergy concerns before making these treats, especially if you’re serving guests with dietary restrictions.

Cute Marshmallow Chicks: Fun and Easy Treat for Easter Joy
Ingredients
Equipment
Method
- Prepare Your Workspace: Set up a clean, spacious workspace to create your Cute Marshmallow Chicks. Gather all your ingredients and grab your parchment-lined tray for easy assembly.
- Melt the Candy Melts: In a microwave-safe bowl, melt the yellow candy melts by heating them in 30-second intervals, stirring between each round, for about 1-2 minutes.
- Dip the Marshmallows: Dip each marshmallow into the melted candy, swirl until fully coated, then allow excess candy to drip back into the bowl.
- Arrange on the Tray: Place each dipped marshmallow onto the prepared tray, ensuring they have space between them to prevent sticking.
- Add Sprinkles: While the coating is still wet, sprinkle colorful decorations over each marshmallow.
- Insert Lollipop Sticks: If using lollipop sticks, gently insert one into the base of each marshmallow before the coating sets completely.
- Allow to Set: Let the marshmallow chicks sit at room temperature until the candy coating is completely set, about 15 to 30 minutes.
- Serve and Enjoy: Once fully set, display your Cute Marshmallow Chicks on a festive cake stand or use them as cupcake toppers.
Leave a Reply