
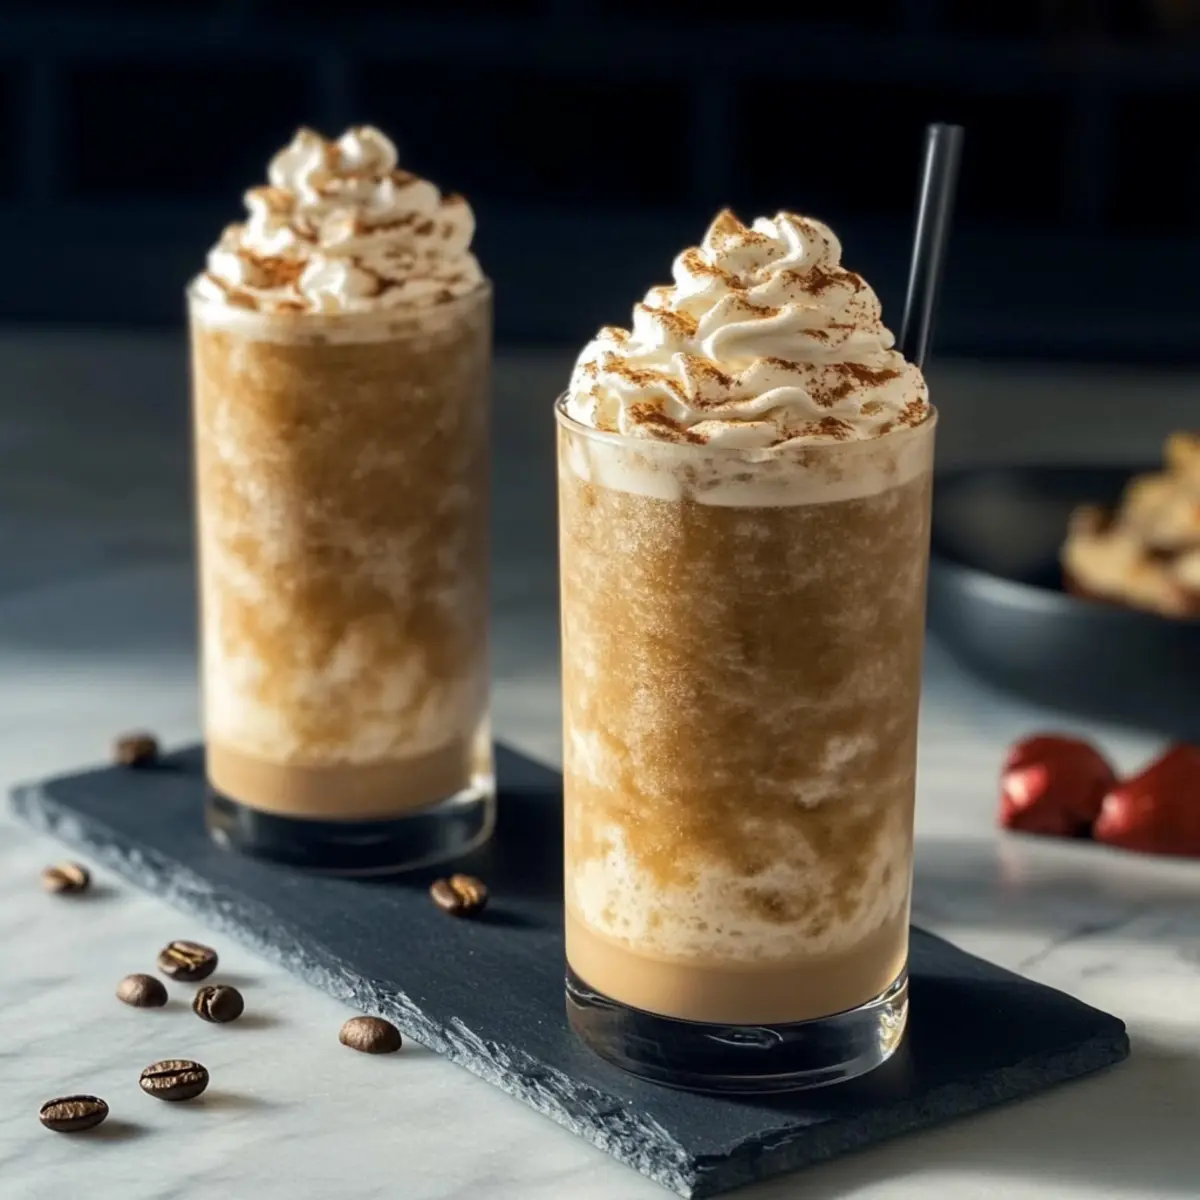
As I poured that first cup of coffee on a sweltering summer day, an idea sparked. Instead of my usual sip, why not transform my beloved brew into a cooled-down indulgence? That’s how this Easy Coffee Slushie came to life—a refreshing frozen beverage that effortlessly blends strong coffee, creamy textures, and a kiss of vanilla. It’s the ultimate pick-me-up for those hot afternoons or a fantastic crowd-pleaser at your next gathering. Plus, it’s super easy to prepare in advance, giving you more time to relax and savor the moment. Are you ready to treat yourself and impress your guests with this delightful twist on a classic favorite?
Why is Coffee Slush so Refreshing?
Cool, Icy Bliss: This Coffee Slush is the perfect way to cool down on a hot day! The icy texture not only refreshes but also revitalizes, making it irresistible.
Simple and Quick: With just a few ingredients, you can craft this delightful slushie in no time. It’s an easy way to elevate your coffee game!
Crowd Favorite: Whether it’s a backyard barbecue or a cozy afternoon at home, this slush is sure to impress. Serve alongside your favorite snacks for a complete experience.
Versatile Flavor Options: Want to change it up? Try substituting the vanilla for hazelnut or almond to create unique flavor experiments that suit your mood.
Make-Ahead Convenience: Preparing this indulgent treat in advance means you have more time to enjoy with friends and family—no need to fuss during gatherings!
Coffee Lovers’ Dream: If you love coffee, this slushie will be your new favorite treat. Sipping this will turn any ordinary day into a special occasion! Grab your materials and try it today; you won’t regret it!
Coffee Slush Ingredients
For the Slush
- Strong Coffee – Use freshly brewed for the richest flavor in your Coffee Slush.
- Sugar – Adds the perfect touch of sweetness; feel free to swap with your preferred sweetener.
- 1/2 & 1/2 or Cream – Creaminess is key; heavy cream gives a richer texture while half-and-half is lighter.
- Milk – Any milk (dairy or non-dairy) works beautifully to create that smooth consistency.
- Vanilla – Pure vanilla extract enhances the slush’s flavor; it’s an essential key ingredient!
For Serving
- Whipped Topping – Adds a delightful finishing touch; consider homemade or dairy-free options.
Step‑by‑Step Instructions for Coffee Slush
Step 1: Brew the Coffee
Start by brewing a pot of strong coffee using your preferred method, aiming for a rich flavor that will serve as the base for your Coffee Slush. You’ll want about 2 cups of freshly brewed coffee — consider using an espresso machine for an extra kick. Once brewed, pour the hot coffee into a mixing bowl or pitcher.
Step 2: Add Sugar
While the coffee is still hot, add sugar to your taste, stirring vigorously until it completely dissolves. This step is crucial to balance the bitterness of the coffee, creating a harmonious blend. Take a moment to enjoy the fragrant aroma wafting from your coffee as it transforms into a sweet base for the slush.
Step 3: Mix in Dairy
Next, pour in the half-and-half and your milk of choice, stirring gently until everything is well combined. Aim for a smooth, creamy consistency that will add richness to your Coffee Slush. At this point, the mixture should have a lighter hue, indicating that it’s ready for the next flavor enhancement.
Step 4: Incorporate Vanilla
Now, add the pure vanilla extract to the mixture and stir well to ensure the flavor is evenly distributed throughout. This aromatic addition will elevate your Coffee Slush, providing a delightful complexity. You should see the mixture becoming slightly frothy, which means it’s time to move on to freezing.
Step 5: Freeze the Mixture
Carefully pour the combined mixture into freezable containers, leaving some space at the top for expansion. Place the containers in your freezer and let the mixture freeze for at least 4 hours or until it is solid. Be sure to check back occasionally, and revel in the anticipation of your refreshing Coffee Slush!
Step 6: Prepare for Serving
When you’re ready to serve, remove the Coffee Slush from the freezer and allow it to sit at room temperature for about 5 to 10 minutes. This softening will make scooping easier, ensuring a smooth texture when you serve it. Watch for it to slightly melt at the edges, signaling it’s just right for that icy delight.
Step 7: Serve and Enjoy
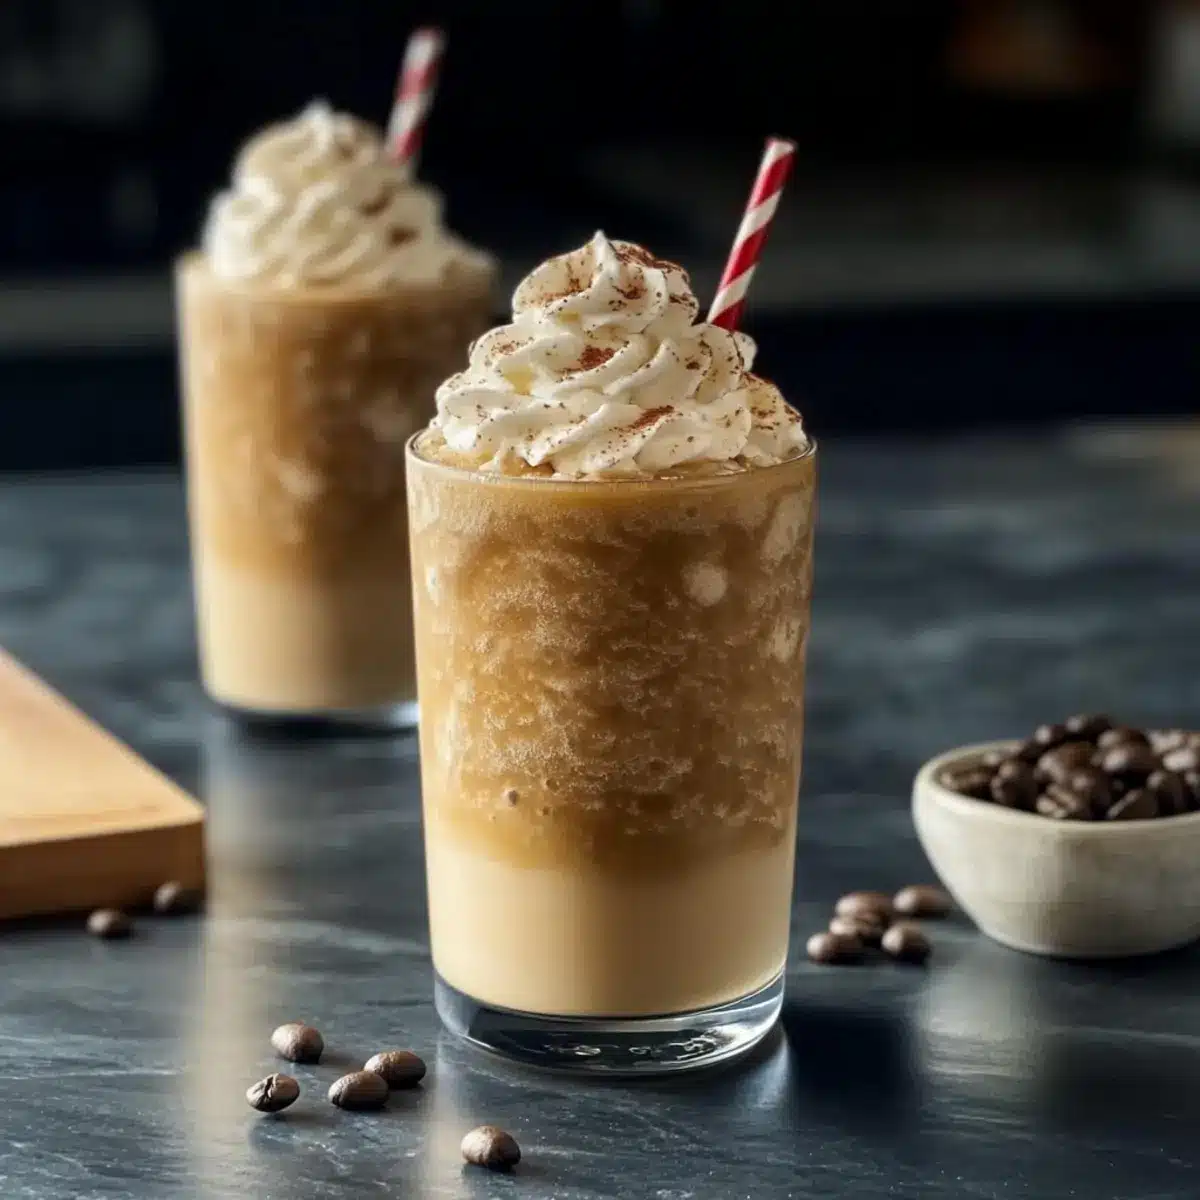
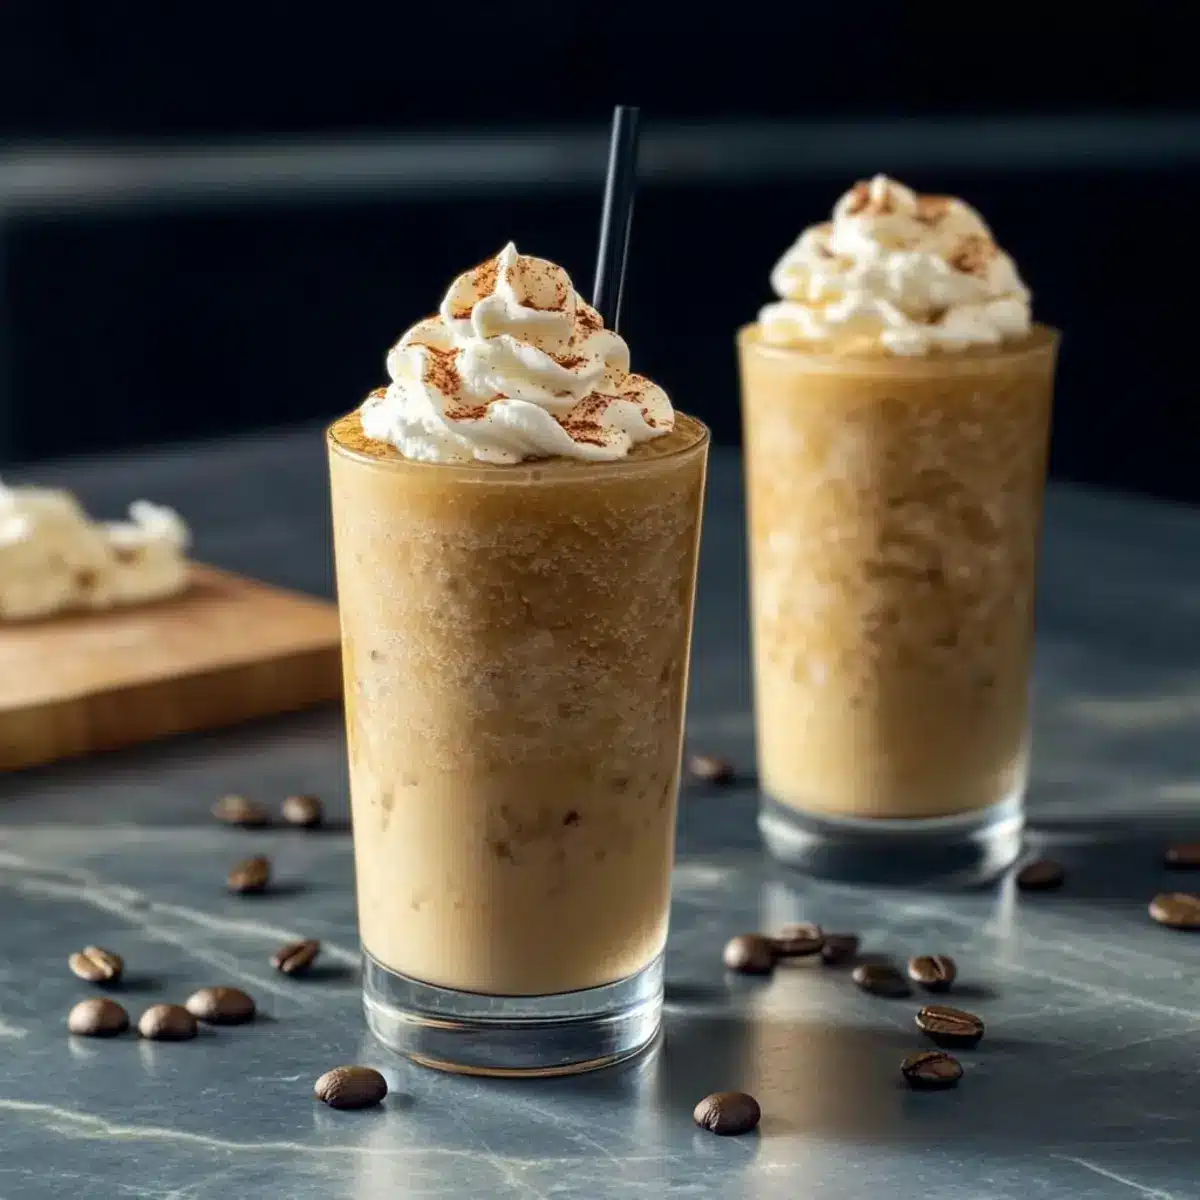
Using an ice cream scoop, serve generous portions of the slush into cups, creating a beautiful mound. Top with whipped cream for a delightful finishing touch, and consider adding a sprinkle of cocoa or chocolate shavings for that extra flair. Enjoy the vibrant flavors of your homemade Coffee Slush as it cools you down and delights your taste buds!

What to Serve with Easy Coffee Slushie
Elevate your summer gatherings with delightful pairings that complement the refreshing flavors of your Coffee Slushie.
-
Chocolate Chip Cookies: The sweet and chewy texture perfectly balances the icy coffee treat, creating a delightful contrast in each bite.
-
Vanilla Ice Cream: A scoop of creamy vanilla ice cream on top adds richness, making your slushie an irresistible dessert experience.
-
Fresh Berries: Juicy strawberries or raspberries provide a burst of freshness; their tangy notes enhance the sweetness of the slush.
-
Spiced Nuts: Roasted nuts with a hint of cinnamon or paprika add crunch and a savory kick, making for an exciting pairing.
-
Dark Chocolate Squares: Rich, bittersweet chocolate elegantly complements the bold flavors of the coffee, creating a sophisticated treat to enjoy alongside.
-
Sparkling Lemonade: This refreshing drink adds a zing and lightness to each sip of coffee slushie, perfect for warm summer days.
-
Coconut Macaroons: Chewy and sweet, these treats mingle beautifully with the coffee flavors and add a tropical vibe to your gathering.
-
Affogato: For a double coffee hit, introduce an affogato by pouring a shot of hot espresso over vanilla ice cream—absolutely divine with your slush!
Coffee Slush Variations & Substitutions
Feel free to let your creativity soar as you customize this delightful Coffee Slush to suit your taste!
-
Cold Brew: Swap strong coffee for cold brew for a smoother, less bitter flavor that’s equally delicious.
-
Sugar Alternatives: Use maple syrup or honey instead of sugar for a natural sweet touch. Each will add a unique twist to the sweetness!
-
Dairy-Free Delight: Replace half-and-half and milk with coconut or almond milk for a luscious, dairy-free version that still delights.
-
Mocha Magic: Stir in cocoa powder or use chocolate-flavored creamer for a mocha-inspired variation that will satisfy any chocolate cravings.
-
Nutty Flavor: For a wonderful nutty twist, substitute vanilla with either hazelnut or almond extract. It adds delightful depth—perfect for nut lovers!
-
Spiced Sensation: Consider adding a pinch of cinnamon or nutmeg for a warm, spiced flavor that complements the coffee beautifully. Just a touch can make a world of difference!
-
Fruit Fusion: Add a splash of flavored syrups like caramel or hazelnut. This introduces a sweet flair that can remind you of your favorite coffeehouse drink.
-
Frozen Add-ins: Blend in a scoop of ice cream or gelato before freezing for a richer, creamier indulgence. It’ll elevate your slush to an unimaginable level of tasty goodness!
With these easy swaps and variations, you’re set to impress with your personalized Coffee Slush! Don’t forget, if you’re eager for more drinks, check out our refreshing summer beverages or creamy dessert drinks that can be made in no time!
Expert Tips for the Best Coffee Slush
-
Brew Strong Coffee: Make your Coffee Slush perfectly flavorful by using a strong brew. Espresso works wonders for a rich taste that will elevate your drink!
-
Avoid Over-Sweetening: Start with a small amount of sugar and taste as you go. You can always add more, but it’s hard to fix an overly sweet slush.
-
Proper Freezing: Prevent ice crystals by pouring the mixture into shallow containers. This allows it to freeze evenly and creates a smoother texture.
-
Softening Time: Let the Coffee Slush sit at room temperature for 5 minutes before serving. This makes scooping much easier and enhances the overall experience.
-
Seal Containers Well: If preparing in advance, ensure your containers are tightly sealed to prevent freezer burn, maintaining the quality of your Coffee Slush.
-
Experiment with Flavors: Don’t hesitate to get creative! Swap the vanilla for hazelnut or add a hint of cocoa powder for a delicious twist!
Make Ahead Options
These Easy Coffee Slushies are perfect for meal prep! You can prepare the coffee mixture up to 24 hours in advance by brewing the coffee, dissolving the sugar, and mixing in the half-and-half, milk, and vanilla. Place the blended mixture in freezable containers and store it in the freezer. To ensure the best quality, seal the containers thoroughly to prevent freezer burn. When you’re ready to serve, simply remove the slushie from the freezer and let it sit at room temperature for about 5 to 10 minutes before scooping. This way, you’ll enjoy the same refreshing, creamy goodness without the last-minute fuss!
How to Store and Freeze Coffee Slush
Fridge: Store any leftover Coffee Slush in an airtight container in the refrigerator for up to 3 days. If it starts to harden, stir gently before serving.
Freezer: For longer storage, keep the Coffee Slush in a tightly sealed container in the freezer for up to 1 week. Make sure it is well-protected to prevent freezer burn.
Reheating: To enjoy after freezing, let the Coffee Slush sit at room temperature for 5–10 minutes until it softens slightly. Use an ice cream scoop for easy serving.
Make-Ahead Tips: Prepare your Coffee Slush mixture in advance and freeze it overnight for a quick and refreshing treat whenever you need it!
Coffee Slush Recipe FAQs
How do I select the best coffee for my slush?
Absolutely! For the best flavor, always use freshly brewed strong coffee. If you have access to an espresso machine, using espresso will create a rich and robust slush that enhances the overall experience. Look for coffee with a deep aroma and rich flavor profile—this is the foundation of your Coffee Slush!
How should I store leftover Coffee Slush?
Store any leftover Coffee Slush in an airtight container in the refrigerator for up to 3 days. If it starts to harden, simply stir it gently before serving. This keeps it fresh and ready for your next indulgent treat!
Can I freeze Coffee Slush for longer storage?
Certainly! For longer storage, keep your Coffee Slush in a tightly sealed container in the freezer for up to 1 week. Be sure to protect it well to prevent freezer burn. If you want to enjoy it later, just let it sit at room temperature for about 5–10 minutes until it softens slightly, making it easy to scoop into cups.
What should I do if my Coffee Slush is too sweet?
If you find your Coffee Slush is overly sweet, don’t worry! You can balance the sweetness by adding a small amount of brewed coffee or milk to the mixture and stirring well. This will dilute the sweetness and should help achieve that perfect flavor harmony.
Any dietary considerations I should keep in mind?
Very! If you’re preparing this slush for guests with dietary restrictions, be sure to check for any allergies related to dairy or sweeteners. You can easily use dairy-free alternatives for cream and milk to accommodate those needs. Additionally, opt for a sugar substitute if you’re catering to someone looking to reduce their sugar intake.
How do I prevent ice crystals when freezing my Coffee Slush?
To ensure a smooth texture, pour the Coffee Slush mixture into shallow containers, allowing it to freeze evenly. This method helps reduce ice crystal formation. If you notice ice crystals upon serving, you can give the slush a quick stir or let it sit at room temperature to soften before serving. Enjoy that smooth, icy goodness!
Refreshing Coffee Slush for a Cool Summer Treat
Ingredients
Equipment
Method
- Brew a pot of strong coffee using your preferred method, then pour into a mixing bowl or pitcher.
- While the coffee is still hot, add sugar to taste and stir until it dissolves.
- Pour in the half-and-half and milk, stirring gently until combined.
- Add the vanilla extract to the mixture and stir well.
- Pour the mixture into freezable containers and freeze for at least 4 hours or until solid.
- Remove from the freezer and let sit at room temperature for 5–10 minutes before serving.
- Scoop into cups and top with whipped cream and optional cocoa or chocolate shavings.
Leave a Reply