
The aroma of summer has a way of transforming the kitchen into a tropical oasis, and these Coconut Cream Dream Bars are the perfect embodiment of that essence. Just imagine sinking your teeth into a creamy dessert that marries the lusciousness of coconut with a buttery, crumbly crust. Not only are these bars a delightful treat for any gathering, but they also come together in no time, making them an ideal solution for those last-minute dessert cravings. Plus, with simple swaps, you can easily customize them to fit vegetarian or dairy-free diets. Intrigued about how to whip up this heavenly delight? Keep reading to discover the perfect recipe for a sun-kissed sweet escape!
Why are Coconut Cream Dream Bars irresistible?
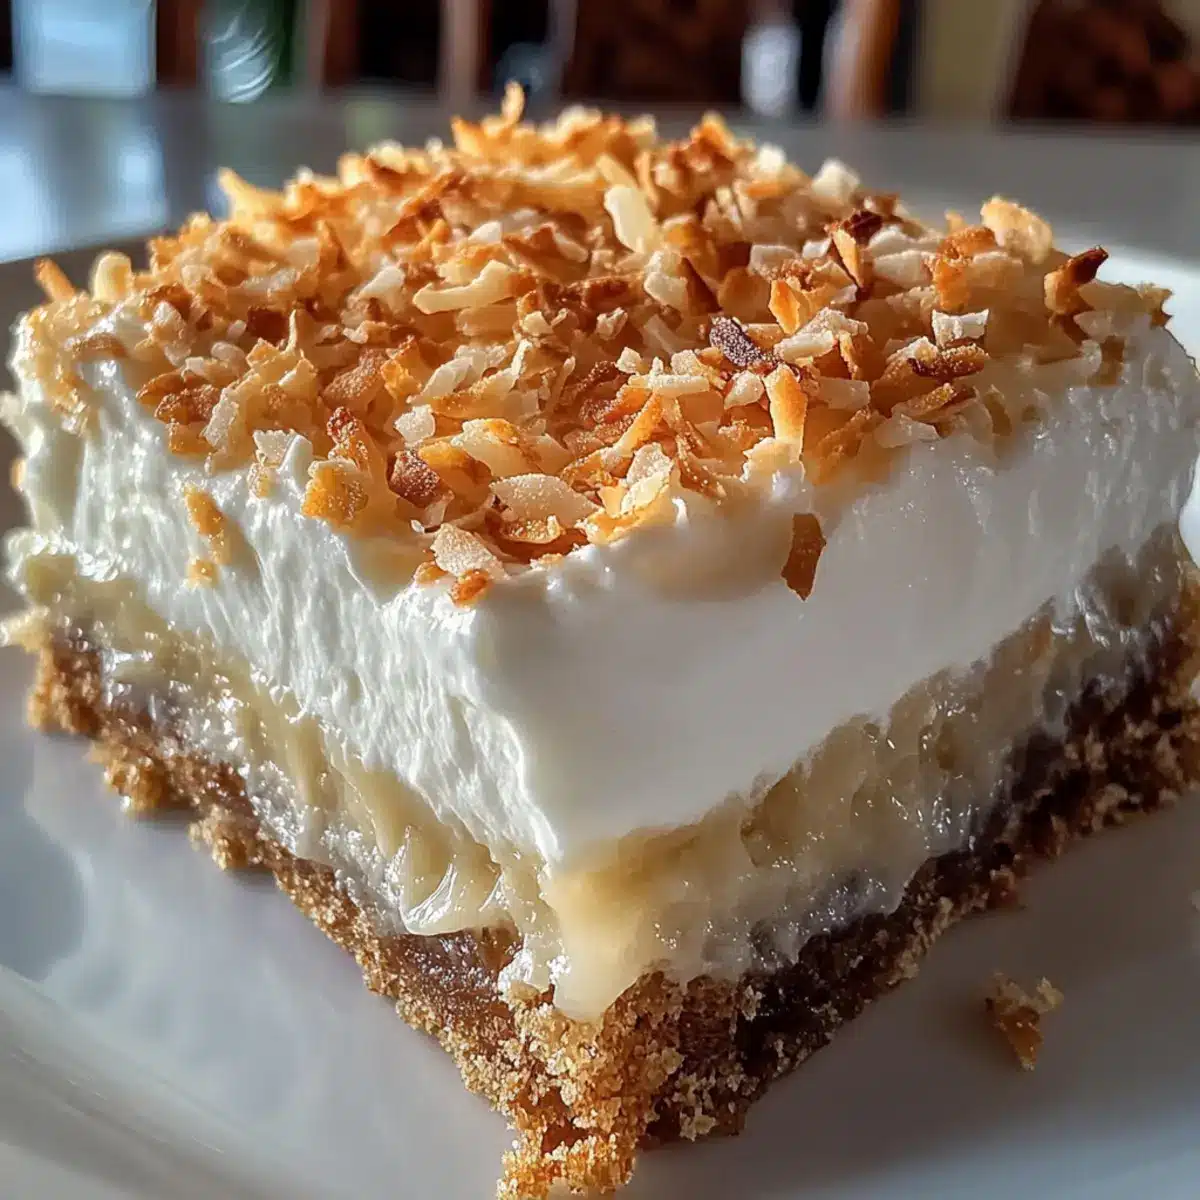
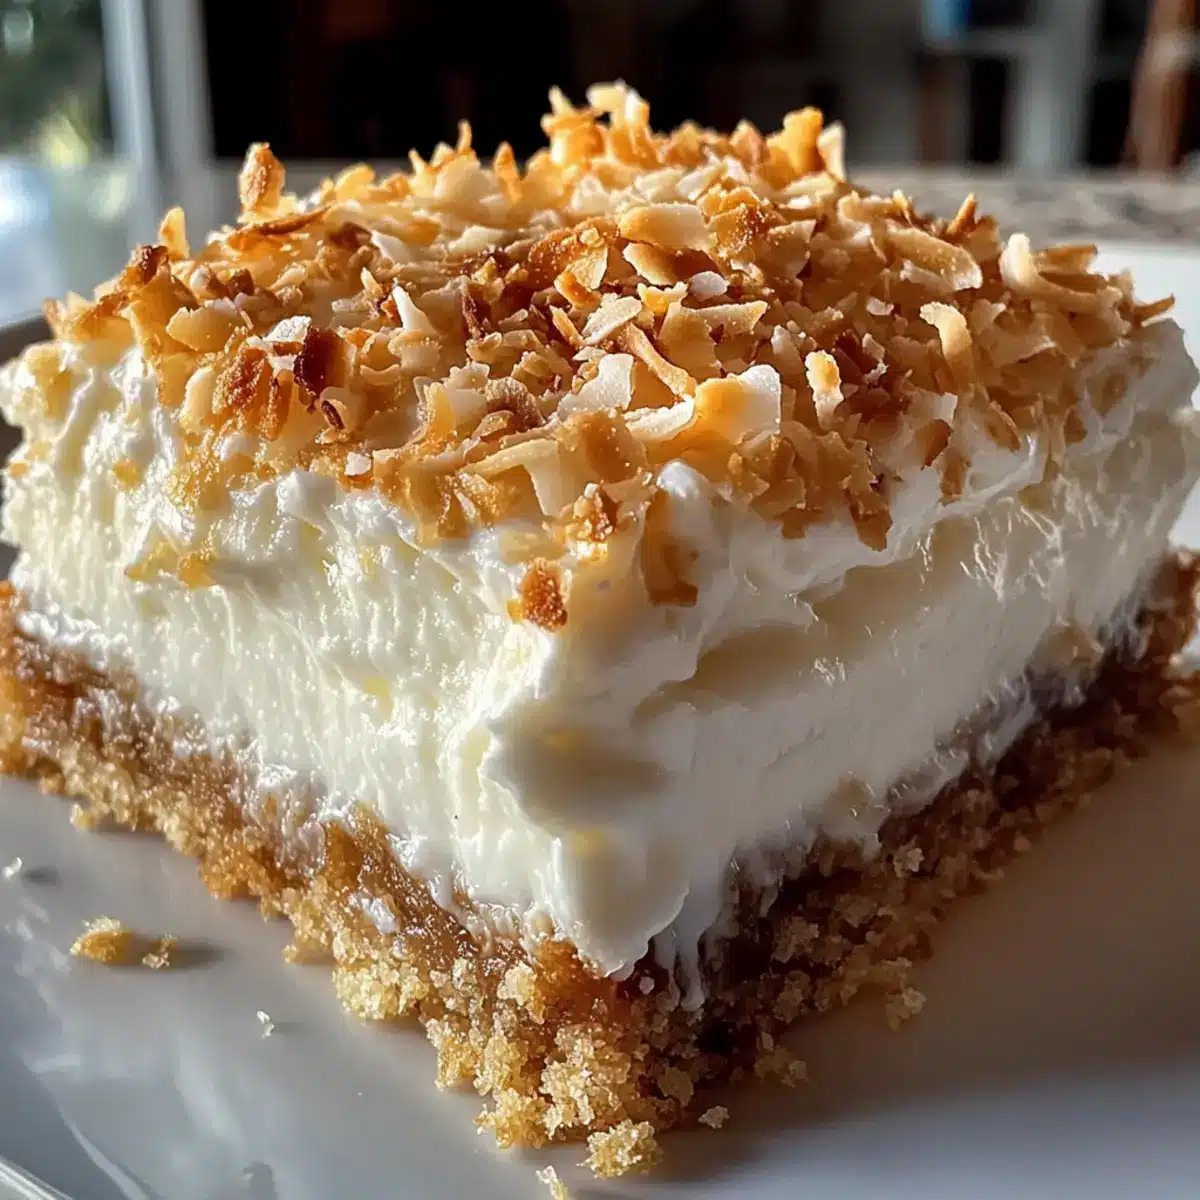
Creamy, Dreamy Texture: The smooth and velvety filling sits atop a buttery, crumbly crust, creating a delightful contrast that melts in your mouth.
Quick and Easy: With just a few simple steps, you can whip up a deliciously satisfying dessert that requires minimal effort—perfect for busy weeknights!
Versatile Swaps: Easily adapt these bars for dietary preferences—try coconut oil for a dairy-free option or gluten-free graham cracker crumbs for a gluten-free treat.
Summer Sensation: The tropical flavors make these bars an ideal summer delight, perfect for pool parties or BBQs, impressing friends and family alike.
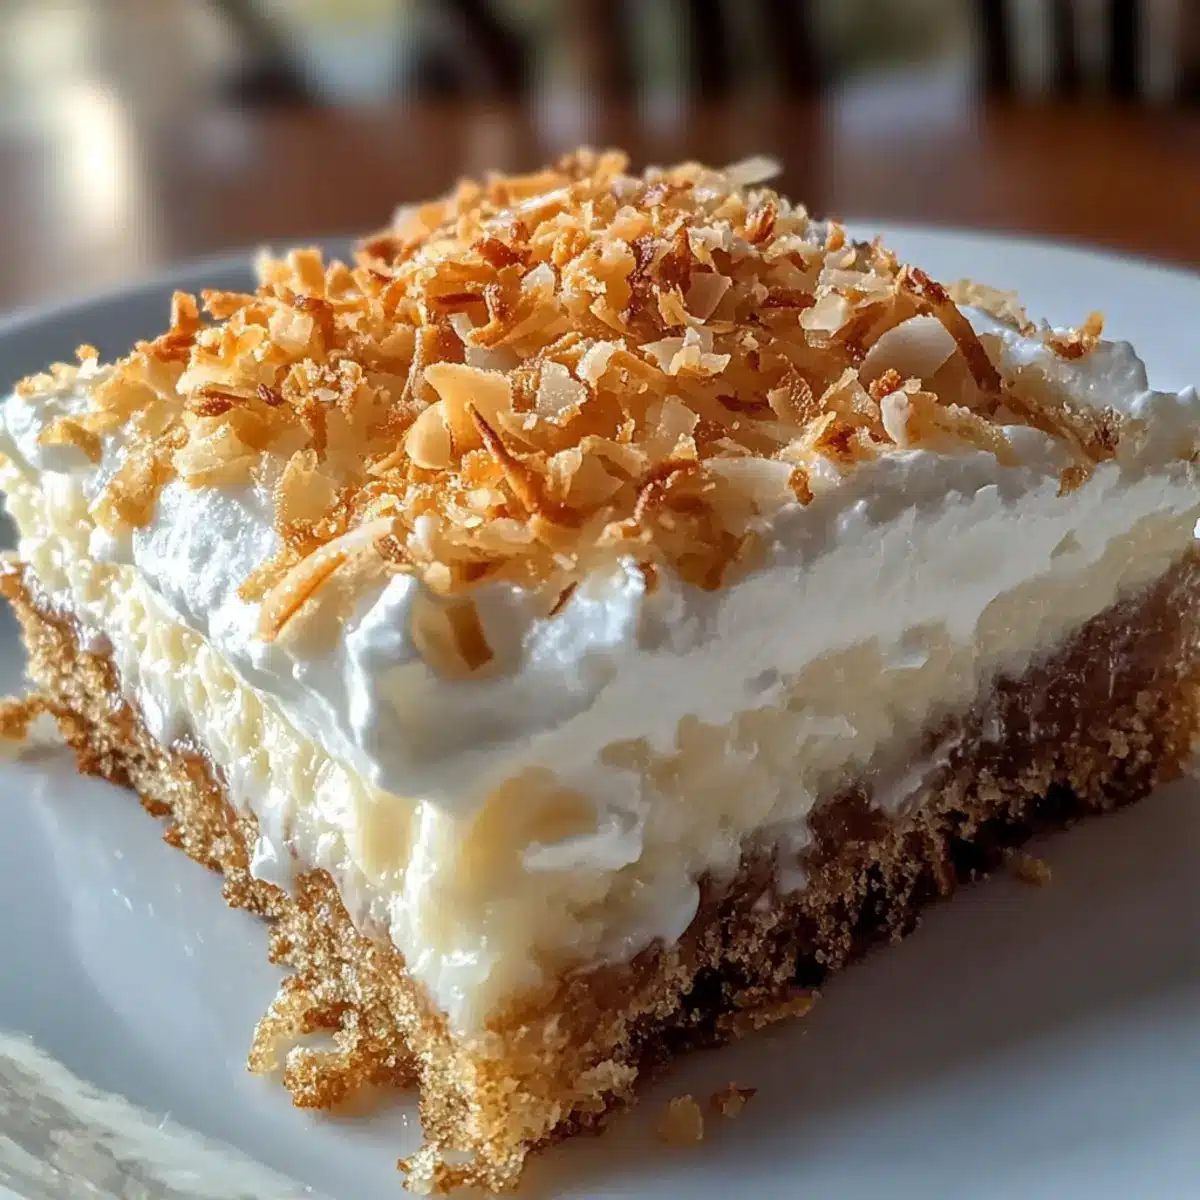
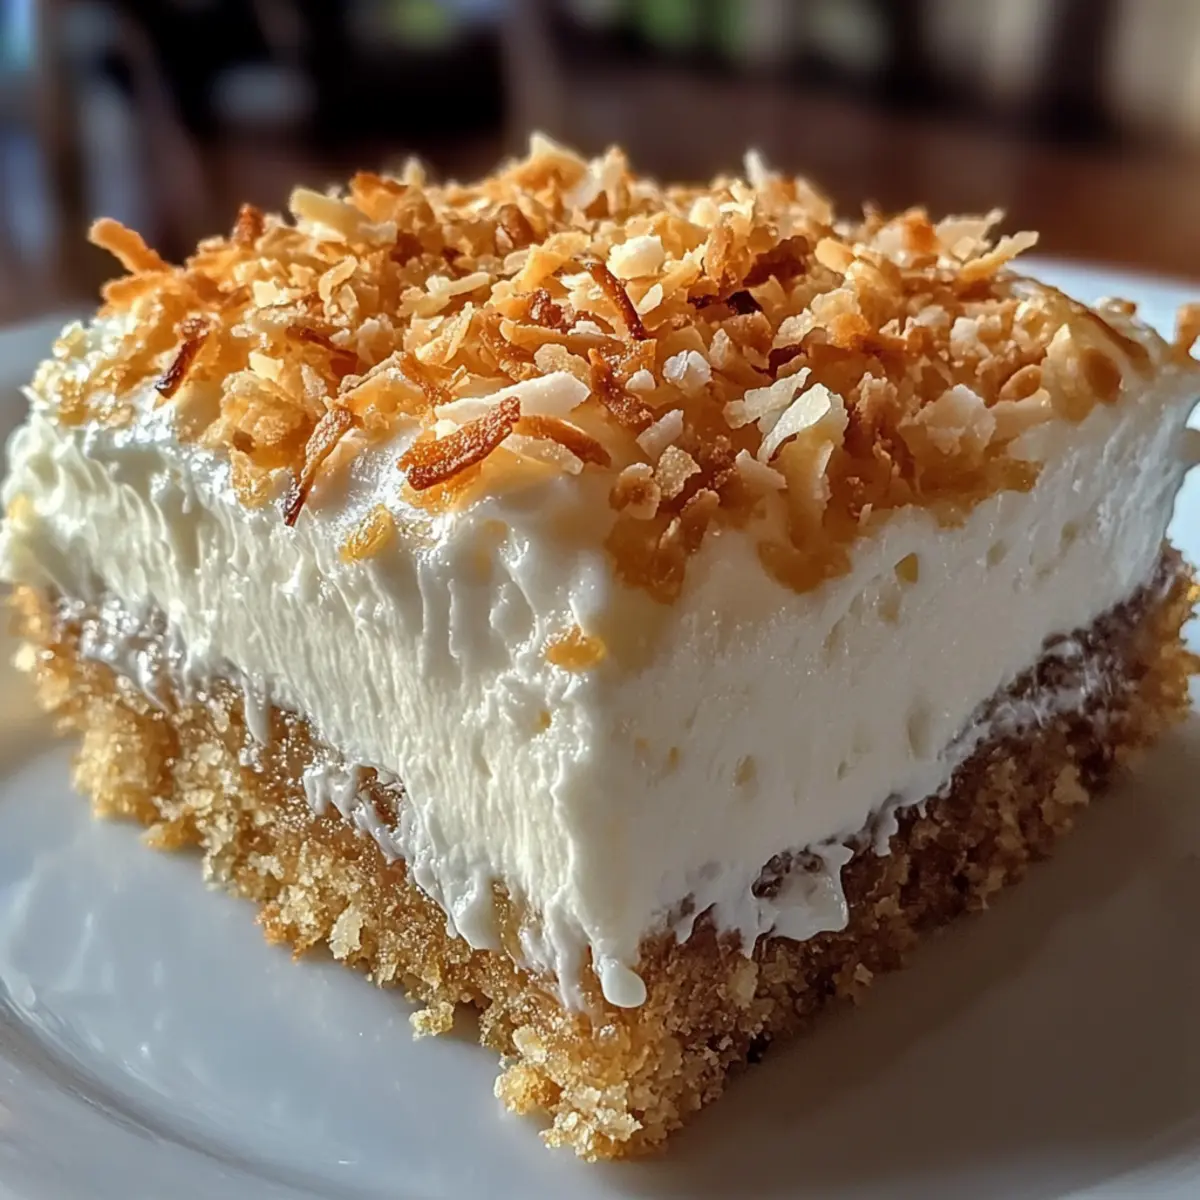
Irresistible Presentation: Topped with whipped cream and toasted coconut flakes, they not only taste heavenly but look stunning on any dessert table. Don’t forget to serve them chilled for the ultimate refreshment on a hot day! If you’re feeling adventurous, consider pairing them with a side of our Cream Cheese Banana for a diverse dessert spread!
Coconut Cream Dream Bars Ingredients
For the Crust
• Graham Cracker Crumbs – The sweet, crumbly base for a delightful crust; swap for gluten-free crumbs for an inclusive treat.
• Melted Butter – Binds the crust together and adds richness; coconut oil is a great alternative for a dairy-free option.
For the Filling
• Sweetened Condensed Milk – Adds a creamy sweetness that makes these Coconut Cream Dream Bars irresistible; coconut milk can be used for a lighter version.
• Shredded Coconut – Enhances the coconut flavor and adds texture; choose between sweetened or unsweetened based on your preference.
• Powdered Sugar – Sweetens the filling and ensures a smooth, creamy consistency.
For the Topping
• Heavy Cream – Creates a fluffy whipped topping that elevates the dessert; substitute with a dairy-free alternative if needed.
• Vanilla Extract – Infuses depth of flavor into the whipped cream, enhancing the overall taste.
• Toasted Coconut Flakes – Adds a crunchy garnish that intensifies the coconut experience.
Dive into these Coconut Cream Dream Bars and unlock a world of tropical delight!
Step‑by‑Step Instructions for Coconut Cream Dream Bars
Step 1: Preheat the Oven
Begin by preheating your oven to 350°F (175°C). This step is crucial as it ensures the Coconut Cream Dream Bars bake evenly. While the oven heats up, gather your ingredients and prepare your 9×9-inch baking dish by greasing it lightly. This will help create a perfectly golden crust that won’t stick to the pan.
Step 2: Prepare the Crust
In a medium bowl, combine graham cracker crumbs with melted butter until well mixed. The mixture should look like wet sand. Press this mixture firmly into the bottom of the greased baking dish, using the back of a measuring cup or your fingertips to create an even layer. Bake the crust in the preheated oven for about 8–10 minutes, or until it turns golden brown and fragrant.
Step 3: Make the Filling
While the crust is baking, prepare the filling by combining sweetened condensed milk, shredded coconut, and powdered sugar in another bowl. Mix thoroughly until all ingredients are well incorporated and the mixture is smooth. Once your crust is out of the oven and slightly cooled, pour the coconut filling evenly over the crust, spreading it with a spatula to ensure even coverage.
Step 4: Bake the Bars
Return the dish to the oven and bake the Coconut Cream Dream Bars for an additional 15–20 minutes. The filling should be set and lightly golden. Keep an eye on it, as it should not bubble excessively. Once done, remove from the oven and allow the bars to cool at room temperature, enhancing the flavors while ensuring a nice texture.
Step 5: Whip the Cream
In a clean mixing bowl, pour in heavy cream and add a splash of vanilla extract. Using an electric mixer, beat the mixture on medium speed until soft peaks begin to form, typically taking about 3–5 minutes. Be careful not to over-whip the cream, as you want a light, fluffy texture that will beautifully complement the Coconut Cream Dream Bars.
Step 6: Assemble the Topping
Once the filling has cooled completely, gently spread the whipped cream over the top of the filling using a spatula. Create an even layer that coats the bars generously. For an extra touch, sprinkle the toasted coconut flakes onto the whipped cream. This addition not only enhances the flavor but also adds a beautiful crunch and visual appeal to your Coconut Cream Dream Bars.
Step 7: Chill Before Serving
Cover the assembled Coconut Cream Dream Bars with plastic wrap and place them in the refrigerator. Chill for at least 2 hours to allow the flavors to meld and the dessert to set properly. This will create a refreshing treat, perfect for a warm day. Once chilled, slice into squares and serve cold—your summer delight is ready to enjoy!
How to Store and Freeze Coconut Cream Dream Bars
Fridge: Store leftover Coconut Cream Dream Bars in an airtight container for up to a week. This helps maintain their creamy texture and delightful flavor.
Freezer: For longer storage, wrap individual bars in plastic wrap and then place them in a freezer-safe bag. They can be frozen for up to three months.
Thawing: When ready to enjoy, simply transfer the frozen bars to the refrigerator to thaw overnight or leave at room temperature for a couple of hours.
Reheating: There’s no need to reheat—these bars are best served chilled, enhancing their refreshing tropical taste.
Make Ahead Options
These Coconut Cream Dream Bars are a wonderful candidate for meal prep, making them perfect for busy weeknights! You can prepare the crust and the filling up to 24 hours in advance. Simply bake the crust and let it cool completely, then layer the coconut filling over it. Cover tightly with plastic wrap and refrigerate. When you’re ready to serve, whip the cream and spread it over the chilled filling, topping with toasted coconut flakes. This method ensures the bars stay fresh and delicious, while allowing you to enjoy a delightful homemade dessert with minimal effort when you need it most!
Expert Tips for Coconut Cream Dream Bars
-
Cooling is Key: Make sure to let the filling cool completely before adding whipped cream; this step is essential to keep the texture creamy and prevent melting.
-
Watch the Whipping: Avoid over-whipping the cream. Stop once soft peaks form to ensure a light, fluffy topping for your Coconut Cream Dream Bars.
-
Flavor Variations: To enhance your bars, consider mixing in a splash of almond extract for an exciting twist, or add chocolate chunks for a decadent flavor combo.
-
Chill Properly: Allow the bars to chill for at least 2 hours before slicing to ensure they hold their shape and provide a refreshing dessert experience.
-
Presentation Matters: Serve your Coconut Cream Dream Bars on a decorative plate garnished with fresh fruit like berries for a pop of color and an extra layer of flavor.
Coconut Cream Dream Bars Variations
Feel free to get creative and tailor these Coconut Cream Dream Bars to your taste buds!
-
Dairy-Free: Swap heavy cream with coconut cream for a luscious non-dairy topping, enhancing that tropical vibe.
-
Gluten-Free: Use almond flour instead of graham cracker crumbs for a gluten-free crust that still delivers on taste and texture.
-
Chocolatey Twist: Add a layer of chocolate ganache before spreading the whipped cream for a delicious chocolate-coconut combination.
-
Nutty Crunch: Fold in chopped macadamia nuts into the filling for an irresistible crunch and added depth of flavor.
-
Fresh Fruit: Top with sliced fresh mango or strawberries before serving for a refreshing fruit complement to the creamy bars.
-
More Coconut: Increase the shredded coconut in the filling for those who simply can’t get enough coconut goodness!
-
Sweetness Tweaks: Adjust the sweetness by reducing the powdered sugar or substituting with honey or maple syrup for a natural sweetness.
-
Layered Delight: Create an additional layer with lemon curd underneath the whipped cream for a zesty contrast to the sweet coconut filling.
With all these options, each slice can bring a unique twist. For an added treat, you might enjoy serving them alongside our delightful Coconut Pineapple Cheesecake for an impressive dessert spread!
What to Serve with Coconut Cream Dream Bars
Pairing these bars with the right accompaniments can elevate your dessert experience, making it even more memorable.
-
Fresh Pineapple Salsa: The sweet-tangy flavors and juicy texture of fresh pineapple salsa provide a bright, refreshing contrast to the creamy bars. It adds a tropical flair that will have your guests coming back for seconds.
-
Coconut Sorbet: For a refreshing and light finish, serve a scoop of coconut sorbet alongside the bars. The icy texture complements the creamy goodness, creating a delightful play on flavors and temperatures.
-
Iced Tea with Mint: A glass of iced tea infused with fresh mint offers a cooling beverage option that balances the rich sweetness of the bars. The fragrant mint enhances the tropical feel and refreshes the palate.
-
Key Lime Pie Bites: For a fun twist, consider serving mini key lime pie bites with your Coconut Cream Dream Bars. The zesty flavor acts as a perfect counterpoint to the creamy, coconut-rich dessert, creating a dynamic dessert platter.
-
Chocolate-Covered Strawberries: The sweet and juicy strawberries coated in rich chocolate create an indulgent pairing. Their burst of flavor adds a fruity element that harmonizes beautifully with the richness of the bars.
-
Chilled Coconut Water: Refreshing and hydrating, chilled coconut water serves as a perfect drink to wash down the dessert. Its natural sweetness and lightness complement the creamy texture of the Coconut Cream Dream Bars without overpowering them.
Elevate your dessert serving by considering these perfect pairings that bring out the best in your Coconut Cream Dream Bars!
Coconut Cream Dream Bars Recipe FAQs
What should I look for when selecting coconut for this recipe?
Absolutely! For the best flavor, look for fresh, unsweetened shredded coconut, ideally from a package without preservatives. If you enjoy a sweeter touch, sweetened varieties are also great! When choosing, ensure there are no dark spots all over, which can indicate spoilage.
How should I store Coconut Cream Dream Bars?
Store leftover Coconut Cream Dream Bars in an airtight container in the refrigerator for up to one week. This will help preserve their creamy texture and keep them tasting fresh. I often place a piece of wax paper between the layers to avoid sticking!
Can I freeze Coconut Cream Dream Bars?
Yes, you can freeze them! Individually wrap each bar in plastic wrap and then place them in a freezer-safe bag. They can be stored in the freezer for up to three months. When you’re ready to enjoy them, simply move the bars to the refrigerator to thaw overnight or let them sit at room temperature for a couple of hours.
Is there a way to adapt this recipe for different dietary needs?
Very much so! For dairy-free options, simply substitute melted butter with coconut oil and use a dairy-free whipped topping. If gluten-free is your goal, swap out graham cracker crumbs for gluten-free alternatives. You can also use coconut milk instead of sweetened condensed milk to lighten it up.
What if my bars are too soft after baking?
If you find your Coconut Cream Dream Bars are too soft, it may be due to underbaking. Make sure to bake the filling until it’s set and lightly golden, as suggested! After baking, allowing them to cool completely at room temperature before chilling is crucial—this helps them firm up nicely. If you follow these steps and they are still soft, chilling them for a longer time can help.
Are there any specific allergies I need to be aware of?
Absolutely! This recipe contains dairy and gluten due to butter and graham crackers. Also, if you’re sensitive to coconut or any of its products, this dessert may not be suitable for you. Always check labels for allergens, particularly with sweetened condensed milk and other pre-packaged ingredients.
Coconut Cream Dream Bars: Your Ultimate Summer Indulgence
Ingredients
Equipment
Method
- Preheat your oven to 350°F (175°C). Grease a 9x9-inch baking dish.
- Combine graham cracker crumbs with melted butter. Press into the baking dish and bake for 8–10 minutes until golden.
- Mix sweetened condensed milk, shredded coconut, and powdered sugar in a bowl until smooth. Pour over crust.
- Bake for an additional 15–20 minutes. Allow to cool at room temperature.
- Whip heavy cream with vanilla extract until soft peaks form. Spread over cooled filling.
- Sprinkle toasted coconut flakes on top. Chill for at least 2 hours before serving.
Leave a Reply