
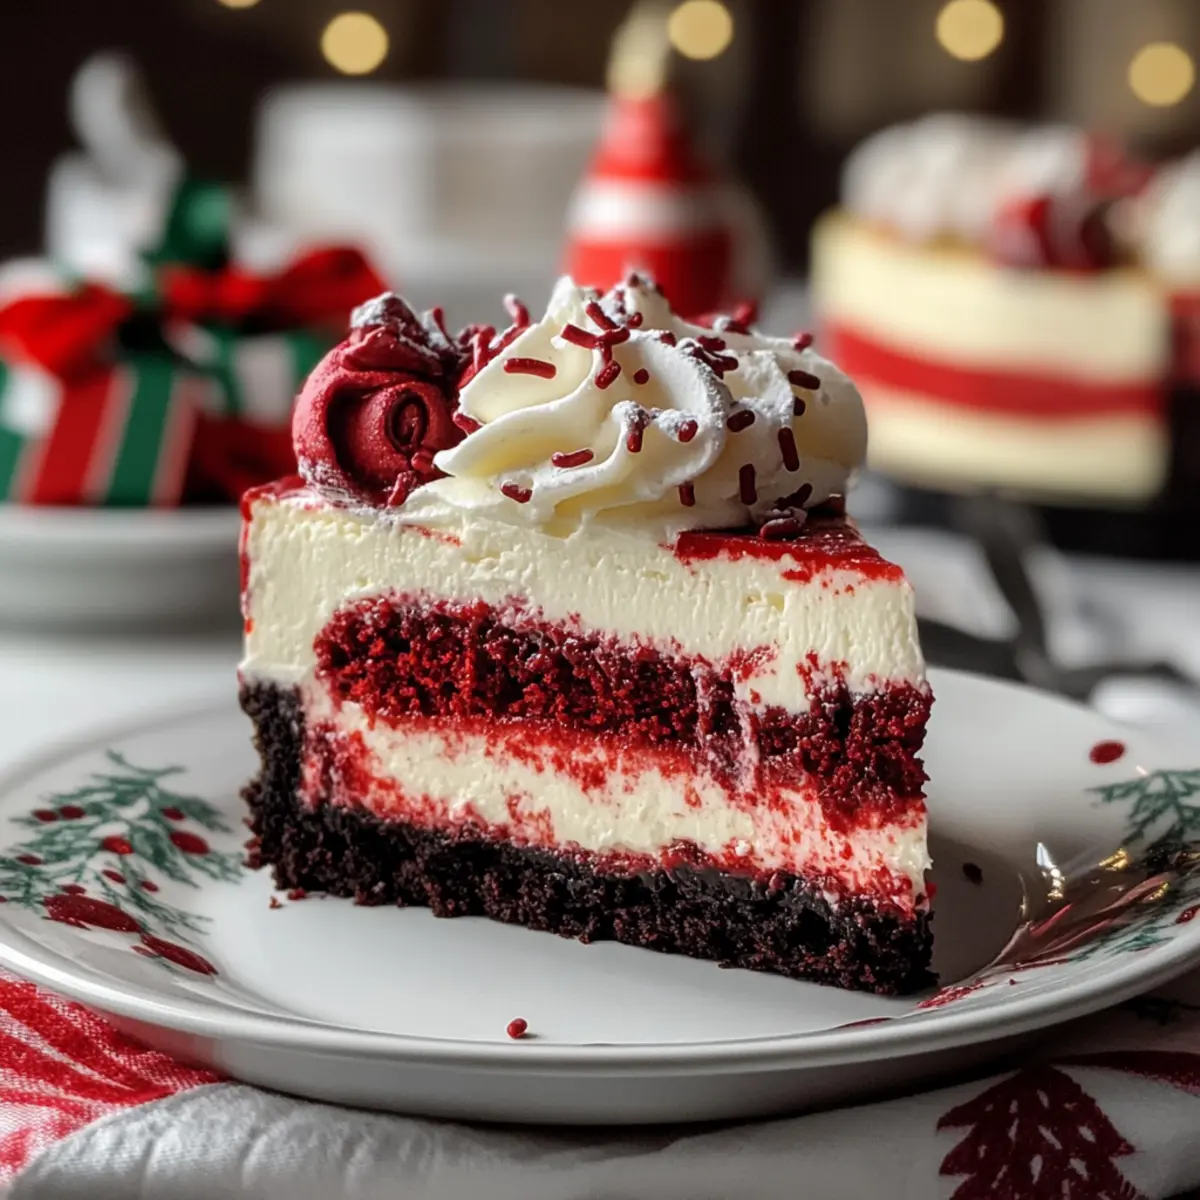
As the holiday season approaches, the excitement fills the air—and what better way to celebrate than with a stunning Christmas Red Velvet Cheesecake? This indulgent dessert is not just a treat for your taste buds; it’s a feast for the eyes with its vibrant red layers and creamy white frosting. What makes it truly special is its perfect balance between rich cream cheese and the subtle cocoa notes that make every bite a delightful experience. Whether you’re hosting a festive gathering or simply looking for a sweet escape, this cheesecake is a crowd-pleaser that’s surprisingly easy to make. Plus, it’s sure to elevate your holiday dessert table to new heights! Are you ready to dive into this indulgent masterpiece?
Why is This Cheesecake a Must-Bake?
Irresistible Flavor: The fusion of rich cheesecake with the subtle cocoa flavor of red velvet creates a taste sensation that’s simply unforgettable.
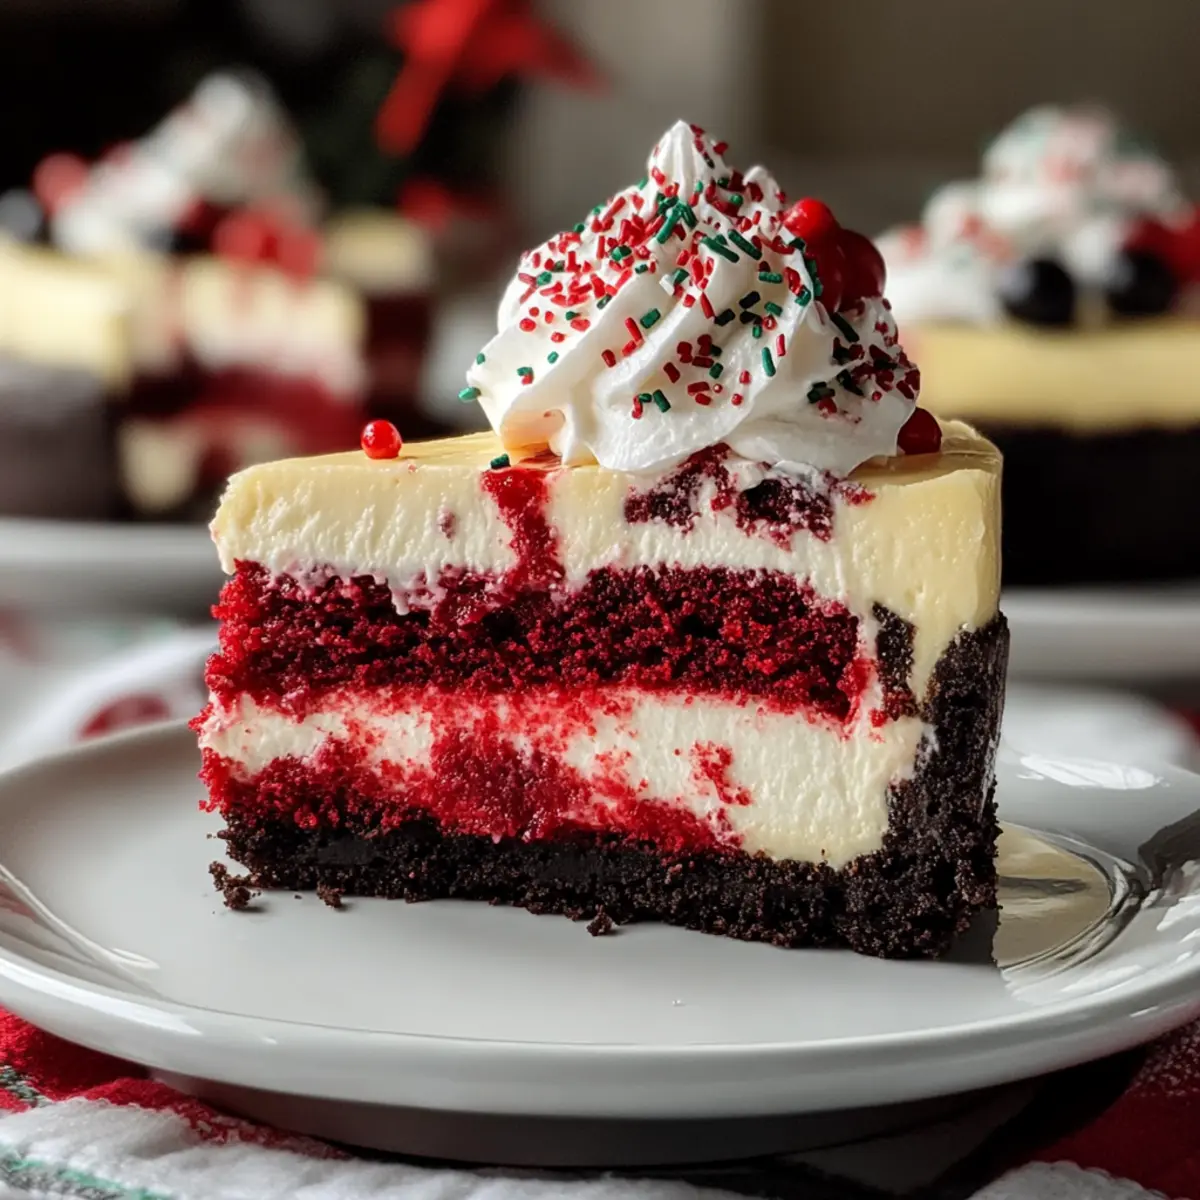
Visually Stunning: Its vibrant red layers are topped with fluffy white frosting, making it the perfect centerpiece for holiday gatherings.
Easy to Make: With straightforward steps, even novice bakers can create this stunning dessert.
Versatile Options: Feel free to swap the cookie crust or incorporate citrus zest for a unique twist that suits your palate.
Crowd-Pleaser: Impress your guests with a dessert that sparks joy and holiday cheer—perfect for any celebration!
For a delightful variation, check out my Peach Cobbler Cheesecake or for an exotic flavor profile, try the Coconut Pineapple Cheesecake.
Christmas Red Velvet Cheesecake Ingredients
• Discover the magic behind this festive dessert!
For the Crust
- Oreo Cookies – Provides a deliciously rich and crunchy crust; substitute with chocolate cookie crumbs if preferred.
- Butter (Melted) – Binds the crust together and adds richness; can use coconut oil for a dairy-free version.
For the Cheesecake Filling
- Cream Cheese (4 x 8 oz) – Key for the cheesecake filling, achieving a creamy texture; use mascarpone for a slightly different flavor.
- White Sugar (½ cup + 2 tbsp) – Adds sweetness to balance the flavors; can substitute with granulated sugar or a sugar alternative.
- Heavy Whipping Cream (2 cups) – Whipped to soft peaks, adds volume and lightness to the filling; use plant-based cream for a dairy-free option.
- Vanilla Extract (1 tsp) – Enhances flavors; use pure vanilla for best results.
- Cocoa Powder (2 tbsp) – Contributes the chocolate flavor to the red velvet; Dutch-process cocoa gives a richer taste.
- Red Food Coloring – Provides vibrant color to the cheesecake; gel coloring is recommended for better color saturation.
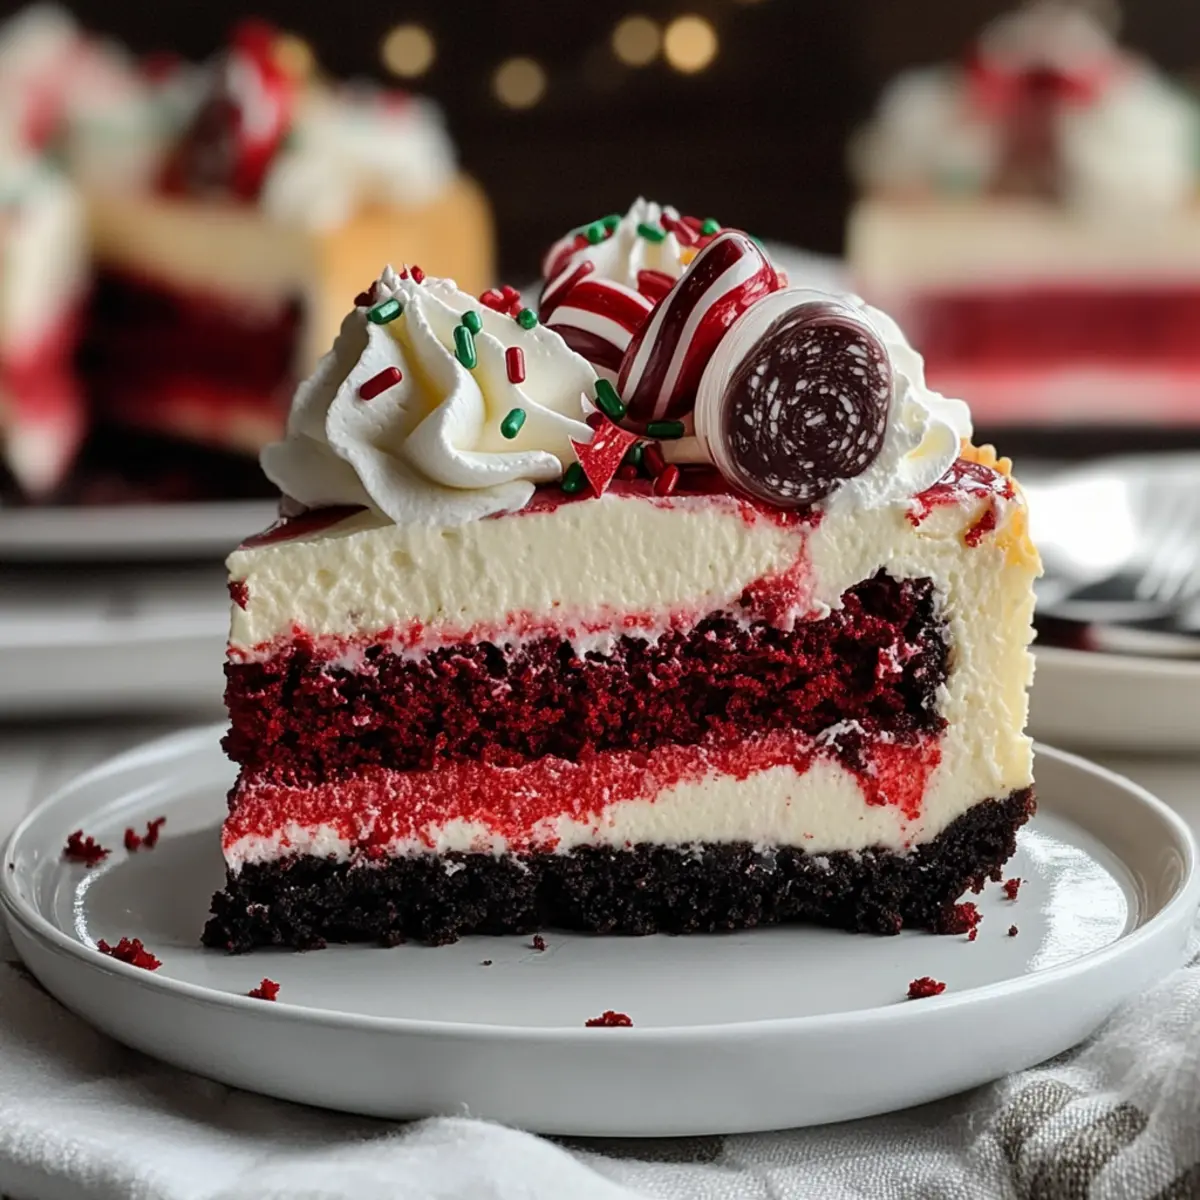
- Christmas Sprinkles (¼ cup + extra for garnish) – Adds festive flair to the filling and decoration; other decorative options include crushed candy canes.
For the Topping
- Whipped Cream – A light, fluffy layer atop the cheesecake; can use stabilized whipped cream for better holding.
- Mini Oreos (for garnish) – Adds charm and texture; use any small festive cookies for a similar effect.
Step‑by‑Step Instructions for Christmas Red Velvet Cheesecake
Step 1: Prepare Pan & Oven
Begin by preheating your oven to 350°F (175°C). To prevent any water leaks, prepare a 9-inch springform pan by wrapping the outside with aluminum foil. This crucial step ensures that your Christmas Red Velvet Cheesecake remains moist during the baking process, so take your time to secure the foil adequately.
Step 2: Make the Red Velvet Crust
In a food processor, crush approximately 24 Oreo cookies into fine crumbs. Combine these crumbs with melted butter and a bit of sugar until thoroughly mixed. Press the mixture firmly into the bottom of your prepared springform pan, creating a solid base. Bake for 8-10 minutes, or until fragrant, then allow the crust to cool completely before moving on.
Step 3: Prepare Cheesecake Filling
In a large mixing bowl, beat 4 packages of room-temperature cream cheese until smooth and creamy. Gradually add sugar, vanilla extract, cocoa powder, and red food coloring, mixing until well combined. Gently fold in 2 cups of whipped heavy cream and ¼ cup of Christmas sprinkles, ensuring a light and airy texture before pouring this luscious mixture over the cooled crust.
Step 4: Bake the Cheesecake
Reduce the oven temperature to 325°F (160°C) and create a water bath by placing the springform pan in a larger baking dish filled with water. Bake the cheesecake for 1 to 1.25 hours. You’ll know it’s ready when the edges are set and the center jiggles slightly, achieving a perfect consistency for your Christmas Red Velvet Cheesecake.
Step 5: Cool & Chill
Turn off the oven and leave the cheesecake inside with the door ajar for about 1 hour, helping it cool gradually. Afterward, transfer it to a wire rack to cool for another 2-3 hours. Finally, cover and refrigerate for at least 6-8 hours, or preferably overnight, allowing the flavors to meld beautifully.
Step 6: Decorate & Serve
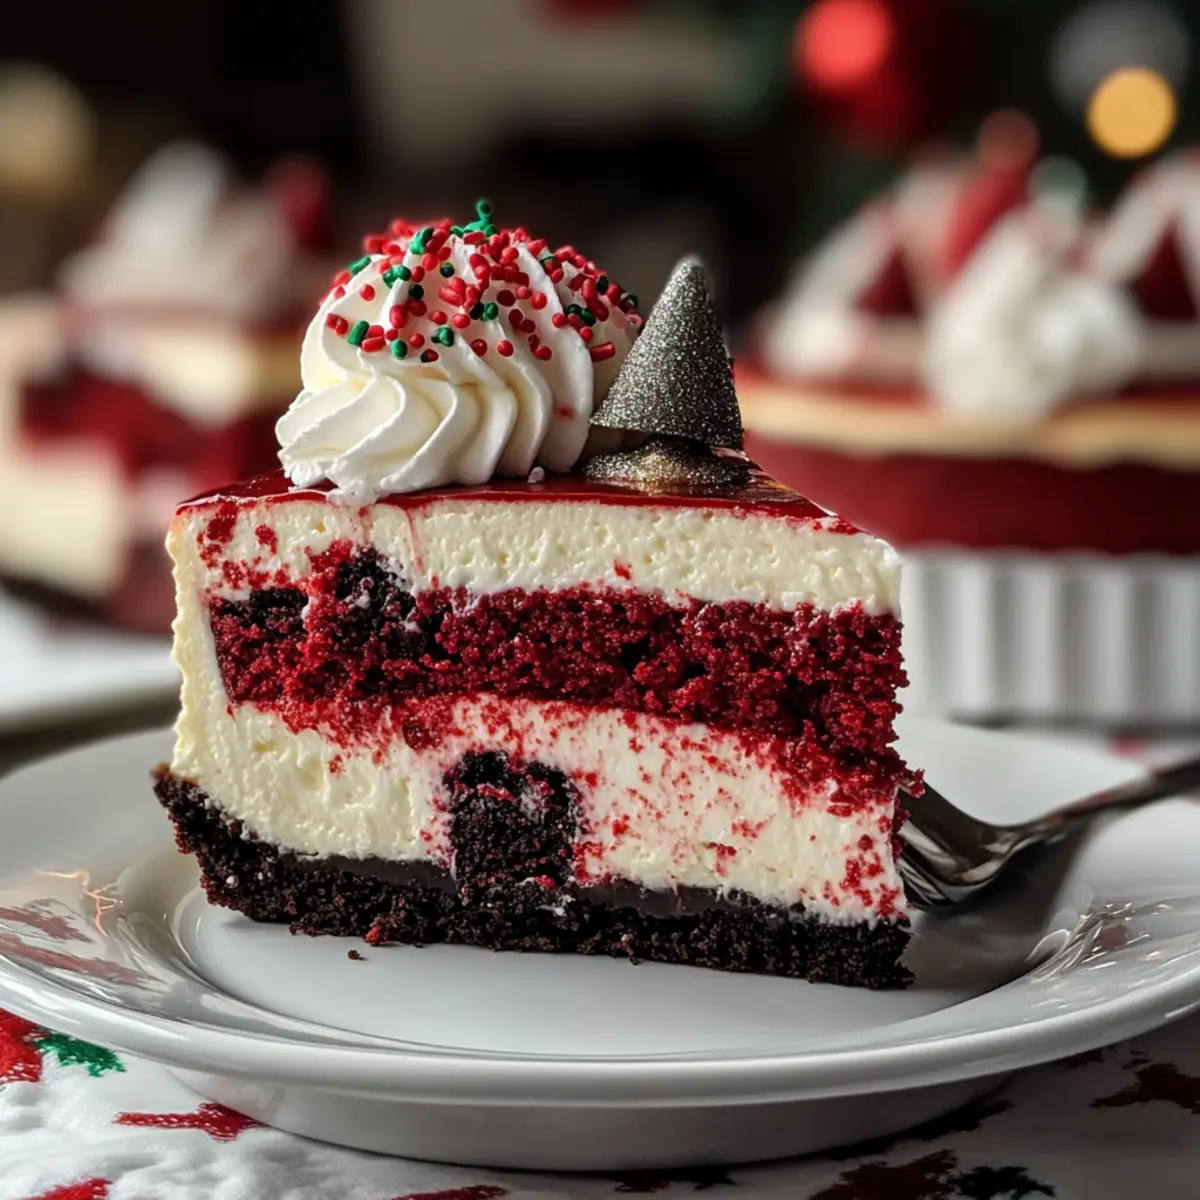
Once fully chilled, carefully remove the cheesecake from the springform pan. Top it generously with freshly whipped cream and sprinkle the top with mini Oreos and additional Christmas sprinkles for that festive touch. When serving, slice with a hot knife for clean edges, showcasing the stunning layers of this Christmas Red Velvet Cheesecake that will wow your guests!
What to Serve with Christmas Red Velvet Cheesecake
As you gather around the table with loved ones, these delightful pairings will create a joyful and festive meal experience.
-
Rich Coffee: A robust cup of coffee serves as the perfect contrast, enhancing the sweetness of the cheesecake while balancing its creamy texture.
-
Vanilla Ice Cream: Creamy vanilla ice cream adds a luscious touch that melts beautifully against the cheesecake’s richness, creating a harmonious dessert experience.
-
Fresh Berries: A mix of tart raspberries and sweet strawberries provide a refreshing burst of flavor that complements the dense cheesecake and cuts through its richness.
-
Sparkling Wine: The effervescence of a nice prosecco or champagne elevates the celebration, making every bite and sip feel luxurious and special.
-
Chocolate Ganache Drizzle: A decadent chocolate ganache adds an extra layer of richness and brings an indulgent twist to the festive dessert.
-
Peppermint Bark: This sweet and crunchy treat, crumbled on top or served on the side, adds a festive zing and a delightful contrast in texture.
-
Holiday Spiced Hot Chocolate: Cozy up with a cup of spiced hot chocolate, whose warmth enhances the comfort of the cheesecake, making it perfect for chilly evenings.
-
Nutty Biscotti: Crunchy biscotti offers a delightful texture contrast and a nutty flavor that pairs well with the cheesecake.
-
Citrus Salad: A light, zesty citrus salad cuts through the creaminess, refreshing your palate between bites of the luxuriously rich cheesecake.
Christmas Red Velvet Cheesecake Variations
Feel free to explore these delightful twists that can make the Christmas Red Velvet Cheesecake even more your own!
-
Ginger Snap Crust: Swap out the Oreo crust for a crushed ginger snap crust for a spicy twist that perfectly complements the cheesecake’s richness. The combination of flavors will transport you to a cozy winter evening!
-
Citrus Zest: Incorporate a tablespoon of orange or lemon zest into the cheesecake filling. This bright addition will elevate the flavors, providing a refreshing contrast to the richness of the cream cheese. A dash of brightness can truly transform your dessert!
-
Flavored Whipped Cream: For a fun topping, try infusing your whipped cream with peppermint extract or almond extract. This small change brings an unexpected burst of flavor that adds depth and surprise, making each bite irresistibly festive.
-
Mini Ramekins: Consider baking the cheesecake in individual ramekins instead of a large springform pan. Not only does this create lovely personal servings, but it also makes for an impressive presentation at holiday gatherings. Perfect for portion control!
-
Chocolate Ganache: Drizzle warm chocolate ganache over the top for an indulgent finish. This luscious layer will add a rich texture and a touch of elegance, turning your cheesecake into an extravagant holiday treat.
-
Crushed Candy Canes: Give your cheesecake a festive crunch by adding crushed candy canes to the filling or as a garnish. The color and texture will make your dessert sparkle visually while enhancing that holiday spirit!
-
Dairy-Free Version: Substitute cream cheese and heavy cream with plant-based alternatives to create a delicious dairy-free cheesecake. This version still holds on to the holiday charm, ensuring everyone can indulge.
For more sweet inspiration, consider trying my Cherry Cheesecake Swirl Brownies or the festive delight of a Christmas Tree Cheesecake. Enjoy customizing your cheesecake experience!
Expert Tips for Christmas Red Velvet Cheesecake
-
Room Temperature Cream Cheese: Ensure your cream cheese is at room temperature for the smoothest filling and to prevent lumps.
-
Water Bath Technique: Baking in a water bath ensures even heat distribution. This helps prevent cracks, making your Christmas Red Velvet Cheesecake look flawless.
-
Cooling is Crucial: Don’t rush the cooling process. Letting the cheesecake cool gradually in the oven helps maintain its texture and prevent sinking.
-
Clean Slices: For beautifully presented slices, dip your knife in hot water before each cut. Wipe it clean between slices for a stunning reveal.
-
Use Quality Ingredients: Opt for high-quality cocoa powder and gel food coloring for the best color and flavor in your cheesecake, elevating your dessert experience.
How to Store and Freeze Christmas Red Velvet Cheesecake
Room Temperature: It’s best to avoid leaving cheesecake at room temperature for more than 2 hours to ensure freshness and safety.
Fridge: Store leftovers in an airtight container in the refrigerator for up to 3-4 days. This will keep your Christmas Red Velvet Cheesecake creamy and delicious.
Freezer: For longer storage, wrap individual slices in plastic wrap and place them in an airtight container. They can be frozen for up to 2 months without compromising texture.
Reheating: When you’re ready to enjoy, thaw in the refrigerator overnight. If needed, allow slices to sit at room temperature for about 30 minutes before serving for the best flavor.
Make Ahead Options
One of the best things about this Christmas Red Velvet Cheesecake is how effortlessly it fits into your meal prep schedule! You can make the crust up to 3 days in advance; simply prepare it as directed and store it in an airtight container at room temperature. For the cheesecake filling, you can mix all the ingredients and refrigerate it for up to 24 hours before pouring it onto the crust. Just be sure to cover it tightly to prevent any odors from affecting the flavors. When ready to bake, simply pour the filling onto the crust and follow the baking instructions. You’ll have a stunning dessert that tastes just as delicious, while saving time for your busy holiday festivities!
Christmas Red Velvet Cheesecake Recipe FAQs
How do I select the perfect cream cheese for my cheesecake?
Absolutely! For a smooth and creamy filling, it’s best to use full-fat cream cheese that’s at room temperature. This allows for easier blending and prevents lumps in your Christmas Red Velvet Cheesecake. Look for brands with a rich and creamy texture; avoid low-fat versions as they can affect the overall consistency.
What’s the best way to store leftover cheesecake?
Very! To keep your Christmas Red Velvet Cheesecake fresh, store it in an airtight container in the refrigerator. It’ll stay delicious for up to 3-4 days. If you’ve cut the cheesecake into slices, make sure to wrap them well to prevent drying out!
Can I freeze Christmas Red Velvet Cheesecake? How?
Yes, you can! For optimal freezing, wrap individual slices tightly in plastic wrap, then place them in an airtight container or freezer bag. This helps to prevent freezer burn. Your cheesecake will last up to 2 months in the freezer. To enjoy, simply transfer it to the refrigerator for overnight thawing. If you want to eat it sooner, let it sit out at room temperature for about 30 minutes before serving.
What should I do if my cheesecake cracks while baking?
No worries! If you notice cracks, it’s often due to the cheesecake baking too quickly. To avoid this, always use a water bath during baking, which helps regulate the temperature—this is essential for keeping your Christmas Red Velvet Cheesecake smooth and intact. Ensure your oven temperature is accurate and avoid opening the oven door too frequently, as this can cause fluctuations in heat.
Is there a way to adapt this recipe for people with dietary restrictions?
Absolutely! If you’re catering to dietary preferences, you can substitute several ingredients in your Christmas Red Velvet Cheesecake. Use coconut oil instead of butter for a dairy-free version, and opt for a dairy-free cream cheese and heavy whipping cream alternative. Additionally, for a gluten-free option, simply swap the Oreo crust with ground gluten-free chocolate cookies.
Can I use homemade whipped cream for the topping?
Very! Using homemade whipped cream is a fantastic idea! For the best results, whip heavy cream with a bit of powdered sugar and vanilla extract until it reaches soft peaks. This will provide a light, airy topping that complements the richness of your cheesecake beautifully. Just remember to add it right before serving for the freshest taste!
Delicious Christmas Red Velvet Cheesecake to Wow Your Guests
Ingredients
Equipment
Method
- Preheat the oven to 350°F (175°C) and prepare a 9-inch springform pan by wrapping the outside with aluminum foil.
- Crush Oreo cookies in a food processor, combine with melted butter and press into the prepared pan. Bake for 8-10 minutes, then cool.
- In a large bowl, beat the cream cheese until smooth. Gradually add sugar, vanilla, cocoa powder, and red food coloring, mixing well.
- Fold in the whipped cream and Christmas sprinkles before pouring the mixture over the cooled crust.
- Reduce oven temperature to 325°F (160°C) and place the springform pan in a water bath. Bake for 1 to 1.25 hours until set.
- Turn off the oven and leave the cheesecake inside for about 1 hour. Transfer to a wire rack to cool for another 2-3 hours, then refrigerate.
- Once chilled, remove from the pan and top with whipped cream, mini Oreos, and additional sprinkles. Slice with a hot knife for clean edges.
Leave a Reply