
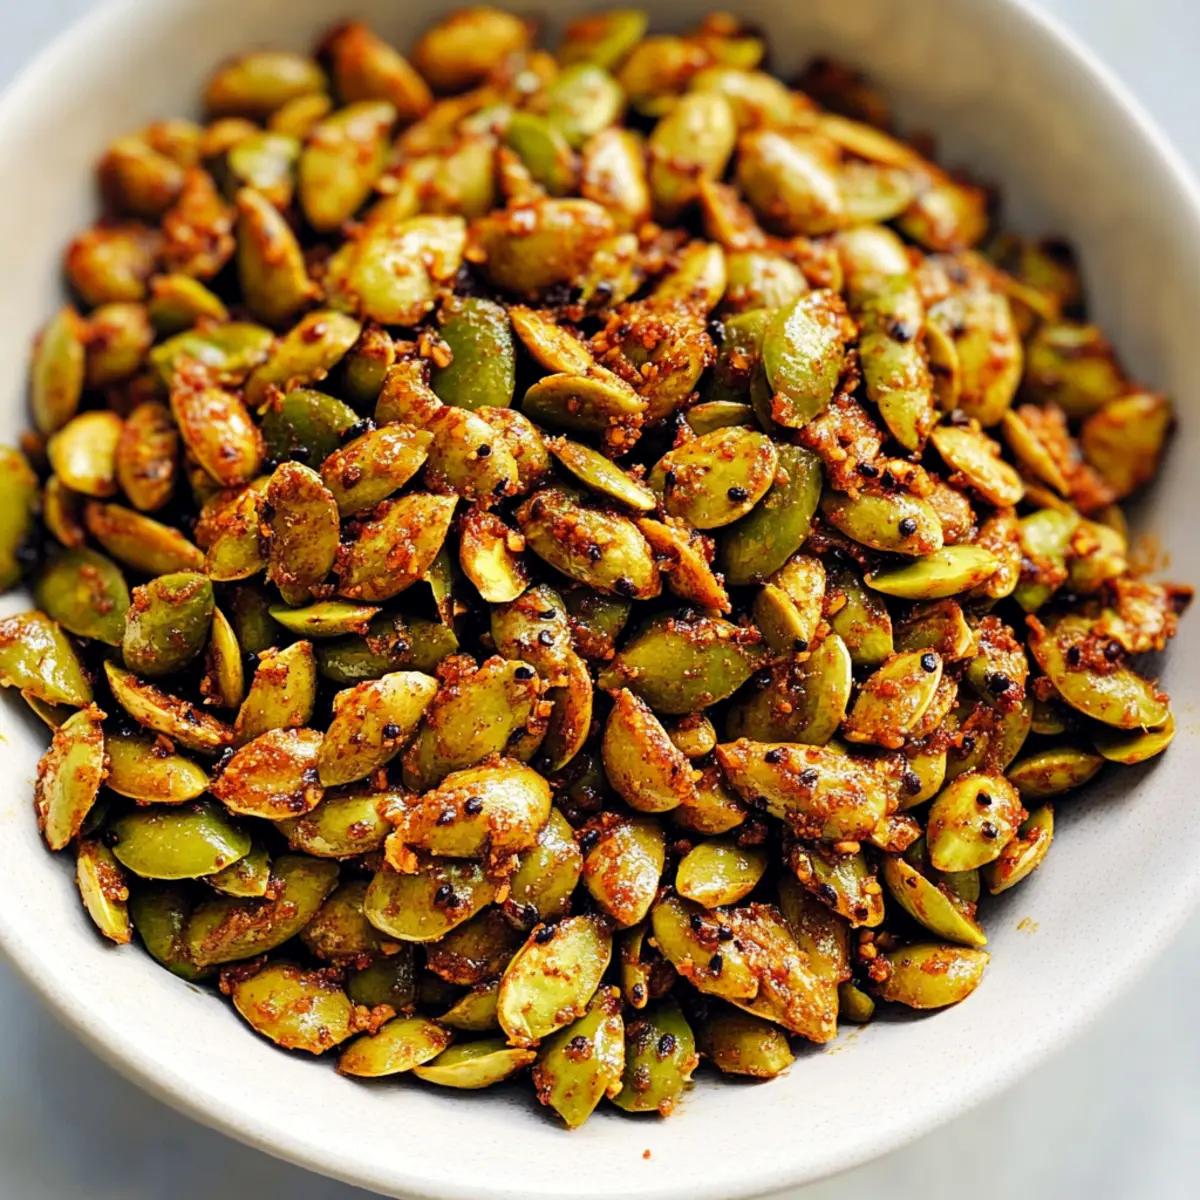
As I stood in my kitchen, the aroma of roasted pepitas filled the air, transporting me back to lazy afternoons spent snacking on homemade goodies. These Roasted Chili Lime Pepitas are a game-changer that I can whip up in just 15 minutes, and they offer a tantalizing crunch that’s perfect for satisfying cravings—whether you’re on the go or simply enjoying a night in. With only three simple ingredients, this gluten-free and vegan delight is not only a healthy snack but also a luscious addition to salads, soups, or my favorite avocado toast. Plus, they’re loaded with protein and fiber, making them both nourishing and irresistible to munch on. Curious to see how these little gems can elevate your snacking game?
Why are Chili Lime Pepitas so beloved?
Quick Preparation: You’ll adore how these pepitas come together in just 15 minutes, making them perfect for busy days.
Nutritious Crunch: Packed with protein and fiber, these snacks are a healthy alternative to traditional munchies.
Flavor Explosion: The vibrant mix of chili and lime creates a tantalizing punch that keeps your taste buds dancing.
Versatile Snack: Enjoy them on their own or add to salads and soups for a delightful twist—check out how well they go with Oven Fried Feta!
Crowd-Pleasing Treat: With their irresistible crunch, they’re guaranteed to impress friends and family at any gathering.
Chili Lime Pepitas Ingredients
Get ready to make your new favorite snack!
For the Pepitas
- Pepitas – Use untoasted, unsalted pepitas for a wonderfully nutty flavor and crunchy texture.
- Olive Oil – This enriches the pepitas and ensures they crisp up nicely; feel free to replace it with a neutral oil if needed.
- Tajin – Adds the signature chili-lime zest; it’s widely available in stores or online, but you can swap it for lime zest and chili powder if you can’t find it.
- Cayenne (optional) – Sprinkle this in for an extra kick of heat, depending on your spice tolerance!
Enjoy creating these Chili Lime Pepitas for a quick and healthy snack!
Step‑by‑Step Instructions for Chili Lime Pepitas
Step 1: Preheat Oven
Begin by preheating your oven to 350°F (177°C). This temperature is perfect for roasting, allowing your chili lime pepitas to achieve that delightful crunch. While the oven heats, grab a baking sheet and line it with parchment paper—this will prevent sticking and make cleanup a breeze.
Step 2: Prepare Pepitas
Spread the untoasted, unsalted pepitas evenly across the prepared baking sheet. Drizzle with a generous tablespoon of olive oil, ensuring every pepita gets a lovely coat. Use your hands or a spatula to toss them gently, making sure they are well covered in oil for that perfect crispness in every bite.
Step 3: Seasoning
Now it’s time for flavor! Evenly sprinkle tajin over the oiled pepitas, followed by cayenne if you’re feeling adventurous. Toss the pepitas again until they are thoroughly seasoned, creating a beautiful blend of spicy and tangy flavors that will shine through once roasted.
Step 4: Bake
Place the baking sheet in the preheated oven and bake for 13 to 15 minutes. Keep an eye on your chili lime pepitas and stir them halfway through for even roasting. You’ll know they’re ready when they turn a rich golden brown and fill your kitchen with a mouthwatering aroma.
Step 5: Cool & Adjust Seasoning
Once baked, remove the pepitas from the oven and let them cool slightly on the baking sheet. This step is crucial, as they will become even crunchier as they cool. After a few minutes, taste your roasted chili lime pepitas, and feel free to sprinkle on more tajin or cayenne if you’d like an extra flavor kick.
Step 6: Store Properly
Once completely cooled, transfer your delicious chili lime pepitas to an airtight container. Store them at room temperature for up to a week. This ensures every bite maintains its irresistible crunch, ready to satisfy your snacking needs!
Expert Tips for Chili Lime Pepitas
-
Choose Quality Pepitas: Select high-quality, untoasted, unsalted pepitas for the best nutty flavor and crunchiness. Avoid pre-roasted varieties, as they may burn faster.
-
Season Well: Don’t be shy with the tajin! It provides essential flavor; however, feel free to adjust the cayenne to your heat preference. Taste before adding more.
-
Watch the Oven: Keep an eye on your pepitas around the 10-minute mark to ensure they don’t over-bake. They should be golden, fragrant, and crunchy when done.
-
Cooling Time Matters: Allow the chili lime pepitas to cool completely on the baking sheet to avoid sogginess. This crucial step guarantees maximum crunch!
-
Storage Smart: Store in an airtight container or freezer bag, but ensure they are cool first. This keeps your chili lime pepitas fresh for about a week.
Chili Lime Pepitas Variations & Substitutions
Feel free to get creative with your chili lime pepitas and discover new flavor profiles!
- Dairy-Free: Save some calories by replacing crunchy pepitas with nutritional yeast for a cheesy flavor twist.
- Sweet Kick: Drizzle honey over the pepitas before roasting for a sweet contrast to the spice.
- Flavor Boost: Add smoked paprika instead of cayenne for a deeper, smoky flavor without overpowering the crunch.
- Savory Upgrade: Stir in a bit of garlic or onion powder for an earthy dimension and enhanced flavor.
- Herb Infusion: Sprinkle fresh herbs like rosemary or thyme post-baking to elevate the taste profile.
- Nutty Adventure: Mix in some sesame seeds for an extra nuttiness and delightful crunch—just bake them on the same sheet!
- Zesty Alternative: Swap out the tajin for a homemade blend of lime zest and chili powder if you can’t find it locally.
- Spice Lovers: Toast crushed red pepper flakes alongside the pepitas for an intense heat that’ll thrill your palate while snacking!
For added inspiration, try these delicious pepitas alongside dishes like Oven Fried Feta or impress your guests with a unique snack platter!
How to Store and Freeze Chili Lime Pepitas
Room Temperature: Store your cooled chili lime pepitas in an airtight container at room temperature for up to 1 week to maintain their crunchy texture.
Fridge: While not necessary, you can refrigerate them in a sealed container for up to 2 weeks if you prefer a cooler snack. Just be aware they may lose some crunch.
Freezer: For longer storage, freeze your chili lime pepitas in a freezer-safe bag for up to 3 months. Thaw at room temperature before enjoying again.
Reheating: If you find them a bit soft after storage, pop them in a preheated oven at 350°F (177°C) for 5 minutes to restore their delightful crunch.
Make Ahead Options
These Roasted Chili Lime Pepitas are perfect for meal prep enthusiasts! You can prepare the pepitas up to 24 hours in advance. To do this, simply follow the first three steps of the recipe—preheating the oven, preparing, and seasoning the pepitas—but hold off on baking them. Store the seasoned pepitas in an airtight container in the refrigerator until you’re ready to roast them. When you’re ready to enjoy these flavorful snacks, just pop them in the oven, following the baking instructions, and they’ll turn out just as delicious as if you made them fresh that day! This makes your busy weeknights a breeze, allowing you to savor a crunchy, nutritious treat whenever you need a quick pick-me-up.
What to Serve with Roasted Chili Lime Pepitas
Elevate your snacking experience with a delightful assortment of pairings that perfectly complement their crunchy, tangy goodness.
-
Fresh Guacamole: The creamy avocado pairs beautifully with the crunchiness of the pepitas, enhancing every bite with freshness.
-
Crispy Salads: Add a sprinkle of these pepitas on your favorite green salad for an irresistible textural contrast and a protein boost.
-
Spicy Hummus: Serve alongside a zesty hummus dip; the flavors harmonize perfectly, making for an addictively tasty snack.
Adding roasted chili lime pepitas to soups not only adds nutrition but also a delightful crunch that tempers savory flavors beautifully.
-
Avocado Toast: Top your smashed avocado toast with these pepitas; their zesty crunch takes your breakfast or snack to a whole new level.
-
Roasted Vegetables: Use as a crunchy topping for roasted veggies, enhancing their flavors and providing a satisfying texture.
-
Chilled Gazpacho: Offer a side of these pepitas for a refreshing gaze at the summer harvest, combining crispy with the cold and juicy juice of the soup.
-
Sparkling Water with Lime: Balance the zesty flavors of the pepitas with a refreshing drink that cleanses your palate beautifully.
-
Dark Chocolate Squares: Serve alongside a piece of dark chocolate for a sweet-and-salty contrast that is simply heavenly!
Chili Lime Pepitas Recipe FAQs
What type of pepitas should I use?
Absolutely! For the best flavor and crunch, choose high-quality, untoasted, unsalted pepitas. These will provide a wonderful nutty taste without the risk of burning that often comes with pre-roasted varieties.
How should I store my roasted chili lime pepitas?
I recommend storing your cooled chili lime pepitas in an airtight container at room temperature for up to 1 week. This will keep them crisp and ready for snacking. If you prefer, you can also store them in the fridge for up to 2 weeks, but there’s a chance they might lose some crunch.
Can I freeze chili lime pepitas?
Yes, you can! For longer storage, pop your chili lime pepitas into a freezer-safe bag and freeze them for up to 3 months. When you’re ready to enjoy them again, simply thaw at room temperature. For that fresh-out-of-the-oven crunch, reheat them in a preheated oven at 350°F (177°C) for about 5 minutes.
What should I do if my pepitas burn while baking?
Very! If your pepitas burn, don’t worry. Next time, keep a close eye on them towards the end of the baking time. They should turn golden brown and be fragrant, usually within 13 to 15 minutes. If you’re unsure, check them at about the 10-minute mark and give them a stir for even roasting.
Are chili lime pepitas safe for my pets?
It’s best to avoid giving chili lime pepitas to your pets. The spices and salt can be harmful to them. If you’re looking for a pet-friendly treat, consider plain, unsalted pepitas as a healthy snack for your furry friends!
Can I use different spices or flavors?
Absolutely! While this recipe calls for tajin and optional cayenne for spice, feel free to experiment. Smoked paprika can lend a unique flavor twist, or you could even add a light dusting of cinnamon for a sweet version. The possibilities are endless, so don’t be afraid to get creative!
Chili Lime Pepitas: Quick, Crunchy & Totally Irresistible
Ingredients
Equipment
Method
- Preheat your oven to 350°F (177°C) and line a baking sheet with parchment paper.
- Spread the pepitas on the baking sheet and drizzle with olive oil, tossing to coat.
- Sprinkle tajin and cayenne over pepitas and toss again to evenly season.
- Bake for 13 to 15 minutes, stirring halfway, until golden brown.
- Let cool on the baking sheet before adjusting seasoning.
- Transfer to an airtight container once completely cooled.
Leave a Reply