
As I stood in my kitchen surrounded by the warm, inviting scents of citrus and cinnamon, an idea struck me—what if I merged the rich, creamy allure of cheesecake with the timeless charm of cannoli? Enter my Cannoli Cheesecake Bars, where exquisite Italian tradition meets effortless baking. These bars are not only a showstopper perfect for your gatherings, but they also make life easier with their make-ahead convenience. Whether you’re preparing a cozy family night or impressing friends at a festive get-together, these customizable treats cater to a variety of dietary needs—gluten-free, lactose-free, or just plain delicious! So, are you ready to dive into a slice of creamy bliss that captures the essence of both desserts? Let’s make some magic in the kitchen!
Why Are Cannoli Cheesecake Bars So Irresistible?
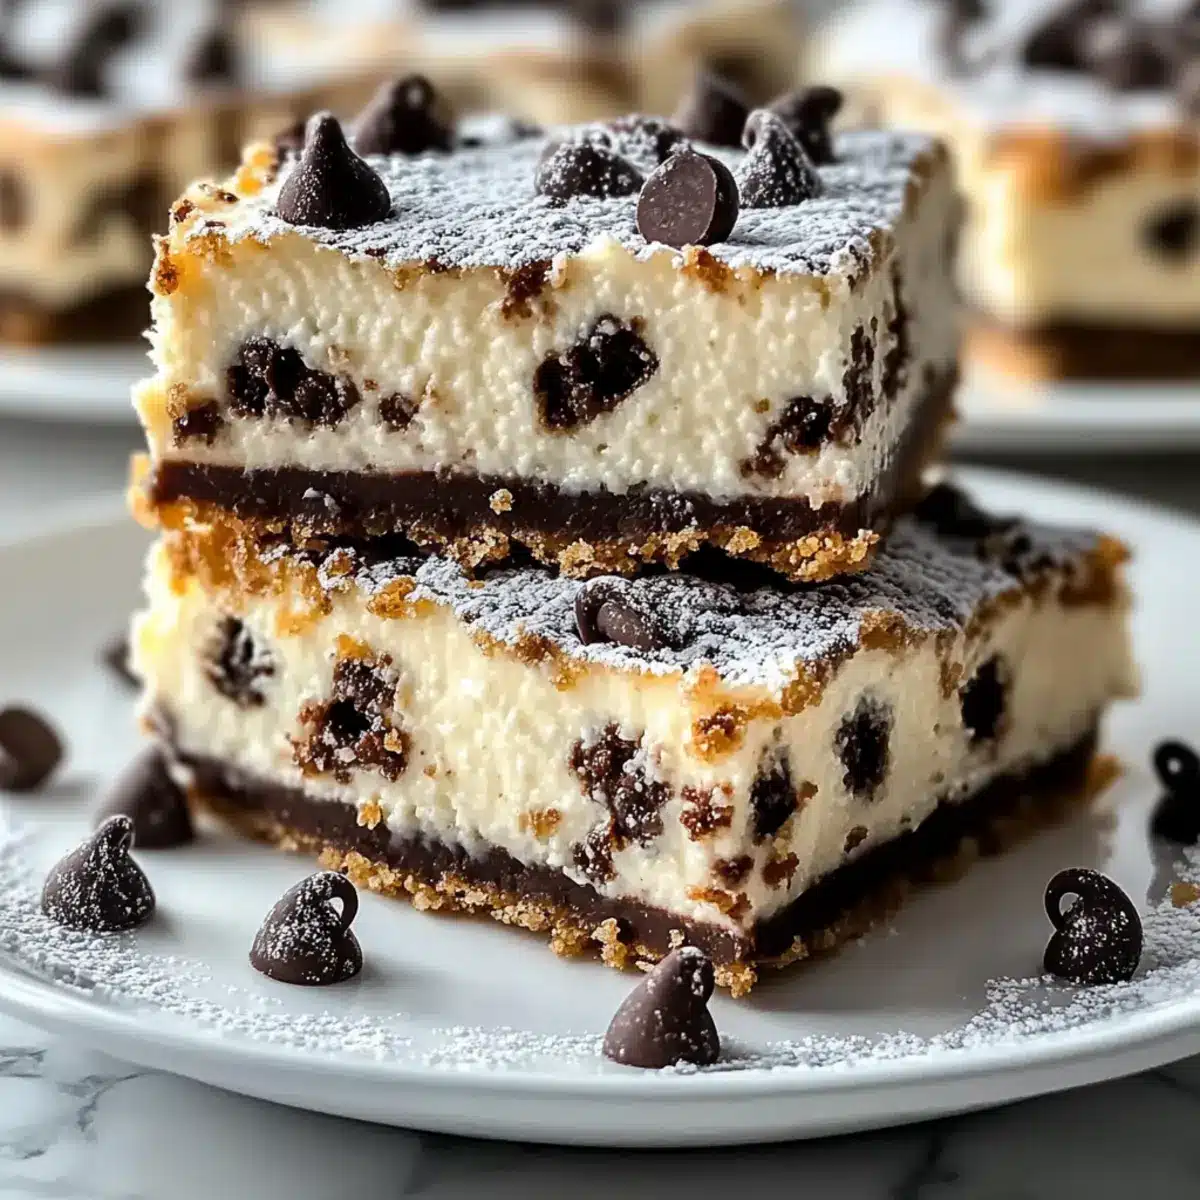
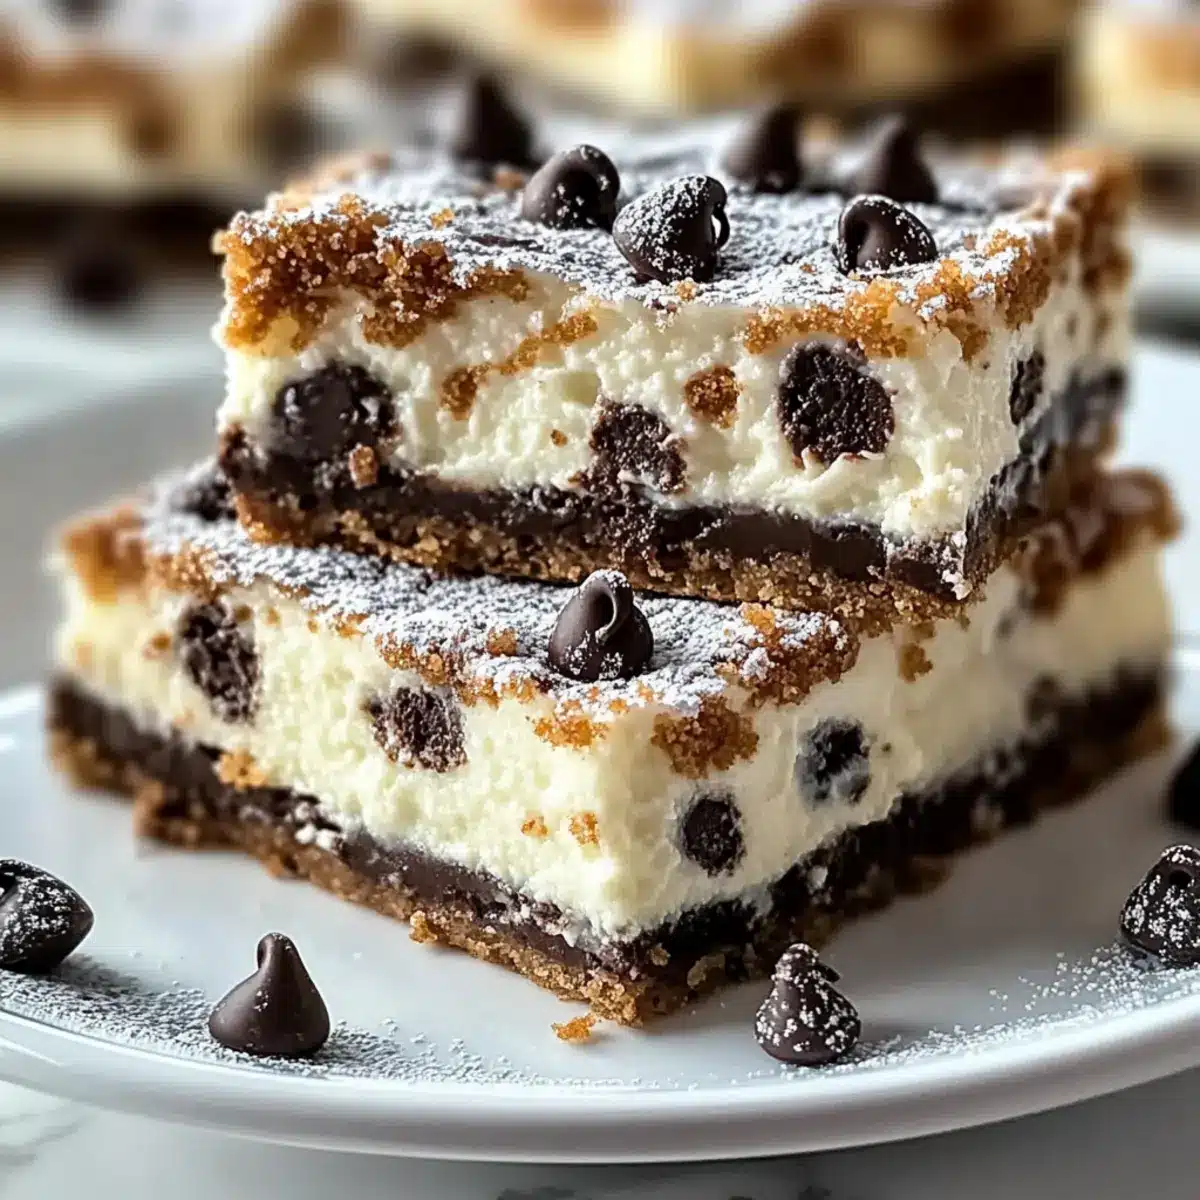
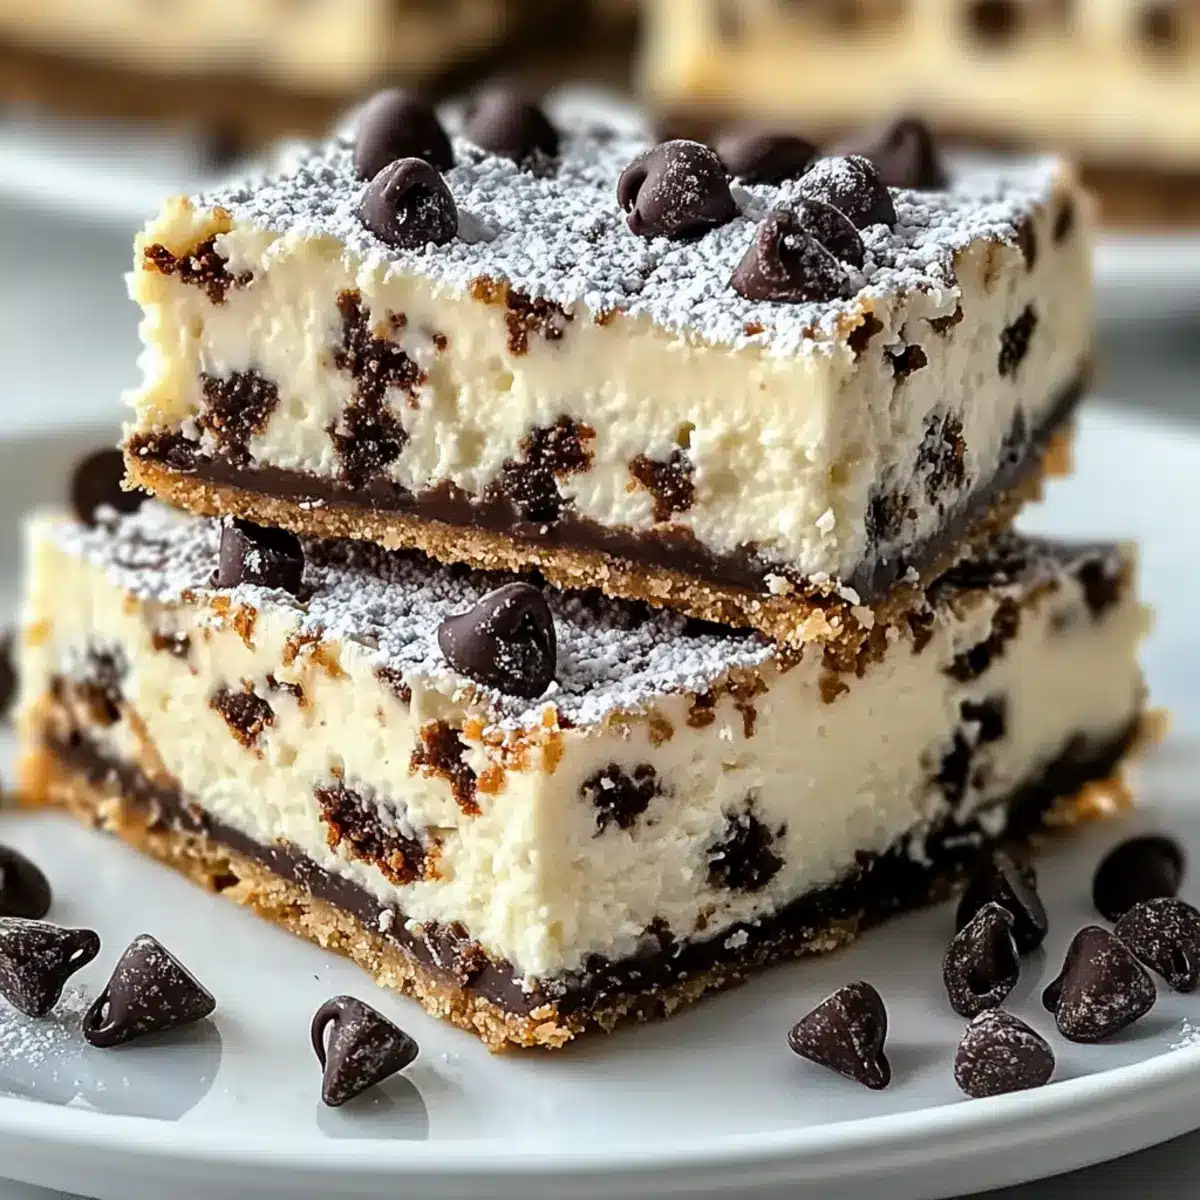
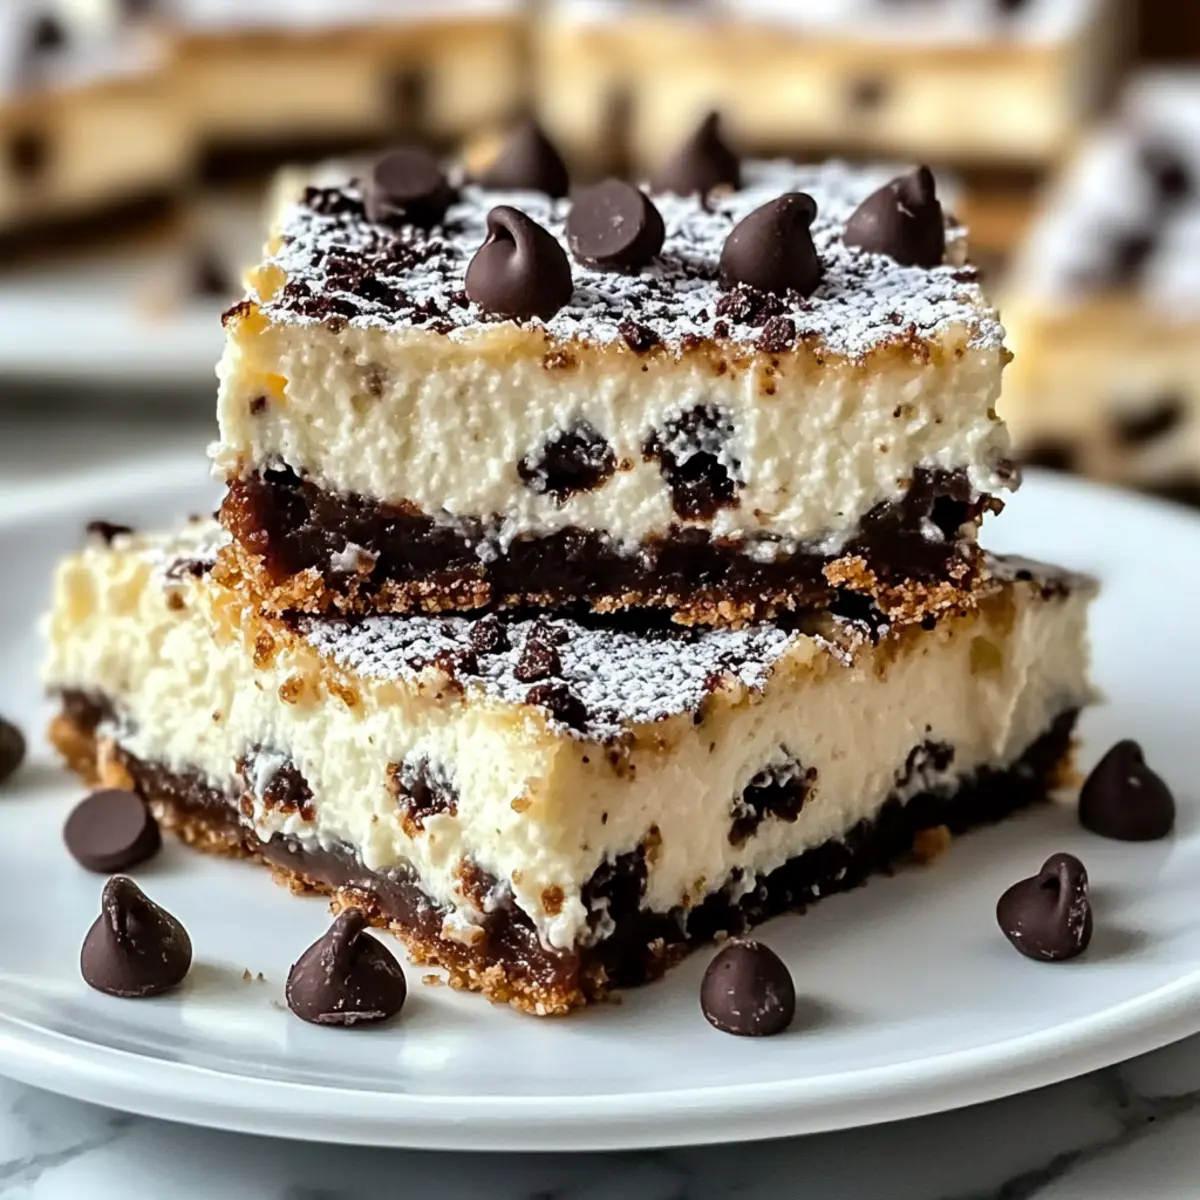
Creamy, Decadent Layers: The blend of ricotta and cream cheese creates a rich filling that melts in your mouth.
Easy to Make Ahead: Prepare these bars in advance to save time—perfect for busy days!
Customizable Delight: Whether you prefer the classic recipe or want a twist with our Chocolate Lovers’ Cannoli Bars, the options are endless!
Dietary-Friendly Options: These bars can easily cater to dietary restrictions, making them a hit at any gathering.
Showstopper Appeal: They are not just delicious but also visually stunning, leaving your guests impressed and craving more!
With options like our Mini Versions and Dairy-Free Delight, there’s something for everyone.
Cannoli Cheesecake Bars Ingredients
For the Crust
• Graham Cracker Crumbs – The base for the crust; substitute with biscotti for a unique flavor twist.
• Unsalted Butter – Binds the crust together; make sure it’s melted for optimal mixing.
• Granulated Sugar – Adds sweetness; reduce if you prefer a less sweet crust.
For the Filling
• Cream Cheese – Provides a rich, creamy texture; make sure it’s softened for easy blending.
• Ricotta Cheese – The star of the filling, ensuring creaminess; drain well to keep the bars from being watery.
• Powdered Sugar – Sweetens the filling beautifully; feel free to swap with honey for a different sweetness level.
• Eggs – Serves as a binder; beat until pale yellow for the best results.
• Vanilla Extract – Enhances the flavor; can be replaced with almond extract for a unique twist.
• Orange or Lemon Zest – Adds a refreshing burst of citrus flavor; use what you prefer or have on hand.
• Cinnamon – Gives warmth and a hint of spice to the filling.
• Mini Chocolate Chips – Provides delightful surprises throughout the bars; consider swapping with dark chocolate for a richer experience.
For Garnish
• Powdered Sugar – Dusting it on top enhances presentation; completely optional but recommended for that wow factor!
• Crushed Pistachios – Adds a lovely crunch and color; also optional for an extra touch of elegance.
These Cannoli Cheesecake Bars are a delicious fusion of flavors that will leave your guests wanting more. Enjoy bringing this crowd-pleaser to life!
Step‑by‑Step Instructions for Cannoli Cheesecake Bars
Step 1: Preheat the Oven
Begin by preheating your oven to 350°F (175°C). While it’s warming up, grab a 9×13-inch baking pan and grease it with butter or cooking spray to ensure your Cannoli Cheesecake Bars won’t stick. This step is crucial for achieving those beautifully clean-cut bars later on!
Step 2: Make the Crust
In a mixing bowl, combine graham cracker crumbs, melted butter, and granulated sugar. Use a fork or your hands to mix until the mixture resembles wet sand. Press this crumbly blend firmly into the bottom of your prepared pan to create an even crust. Bake it for 8 minutes, then remove from the oven and let it cool while you prepare the filling.
Step 3: Prepare the Filling
In a large mixing bowl, beat the softened cream cheese until it’s smooth and creamy. Gradually add the ricotta cheese, powdered sugar, beaten eggs, vanilla extract, citrus zest, and cinnamon. Mix everything until well incorporated and there are no lumps. For a delightful surprise, gently fold in mini chocolate chips that will enhance the Cannoli Cheesecake Bars’ texture.
Step 4: Bake the Filling
Once your filling is ready, pour it over the cooled crust, using a spatula to spread it evenly across the surface. Place the pan in the oven and bake for 35-40 minutes. You’ll know it’s ready when the center is set but slightly jiggles when you gently shake the pan. Don’t overbake, as you want that delightful creamy texture!
Step 5: Cool and Chill
After baking, remove the pan from the oven and allow the Cannoli Cheesecake Bars to cool at room temperature for about 30 minutes. Once they’ve cooled, transfer the pan to the refrigerator and chill for at least 4 hours, or preferably overnight. This chilling time helps the flavors meld beautifully and allows for easy slicing.
Step 6: Serve and Garnish
When you’re ready to serve, take the bars out of the fridge and cut them into squares. For a stunning presentation, dust the top with powdered sugar. You can also sprinkle crushed pistachios or chocolate chips on top, adding an extra touch of elegance to your Cannoli Cheesecake Bars before serving.
Expert Tips for Cannoli Cheesecake Bars
- Drain Ricotta: Make sure to drain the ricotta well before adding it to your filling to prevent watery Cannoli Cheesecake Bars. Use cheesecloth for best results.
- Chill Time Matters: Refrigerate the bars overnight for optimal flavor and texture; this also helps them set perfectly for clean slicing.
- Watch for Jiggle: Ensure the center jiggles slightly when baking. This will prevent overbaking and keep your bars beautifully creamy.
- Crust Customization: Feel free to use different cookies for the crust, such as biscotti or vanilla wafers, to create a unique flavor profile.
- Dairy-Free Options: For those with dietary restrictions, try using dairy-free cream cheese and ricotta alternatives to make these Cannoli Cheesecake Bars accessible for everyone.
Make Ahead Options
These Cannoli Cheesecake Bars are a fantastic choice for meal prep, making your life easier on busy days! You can prepare the crust up to 3 days in advance; simply store it in an airtight container at room temperature to maintain its crunch. The filling can also be made ahead—refrigerate it for up to 24 hours before assembly. When you’re ready to complete the recipe, just pour the filling over the cooled crust and bake as directed. For the best flavor, chilling the bars overnight is crucial, allowing the flavors to meld while achieving that perfect, creamy texture. Enjoy the convenience and delight in restaurant-quality results with minimal effort!
What to Serve with Cannoli Cheesecake Bars
Imagine a delightful gathering where sweet treats meet warm, inviting flavors that dance on the palate.
-
Fresh Berries: Juicy strawberries or raspberries cut through the richness, adding a refreshing burst to each bite.
-
Espresso: The dark, bold flavors of espresso beautifully complement the creamy texture of the bars, creating an irresistible combination.
-
Vanilla Gelato: Creamy gelato offers a delightful contrast to the cheesecake bars, enhancing their melting quality with its velvety texture.
-
Chocolate Drizzle: A light drizzle of melted chocolate elevates the bars, adding a decadent touch that chocolate lovers will crave!
-
Lemon Zest Whipped Cream: Light and fluffy whipped cream infused with lemon zest brightens the dessert and balances its richness with a zesty kick.
-
Pistachio Crumble: Sprinkle crushed pistachios on top for a crunchy, nutty finish that mirrors the rustic idea of traditional cannoli.
-
Mint Tea: A warm cup of mint tea offers a soothing palate cleanser that refreshes the senses between bites of creamy decadence.
-
Citrus Sorbet: The tangy intensity of citrus sorbet creates a light and refreshing end to your meal, ensuring your guests leave happy and satisfied.
Cannoli Cheesecake Bars Variations
There’s no limit to how you can make these Cannoli Cheesecake Bars your own; let your creativity shine!
-
Chocolate Lovers: Incorporate cocoa powder into the crust for a richer flavor; finish with a drizzle of melted dark chocolate for extra indulgence.
Chocolate and cheesecake are a match made in heaven. This combination will satisfy any sweet tooth or chocolate craving! -
Nutty Delight: Top with toasted nuts like pistachios or hazelnuts for a delightful crunch that contrasts with the creamy filling.
Adding nuts not only enhances the texture but also provides a beautiful presentation. It’s a small touch that makes a big impact! -
Mini Versions: Use a muffin tin to create bite-sized portions, making these treats perfect for parties or gatherings.
These mini desserts are ideal for guests who want to indulge without overdoing it. Everyone will love having their own little portion! -
Dairy-Free Delight: Substitute cream cheese and ricotta with dairy-free alternatives to accommodate lactose sensitivities.
You can still enjoy rich flavors without the dairy. It’s a wonderful way to include everyone at the table! -
Citrus Burst: Infuse your filling with lime or grapefruit zest for a fresh and invigorating twist that brings a zingy brightness.
Citrus can elevate any dessert, providing a burst of flavor that dances on your tongue. It’s a refreshing change from the traditional! -
Spicy Kick: Add a pinch of nutmeg or a dash of cardamom to the filling for unexpected warmth and depth.
This subtle spice can transform the flavor profile, bringing a cozy feel that’s perfect for any occasion.
Feel free to explore these ideas or mix and match them to create your own unique Cannoli Cheesecake Bars. Whether paired with a rich espresso or our delightful Peach Cobbler Cheesecake, these variations will make every bite a memorable experience!
How to Store and Freeze Cannoli Cheesecake Bars
Fridge: Store leftover Cannoli Cheesecake Bars in an airtight container for up to 5 days. This keeps them fresh and delicious, ready for when you want a sweet treat.
Freezer: For longer storage, wrap the bars individually in plastic wrap and then place them in a freezer-safe container. They can be frozen for up to 3 months for a delightful dessert at a later date.
Thawing: To enjoy, simply transfer the bars from the freezer to the fridge for several hours or overnight to thaw gently before serving.
Serving from Freeze: If you’re in a pinch, you can enjoy them frozen—they make for a surprisingly refreshing treat in warm weather!
Cannoli Cheesecake Bars Recipe FAQs
How do I select ripe ingredients for my Cannoli Cheesecake Bars?
Absolutely! For the best flavor, choose cream cheese and ricotta that are fresh and within the expiration date; they should smell clean and slightly tangy. Additionally, use eggs that are at room temperature for easier mixing, and select a lemon or orange with a vibrant color and firm texture for zest.
How should I store my Cannoli Cheesecake Bars?
Store your leftover Cannoli Cheesecake Bars in an airtight container in the fridge for up to 5 days. Make sure they are completely cool before sealing to maintain freshness. If you have a longer-term plan, wrap them tightly in plastic wrap and then in foil or place them in a freezer-safe container.
Can I freeze Cannoli Cheesecake Bars?
Yes, you can! To freeze your Cannoli Cheesecake Bars, wrap them individually in plastic wrap and then put them in a freezer-safe container. They will stay fresh for up to 3 months this way. When you’re ready to enjoy, simply transfer them to the refrigerator to thaw for several hours or overnight.
What if my filling is watery when making Cannoli Cheesecake Bars?
If your filling turns out watery, it’s likely due to the ricotta being too moist. To prevent this, ensure you drain it well using cheesecloth or a fine mesh strainer before mixing it into the batter. If this happens after baking, try chilling the bars longer to help firm them up.
Are Cannoli Cheesecake Bars suitable for dietary restrictions?
Very! These bars can be easily tailored to meet various dietary needs. For a gluten-free option, use gluten-free graham cracker crumbs. For a dairy-free version, substitute both cream cheese and ricotta with dairy-free alternatives. Just remember to check labels for hidden ingredients!
Can I use different toppings or add-ins in my Cannoli Cheesecake Bars?
The more the merrier! You can absolutely customize your Cannoli Cheesecake Bars. Try adding crushed nuts, mini chocolate chips, or even fresh fruit into the filling. For a seasonal twist, consider using pumpkin spice or swapping the citrus zest for something like coconut or almond extract!
Creamy Cannoli Cheesecake Bars That Will Wow Your Guests
Ingredients
Equipment
Method
- Begin by preheating your oven to 350°F (175°C). Grease a 9x13-inch baking pan to ensure the bars won't stick.
- In a mixing bowl, combine graham cracker crumbs, melted butter, and granulated sugar. Press mixture into the bottom of the prepared pan to create an even crust. Bake for 8 minutes and let cool.
- In a large bowl, beat softened cream cheese until smooth. Gradually mix in ricotta cheese, powdered sugar, eggs, vanilla extract, citrus zest, and cinnamon. Fold in mini chocolate chips.
- Pour filling over the cooled crust and spread evenly. Bake for 35-40 minutes until the center jiggles slightly. Don't overbake!
- Allow to cool at room temperature for 30 minutes. Then chill in the refrigerator for at least 4 hours, preferably overnight.
- Cut into squares and dust with powdered sugar. Optionally sprinkle with crushed pistachios or chocolate chips before serving.
Leave a Reply