
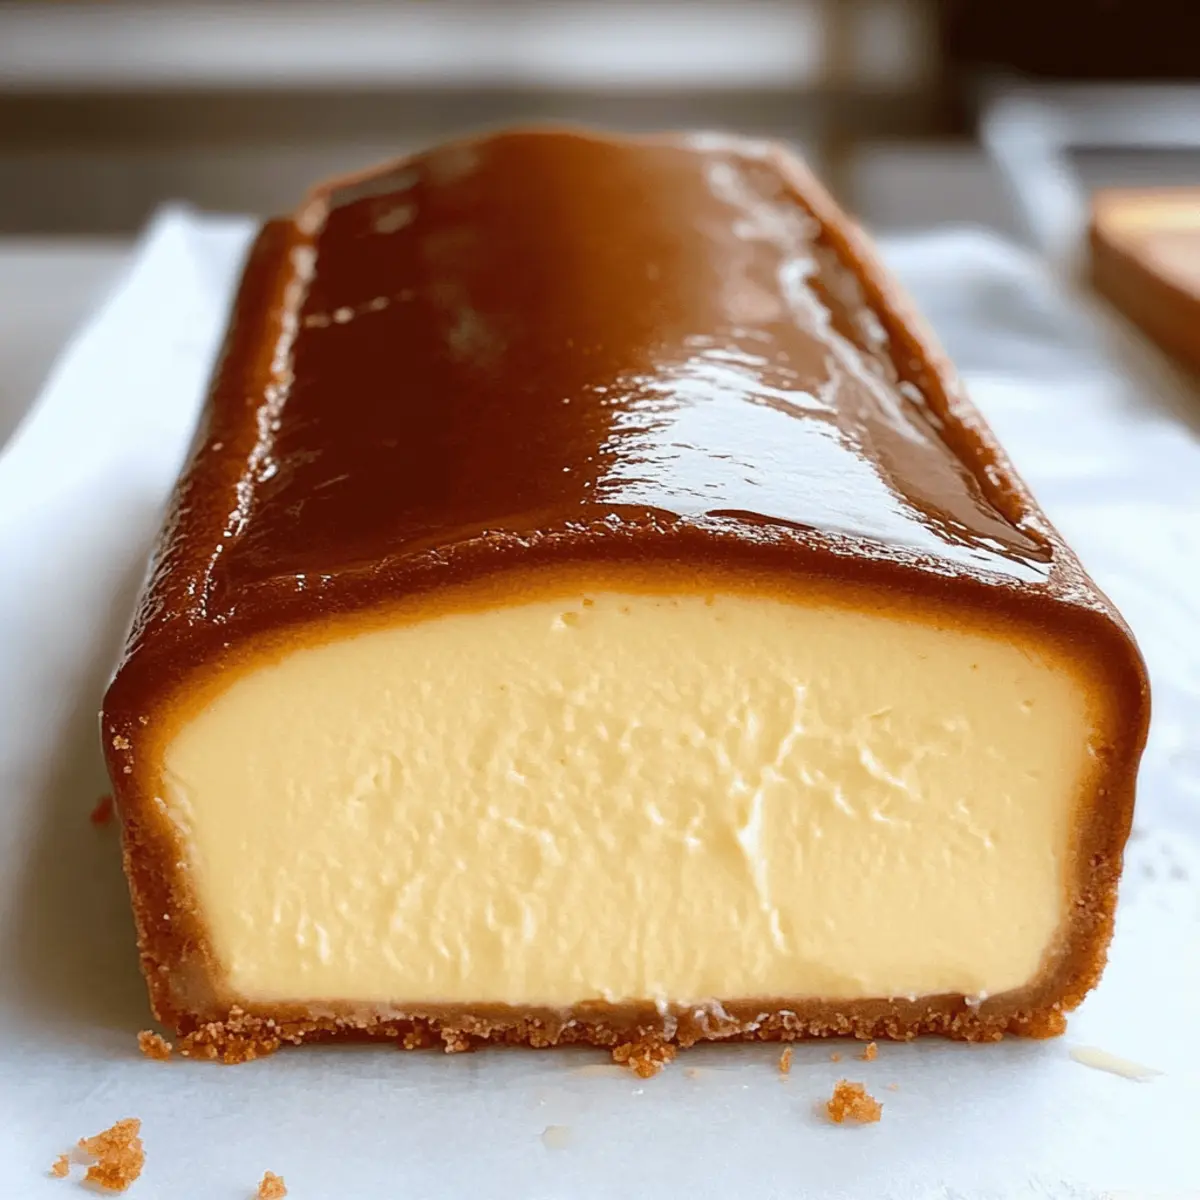
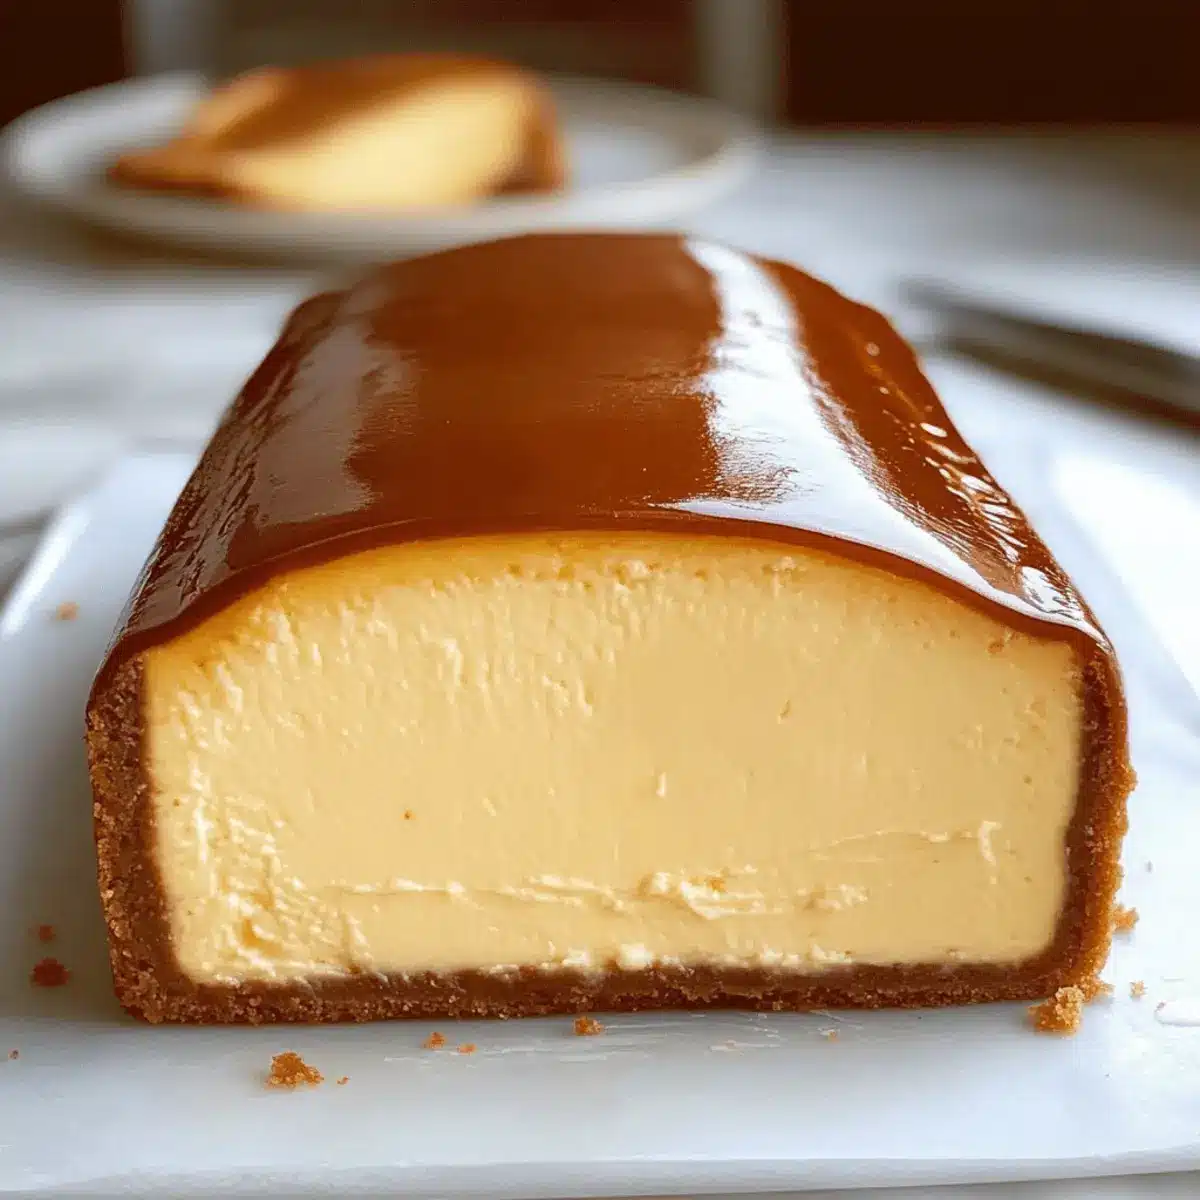
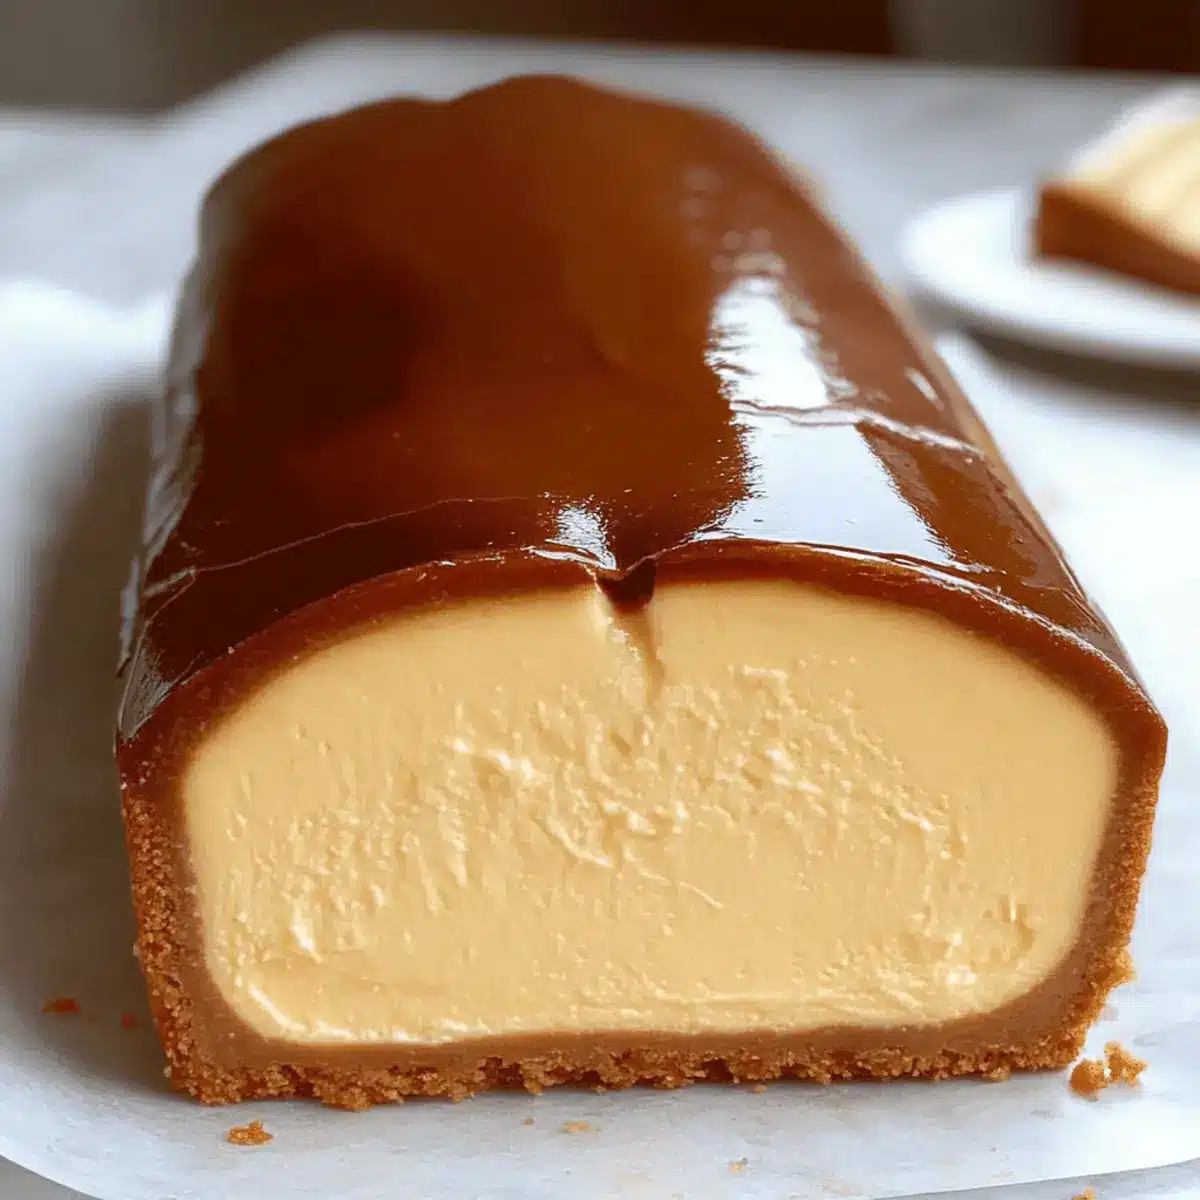
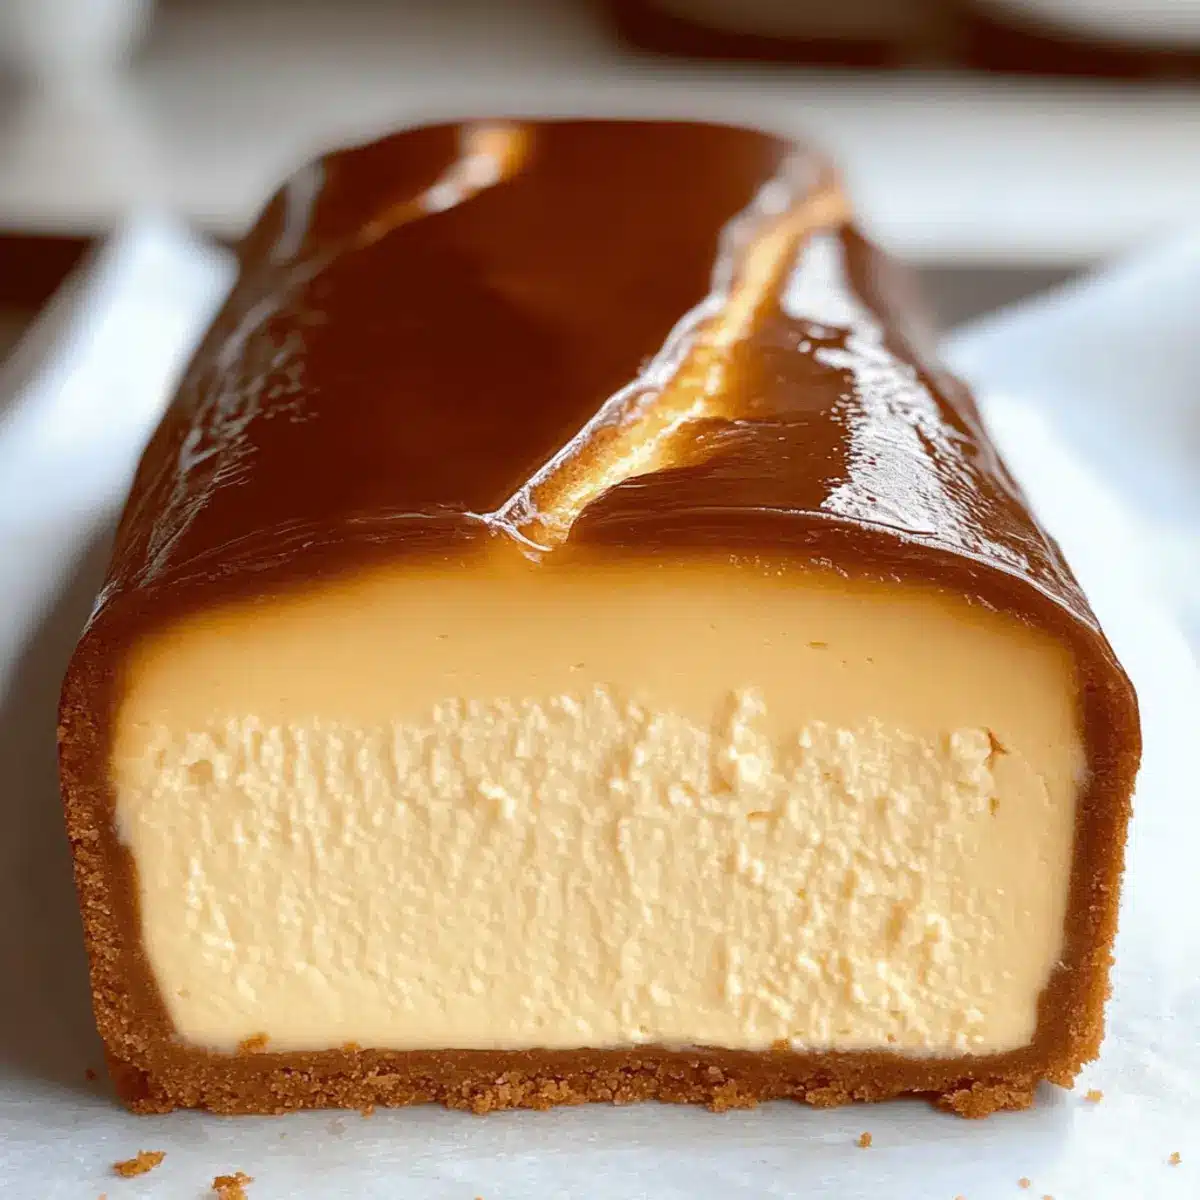
As the rich scent of caramel started to drift through my kitchen, I couldn’t help but smile at the simple joy of baking. Enter the Burnt Basque Cheesecake in a Loaf Pan—a delightful twist on a classic that’s not just about indulgence, but also about ease. This recipe is perfect for anyone who craves a comforting dessert without spending all day in the kitchen. Plus, it’s great for small gatherings or a cozy night in, allowing you to whip up a creamy, custard-like treat with a beautifully caramelized top. And with the option for gluten-free flour, everyone can join in on the sweet experience. Curious about the magic behind this easy dessert? Let’s dive in!
Why is This Cheesecake So Special?
Simplicity at its Core: With just a few ingredients and straightforward steps, this recipe opens doors for bakers of all skill levels.
Rich, Creamy Indulgence: Each slice boasts a luxuriously smooth texture and a caramelized top that delightfully contrasts with the soft interior.
Versatile Serving Options: Top it with whipped cream, fresh berries, or a drizzle of caramel to elevate the flavor, making it perfect for any occasion.
Gluten-Free Love: Easily adaptable with gluten-free flour, ensuring everyone at your gathering can enjoy this delightful dessert.
Perfect for Small Gatherings: Whether you’re hosting friends or just treating yourself, this small-batch cheesecake is ideal for a cozy night in.
Quick to Prepare: Bake in about 45 minutes and let it chill—perfect for spontaneous dessert cravings! Dive into the warm, inviting flavors of this Burnt Basque Cheesecake, and don’t forget to explore other sweet delights like the Peach Cobbler Cheesecake for more inspiration!
Burnt Basque Cheesecake Ingredients
• Dive into the core of this delightful dessert!
For the Cheesecake Base
- Full-Fat Cream Cheese – Ensures a rich, creamy texture that forms the cheesecake’s base; be sure to use block cream cheese for optimal blending.
- Granulated Sugar – Sweetens each slice while enhancing the caramelization for that signature top.
- Large Eggs – Adds structure and richness; using eggs at room temperature will help achieve a smoother batter.
- Heavy Cream – Imparts a decadent mouthfeel; you can swap for lighter cream to dial down the richness.
- All-Purpose Flour – Stabilizes the cheesecake; a gluten-free flour works beautifully as a substitute for gluten-sensitive guests.
- Salt – A pinch enhances the sweetness and balances all the flavors perfectly.
Optional Toppings
- Whipped Cream – Light and airy, it brings a delightful creaminess to each slice.
- Fresh Berries – Adds a burst of freshness and color, beautifully complementing the richness of the cheesecake.
- Caramel Sauce – A drizzle elevates the indulgence factor, making every bite a true treat!
This Burnt Basque Cheesecake is not just a dessert; it’s a comforting experience waiting to be shared!
Step‑by‑Step Instructions for Burnt Basque Cheesecake
Step 1: Preheat and Prepare
Begin by preheating your oven to 400°F (200°C); this is critical for achieving that signature burnt top of the Burnt Basque Cheesecake. Meanwhile, line a 9×5 inch loaf pan with parchment paper, allowing the edges to hang over for easy removal later. Greasing the pan with a light layer of cooking spray will help prevent any sticking.
Step 2: Mix Cream Cheese and Sugar
In a large mixing bowl, add the block of full-fat cream cheese and granulated sugar. Using an electric mixer, beat the mixture on medium speed for about 3–4 minutes, or until it’s smooth and creamy. This step is essential for a rich base, so ensure there are no lumps remaining. The mixture should appear glossy and uniform in texture.
Step 3: Incorporate Eggs
Next, add the large eggs one at a time to the cream cheese mixture, beating well after each addition to ensure thorough blending. This process should take about 1–2 minutes for each egg. You’ll notice the batter becoming rich and thick; it’s crucial that each egg is fully incorporated before adding the next for optimal structure.
Step 4: Fold in Other Ingredients
Now, gently fold in the heavy cream, all-purpose flour, and a pinch of salt using a spatula. Be careful not to overmix; just combine until you see no flour streaks. This step creates the creamy texture of the Burnt Basque Cheesecake, so it’s important to retain as much air as possible. The batter should be smooth yet thick.
Step 5: Pour and Smooth
Pour the cheesecake batter into your prepared loaf pan. Using a spatula, smooth out the top for an even surface. Ensure you fill the pan only to about 3/4 full to allow space for rising without overflowing. This careful pouring will contribute to the beautiful shape of the cheesecake once baked.
Step 6: Bake to Perfection
Place the loaf pan in your preheated oven and bake for 45 minutes. Keep an eye on it; you’re looking for a deep golden brown top with a slightly wobbly center. The edges should be set while the middle retains some jiggle, indicating the velvety custard texture of the Burnt Basque Cheesecake is taking shape.
Step 7: Cooling Down
Once baked, remove the cheesecake from the oven and allow it to cool at room temperature for about 1 hour. This gradual cooling helps maintain the cheesecake’s texture, preventing cracks. The top will continue to darken slightly as it cools, creating that desirable beautiful burnt appearance.
Step 8: Chill for Texture
After it has cooled, cover the cheesecake loosely with plastic wrap and refrigerate for at least 4 hours, or ideally overnight. This chilling period is crucial for achieving the perfect creamy, rich texture. When ready to serve, allow it to sit at room temperature for a short time before slicing to enhance its flavor.
Variations & Substitutions for Burnt Basque Cheesecake
Feel free to make this Burnt Basque Cheesecake your own with these delightful twists!
-
Lighter Cream: Swap heavy cream for half-and-half to reduce fat while maintaining creaminess. The result is a slightly lighter dessert that retains a rich flavor.
-
Gluten-Free Flour: For those with gluten sensitivities, substitute all-purpose flour with a quality gluten-free blend. This switch ensures everyone can enjoy this luscious treat!
-
Flavor Infusion: Add a teaspoon of vanilla extract or the zest of a lemon or orange to elevate the flavor profile. These additions bring a refreshing brightness that perfectly complements the creamy cheesecake.
-
Caramel Swirl: Before baking, create a swirl of caramel through the batter for added sweetness and flavor depth. This lovely twist adds layers of indulgence to each slice.
-
Chocolate Lover’s Delight: Incorporate unsweetened cocoa powder into the batter for a chocolatey version. Each bite will offer a rich chocolate flavor that pairs beautifully with the creamy texture.
-
Add a Crunch: Top with crushed graham crackers or cookie crumbs before serving for a delightful texture contrast. The added crunch elevates the overall dessert experience.
-
Spicy Kick: Sprinkle in a dash of cayenne pepper or ginger for those who enjoy a little heat. Just a hint can transform the flavor into a new and exciting experience!
-
Tropical Twist: Add a layer of coconut or mango puree before serving for a light and fruity finish. The tropical flavors will remind you of sun-kissed desserts enjoyed during summer gatherings.
These variations allow you to explore creativity in the kitchen while serving the stars of your gatherings! For more delectable ideas, don’t miss out on the stunning Peach Cobbler Cheesecake or the popular Cherry Cheesecake Swirl Brownies that will entice every palate.
How to Store and Freeze Burnt Basque Cheesecake
- Fridge: Store any leftovers in an airtight container for up to 5 days. This will keep the cheesecake fresh while maintaining its rich, creamy texture.
- Freezer: While freezing is not recommended as it alters the cheesecake’s creamy consistency, if necessary, wrap tightly in plastic wrap and foil and freeze for up to 3 months.
- Thawing: To enjoy frozen cheesecake, move it to the fridge for 24 hours prior to serving, allowing it to gradually thaw.
- Reheating: Serve chilled or at room temperature; avoid reheating in the microwave to preserve the texture.
Make Ahead Options
These Burnt Basque Cheesecake slices are perfect for meal prep, making them an ideal choice for busy weeknights! You can prepare the cheese mixture up to 24 hours in advance and store it in an airtight container in the refrigerator. Alternatively, you can bake the cheesecake ahead and refrigerate it for up to 3 days before serving. To maintain its incredible texture, allow it to cool completely at room temperature before chilling, and be sure to cover it loosely with plastic wrap. When you’re ready to serve this delicious cheesecake, just let it sit at room temperature for about 10-15 minutes to enhance the flavor and enjoy each indulgent bite!
What to Serve with Burnt Basque Cheesecake
As the rich and creamy cheesecake melts in your mouth, think about pairing it with delightful accompaniments to enhance the experience.
-
Fresh Berries: A mix of strawberries, blueberries, and raspberries adds a vibrant burst of flavor and a refreshing contrast to the creamy cheesecake.
-
Whipped Cream: Light and airy, a dollop of freshly whipped cream brings an indulgent touch, offering a delightful creaminess that complements each slice.
-
Caramel Sauce: Drizzling some warm caramel over the cheesecake enhances the richness, adding a sweet and buttery layer that makes every bite a little more decadent.
-
Chocolate Ganache: Silky and smooth, a layer of chocolate ganache brings a luxurious flavor twist that pairs beautifully with the burnt notes of the cheesecake.
-
Almond Biscotti: These crunchy, nutty cookies offer a delightful textural contrast, making each bite exciting and adding a hint of flavor complexity to your dessert experience.
-
Coffee or Espresso: A warm cup of coffee or a shot of espresso elevates the dessert moment, as the bold flavors bring out the cheesecake’s creamy richness.
-
Mint Leaves: A sprig of fresh mint not only adds a pop of color but also provides a refreshing finish, harmonizing the sweetness of the cheesecake.
-
Vanilla Ice Cream: A scoop of creamy vanilla ice cream beside the cheesecake creates a delightful contrast in temperature and texture, taking the dessert to new heights.
Let yourself be inspired by these pairings, transforming your Burnt Basque Cheesecake into a centerpiece for your next cozy gathering or intimate celebration!
Expert Tips for the Best Burnt Basque Cheesecake
- Room Temperature Ingredients: Always start with room temperature cream cheese and eggs to ensure a smooth and well-blended batter, avoiding lumps.
- Panning Techniques: Make sure you grease and line the loaf pan properly; this prevents sticking and ensures easy removal after baking.
- Watch the Bake: Keep an eye on the cheesecake as it bakes; the desired golden-brown top should have a slight jiggle in the center when done, indicating creaminess.
- Cooling Strategy: Allow the cheesecake to cool gradually at room temperature to minimize cracking—don’t rush this step!
- Chill for Best Results: Refrigerate for at least 4 hours or overnight; this helps the flavors meld beautifully and achieves that decadent texture we love in a Burnt Basque Cheesecake.
Burnt Basque Cheesecake Recipe FAQs
How do I choose ripe ingredients for this cheesecake?
Absolutely! For the best results, select room temperature full-fat cream cheese—look for a smooth texture and freshness, avoiding any signs of spoilage like dark spots or strange odors. For eggs, it’s best to use large eggs at room temperature to help achieve a creamier batter with even blending.
How should I store leftovers of the Burnt Basque Cheesecake?
I often recommend storing any leftovers in an airtight container in the fridge for up to 5 days. Ensure the cheesecake is fully cooled before storing to maintain its rich and creamy texture. When stored properly, the flavors continue to meld beautifully, creating an even tastier dessert experience.
Can I freeze Burnt Basque Cheesecake?
While it’s not ideal to freeze this cheesecake because it can alter the creamy consistency, if needed, you can prepare it for the freezer by wrapping it tightly in plastic wrap followed by aluminum foil. This way, it can last for up to 3 months. When you’re ready to enjoy it again, allow it to thaw in the fridge for 24 hours before serving for the best texture.
What should I do if the cheesecake cracks while cooling?
Very! A small crack can happen during the cooling process. To minimize this, avoid sudden temperature changes by letting the cheesecake cool slowly in the pan for about an hour before transferring it to the fridge. If you notice any cracks, don’t stress—simply cover them with whipped cream or fresh berries when serving to hide those imperfections!
Is this cheesecake safe for people with gluten allergies?
Yes, absolutely! You can easily make a gluten-free version by substituting all-purpose flour with a gluten-free blend. Just make sure to check the ingredients of the flour blend to ensure it’s safe for your dietary needs. Everyone deserves to indulge in a delicious Burnt Basque Cheesecake!
How long does the cheesecake need to chill for optimal flavor?
I recommend chilling the cheesecake for at least 4 hours, but for the best flavor and texture, overnight is even better! This resting period allows the cheesecake to set properly, making each slice beautifully creamy and rich when served. It’s well worth the wait!
Decadent Burnt Basque Cheesecake Recipe You’ll Love
Ingredients
Equipment
Method
- Preheat your oven to 400°F (200°C) and line a 9x5 inch loaf pan with parchment paper, greasing lightly.
- In a large mixing bowl, beat the cream cheese and sugar until smooth and creamy, about 3–4 minutes.
- Add eggs one at a time to the mixture, blending well after each addition.
- Fold in the heavy cream, flour, and salt gently until just combined.
- Pour the batter into the prepared loaf pan, smoothing the top.
- Bake for 45 minutes until the top is deep golden brown and the center jiggles slightly.
- Cool at room temperature for about 1 hour, letting the top darken slightly.
- Refrigerate for at least 4 hours or overnight before slicing.
Leave a Reply