
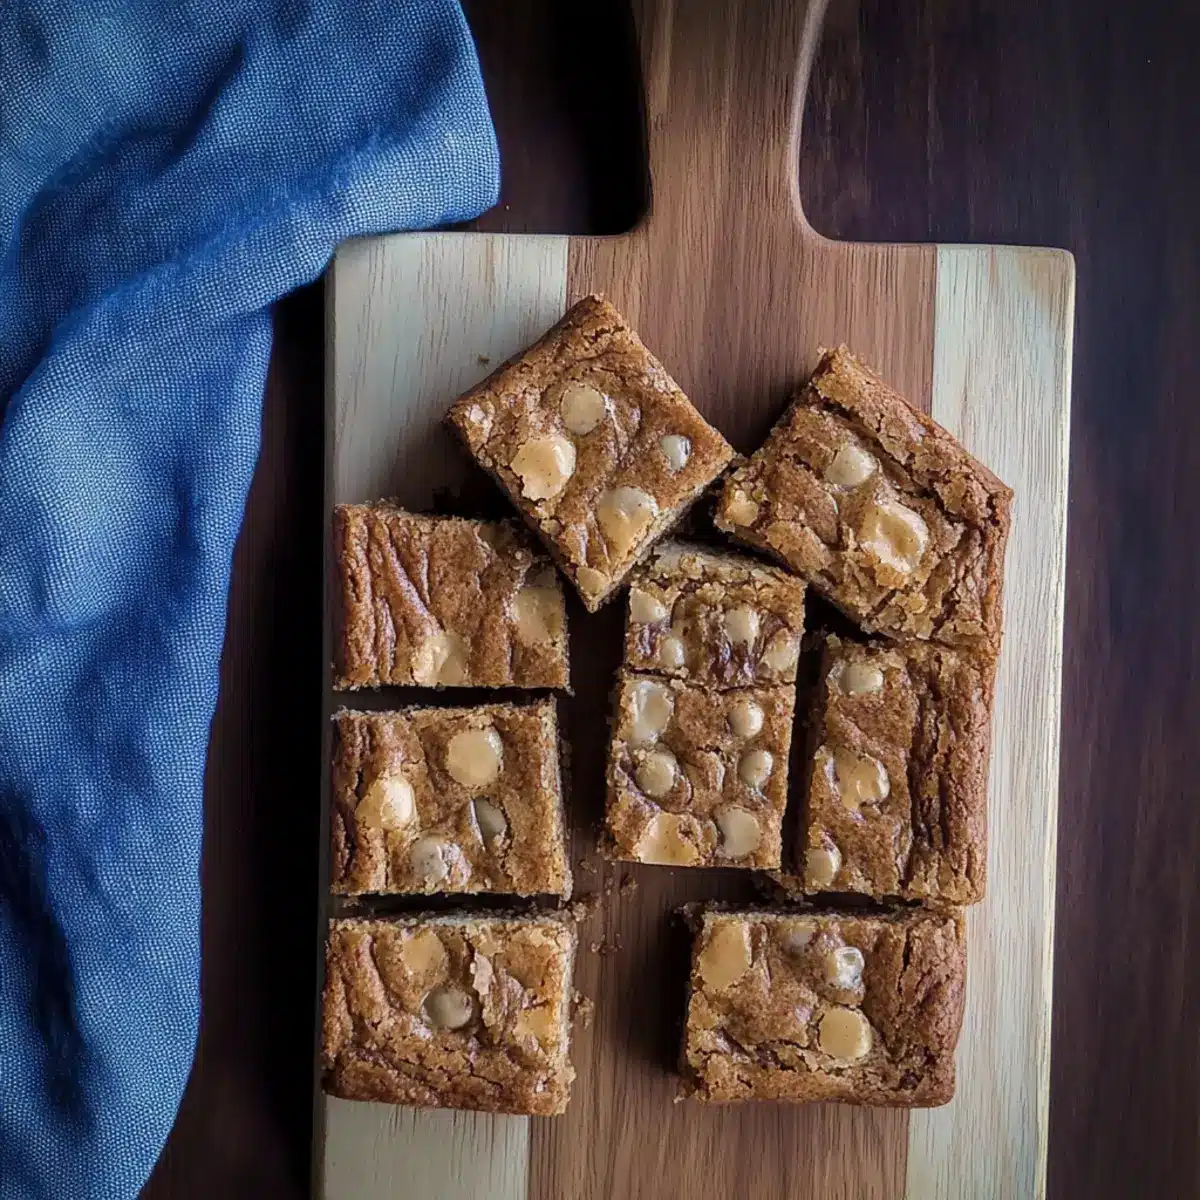
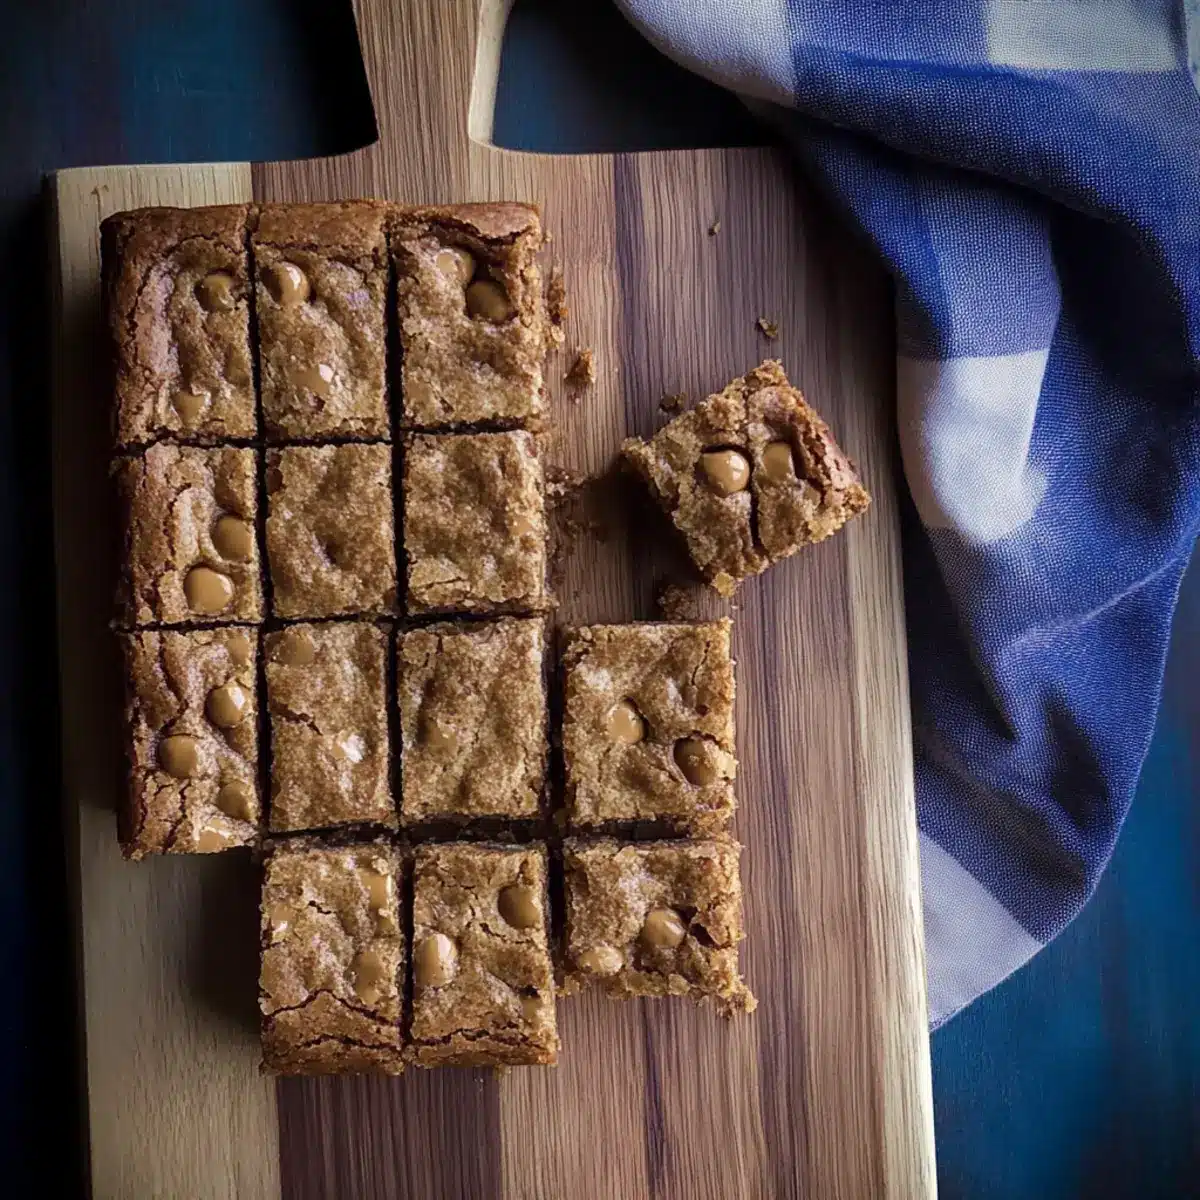
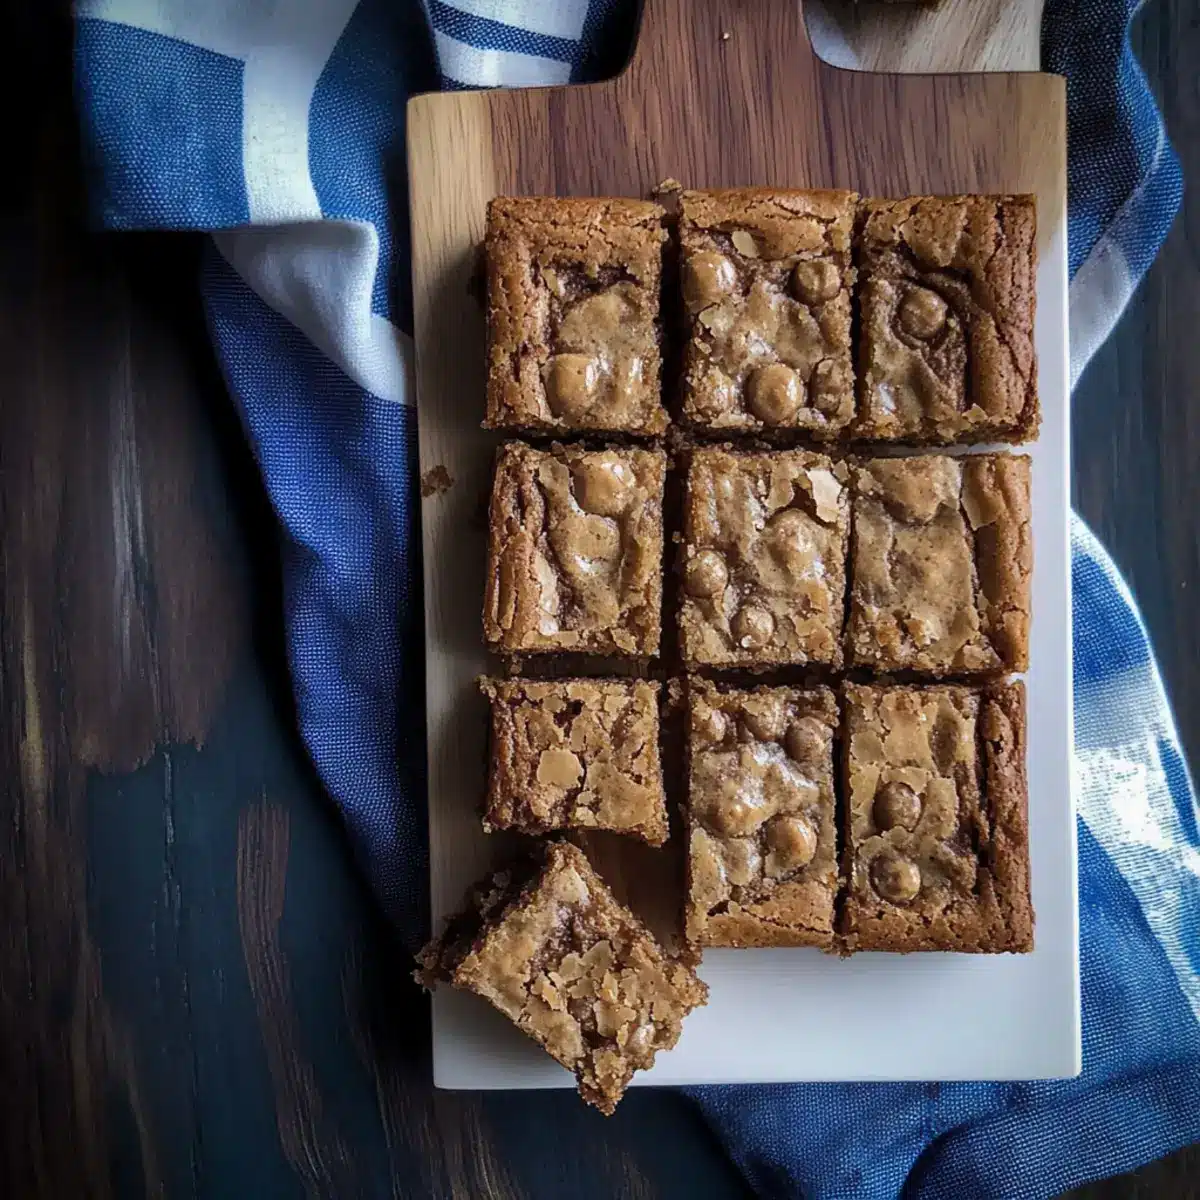
As I opened the pantry this morning, I spotted a half-empty bag of malted milk balls, and inspiration struck! Why not transform those delightful treats into something even more magnificent? Enter my Malted Milk Ball Blondies—a chewy, dreamy dessert that’s perfect for satisfying sweet cravings. With just 30 minutes of prep time, you can whip up this nut-free goodness that’s sure to be a crowd-pleaser! Not only do these blondies showcase a luscious malt flavor, but they also maintain a blissfully soft texture thanks to the malted milk balls nestled within and on top. Trust me, their charm will have you reminiscing about simpler times spent sharing sweet treats with friends. Are you ready to dive into this delicious adventure? Let’s bake!
Why Are Malted Milk Ball Blondies Irresistible?
Chewy Texture: These blondies blend the perfect softness with delightful bites of malted milk balls that provide a satisfying crunch.
Quick Prep: Whipping up this dessert takes just 30 minutes, making it a go-to recipe for when cravings strike unexpectedly.
Nut-Free Delight: Ideal for gatherings, these blondies cater to nut allergies without compromising on taste.
Versatile Flavor: Whether served warm with a scoop of ice cream or paired with a glass of milk, they fit any occasion beautifully.
Crowd Favorite: Their unique flavor and nostalgic appeal make them an instant hit, sparking conversations among friends and family.
Try pairing them with our Cranberry Meatballs Holiday for a delightful spread!
Malted Milk Ball Blondies Ingredients
• For the Batter
- Malted Milk Balls – provide the signature malt flavor and texture; use crushed for the batter and larger pieces for topping.
- All-Purpose Flour – forms the base structure of the blondies; substitute with gluten-free flour for a gluten-free version.
- Malted Milk Powder – enhances the malt flavor; optional substitution: use extra finely chopped malted milk balls if you don’t have malt powder.
- Kosher Salt – balances sweetness.
- Unsalted Butter – adds richness and moisture; can be substituted with coconut oil for a dairy-free option.
- Light Brown Sugar – provides sweetness and helps retain moisture; dark brown sugar can be used for a deeper flavor.
- Egg – binds the ingredients together and adds moisture; for a vegan option, use a flax egg.
- Pure Vanilla Extract – enhances overall flavor; consider vanilla bean paste for added richness.
Remember, these Malted Milk Ball Blondies are sure to impress with their delightful chewiness and unique flavor!
Step‑by‑Step Instructions for Malted Milk Ball Blondies
Step 1: Preheat the Oven
Begin by preheating your oven to 350°F (175°C). While the oven warms up, grease an 8×8-inch baking pan with butter or cooking spray to ensure your blondies release easily once baked. This step is crucial for achieving that perfect, chewy texture.
Step 2: Prepare the Malted Milk Balls
Coarsely chop 1 cup of malted milk balls into smaller pieces, ensuring a variety of sizes for texture. Set aside ½ cup of these chopped pieces to use as a topping later. The crushed malted milk balls will infuse the batter with a delightful malt flavor, creating a treat you won’t be able to resist.
Step 3: Mix the Dry Ingredients
In a medium mixing bowl, whisk together 1 cup of all-purpose flour, ¼ cup of malted milk powder, and a pinch of kosher salt. This dry mixture helps to form the structure of your Malted Milk Ball Blondies. Make sure there are no lumps to ensure a smooth and consistent batter.
Step 4: Cream the Butter and Sugar
In a separate large bowl, combine ½ cup of melted unsalted butter with 1 cup of light brown sugar. Use a hand mixer or a whisk to beat these ingredients together until smooth and creamy, about 1-2 minutes. This process is essential for achieving a rich flavor and enhances the blondies’ texture.
Step 5: Incorporate Egg and Vanilla
Next, blend in 1 large egg and 1 teaspoon of pure vanilla extract into the butter-sugar mixture. Continue mixing for an additional minute, until the egg is fully incorporated and the mixture is light and fluffy. This will add moisture and depth to your blondies.
Step 6: Combine Dry and Wet Ingredients
Carefully fold the dry ingredient mixture into the wet mixture using a spatula or wooden spoon. Stir gently until there are no visible flour patches. Overmixing can lead to dense blondies, so be sure to keep it light for the perfect chewy texture.
Step 7: Add Chopped Malted Milk Balls
Once your batter is combined, fold in the chopped malted milk balls until they are evenly distributed throughout the mixture. This will ensure that each bite of your Malted Milk Ball Blondies is packed with that signature malt flavor and delightful crunch.
Step 8: Spread the Batter
Spread the blondie batter evenly into the prepared 8×8-inch pan. Use a spatula to smooth out the top, ensuring an even bake. Sprinkle the reserved ½ cup of chopped malted milk balls over the surface for an additional element of texture and appeal before baking.
Step 9: Bake to Perfection
Place the pan in your preheated oven and bake for 20-23 minutes. Keep an eye on the blondies as they bake; you want the edges to be golden and the center to be set but soft, yielding a chewy texture that is irresistible.
Step 10: Cool and Slice
After baking, remove the pan from the oven and allow the blondies to cool completely in the pan. Once cool, slice them into squares. This step is essential for achieving clean edges and allowing the flavors to meld beautifully in your Malted Milk Ball Blondies.
What to Serve with Malted Milk Ball Blondies?
Indulge in the joy of dessert-making by creating delightful pairings that elevate your Malted Milk Ball Blondies experience.
-
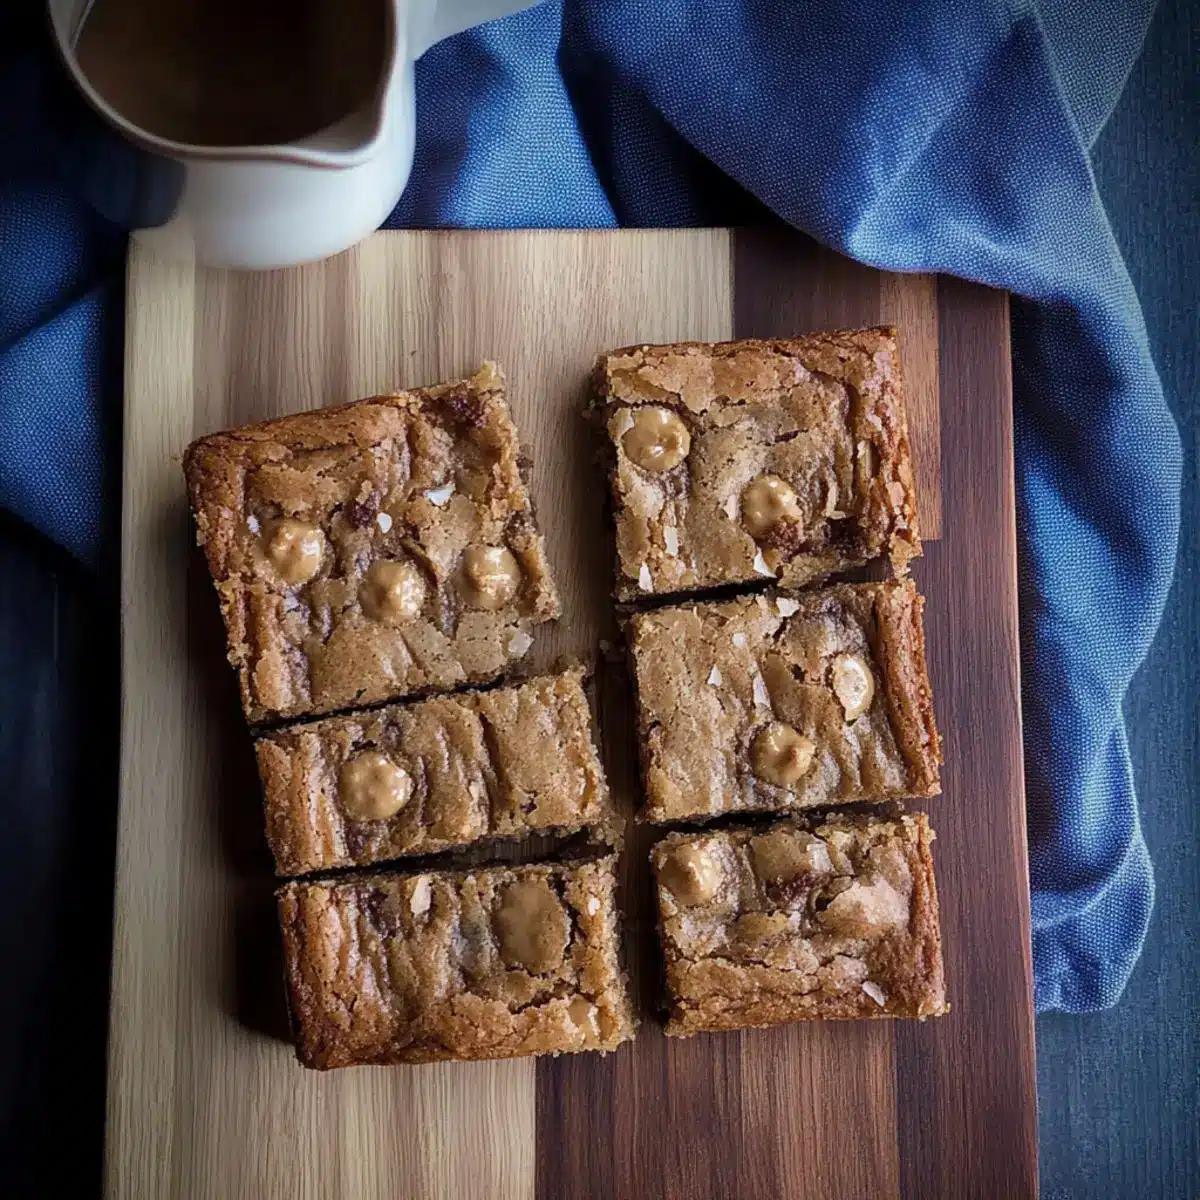
Vanilla Ice Cream: Scoop creamy vanilla ice cream on top for a luscious contrast to the chewy blondies. The melting ice cream enhances every bite, making it a classic combination.
-
Rich Hot Chocolate: A warm cup of rich hot chocolate complements the malt flavor perfectly. The comforting warmth of the drink pairs beautifully with the sweet, chewy blondies.
-
Fresh Berries: Serve with a handful of fresh berries for a refreshing twist. The tartness of the berries balances the sweetness, providing a bright, flavorful contrast to each bite.
-
Whipped Cream: A dollop of freshly whipped cream adds a light and airy texture to the dessert. It’s the perfect way to celebrate the savory flavors of the blondies while making each bite even more indulgent.
-
Milk: A glass of cold milk is a nostalgic pairing that never disappoints! Whether enjoyed alongside or poured over your blondies, it enriches the whole experience.
-
Coffee: Pair your blondies with a warm cup of coffee for a sophisticated touch. The rich coffee flavor enhances the malt notes, creating an inviting flavor profile that delights the palate.
These delightful offerings will transform your Malted Milk Ball Blondies into a memorable feast that friends and family will crave time and again!
Storage Tips for Malted Milk Ball Blondies
Room Temperature: Store your blondies in an airtight container at room temperature for up to 3-4 days to keep them fresh and chewy.
Fridge: If you’d like to extend their shelf life, place them in the refrigerator for up to a week. Just remember to allow them to come to room temperature before enjoying!
Freezer: For long-term storage, freeze the blondies in a single layer on a baking sheet, then transfer to an airtight container or freezer bag for up to 3 months.
Reheating: To enjoy your Malted Milk Ball Blondies warm, simply microwave for 10-15 seconds or pop them in a preheated oven at 350°F for 5-7 minutes.
Malted Milk Ball Blondies – Your Recipe, Your Way
Feel free to get creative with these Malted Milk Ball Blondies and make them your very own with delicious twists and substitutions!
-
Gluten-Free: Substitute all-purpose flour with a gluten-free blend to cater to those with gluten sensitivities. Enjoy the same delightful chew and flavor without any worries!
-
Dairy-Free: Swap unsalted butter for coconut oil or a vegan butter alternative for a delicious dairy-free adaptation. The blondies will still be rich and scrumptious!
-
Candy Swap: Replace malted milk balls with your favorite candies like chocolate chunks or crushed peanut butter cups for a personalized flavor profile. Experimenting with textures could make your blondies a new family favorite!
-
Salted Caramel Bliss: Add a sprinkle of sea salt on top before baking for a salted caramel flavor that contrasts beautifully with the sweetness of the blondies.
-
Nutty Delight: If you’re not avoiding nuts, fold in some chopped walnuts or pecans for an extra crunch and nutty flavor that will resonate with every bite.
-
Extra Maltiness: For even more flavor, incorporate additional malted milk powder or finely chopped malted milk balls into the batter. It’s like giving a hug of flavor in each piece!
-
Choco-Malted Treat: Mix in a handful of semi-sweet chocolate chips alongside the malted milk balls for a chocolatey twist that deepens the overall sweetness!
-
Seasonal Spices: Stir in a pinch of cinnamon or nutmeg to give these blondies a warm, comforting flavor perfect for holidays or cozy nights in.
While you’re enjoying these variations, you might want to check out these delightful desserts: Condensed Milk Snowballs will add a unique touch to your sweet table, or indulge in our Spicy Buttermilk Fried for a savory complement to your dessert adventures.
Expert Tips for Malted Milk Ball Blondies
-
Watch the Bake Time: Keep a close eye on how long you bake the blondies; slightly underbaking gives you that chewy texture everyone loves.
-
Don’t Overmix: Mix just until no flour patches remain to prevent dense blondies—a light hand keeps them tender and soft.
-
Chop Varying Sizes: Chop malted milk balls in different sizes for added texture; this ensures delightful bursts of flavor in every bite.
-
Storage Matters: Store your blondies in an airtight container at room temperature for up to 4 days to maintain their chewiness.
-
Customization Fun: Feel free to mix in your favorite candies or chocolate chips; this can truly elevate your Malted Milk Ball Blondies to a new level!
Make Ahead Options
These Malted Milk Ball Blondies are perfect for busy home cooks looking to save time in their meal planning! You can prepare the blondie batter up to 24 hours in advance; simply mix all the wet and dry ingredients and store the batter in an airtight container in the refrigerator. The chopped malted milk balls can also be prepped ahead—just keep them in a separate container to maintain their crunch. When you’re ready to bake, pour the chilled batter into your greased pan, fold in the reserved malted milk balls, and bake as directed. This ensures your blondies are just as delicious and perfectly chewy, allowing you to enjoy a delightful treat with minimal effort!
Malted Milk Ball Blondies Recipe FAQs
What kind of malted milk balls should I use?
Absolutely! For the best flavor and texture, I recommend using classic malted milk balls like Whoppers. Their sweetness and crunch add the perfect touch to these blondies. If you’re looking for a twist, feel free to try flavored options or even chocolate-covered malt balls; just make sure they break down nicely for your batter!
How should I store Malted Milk Ball Blondies?
You can store your blondies in an airtight container at room temperature for up to 3-4 days. If you need them to last longer, they can be refrigerated for up to a week. For optimal freshness, let them come back to room temperature before serving, as this helps maintain their delicious chewy texture.
Can I freeze Malted Milk Ball Blondies?
Yes, indeed! To freeze your blondies, first, cut them into squares and place them in a single layer on a baking sheet. Freeze for about 1-2 hours until firm, then transfer them to an airtight container or freezer bag. They can be stored for up to 3 months. When you’re ready to enjoy, just let them thaw at room temperature, or warm them in the microwave for 10-15 seconds.
What if my blondies come out too dry?
Very! If you find that your blondies are dry, this could be due to overbaking. To ensure the perfect chewy texture, keep a close eye during the last few minutes of baking. Look for a slightly undercooked center that will finish cooking as they cool. If your blondies do come out dry, consider serving them warm with a scoop of ice cream or drizzle of chocolate sauce to add moisture back in!
Are Malted Milk Ball Blondies suitable for various dietary restrictions?
Definitely! This recipe is nut-free, making it safe for those with nut allergies. For a gluten-free version, simply swap the all-purpose flour with a gluten-free blend. If you’re looking for a dairy-free option, coconut oil can be used instead of butter, and a flax egg is a great alternative for the egg. Always double-check ingredient labels to ensure safety for any specific dietary needs.
Can pets eat Malted Milk Ball Blondies?
No, pets, especially dogs, should avoid chocolate-based treats, including malted milk balls. While the blondies might be human delicacies, they contain ingredients that can be harmful to pets. Stick to pet-friendly snacks or treats to keep them safe and happy!
Malted Milk Ball Blondies - Chewy Treats Ready in 30 Minutes
Ingredients
Equipment
Method
- Preheat your oven to 350°F (175°C) and grease an 8x8-inch baking pan.
- Coarsely chop 1 cup of malted milk balls into smaller pieces and set aside ½ cup for topping.
- Whisk together 1 cup of all-purpose flour, ¼ cup of malted milk powder, and a pinch of kosher salt in a medium bowl.
- In a large bowl, combine ½ cup of melted unsalted butter with 1 cup of light brown sugar and beat until smooth.
- Blend in 1 large egg and 1 teaspoon of pure vanilla extract, mixing until light and fluffy.
- Fold the dry mixture into the wet mixture gently, ensuring no visible flour patches remain.
- Fold in the chopped malted milk balls until evenly distributed throughout the batter.
- Spread the batter into the prepared pan and sprinkle the reserved ½ cup of chopped malted milk balls on top.
- Bake for 20-23 minutes, until edges are golden and the center is set but soft.
- Cool completely in the pan before slicing into squares.
Leave a Reply