
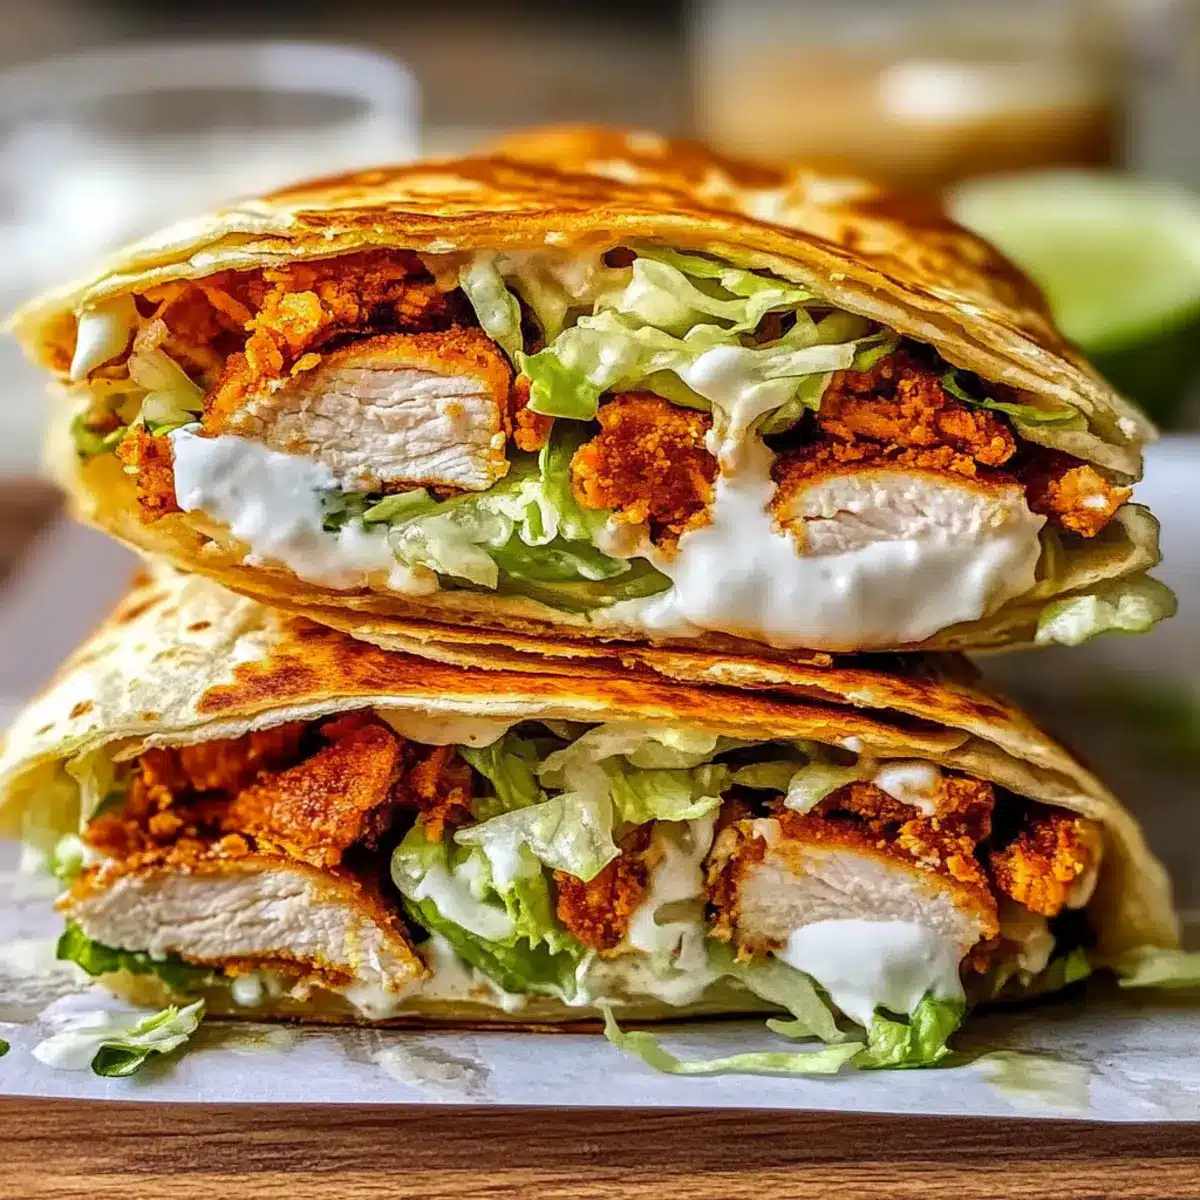
As I stood at my kitchen counter, a whirl of craving hit me—one for that crunchy, creamy delight I often refuse at fast-food joints. Enter the Homemade Chicken Crunch Wrap, my answer to satisfying those cravings without sacrificing nutrition or flavor. This delightful wrap comes together in just 20 minutes, making it a busy weeknight savior and a budget-friendly meal option. Best of all, the beauty of this recipe lies in its customizability—add your favorite fillings and sauces to create a dish that truly reflects your taste. With fresh ingredients and tender chicken at the forefront, you’ll be crafting a guilt-free indulgence that beats the drive-thru every time. So, what secret ingredients will you choose to elevate your homemade crunch wrap?
Why Make This Chicken Crunch Wrap?
Quick and Easy: In just 20 minutes, you can whip up a delicious meal that’s perfect for busy weeknights.
Customizable Delight: With endless options for fillings, this wrap is a blank canvas for your culinary creativity.
Healthy Alternative: Enjoy a guilt-free indulgence that’s healthier than standard fast-food fare, packed with fresh ingredients.
Budget-Friendly: This recipe is designed to keep costs down while delivering a satisfying and delicious meal for the whole family.
Crowd-Pleaser: Whether for a family dinner, meal prep, or entertaining friends, this Chicken Crunch Wrap appeals to everyone. For even more chicken inspiration, check out my Korean Chicken Bao or the delightful Soy Garlic Chicken.
Chicken Crunch Wrap Ingredients
For the Filling
• Cooked Chicken – A delightful main protein source; use shredded or chopped breast or thighs for best results.
• Taco Seasoning – Packed with flavor; feel free to use homemade blends or your favorite store-bought option.
• Shredded Cheese – Takes the flavor up a notch; a Mexican blend is ideal for that authentic touch.
For the Wrap
• Large Flour Tortillas – The foundation of your wrap; warm them up for easier folding.
• Small Corn Tortillas – Adds the needed crunch in the center, making every bite exciting.
For Freshness & Flavor
• Shredded Lettuce – A crisp addition; opt for romaine or iceberg for the best texture and crunch.
• Sour Cream or Greek Yogurt – Adds a creamy element; Greek yogurt is a delicious and lighter alternative.
• Salsa or Pico de Gallo – Elevates the dish with freshness; you can use store-bought or homemade for an extra punch.
• Hot Sauce – Perfect for those who love a kick; add according to your taste preference.
• Ranch or Chipotle Mayo – Optional, but brings an extra burst of flavor to your wrap.
Optional Add-ins
• Diced Tomatoes – For a juicy pop; fresh tomatoes work wonders in this wrap.
• Black Beans – A protein-packed addition that complements the flavors beautifully.
• Corn – Sweet and crunchy; adds texture and enhances the overall taste.
• Jalapeños – For those who enjoy a hint of spice; grab fresh or pickled varieties.
• Guacamole – A creamy indulgence; perfect for elevating the wrap’s flavor profile.
This Chicken Crunch Wrap caters to your cravings while being customizable, ensuring everyone at your table enjoys their meal!
Step‑by‑Step Instructions for Chicken Crunch Wrap
Step 1: Prepare Chicken
In a large skillet, heat 1 tablespoon of olive oil over medium heat. Add your cooked chicken and sprinkle generously with taco seasoning. Stir the mixture for about 3–5 minutes until everything is heated through and the chicken is coated with the spices. You want the chicken to be warm and fragrant, ready for the wrap.
Step 2: Set Up Assembly Station
While the chicken warms, prepare your assembly area. In a microwave, warm the large flour tortillas for about 30 seconds until pliable. Arrange all fillings—shredded lettuce, cheese, sauces, and any optional ingredients—in small bowls for easy access as you create your Chicken Crunch Wrap.
Step 3: Build Wrap
On each warm flour tortilla, place a small corn tortilla in the center as the crunch base. Layer a generous portion of the seasoned chicken, followed by dollops of sour cream, salsa, cheese, and shredded lettuce. Keep the filling centered and balanced, ensuring a flavorful experience in every bite without overstuffing.
Step 4: Fold Properly
To seal your Chicken Crunch Wrap, fold the edges of the flour tortilla over the filling, ensuring that it’s firmly wrapped but not bursting at the seams. Start by folding the bottom up, then fold in the sides, and finally roll it tightly from the bottom up. This step is key to maintaining a neat, delicious crunch.
Step 5: Grill to Perfection
In the same hot skillet used for the chicken, place the wrap seam-side down. Cook for about 2-3 minutes until the bottom is golden brown and crispy. Flip the wrap carefully and grill the other side for another 2-3 minutes until both sides are equally crispy and lightly browned.
Step 6: Serve
Once perfectly grilled, remove the Chicken Crunch Wrap from the skillet and let it sit for a minute. Cut it in half diagonally for beautiful presentation and serve it hot. The crispy exterior and warm, melty layers inside will be a treat for the senses!
Expert Tips for Chicken Crunch Wrap
-
Warm Tortillas First: Ensuring your flour tortillas are warm helps them fold easily without tearing, making for a perfect Chicken Crunch Wrap.
-
Don’t Overstuff: Filling is essential, but overstuffing can lead to mess and tearing. Keep everything balanced for easy closure.
-
Crispy Finish: For optimal crunch, make sure to grill your wraps seam-side down first, allowing the tortilla to seal and get golden brown.
-
Customize Wisely: Experiment with different fillings! Just keep flavors complementary to avoid overwhelming your Chicken Crunch Wrap.
-
Let Chicken Cool: Cooling the seasoned chicken slightly before assembling helps maintain contrast in texture and prevents a soggy wrap.
How to Store and Freeze Chicken Crunch Wrap
Fridge: Store leftovers in an airtight container for up to 3 days. Reheat in a skillet to retain crispiness.
Freezer: Wrap the Chicken Crunch Wrap tightly in plastic wrap and foil, then freeze for up to 3 months. Thaw overnight in the fridge before reheating.
Reheating: For the best texture, reheat the wrap in a skillet over medium heat for about 5-7 minutes until heated through and crispy. Enjoy your homemade Chicken Crunch Wrap anytime!
What to Serve with Homemade Chicken Crunch Wrap?
Elevate your meal with delightful sides that complement every bite of your satisfying wrap.
-
Creamy Avocado Salad: Adds a fresh creamy texture that balances the crunchiness of the wrap with vibrant flavors from ripe avocados and tangy dressing.
-
Zesty Corn on the Cob: Sweet, buttery corn dosts a delightful pop with each bite, perfect for adding a classic summer vibe alongside your wrap.
-
Spicy Black Bean Soup: Rich and hearty, this soup offers a beautifully spiced contrast to the chicken and creates a warm, comforting meal experience.
-
Crispy Potato Wedges: Golden and seasoned with spices, these wedges provide an exciting crunch and a satisfying side that complements the chicken’s flavorful profile.
-
Pico de Gallo: Bright and refreshing, combining fresh tomatoes, onions, and cilantro, this salsa provides a zesty burst of flavor that enhances your homemade Chicken Crunch Wrap.
-
Mango Salsa: Sweet and tangy, it complements the savory chicken while offering a fresh and fruity element that lightens up the meal beautifully.
-
Lemon-Garlic Asparagus: This simple yet elegant side adds a pop of green and a burst of flavor that brightens the entire dinner experience.
-
Pineapple Margarita: For a fun beverage option, this cocktail’s sweetness and citrus notes provide a delightful chill that pairs perfectly with your home-cooked feast.
-
Chocolate Lava Cake: End your meal on a sweet note; the luxurious molten center adds a satisfying finish to an already delightful dinner experience.
Make Ahead Options
These Chicken Crunch Wraps are perfect for meal prep enthusiasts! You can prepare the fillings—such as the seasoned chicken, cheese, and veggies—up to 24 hours in advance. Simply store them separately in airtight containers in the refrigerator to maintain freshness. When you’re ready to serve, warm the chicken in a skillet until heated through, and assemble your wraps as directed. To preserve the delightful crunch, grill just before serving. This way, you’ll have a delicious meal ready in a flash, ensuring that your Chicken Crunch Wraps are just as wonderful as if they were freshly made!
Chicken Crunch Wrap Variations
Feel free to give your Chicken Crunch Wrap a personal twist that tantalizes your taste buds and meets your cravings.
- Shrimp or Beef: Swap the chicken for grilled shrimp or juicy beef for a delightful variation.
- Whole Wheat Tortillas: Use whole wheat tortillas for a healthier wrap that adds a nutty flavor.
- Hot & Spicy: Add diced jalapeños or a drizzle of spicy sriracha for heat that’ll wake up your taste buds.
- Cheese Exploration: Try different cheeses like pepper jack or feta; they elevate the flavor profile beautifully.
- Vegan Option: Substitute with black beans, avocado, and fresh veggies for a fulfilling plant-based twist.
Imagine a vibrant wrap filled with crunchy lettuce, creamy avocado, and your favorite protein, enjoyed on a sunny day.
- Creamy Switch: Opt for ranch dressing instead of sour cream for a bold, zesty flavor that adds depth.
Integrating a flavorful ranch into your wrap can give a delightful twist that complements all other ingredients beautifully.
- Extra Veggies: Toss in roasted bell peppers or grilled zucchini for added flavor and a healthy crunch.
Adding layers of grilled veggies not only enhances taste but also packs your wrap with more nutrition.
With these variations, your Chicken Crunch Wrap can become an endless adventure for your palate—much like the ones you can explore in my hearty Street Corn Chicken or the irresistible Chicken Avocado Melt. Enjoy crafting your perfect crunch wrap!
Chicken Crunch Wrap Recipe FAQs
What type of chicken should I use?
For the best flavor and texture, I recommend using cooked chicken breast or thighs. You can shred or chop the chicken to your preference, making it much easier to wrap. If you’re short on time, rotisserie chicken is a fantastic shortcut that still delivers on taste!
How long can I store homemade Chicken Crunch Wraps?
You can store leftovers in an airtight container in the fridge for up to 3 days. For optimal freshness, I suggest reheating them in a skillet to avoid any sogginess and restore that delightful crispiness.
Can I freeze Chicken Crunch Wraps?
Absolutely! To freeze, wrap each Chicken Crunch Wrap tightly in plastic wrap and then in foil. They can last in the freezer for up to 3 months. When you’re ready to enjoy, thaw them overnight in the fridge and reheat in a skillet for about 5-7 minutes until they are heated through and crispy.
What should I do if my wraps fall apart when folding?
If your wraps are falling apart, it might be due to overstuffing. Keep your fillings balanced and centered to ensure easy folding. Also, warm your tortillas properly before assembly—this will make them more pliable! If all else fails, embrace the mess; they still taste delicious!
Are there any dietary considerations for the Chicken Crunch Wrap?
Yes, if you have food allergies or dietary restrictions, you can easily customize the ingredients. For gluten sensitivities, opt for gluten-free tortillas. If you want to make it vegetarian, substitute the chicken with black beans, lentils, or grilled veggies. Always check ingredient labels if there are any allergies involved, particularly with pre-made sauces or seasonings.
Can I prepare the Chicken Crunch Wrap fillings in advance?
Certainly! You can prep the fillings up to 24 hours ahead of time. Store each ingredient in separate airtight containers in the fridge to maintain freshness. Just remember to grill the wraps just before serving for the best texture—crispy on the outside and warm on the inside!

Homemade Chicken Crunch Wrap for a Healthier Fast Food Fix
Ingredients
Equipment
Method
- In a large skillet, heat 1 tablespoon of olive oil over medium heat. Add the cooked chicken and sprinkle generously with taco seasoning. Stir for about 3–5 minutes until heated through and coated.
- While the chicken warms, warm the large flour tortillas in the microwave for about 30 seconds until pliable. Arrange all fillings in small bowls for easy access.
- On each warm flour tortilla, place a small corn tortilla in the center. Layer seasoned chicken, dollops of sour cream, salsa, cheese, and shredded lettuce, keeping the filling centered.
- To seal, fold the edges of the flour tortilla over the filling, first folding the bottom, then in the sides, and finally rolling tightly from the bottom up.
- In the same skillet, place the wrap seam-side down. Cook for 2–3 minutes until golden brown and crispy. Flip and grill the other side for another 2–3 minutes.
- Once grilled, remove from the skillet and let sit for a minute. Cut in half diagonally and serve hot.
Leave a Reply