
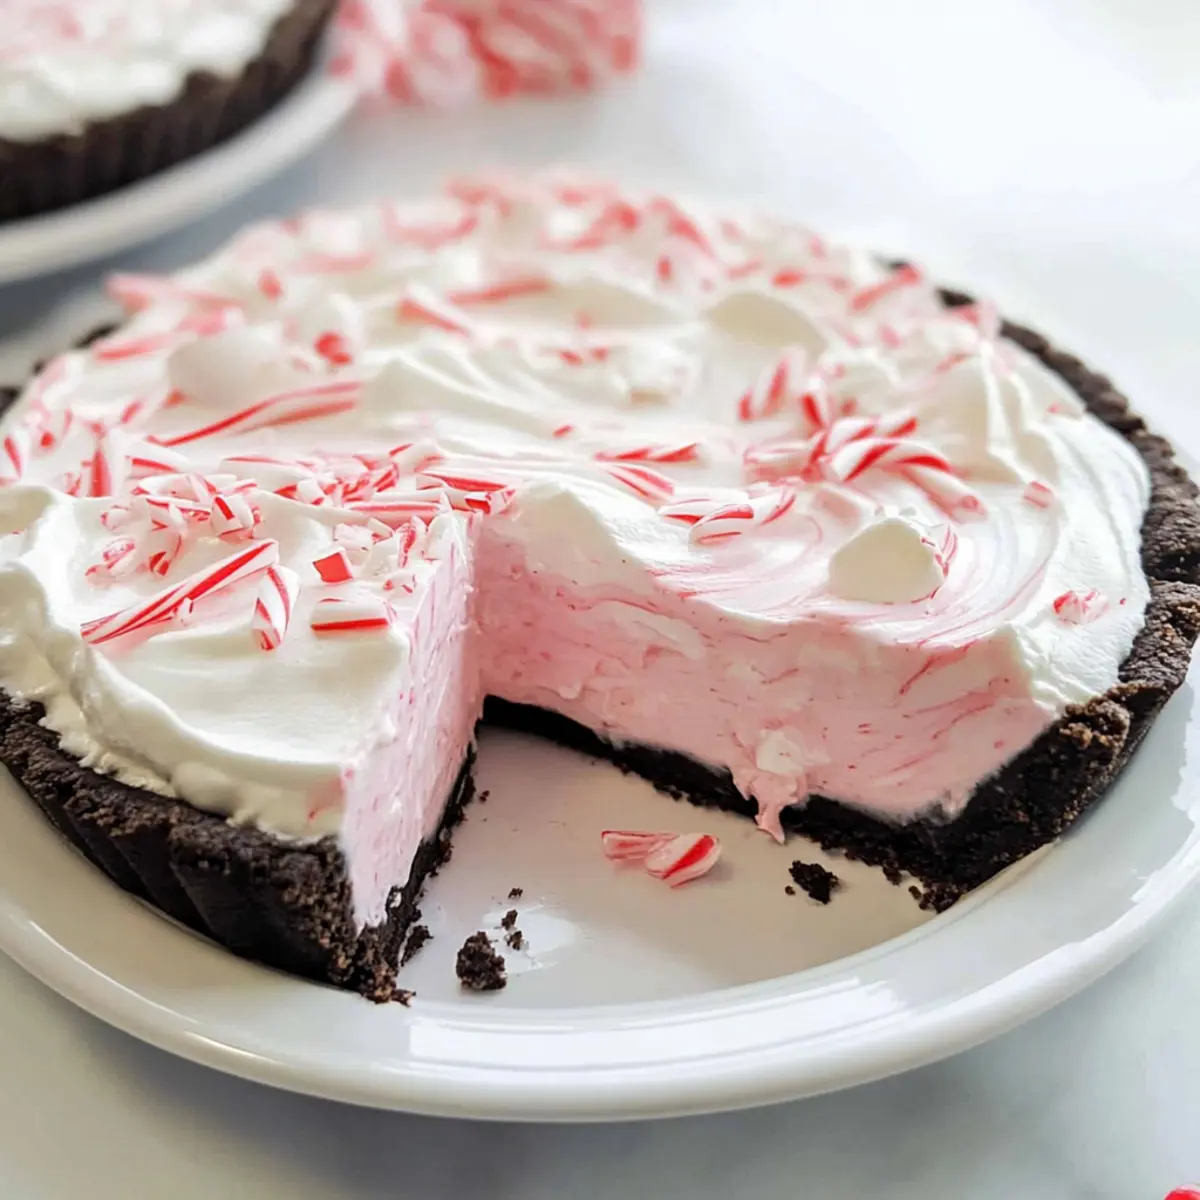
Every holiday season, I find myself on a quest for the ultimate dessert, and this year, I’ve struck gold with my No Bake Candy Cane Pie! Imagine a creamy filling that dances with peppermint delight, snuggled in a rich Oreo crust — it’s a festive treat that promises to delight both your palate and your guests. The best part? This pie is a breeze to whip up, requiring minimal prep time while delivering maximum flavor, making it ideal for those busy holiday days. With its cool and refreshing taste, you can easily bring a touch of joy to your Christmas table without the stress of baking. So, are you ready to dive into this delightful seasonal sensation?
Why is Candy Cane Pie so special?
Easy to Make: This no-bake dessert is perfect for busy holiday schedules, allowing you to impress your guests without spending all day in the kitchen.
Festive Flavors: The delightful combination of peppermint and creamy filling is a true holiday treat, sure to evoke memories of Christmas cheer.
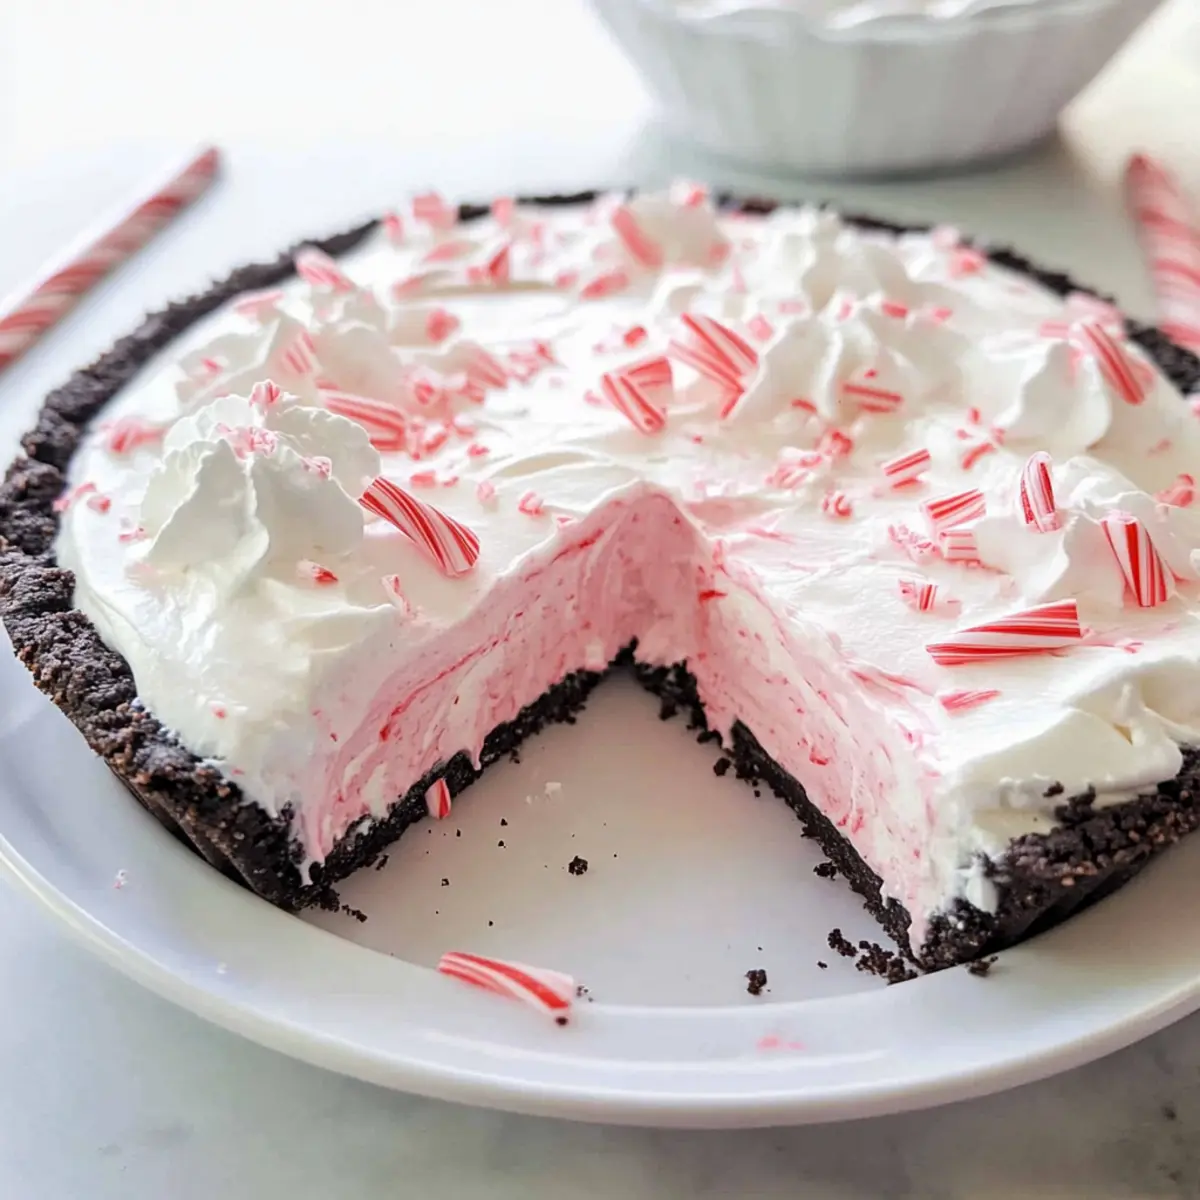
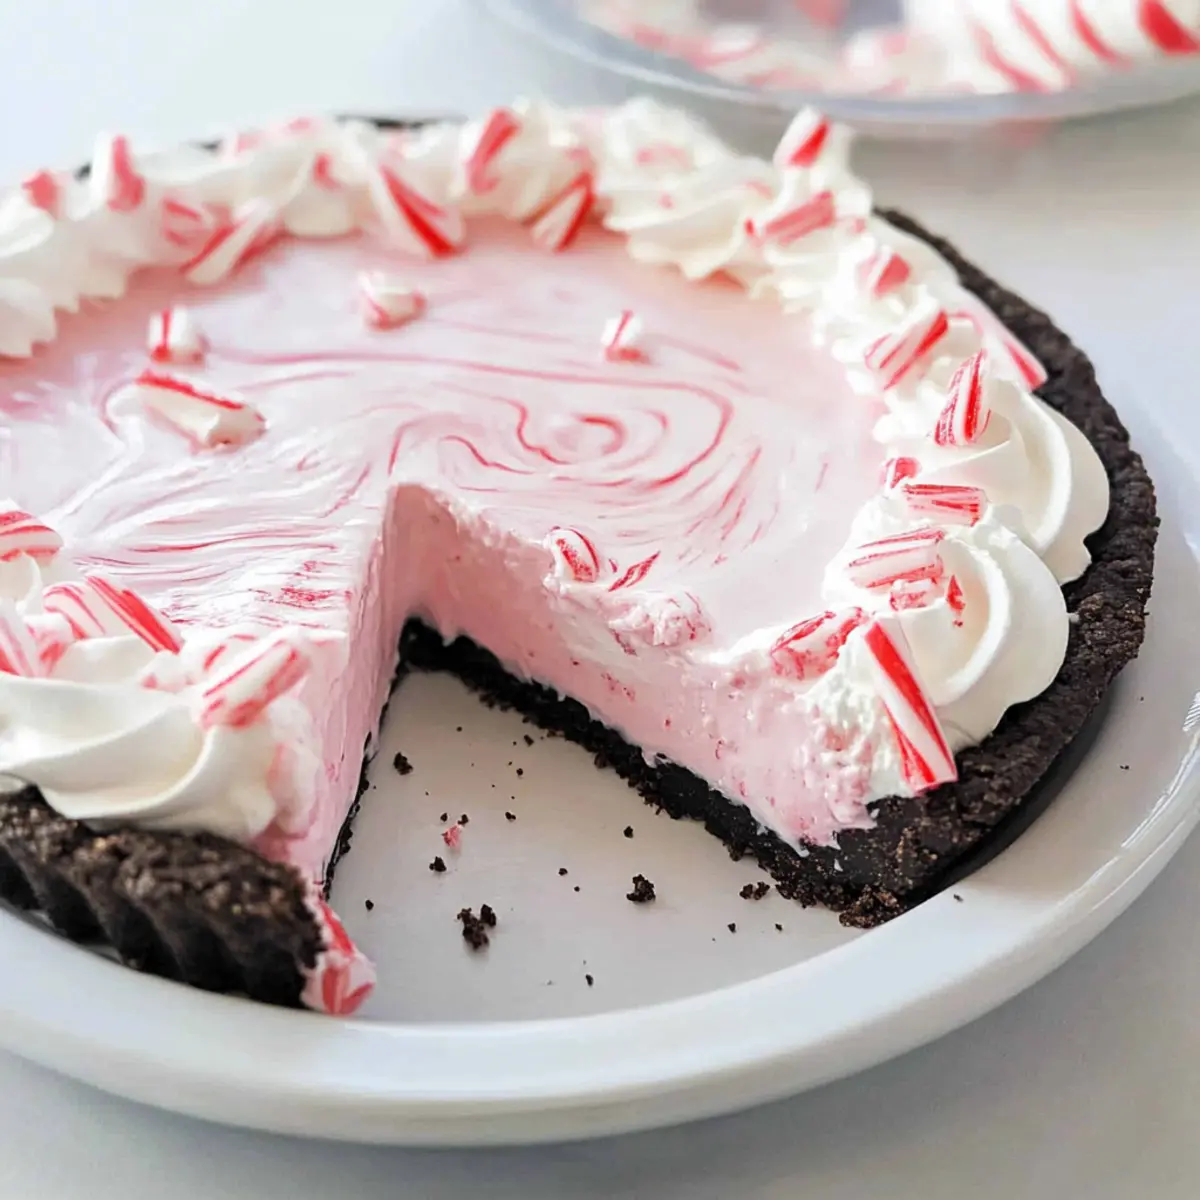
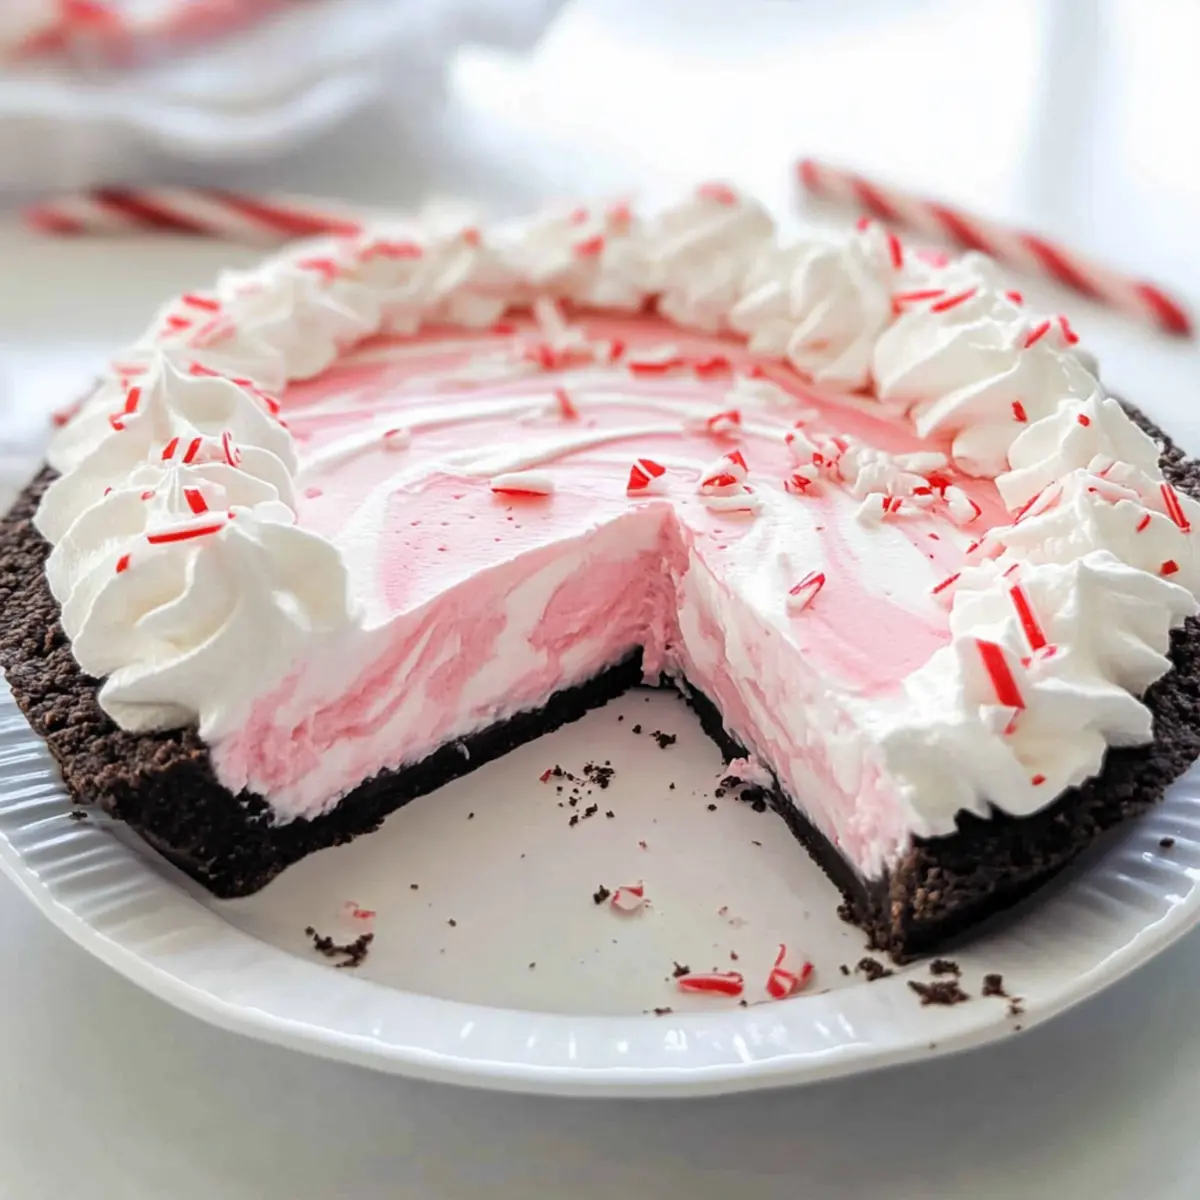
Rich Oreo Crust: The chocolatey base offers a rich contrast to the fluffy filling, creating a delicious balance of flavors and textures.
Visual Appeal: With its vibrant colors and crushed candy cane topping, this pie is not just tasty, but also an eye-catching centerpiece for your festive gatherings.
Versatile Options: Feel free to experiment with various cookie crusts or toppings, like adding chocolate shavings, to make it uniquely yours. If you love holiday desserts, check out my Vanilla Custard Pie for another easy-to-make, crowd-pleasing option!
Candy Cane Pie Ingredients
• All set to create your Candy Cane Pie? Here’s everything you need!
For the Crust
- Oreo Cookies – Base of the crust, providing a rich chocolate flavor; you can substitute with any chocolate cookie if unavailable.
- Butter – Binds the cookie crust together; margarine can be used if necessary.
For the Filling
- Cream Cheese – Adds a creamy and tangy quality to the filling; ensure it’s softened for easy mixing.
- Sweetened Condensed Milk – Delivers sweetness and a creamy consistency to the pie; no direct substitutes but DIY versions exist.
- Red Food Coloring – Optional but great for a festive pink hue; completely up to you!
- Peppermint Extract – Gives that iconic holiday flavor; you can swap it out for vanilla extract for a twist.
- Cool Whip – Provides lightness and volume; any frozen whipped topping or homemade whipped cream works well.
For the Topping
- Candy Canes – Crushed for garnishing, adding both texture and visual appeal; pre-crushed peppermint candy is a convenient alternative.
Step‑by‑Step Instructions for Candy Cane Pie
Step 1: Prepare the Pie Pan
Lightly grease a 9-inch pie pan with cooking spray or butter to prevent sticking. Set it aside, ensuring it’s ready to receive your delicious crust. This step is essential for easy removal later, ensuring you present your Candy Cane Pie beautifully!
Step 2: Make the Oreo Crust
In a food processor, pulse the Oreo cookies until they form fine crumbs, usually about 30 seconds. Transfer the crumbs to a bowl and mix them with melted butter until evenly combined. Press this mixture firmly into the bottom and up the sides of your greased pie pan, creating a sturdy crust. Chill in the refrigerator for at least 30 minutes to firm up.
Step 3: Beat the Cream Cheese
In a large mixing bowl, add softened cream cheese. Using a hand mixer or stand mixer, beat the cream cheese on medium speed until it becomes fluffy and smooth, typically around 2-3 minutes. This step is crucial for a creamy filling that pairs perfectly with the crunchy oreo crust of your Candy Cane Pie.
Step 4: Combine the Filling Ingredients
To the fluffy cream cheese, add the sweetened condensed milk, optional red food coloring, and peppermint extract. Mix well on low speed until all ingredients are thoroughly blended, scraping the sides of the bowl as needed. The mixture should achieve a creamy consistency, echoing that delightful peppermint flavor.
Step 5: Fold in the Cool Whip
Gently fold in 8 ounces of thawed Cool Whip into the cream cheese mixture using a spatula. This step will add lightness and volume to your filling while keeping it airy. Ensure everything is well combined but avoid overmixing to maintain that fluffy texture that makes Candy Cane Pie so appealing.
Step 6: Pour the Filling into the Crust
Remove the chilled pie crust from the refrigerator. Carefully scoop the creamy filling into the crust and spread it evenly using a spatula. Make sure the filling is smooth and level, as this visual appeal adds to the overall gorgeousness of your Candy Cane Pie.
Step 7: Add the Final Topping
Using the remaining Cool Whip, dollop it generously on top of the filling and gently spread it for an even layer. When finished, sprinkle crushed candy canes liberally on top for a festive touch. This not only enhances the flavor but also adds a beautiful crunch that makes each slice exciting.
Step 8: Freeze the Pie
Cover the pie with plastic wrap and place it in the freezer for at least 2 hours. This chilling process allows the filling to set properly, ensuring each slice holds its shape when served. If desired, remove it 15 minutes before slicing to make serving easier and achieve that perfect Candy Cane Pie experience.
How to Store and Freeze Candy Cane Pie
Fridge: Store the Candy Cane Pie covered in the refrigerator for up to 5 days. This keeps the pie fresh and ensures the creamy filling maintains its delightful texture.
Freezer: For longer storage, wrap the pie tightly in plastic wrap followed by aluminum foil and freeze for up to 3 months. Thaw the pie overnight in the refrigerator before serving.
Reheating: There’s no need to heat this no-bake pie! Simply allow it to soften at room temperature for about 15 minutes before slicing for easy serving.
Serving Tip: If made ahead, sprinkle additional crushed candy canes on top right before serving for a fresh and festive look.
Candy Cane Pie Variations & Substitutions
Feel free to explore these creative twists on your Candy Cane Pie for a personalized holiday treat that delights the senses!
-
Graham Cracker Crust: Swap the Oreo crust for a graham cracker base for a lighter, more citrusy flavor that complements the peppermint. It adds a delightful crunch as well!
-
Sugar-Free Option: Use sugar-free cookies and sweetened condensed milk for a guilt-free version of this indulgent dessert. This way, you can enjoy the festive flavors without overdoing it on sugar.
-
Chocolate Lovers: Mix in mini chocolate chips into the filling for a rich, indulgent surprise that contrasts beautifully with the creamy pie. Trust me, chocolate and peppermint are a match made in heaven!
-
Vanilla Cream Filling: Change the peppermint extract to vanilla for a subtly sweet pie that still exudes holiday spirit. Top it with crushed candy canes for that iconic festive touch!
-
Nutty Crunch: Add chopped pecans or walnuts to the crust for an extra layer of flavor and crunch. This twist can be a great surprise for those who love a bit of texture in their desserts.
-
Festive Decor: Decorate the top with drizzles of chocolate ganache or colorful sprinkles to elevate its visual appeal for your holiday gatherings. A little artistry goes a long way in making this pie really stand out!
-
Extra Creamy: For an even richer filling, substitute half of the Cool Whip with mascarpone cheese. This will give your Candy Cane Pie an ultra-creamy consistency that everyone will love.
-
Cinnamon Spice: Add a sprinkle of cinnamon to the filling for a warm, comforting touch that perfectly complements the peppermint. It’s a great way to enhance those cozy holiday vibes!
If you’re enjoying the holiday vibes, make sure to check out my delightful Vanilla Custard Pie for another fabulous seasonal recipe!
Expert Tips for Candy Cane Pie
• Soften Cream Cheese: Ensure your cream cheese is fully softened at room temperature for a smooth and creamy filling, avoiding lumps.
• Chill Time Matters: If you want a firmer pie, consider freezing it for longer than the suggested 2 hours. This will help set the filling perfectly.
• Stabilize Filling: If your filling seems too loose, try adding a small amount of unflavored gelatin mixed with water. This will help achieve a firmer texture in your Candy Cane Pie.
• Avoid Overmixing: When folding in the Cool Whip, be gentle. Overmixing can deflate the airiness, resulting in a denser filling.
• Personalize Toppings: Feel free to get creative! Swap crushed candy canes with chocolate shavings or sprinkle festive sprinkles for a unique twist on your Candy Cane Pie.
What to Serve with No Bake Candy Cane Pie
When it’s time to indulge in something sweet and festive, creating a harmonious meal to accompany your dessert can elevate the experience.
-
Peppermint Hot Chocolate: Nothing warms the soul like a rich, creamy peppermint hot chocolate. Its flavors complement the pie’s minty essence perfectly for a cozy finish.
-
Gingerbread Cookies: These classic cookies add a spicy crunch that contrasts beautifully with the creamy texture of the pie, evoking the warmth of the holiday season.
-
Vanilla Ice Cream: A scoop of smooth vanilla ice cream provides a delightful temperature contrast, enhancing the refreshing mintiness of the Candy Cane Pie.
-
Fresh Fruit Salad: A light and refreshing fruit salad with berries and citrus offers a juicy balance to the richness of the pie, cleansing the palate and brightening the meal.
-
Chocolate Fudge Brownies: For the chocolate lovers among your guests, dense and fudgy brownies create an indulgent experience that echoes the Oreo crust flavor in the pie.
-
White Chocolate Mousse: This light, airy dessert pairs excellently with the Candy Cane Pie. Its creaminess adds an elegant touch while enhancing the festive vibe of the meal.
-
Sparkling Apple Cider: A bubbly toast with sparkling apple cider adds a celebratory touch to your serving, its crispness cutting through the richness of the dessert.
-
Crushed Candy Canes on Top: For a delightful touch, sprinkle additional crushed candy canes on your plate alongside the pie. It adds a festive crunch that ties the whole dessert together.
Make Ahead Options
These delightful No Bake Candy Cane Pies are truly a lifesaver for busy holiday schedules! You can prepare the pie up to 24 hours in advance by making the crust and the filling separately. Start by making the Oreo crust and refrigerating it while you whip up the filling; then pour it into the crust and freeze the pie for at least 2 hours to set. For optimal quality, cover the pie tightly with plastic wrap to prevent freezer burn and maintain its creamy texture. When you’re ready to serve, simply remove it from the freezer 15 minutes beforehand for easier slicing, ensuring your Candy Cane Pie is just as delicious and festive!
Candy Cane Pie Recipe FAQs
What kind of Oreos should I use for the crust?
Absolutely! Classic Oreo cookies work wonderfully for the crust due to their rich chocolate flavor. If you’re looking for alternatives, any chocolate cookie will do just fine, such as chocolate hohos or even gluten-free chocolate cookies if needed.
How should I store the Candy Cane Pie?
Store your Candy Cane Pie covered in the refrigerator for up to 5 days. Make sure it’s tightly wrapped to keep it fresh and maintain its creamy texture. You can also freeze the pie for up to 3 months by wrapping it in plastic wrap and aluminum foil. Thaw overnight in the refrigerator before serving for the best texture.
Can I freeze the Candy Cane Pie?
Yes, you can! For freezing, wrap the whole pie tightly in plastic wrap, followed by aluminum foil to prevent freezer burn. It’s best enjoyed within 3 months of freezing. When you’re ready to serve, thaw it overnight in the refrigerator for the best creamy consistency.
What if my filling is too loose?
If your filling seems too loose, no worries! You can stabilize it by dissolving 1 tablespoon of unflavored gelatin in 2 tablespoons of warm water. Allow it to cool slightly and then mix it into your filling before spreading it in the crust. This will help achieve the perfect firm texture for your Candy Cane Pie!
Can I use a different type of food coloring?
Certainly! If you’re not keen on using red food coloring, you can skip it entirely, or simply add a few drops of another color to match your holiday decor. Remember, it’s mostly for aesthetics, so your Candy Cane Pie will still taste delightful without it!
Are there any dietary considerations I should be aware of?
Yes, keep in mind any guests’ allergies or dietary restrictions. The Candy Cane Pie contains dairy, so if you have lactose-intolerant friends, consider using dairy-free cream cheese and non-dairy whipped topping. Always check the ingredient labels of store-bought items for allergens.
Irresistible Candy Cane Pie for a Festive Holiday Treat
Ingredients
Equipment
Method
- Lightly grease a 9-inch pie pan with cooking spray or butter to prevent sticking.
- In a food processor, pulse the Oreo cookies until they form fine crumbs. Mix them with melted butter and press into the pie pan. Chill for at least 30 minutes.
- In a large bowl, beat the softened cream cheese until fluffy.
- Add sweetened condensed milk, red food coloring, and peppermint extract to the cream cheese and mix well.
- Gently fold in the Cool Whip into the cream cheese mixture.
- Pour the filling into the chilled crust and spread evenly.
- Dollop and spread the remaining Cool Whip on top, then sprinkle crushed candy canes.
- Cover and freeze for at least 2 hours.
Leave a Reply