Go Back
+ servings
Vegan Cheesecake

Dreamy Vegan Cheesecake That Will WOW Every Guest

This Vegan Cheesecake is a creamy, decadent delight that impresses everyone at gatherings.
Prep Time 15 minutes
Cook Time 30 minutes
Chilling Time 4 hours
Total Time 4 hours 45 minutes
Servings: 8 slices
Course: Desserts
Cuisine: Vegan
Calories: 250

Ingredients
  

For the Cheesecake Filling
  • 16 oz Vegan Cream Cheese Use brands like Tofutti or Miyokos
  • 1 cup Plant-Based Yogurt Almond milk or coconut yogurt can substitute
  • 1 tsp Pure Vanilla Extract Use less if yogurt is flavored
  • 1/4 cup Cornstarch Almond flour can substitute if desired
  • 1/2 cup Sugar or Maple Syrup Use erythritol for a sugar-free version
  • 2 tbsp Lemon Juice Optional, for tangy flavor
For the Pie Crust
  • 1 pie crust Pie Crust Use homemade vegan graham cracker crust or store-bought

Equipment

  • 9-inch springform pan
  • blender or food processor

Method
 

Step-by-Step Instructions for Vegan Cheesecake
  1. Preheat your oven to 350°F (175°C) and place a shallow pan filled with water on the lower rack.
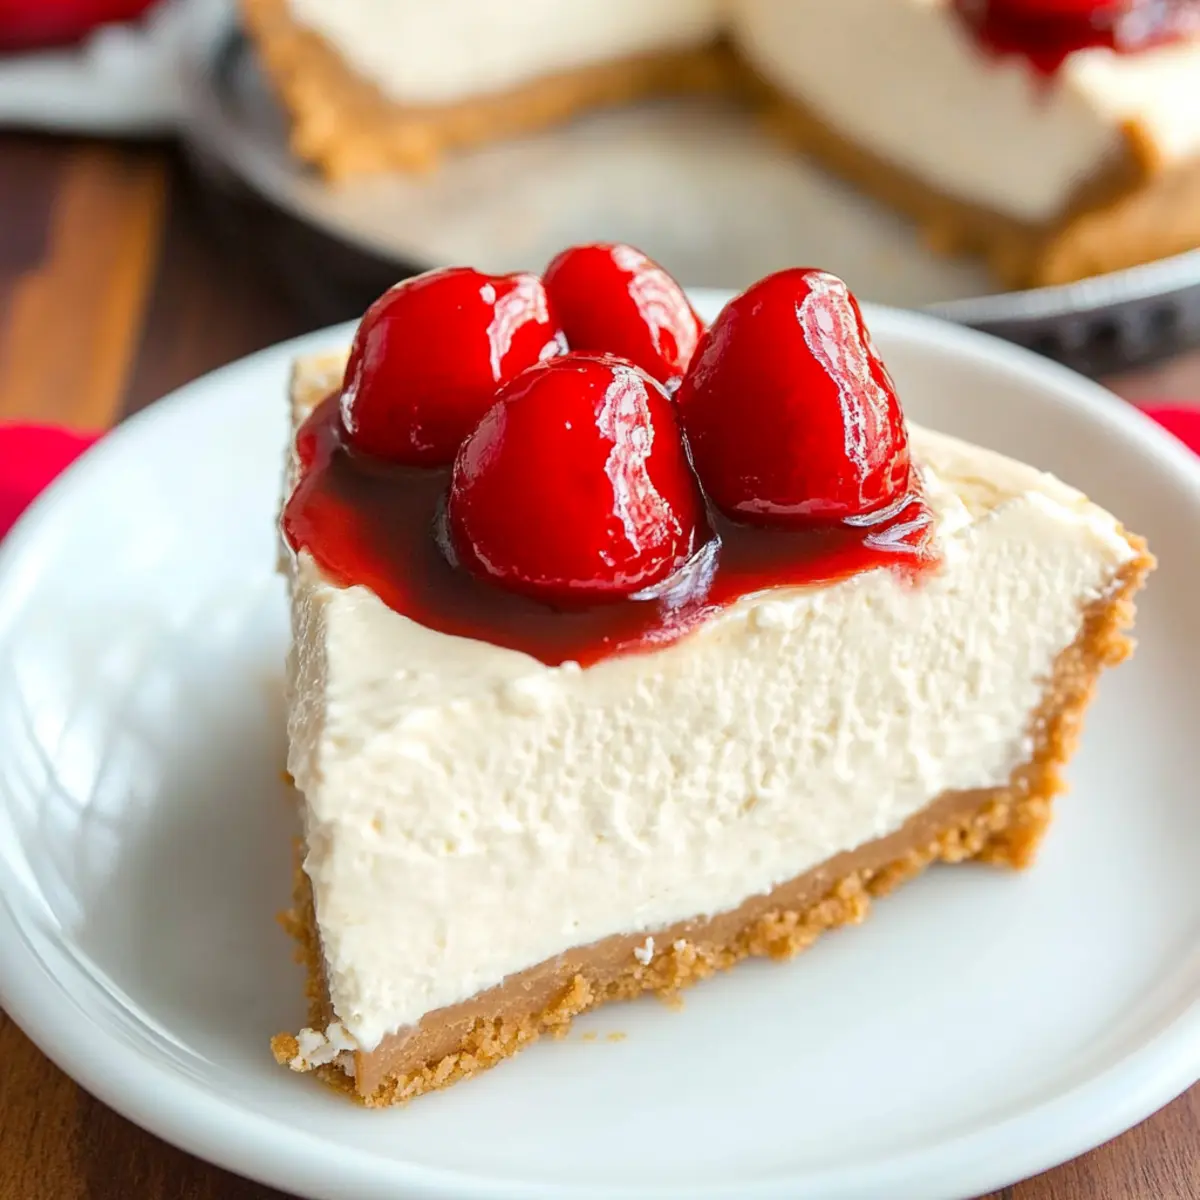
  2. Prepare the crust by placing a store-bought crust in your springform pan or creating a homemade crust.
  3. Blend the vegan cream cheese, plant-based yogurt, vanilla, cornstarch, and sweetener until smooth.
  4. Pour the filling into the prepared crust and smooth the top with a spatula.
  5. Bake for 30 minutes, ensuring the edges are firm and the center is slightly jiggly.
  6. Turn off the oven and let the cheesecake sit inside for 5 minutes to cool gradually.
  7. Remove from the oven and cool at room temperature for 20 minutes before refrigerating.
  8. Chill in the refrigerator for at least 4 hours or overnight before serving.

Nutrition

Serving: 1sliceCalories: 250kcalCarbohydrates: 30gProtein: 4gFat: 12gSaturated Fat: 8gPolyunsaturated Fat: 0.5gMonounsaturated Fat: 3gSodium: 200mgPotassium: 300mgFiber: 2gSugar: 15gVitamin C: 2mgCalcium: 2mgIron: 4mg

Notes

Serve with fresh fruit, coconut whipped cream, or vegan chocolate drizzle for an extra touch.

Tried this recipe?

Let us know how it was!