
There’s something magical about transforming a classic dessert into a delightful bite-sized treat! My No-Bake Tiramisu Balls are a fantastic way to indulge in that creamy, coffee-infused goodness you love, all without the fuss of baking. In just 10 minutes, you can whip up these decadent delights, perfect for any occasion—whether it’s a cozy night at home or a lively gathering with friends. With endless topping options and a rich yet silky texture, these little treats not only satisfy your sweet tooth but also allow for a fun twist to suit everyone’s tastes. Curious to discover how to make these delicious morsels? Let’s dive in!
Why Are Tiramisu Balls So Amazing?
Quick and Easy: In just 10 minutes, you can prepare these delightful no-bake tiramisu balls, making them a flawless solution for last-minute cravings.
Endless Customization: With various toppings like crushed nuts or coconut flakes, you can effortlessly personalize each treat to cater to different taste preferences.
Decadent Flavor: The rich blend of mascarpone and strong coffee delivers the classic tiramisu taste in a fun, bite-sized format that will have everyone asking for seconds.
Party-Perfect: These little delights make an attractive addition to any dessert platter, sure to impress guests at gatherings! If you’re also craving some festive flavors, consider trying my Cranberry Meatballs Holiday for a savory balance.
Crowd-Pleaser: Whether you’re hosting a party or enjoying a quiet evening, these tiramisu balls provide the comfort of homemade desserts that never disappoint!
Tiramisu Balls Ingredients
• For those eager to create these delightful treats, here’s what you’ll need!
For the Mixture
- Lady Fingers – Use dry, crisp lady fingers for the best consistency; feel free to substitute with crisp biscotti if needed.
- Mascarpone Cheese – This adds a rich creaminess; cream cheese can work as a substitute, but it might alter the flavor slightly.
- Powdered Sugar – Sweetens the mixture perfectly; consider using brown sugar for a deeper flavor profile.
- Coffee (strongly brewed) – This infuses that classic coffee flavor; espresso or decaf coffee can be substituted based on preference.
For Coating
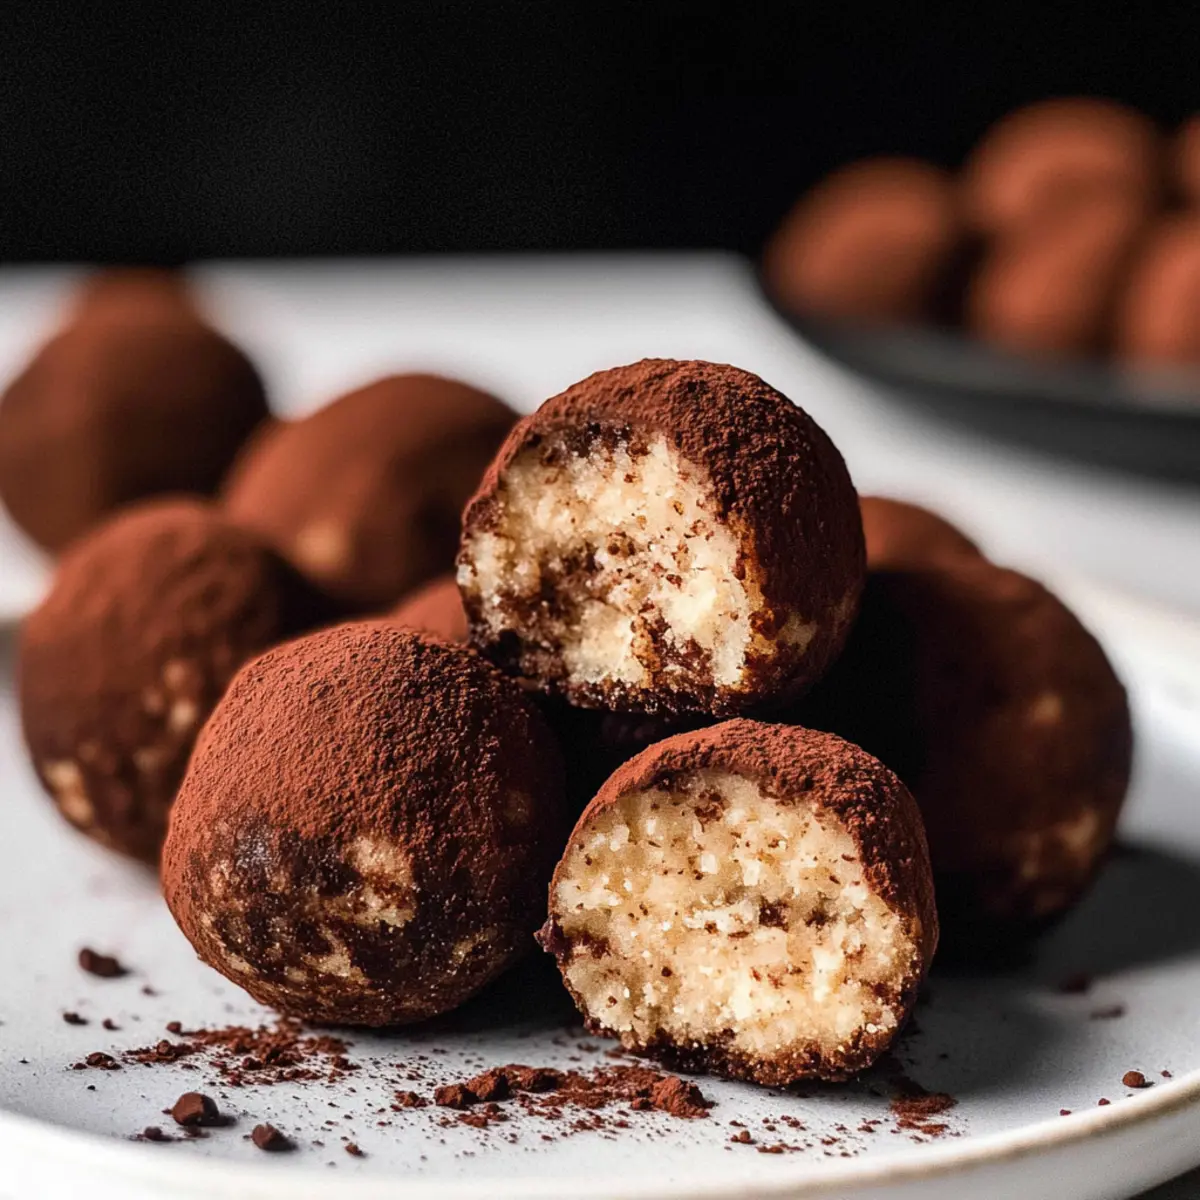
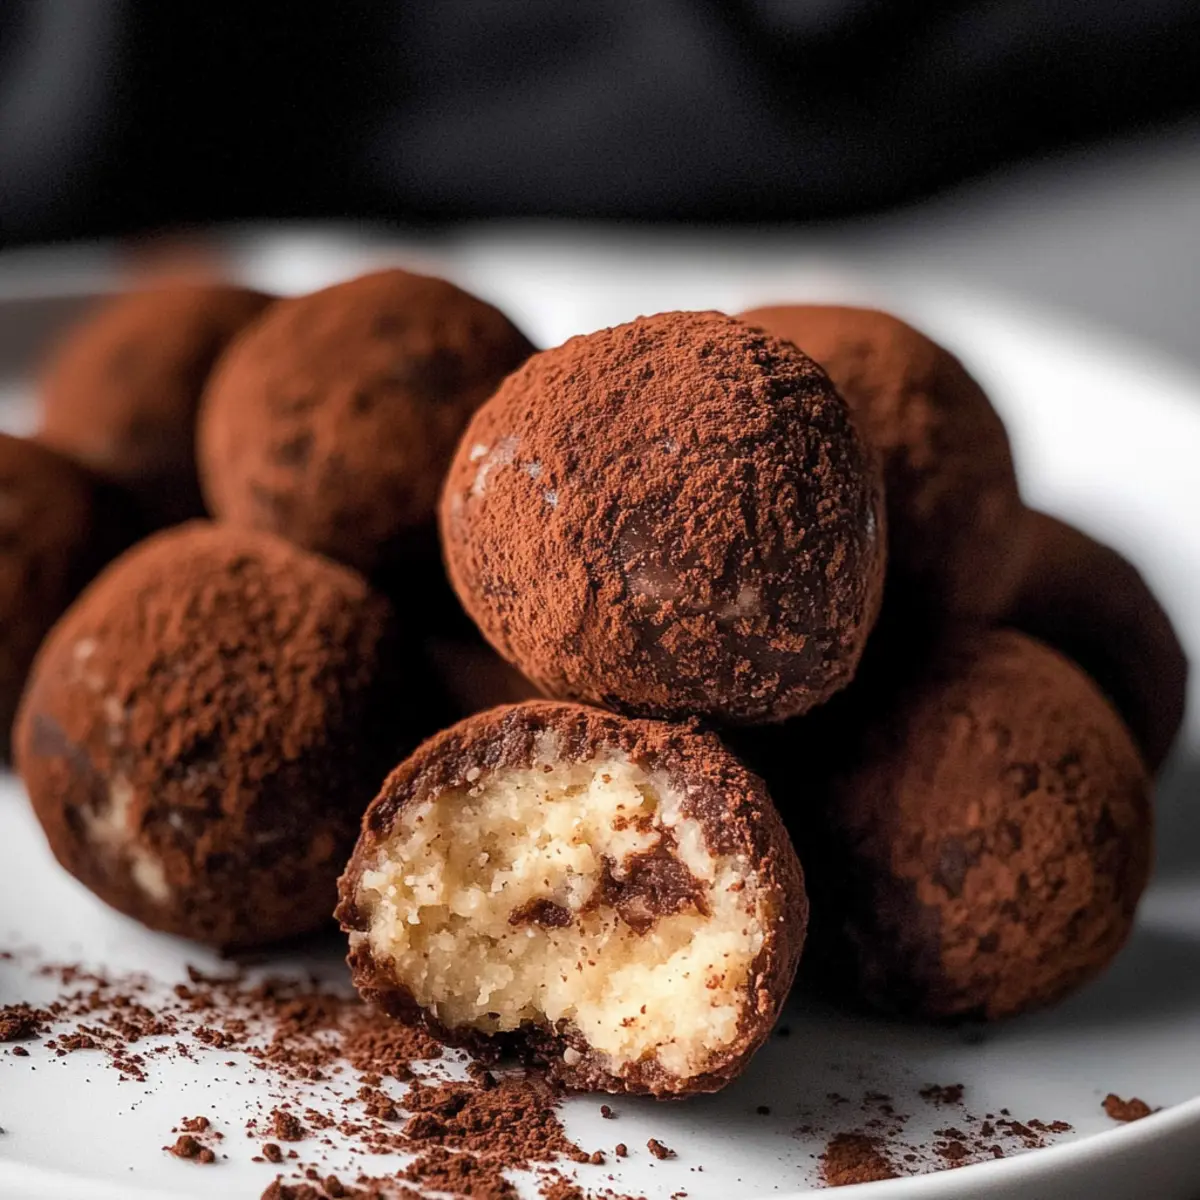
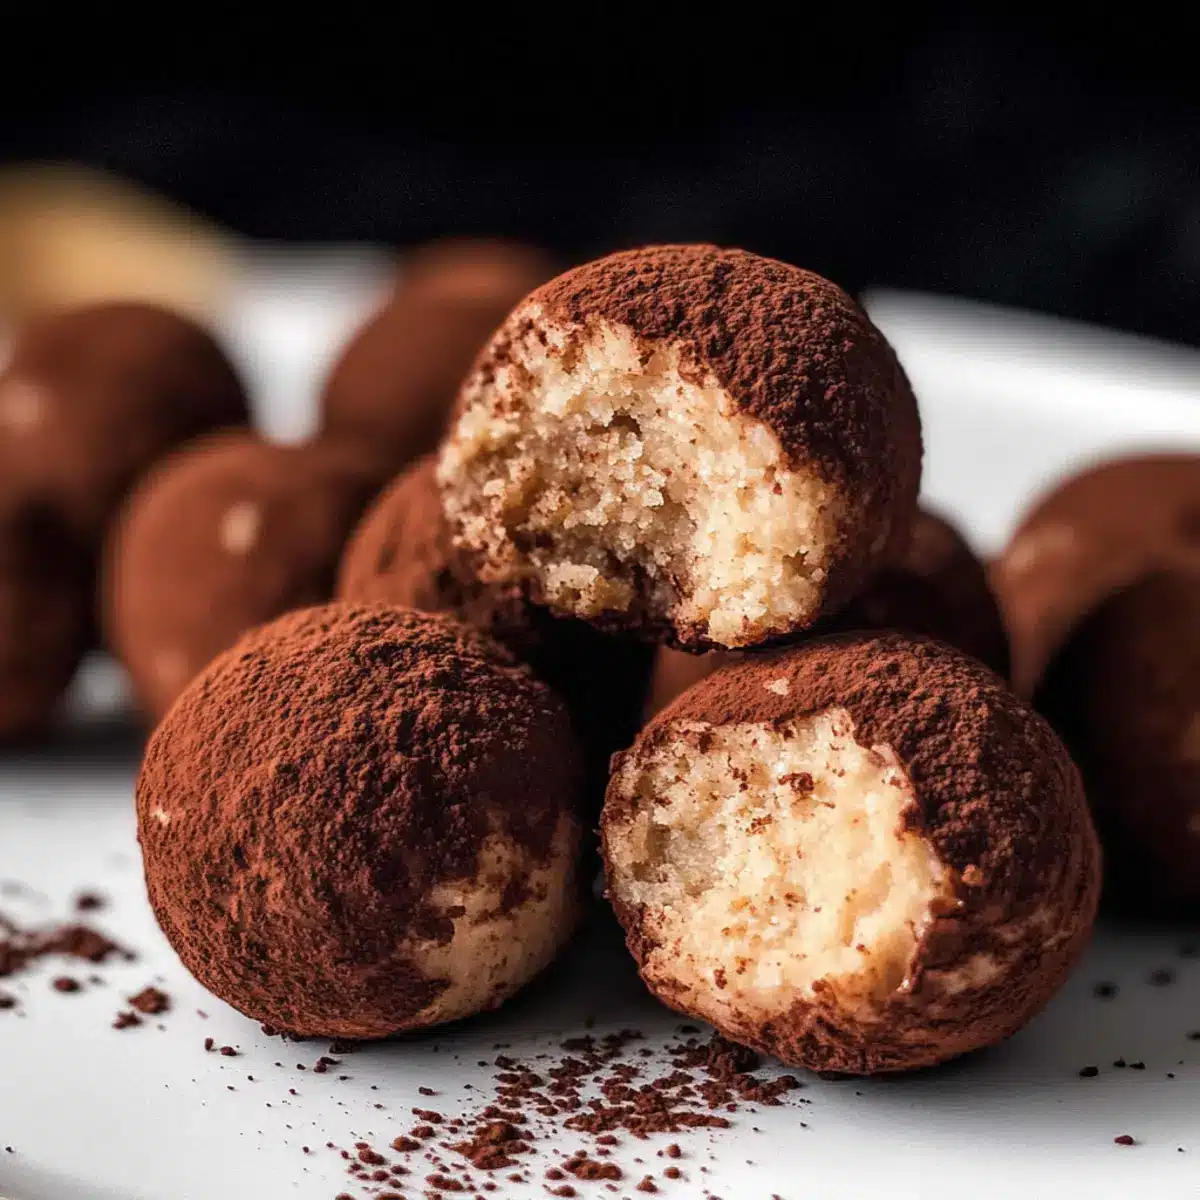
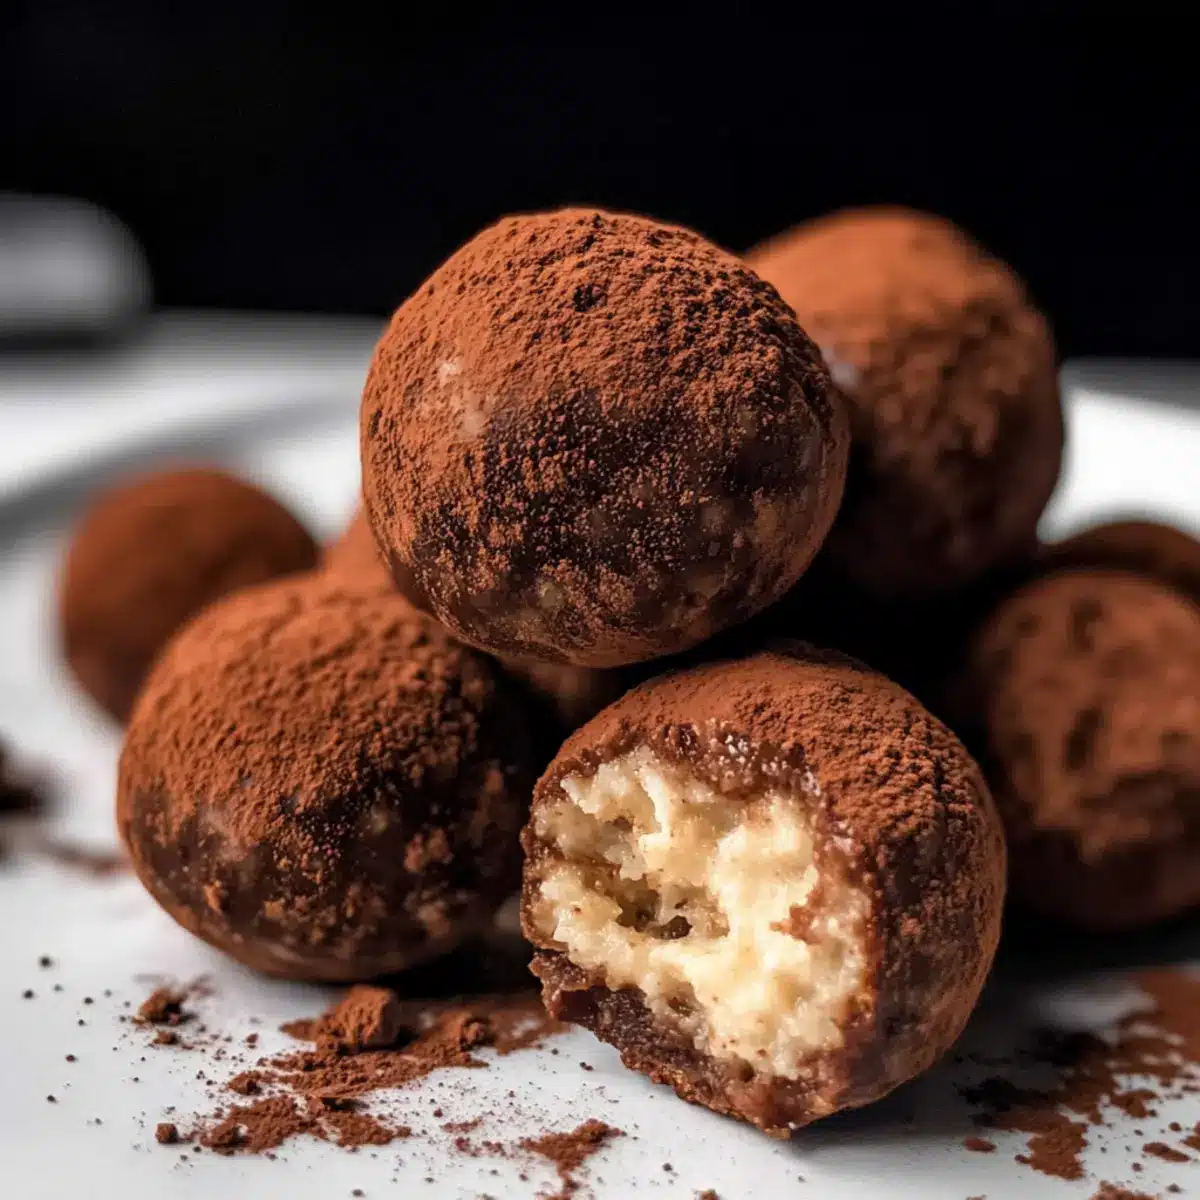
- Cocoa Powder – A traditional topping that enhances the chocolatey goodness; alternatives include powdered sugar, sprinkles, or coarse sugar for a different touch.
Get ready to enjoy making your Tiramisu Balls—they’re a fun and easy way to savor a classic dessert in a whole new form!
Step‑by‑Step Instructions for Tiramisu Balls
Step 1: Prepare the Mixture
In a mini food processor, combine dry, crisp lady fingers, mascarpone cheese, powdered sugar, and strongly brewed coffee. Pulse the mixture until it transforms into a smooth, cookie dough-like consistency, ensuring everything is well incorporated. This should take about 1-2 minutes. The aroma of coffee will fill the air, hinting at the delicious Tiramisu Balls to come!
Step 2: Portion the Dough
Using a small cookie scoop (about 1.5 tablespoons), portion out the tiramisu mixture onto a clean surface. Roll each scoop gently between your palms to create smooth, round balls. Aim for a uniform size to ensure even coating later. You should feel the mixture stick slightly as you roll, forming beautiful little treats that are ready for their final touches.
Step 3: Coat the Tiramisu Balls
If you prefer a classic coating, pour cocoa powder onto a plate and roll each ball until fully covered. The cocoa powder will add a rich chocolate flavor and a lovely matte finish. Alternatively, for a chocolate-coated version, melt chocolate and chill the formed balls in the refrigerator for 15-20 minutes before dipping, preventing breakage while coating.
Step 4: Chill and Store
Once coated, place the Tiramisu Balls in an airtight container lined with parchment paper. Refrigerate them for at least one hour to allow the flavors to meld and the texture to firm up. These decadent bites are best served chilled, so they’re the perfect make-ahead treat for gatherings or special occasions.
Step 5: Serve and Enjoy
When ready to serve, remove the Tiramisu Balls from the refrigerator and arrange them on a dessert platter or in small paper cups for a fun presentation. The delightful appearance and creamy, coffee-infused flavor will surely impress your guests. Enjoy every bite of these luscious treats that capture the essence of traditional tiramisu in an irresistible, no-bake form!
Expert Tips for Tiramisu Balls
-
Crispy Lady Fingers: Ensure your lady fingers are dry and crisp for the perfect mixture consistency; avoid soggy ones that can make your tiramisu balls mushy.
-
Chill Before Dipping: If you plan to coat your tiramisu balls in chocolate, chill them for 15-20 minutes beforehand to make dipping easier and prevent breakage.
-
Customize Your Coating: Experiment with various toppings like crushed nuts or coconut flakes to make your tiramisu balls uniquely delightful and visually appealing.
-
Seal in Freshness: Store the rolled tiramisu balls in an airtight container in the fridge for optimal flavor and freshness, keeping them delicious for up to 3-4 days.
-
Portion Control: Use a small cookie scoop to ensure uniform-size tiramisu balls, making them look more appealing and ensuring even flavor distribution.
How to Store and Freeze Tiramisu Balls
Fridge: Store your tiramisu balls in an airtight container in the refrigerator to maintain their delicious texture and flavor for up to 3-4 days.
Freezer: For longer storage, freeze the uncoated tiramisu balls on a baking sheet until firm, then transfer to a freezer-safe container for up to 3 months.
Reheating: These treats are best enjoyed chilled. Simply remove from the fridge or freezer and let them thaw for a few minutes before serving to enjoy their rich, creamy goodness.
Coating Tip: If you’ve coated them in chocolate, keep them tightly wrapped to avoid freezer burn and preserve that wonderful flavor!
What to Serve with Tiramisu Balls?
Indulging in these flavorful no-bake treats opens the door to a memorable meal experience.
-
Espresso: A perfect companion, the rich, bold flavors enhance the coffee notes in the tiramisu balls. The warmth of freshly brewed espresso makes every bite even better!
-
Whipped Cream: Light and airy, this classic topping adds a creamy texture that balances the rich chocolate notes. Serve it on the side for delightful dipping!
-
Fresh Berries: The tartness of raspberries or strawberries brings a refreshing contrast to the sweetness, making for a beautifully balanced dessert presentation.
-
Chocolate-Covered Almonds: Crunchy and sweet, these add a lovely texture contrast. Pairing them with tiramisu balls creates a delightful harmony of flavors.
-
Mini Cheesecakes: Offering another layer of creaminess, mini cheesecakes can round out dessert options, leading to an indulgent treat experience for guests.
-
Homemade Biscotti: A delightful crunch that pairs wonderfully with the creamy tiramisu balls, serving up that classic Italian dessert feel.
-
Vin Santo: This sweet, fortified wine pairs beautifully for a touch of elegance, often enjoyed with biscotti for dunking, enhancing the dessert theme!
Make Ahead Options
These Tiramisu Balls are perfect for meal prep, ensuring you have a sweet treat ready to go when cravings strike! You can prepare the mixture and form the balls up to 24 hours in advance. Simply follow the initial steps of blending the lady fingers, mascarpone, powdered sugar, and coffee to form the dough, then roll them into balls and place them in an airtight container lined with parchment paper. To maintain their delightful texture and flavor, refrigerate until you’re ready to coat them. When it’s time to serve, just coat the chilled balls in cocoa powder or melt chocolate for a rich finish. These no-bake delights are sure to be a hit, saving you time on busy days while delivering the same great taste!
Tiramisu Balls: Variations & Substitutions
Get ready to add a personal touch to your Tiramisu Balls with these exciting variations that will surprise and delight your taste buds!
-
Dairy-Free: Swap mascarpone with a dairy-free cream cheese for a vegan-friendly dessert that still tastes heavenly. You’ll still get that creamy texture without the dairy!
-
Nutty Delight: Incorporate finely chopped hazelnuts or almonds into the mixture for a delightful crunch. The added nuts will enhance the flavor and give each bite a satisfying texture.
-
Flavor Boost: Experiment with flavored liqueurs, like Amaretto or coffee liqueur, to infuse your Tiramisu Balls with an extra layer of richness. This twist will bring a new depth of flavor that complements the coffee beautifully.
-
Spiced Up: Add a pinch of cinnamon or nutmeg to the mixture for a warm, spiced touch. These spices will evoke the comforts of home while enhancing the latte-like flavors of your Tiramisu Balls.
-
Chocolate Coated: For an indulgent finish, dip your Tiramisu Balls in melted dark or white chocolate instead of just rolling them in cocoa powder. The chocolate coating will add sweetness and an elegant flair.
-
Fruity Finish: Roll the chilled balls in finely crushed freeze-dried strawberries or raspberries for a fruity and vibrant twist. The fruity layer will contrast wonderfully with the creamy filling!
-
Decadent Caramel: Drizzle some caramel sauce over your finished Tiramisu Balls for an unforgettable sweet treat. The gooey caramel will combine perfectly with the coffee notes, providing a mouthwatering experience.
-
Coconut Charm: Roll the dough in sweetened shredded coconut for a tropical twist on your Tiramisu Balls. The coconut will add a unique flavor that pairs surprisingly well with the coffee and chocolate elements.
Feel free to get inspired by these ideas, and remember to have fun customizing your Tiramisu Balls! And if you’re looking for more sweet treats, don’t miss out on my delightful Condensed Milk Snowballs—an irresistible addition to any dessert table!
Tiramisu Balls Recipe FAQs
What type of lady fingers should I use?
Absolutely! For the best consistency, opt for dry, crisp lady fingers. These will provide the right structure for your tiramisu balls. If you can’t find them, feel free to substitute with crisp biscotti; both work beautifully!
How should I store leftover Tiramisu Balls?
To keep your tiramisu balls fresh and delicious, store them in an airtight container in the refrigerator. They’ll stay tasty for about 3 to 4 days. Just make sure they’re covered well to avoid drying out!
Can I freeze Tiramisu Balls?
Yes, you can! To freeze your tiramisu balls, first place them in a single layer on a baking sheet until they’re firm. Then, transfer them to a freezer-safe container. They can be frozen for up to 3 months. When ready to enjoy, thaw in the fridge for a few hours before serving.
What can I do if my mixture is too crumbly?
If you find your tiramisu mixture a bit too crumbly, don’t worry! Simply add 1-2 teaspoons of brewed coffee or milk gradually while pulsing in the food processor until it reaches a smooth, dough-like consistency. This will help bring everything together beautifully.
Are there any dietary considerations for Tiramisu Balls?
Very! If you or your guests have dietary restrictions, you can easily adapt the recipe. For a dairy-free option, swap the mascarpone cheese with dairy-free cream cheese. Furthermore, ensure to check the ingredients in your lady fingers for allergens. Always best to make these adjustments to keep everyone enjoying this delightful treat!
Can I substitute any ingredients in the Tiramisu Balls?
Certainly! If you’re looking to switch things up, feel free to use cream cheese instead of mascarpone cheese—just note that the flavor will change slightly. You can also use brown sugar instead of powdered sugar for added depth and richness. The beauty of these Tiramisu Balls is how forgiving and versatile they are!
Irresistibly Creamy Tiramisu Balls: No-Bake Delight in 10 Minutes
Ingredients
Equipment
Method
- Combine lady fingers, mascarpone cheese, powdered sugar, and brewed coffee in a mini food processor. Pulse until smooth, about 1-2 minutes.
- Using a cookie scoop, portion the mixture and roll into smooth balls, ensuring uniformity.
- Roll each ball in cocoa powder until fully coated. For chocolate coating, chill balls for 15-20 minutes before dipping.
- Place coated tiramisu balls in an airtight container lined with parchment paper and refrigerate for at least one hour.
- Serve chilled on a dessert platter or in small cups for a delightful presentation.
Leave a Reply