
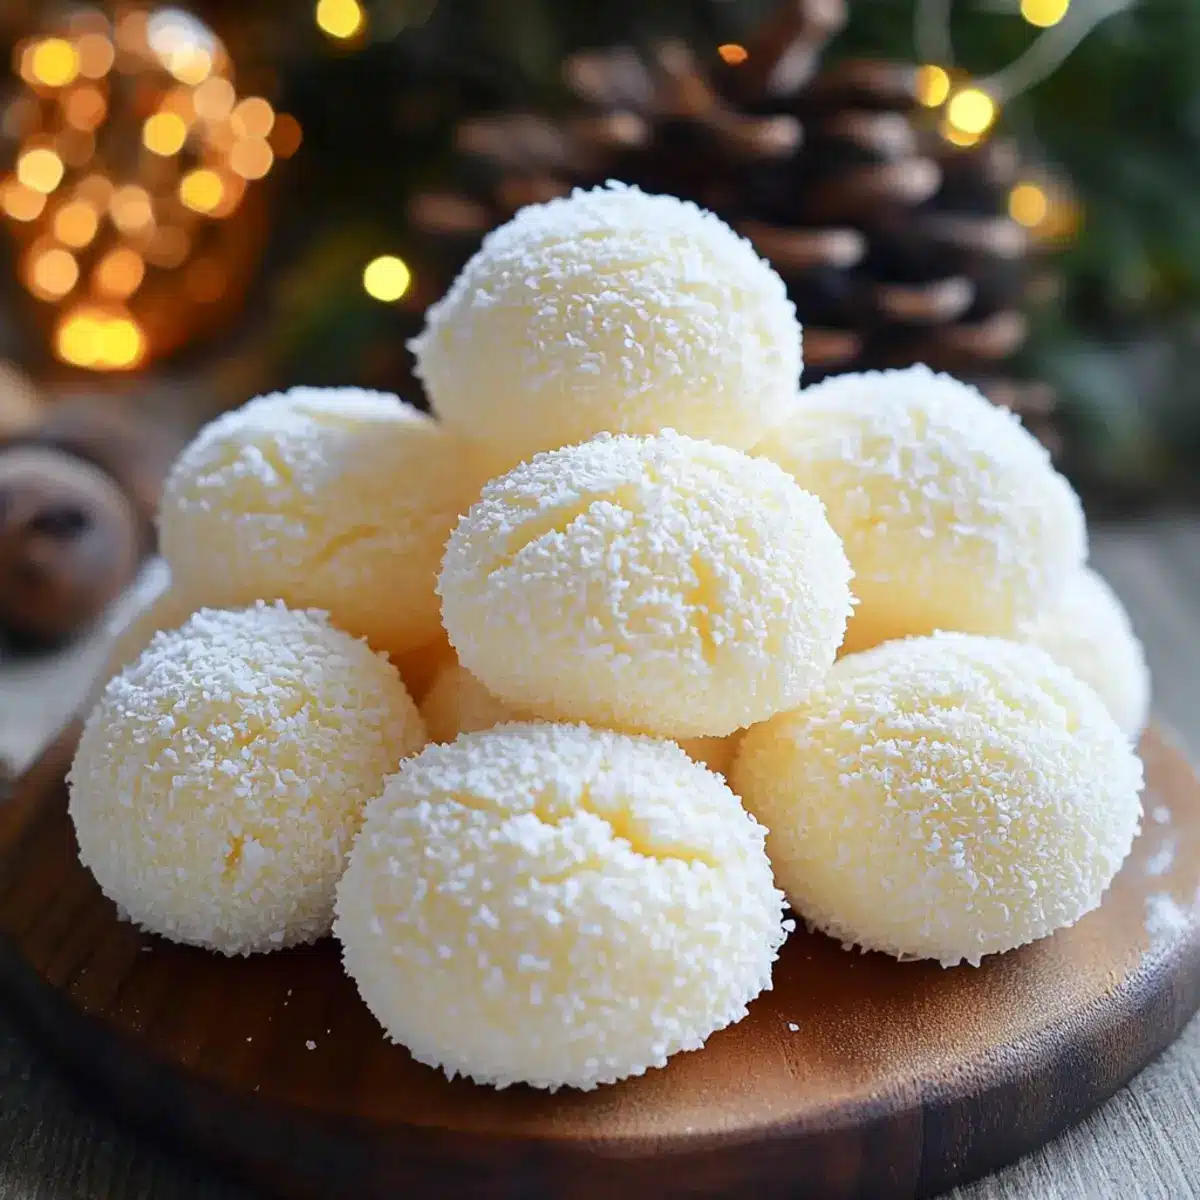
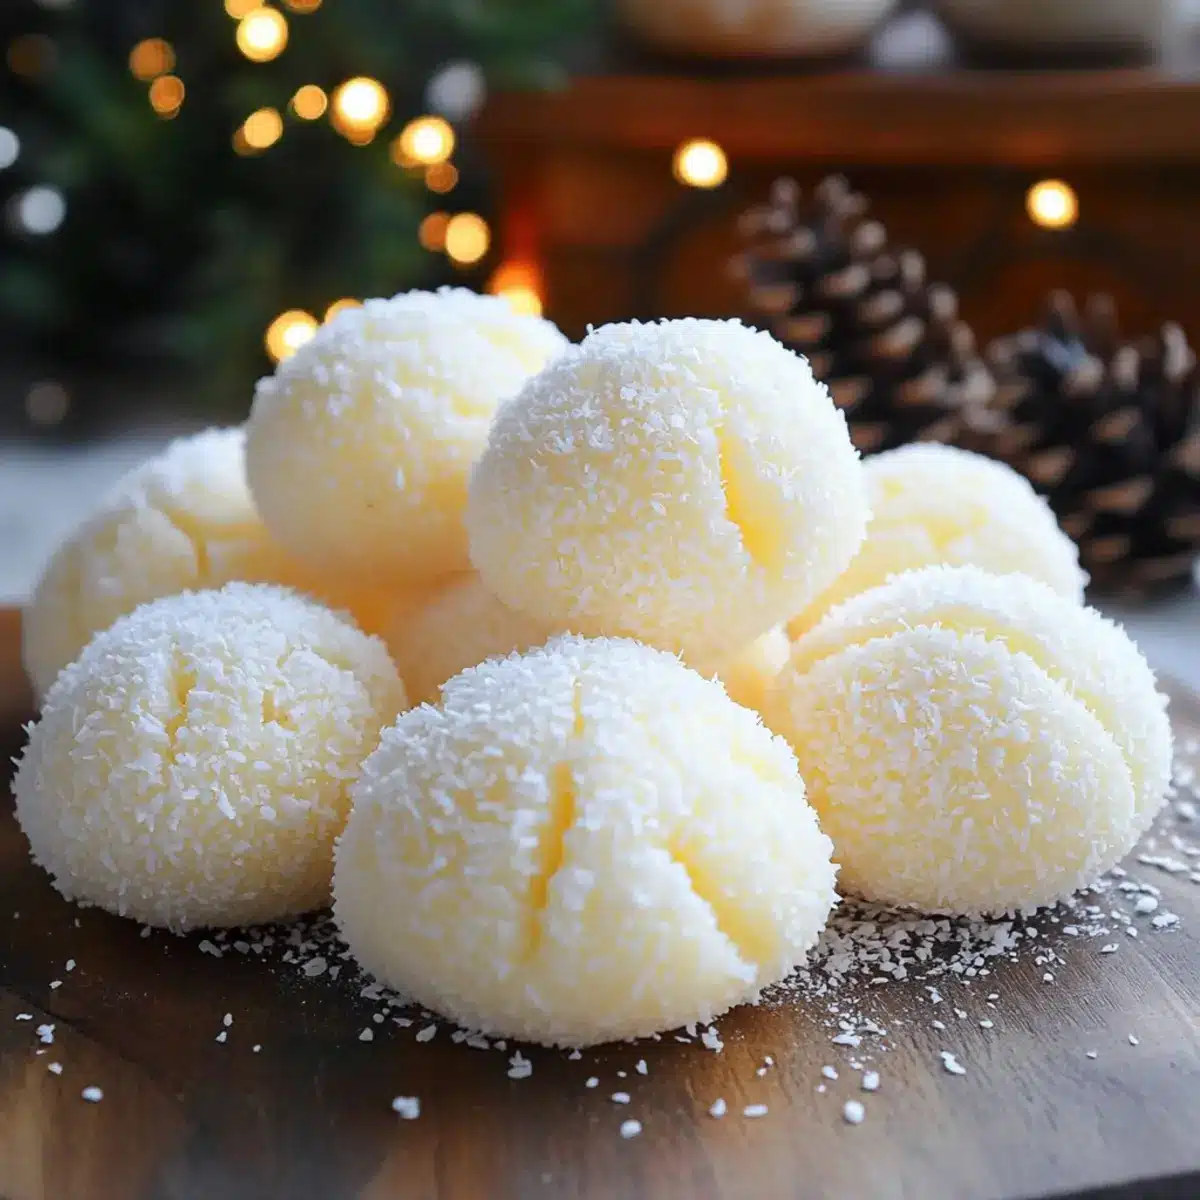
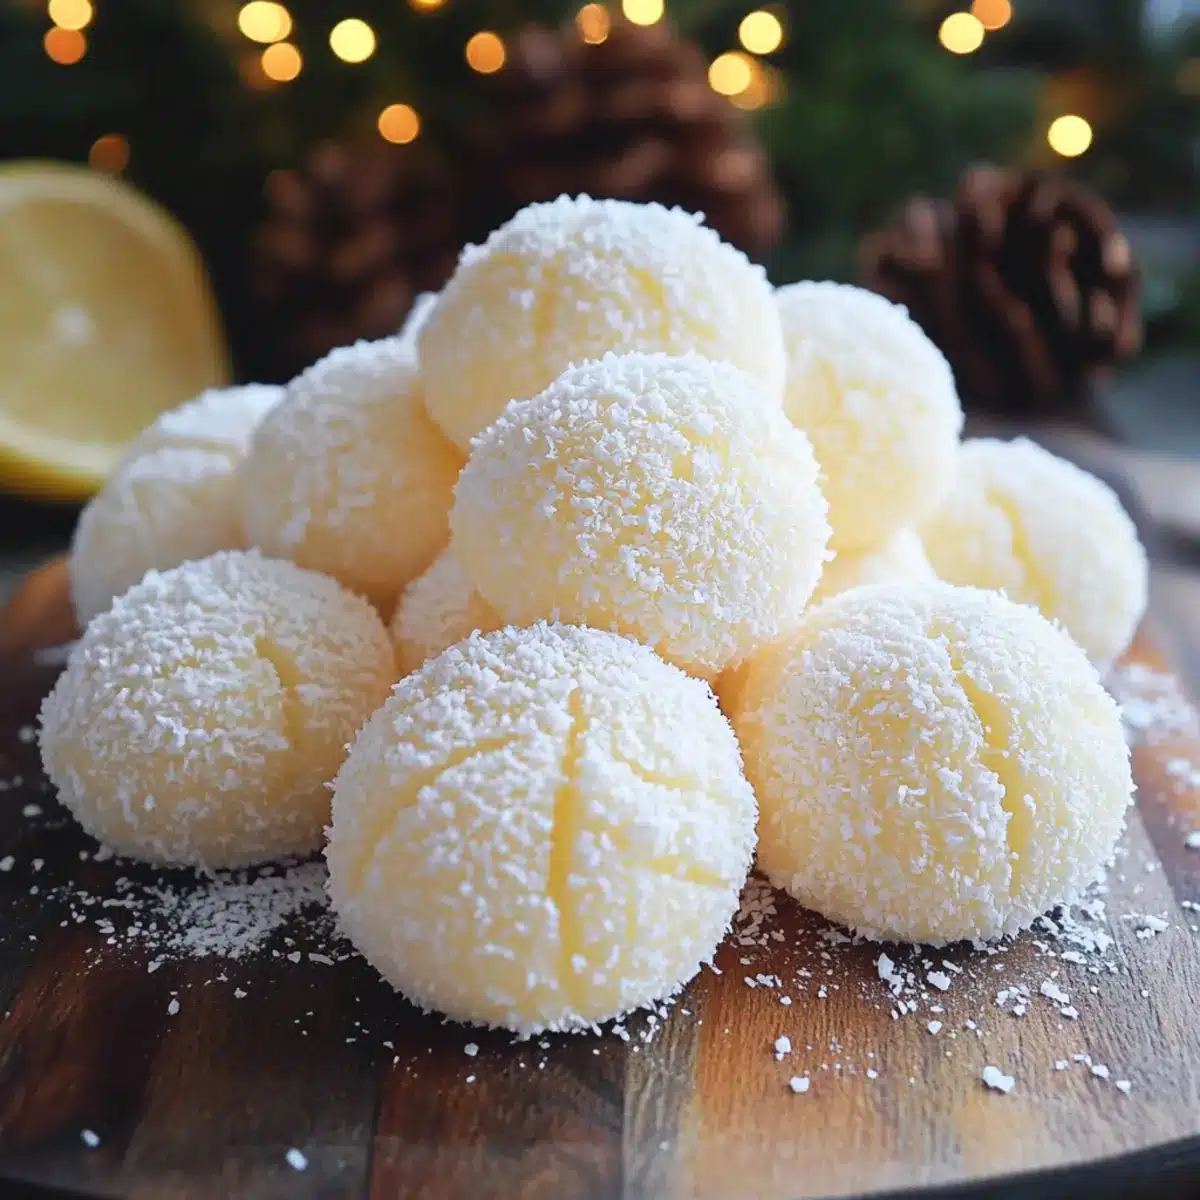
There’s something magical about no-bake desserts that whisk me back to my childhood, specifically to snowy holiday afternoons spent with family. These Sweetened Condensed Milk Snowballs are not just an easy dessert; they’re a delightful nod to the season, combining creamy coconut goodness with a chewy bite that’s simply irresistible. Perfect for anyone looking to avoid the fuss of baking, these treats can be tossed together in no time, making them ideal for busy celebrations or cozy evenings alike. Plus, the potential for fun mix-ins like chocolate chips or dried cranberries ensures every batch can be a little different. Curious about how to create these festive delights? Let’s dive into the recipe!
Why Are These Snowballs So Irresistible?
No Bake: This recipe is a game-changer! Simply mix and chill for a delightful dessert without the hassle of baking.
Crowd-Pleasing: Perfect for holiday gatherings, these snowballs impress both family and friends with their charming appearance.
Versatile: Customize your treats by adding fun mix-ins like chocolate chips or dried cranberries, ensuring each batch is unique.
Ease of Preparation: Using pantry staples, you can whip up these snowballs in no time, making them an ideal treat for busy days or last-minute parties.
Memorable Flavor: The creamy coconut goodness paired with a chewy texture will transport you to festive afternoons filled with joy. If you love no-bake creations, you might also enjoy exploring the delightful Spicy Buttermilk Fried for your savory cravings!
Sweetened Condensed Milk Snowballs Ingredients
• For the Batter
- Butter – Adds moisture and richness to the dessert; use softened for easy mixing.
- Sweetened Condensed Milk – Provides sweetness and a creamy base that’s essential for perfect texture.
- All-Purpose Flour – Gives structure to the snowballs; ensure proper measurement to avoid dense treats.
- Baking Powder – Acts as a leavening agent; crucial for achieving that delightful puff.
• For the Dusting
- Confectioners’ Sugar – Used to dust the snowballs, adding sweetness and visual appeal; optional but recommended.
With these magical ingredients in hand, you’re all set to create your own delicious Sweetened Condensed Milk Snowballs!
Step‑by‑Step Instructions for Sweetened Condensed Milk Snowballs
Step 1: Cream the Butter
Begin by placing softened butter in a mixing bowl. Use an electric mixer on medium-high speed to beat the butter until it becomes light and fluffy, reaching a pale color, which should take about 3 minutes. This step is essential for a smooth texture in your Sweetened Condensed Milk Snowballs.
Step 2: Mix in Sweetened Condensed Milk
Gradually add the sweetened condensed milk to the creamed butter. Continue mixing for an additional 2 minutes, ensuring that the mixture is well combined and smooth. You should see a creamy consistency forming that will serve as the delightful base for your snowballs, enhancing their sweet flavor.
Step 3: Combine Dry Ingredients
In a separate bowl, whisk together the all-purpose flour and baking powder. Slowly add this dry mixture into the wet ingredients, mixing just until combined. Be careful not to overmix; you should see no visible flour. If desired, gently fold in optional mix-ins like chocolate chips or dried cranberries at this stage.
Step 4: Shape and Chill
Using a small cookie scoop or your hands, form the dough into small, rounded mounds and place them on a parchment-lined baking sheet, leaving about 2 inches of space between each. Refrigerate the sheet for at least 30 minutes to allow the snowballs to set, which helps maintain their shape when they’re ready to be served.
Step 5: Dust and Serve
After chilling, remove the snowballs from the fridge. If you’d like them dusted, lightly sift confectioners’ sugar over each snowball for a festive finish. These Sweetened Condensed Milk Snowballs can be served immediately or stored in an airtight container in the refrigerator for up to a week. Enjoy the delightful chewiness and creamy flavor!
How to Store and Freeze Sweetened Condensed Milk Snowballs
- Room Temperature: These snowballs can be left out for up to 2 hours if serving, but any leftovers should be stored in an airtight container.
- Fridge: Keep in the refrigerator in an airtight container for up to 1 week. This will help maintain their soft texture and flavor.
- Freezer: For longer storage, freeze the snowballs in a single layer on a baking sheet for up to 3 months; once frozen, transfer to a zip-top bag or airtight container.
- Reheating: Thaw at room temperature or in the fridge overnight before serving. Enjoy them chilled or allow them to soften slightly for that delightful melt-in-your-mouth experience!
Expert Tips for Sweetened Condensed Milk Snowballs
- Softened Butter Required: Make sure your butter is softened for easy blending; cold butter can lead to a lumpy texture.
- Avoid Overmixing: Once flour is incorporated, mix just until combined. Overmixing can toughen the snowballs, losing that tender chew.
- Space Them Out: Place the mounds 2 inches apart on the baking sheet to ensure even baking and prevent them from sticking together.
- Chilling is Key: Refrigerate the formed snowballs for at least 30 minutes before serving or baking to help them maintain their shape.
- Dusting Options: For a sweeter finish, don’t skip the confectioners’ sugar dusting! You can also use cocoa powder or toasted coconut for variety.
What to Serve with No-Bake Sweetened Condensed Milk Snowballs
As you prepare these delightful snowballs, consider rounding out your dessert table with the perfect accompaniments to elevate their charm and flavor.
-
Creamy Coconut Whipped Topping: A light and airy addition that enhances the snowball’s tropical coconut flavor, perfect for a decadent touch.
-
Chocolate Dipping Sauce: Drizzling warm chocolate over the snowballs creates a rich contrast that tantalizes the taste buds and adds a touch of indulgence.
-
Fresh Berries Medley: The bright acidity of strawberries or raspberries offers a refreshing burst against the creamy sweetness, balancing the flavors beautifully.
-
Iced Coffee or Hot Chocolate: Pairing these snowballs with a cup of your favorite coffee or a cozy hot chocolate enhances the dessert experience, inviting warmth and comfort.
-
Toasted Coconut Flakes: Sprinkling toasted coconut over the snowballs not only adds a delightful crunch but also elevates the coconut flavor for a festive twist.
-
Mini Fruit Tart: A mini fruit tart serves as a delightful contrast, offering a crisp crust and zesty filling to complement the soft, chewy texture of the snowballs.
These simple yet elegant pairings will create a memorable dessert spread, perfect for any gathering or festive celebration. Enjoy crafting your own stunning dessert experience!
Sweetened Condensed Milk Snowballs Variations
Feel free to get creative and make these snowballs your own with delicious twists and swaps!
- Chocolate Chip Bliss: Fold in 1 cup of chocolate chips for a rich, sweet surprise in every bite.
- Cranberry Citrus Delight: Add 1 cup of dried cranberries and the zest of an orange for a zesty, fruity twist.
- Nutty Indulgence: Incorporate 1 cup of chopped nuts, such as pecans or walnuts, for added crunch and flavor.
- Graham Cracker Crumble: Substitute shredded coconut with crushed graham crackers for a unique texture and a hint of nostalgia.
- Spicy Kick: Mix in a pinch of cayenne pepper or cinnamon for an unexpected heat and flavor that complements the sweetness beautifully.
- Dairy-Free Option: Replace butter with coconut oil and use coconut milk for a dairy-free twist that keeps the coconut essence intact.
- Tropical Treat: Add diced fresh pineapple or mango to the mixture for a fruity explosion that will transport you to a tropical paradise.
- Lemon Zing: Stir in lemon juice and zest to give these snowballs a fresh, tangy flavor that’s perfect for sunny days.
No matter how you choose to customize, each variation opens the door to new, delicious experiences—just like our beloved Spicy Buttermilk Fried could add a delightful contrast to a sweet dessert spread!
Make Ahead Options
These Sweetened Condensed Milk Snowballs are perfect for those busy days when you still want to impress! You can prepare the dough up to 24 hours in advance; simply shape the snowballs and refrigerate them on a parchment-lined baking sheet. This chill time helps them set properly. If you’d like, you can also mix in optional ingredients like chocolate chips or dried cranberries at this stage for added flavor. When you’re ready to serve, just take them out, dust with confectioners’ sugar, and enjoy the same delightful, chewy texture as if they were made fresh that day! Storing them in an airtight container ensures they remain just as delicious for up to a week.

Sweetened Condensed Milk Snowballs Recipe FAQs
How do I know if my ingredients are ripe or fresh?
Absolutely! For this recipe, ensure your butter is softened, not melted, which allows for proper blending. When selecting sweetened condensed milk, look for a consistent, creamy texture and check the expiration date on the can to ensure freshness.
How should I store Sweetened Condensed Milk Snowballs?
I recommend placing your snowballs in an airtight container lined with parchment paper to keep them fresh. They will maintain their delightful chewiness in the fridge for up to 1 week. Be sure to avoid storing them at room temperature for more than 2 hours if not served.
Can I freeze Sweetened Condensed Milk Snowballs?
Yes, freezing these treats is a great option! To do this, place the snowballs in a single layer on a baking sheet and freeze for about 1 hour until solid. Then, transfer them to a zip-top bag or airtight container. They can be frozen for up to 3 months. Simply thaw them at room temperature or in the fridge overnight before serving for the best texture.
What if my snowballs are too dense or flat after baking?
Very! If you find your snowballs are not as light and fluffy as expected, it’s possible the butter was too cold, which can lead to a denser texture. Next time, ensure your butter is fully softened before mixing. Additionally, make sure to carefully measure your flour, as too much can also result in a dense end product. Remember to follow the mixing instructions gently; overmixing can toughen the snowballs.
Are Sweetened Condensed Milk Snowballs safe for pets or individuals with allergies?
While these snowballs are delicious for humans, be cautious! The ingredients, particularly sweetened condensed milk and butter, are not suitable for pets. If catering to allergies, always check the labels on your sweetened condensed milk and other ingredients for potential allergens such as gluten or dairy. This ensures your treats remain a safe and enjoyable indulgence for everyone!
Irresistibly Chewy Sweetened Condensed Milk Snowballs
Ingredients
Equipment
Method
- Begin by placing softened butter in a mixing bowl. Use an electric mixer on medium-high speed to beat the butter until it becomes light and fluffy, reaching a pale color, which should take about 3 minutes.
- Gradually add the sweetened condensed milk to the creamed butter. Continue mixing for an additional 2 minutes, ensuring that the mixture is well combined and smooth.
- In a separate bowl, whisk together the all-purpose flour and baking powder. Slowly add this dry mixture into the wet ingredients, mixing just until combined.
- Using a small cookie scoop or your hands, form the dough into small, rounded mounds and place them on a parchment-lined baking sheet, leaving about 2 inches of space between each. Refrigerate the sheet for at least 30 minutes.
- After chilling, remove the snowballs from the fridge. Lightly sift confectioners' sugar over each snowball for a festive finish. These can be served immediately or stored in an airtight container.
Leave a Reply