
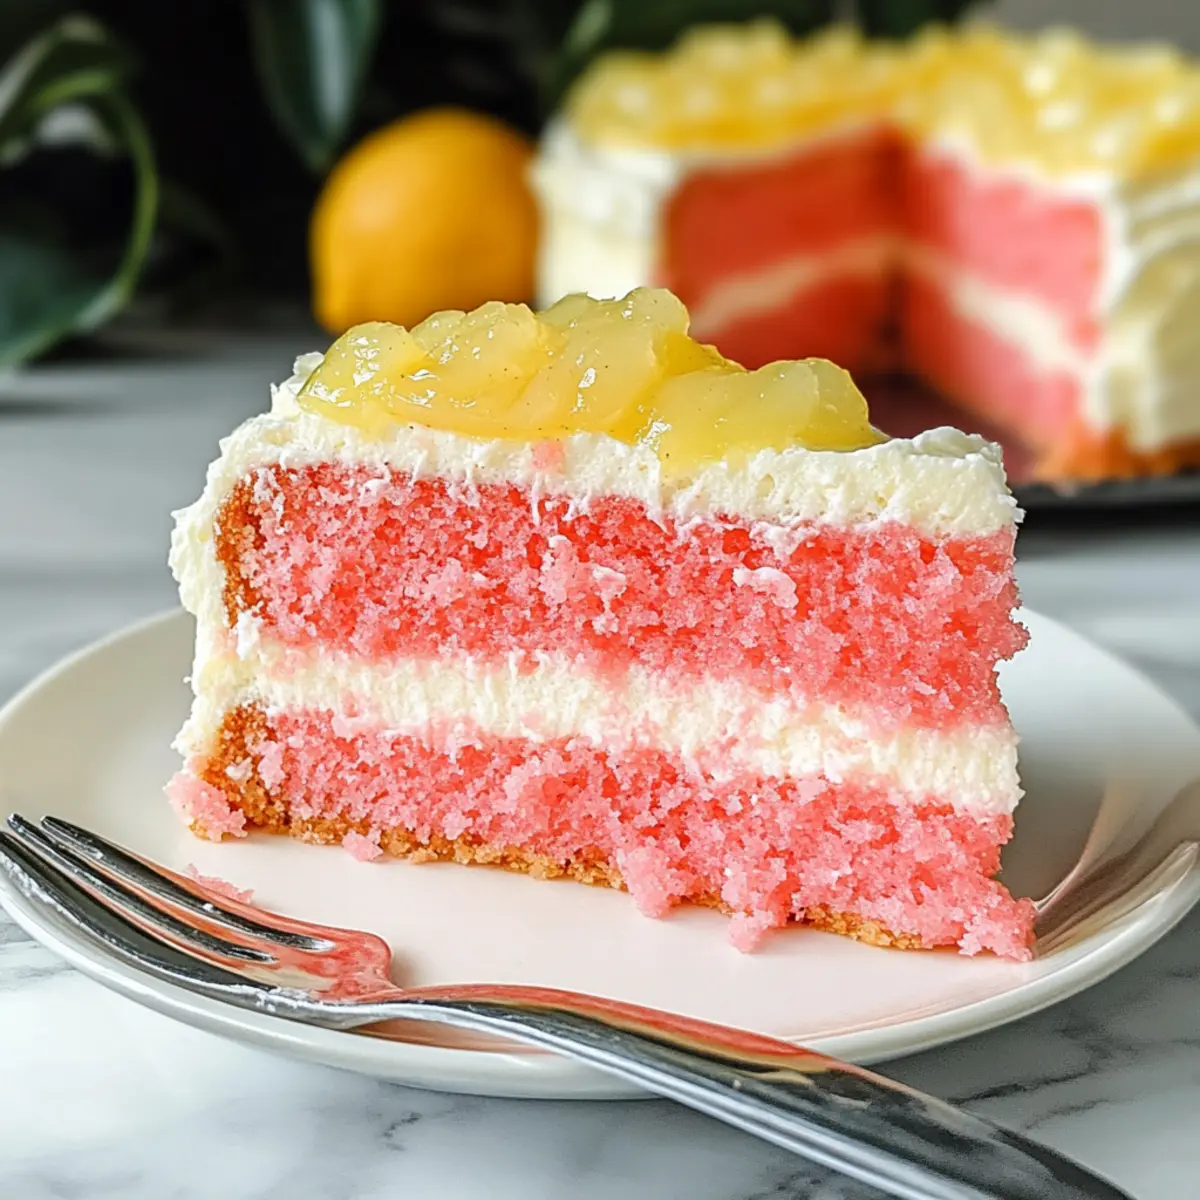
Imagine the enchanting aroma of a sun-kissed tropical paradise wafting through your kitchen. This Hawaiian Guava Cake captures that essence, delivering vibrant sweetness and coconut undertones that transport your taste buds straight to the islands. What I adore about this dessert is how effortlessly it comes together—ideal for those moments when you want to impress guests without spending hours in the kitchen. Plus, it’s a crowd-pleaser that caters to various dietary needs, with an easy option for gluten-free adaptations. Whether celebrating a special occasion or simply indulging in a sweet treat after dinner, this Hawaiian Guava Cake is bound to make everyone smile. Ready to explore the taste of paradise? Let’s get baking!
Why is Hawaiian Guava Cake a must-try?
Tropical Escape: Experience a burst of refreshing flavors with each bite, making it feel like a vacation!
Effortless Preparation: With simple ingredients and minimal steps, anyone can whip up this cake in no time.
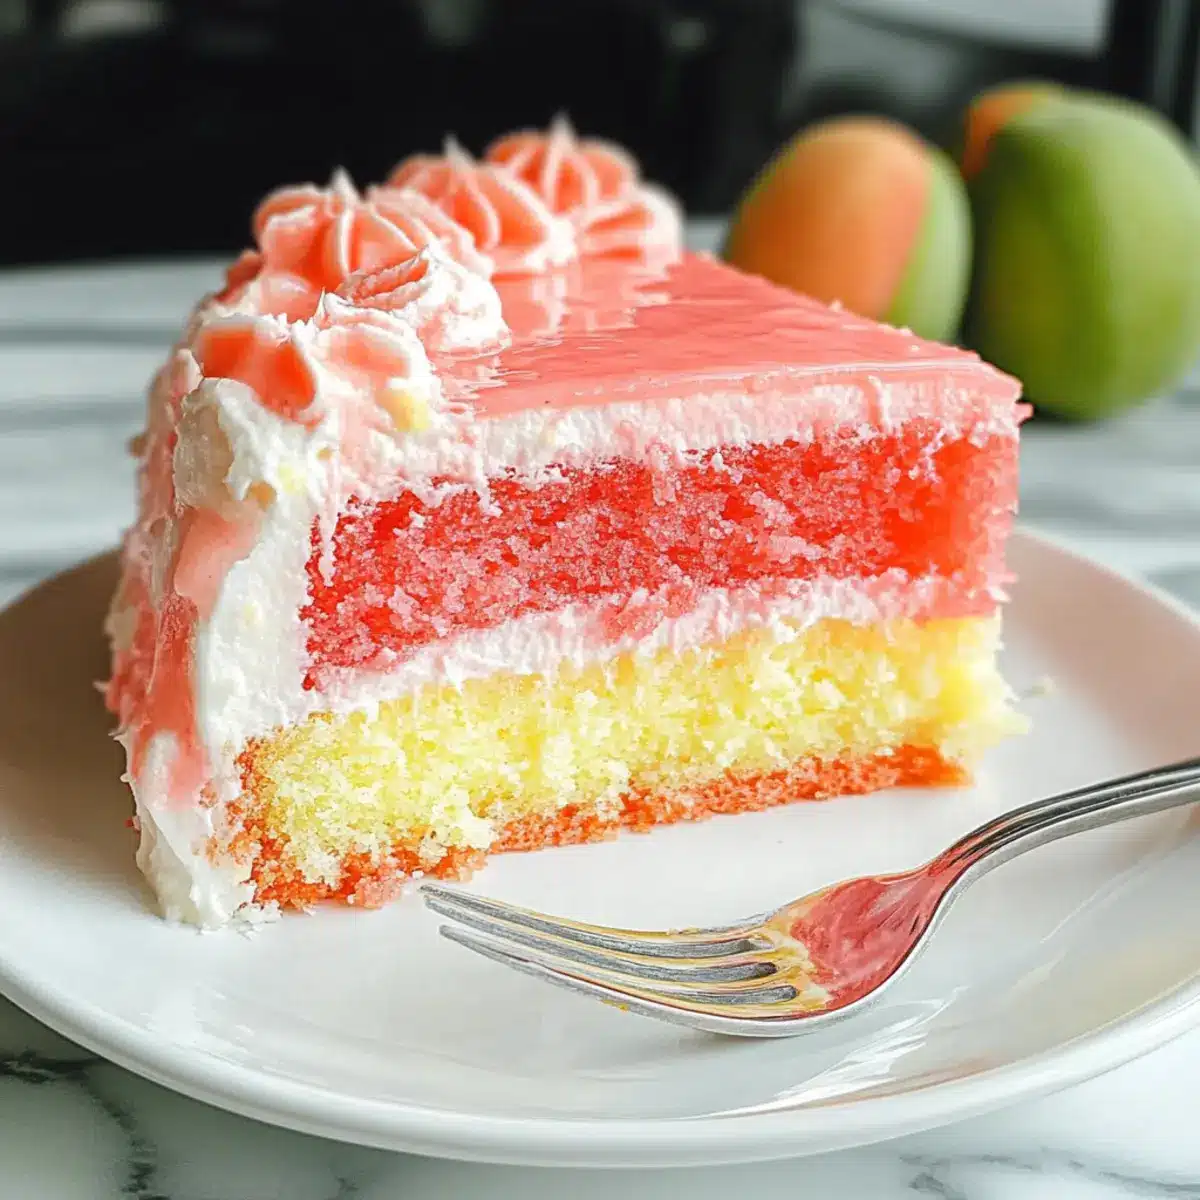
Customizable Delight: Easily adapt it by adding diced fresh pineapple or mango for an extra fruity twist!
Diet-Friendly Options: This cake offers gluten-free substitutions, inviting everyone to enjoy a slice of paradise.
Crowd-Pleasing Appeal: Perfect for gatherings, parties, or cozy nights in, it’s sure to impress family and friends alike.
Feeling inspired to elevate your dessert game? Check out my delicious Peach Cobbler Cheesecake or the refreshing Summer Berry Icebox Cake for more delightful options!
Hawaiian Guava Cake Ingredients
• Dive into tropical flavors with this delightful recipe!
For the Cake
- Strawberry Cake Mix – Serves as the base structure and sweet flavor; opt for a gluten-free cake mix for a gluten-free Hawaiian Guava Cake.
- Guava Nectar/Juice – Infuses moisture and tropical taste; fresh guava can be used if available for a fresher essence.
- Eggs – Provides structure and moisture; using room temperature eggs ensures even mixing.
- Coconut Oil – Adds richness and a subtle nutty flavor; feel free to substitute with vegetable oil for a lighter option.
For the Cream Cheese Layer
- Cream Cheese – Adds a creamy, tangy layer; substitute with dairy-free cream cheese if you’re avoiding dairy.
- Granulated Sugar – Sweetens this delightful layer; reduce the amount for a less sweet option.
- Vanilla Extract – Enhances flavors; opt for pure vanilla for the best results.
- Cool Whip – Provides a light texture; replace with whipped coconut cream for a dairy-free treat.
For the Guava Gel
- Granulated Sugar – Sweetens the guava glaze; adjust to taste if you’re using sweeter fruit juice.
- Cornstarch – Thickens the guava gel; no need for substitutes, as it works perfectly for thickening.
- Water – Creates a slurry; keep it cold to prevent lumps when mixing.
With these simple ingredients, you’re just a step away from creating a delightful Hawaiian Guava Cake that everyone will love!
Step‑by‑Step Instructions for Hawaiian Guava Cake
Step 1: Preheat and Prepare
Start by preheating your oven to 350°F (175°C). While it warms up, prepare a 13 x 9-inch baking dish by spraying it with vegetable oil to ensure easy cake removal later. This initial step sets the stage for your delightful Hawaiian Guava Cake, allowing it to bake evenly.
Step 2: Mix the Batter
In a large mixing bowl, combine the strawberry cake mix, guava juice, eggs, and melted coconut oil. Using an electric mixer, blend on low speed for about 30 seconds, then increase to medium-high for 2 minutes until the batter is smooth and well combined. You’ll know it’s ready when the mixture is fluffy and there are no lumps.
Step 3: Bake the Cake
Pour the batter into the prepared baking pan, spreading it evenly. Place the pan in the preheated oven and bake for 24-26 minutes. The cake will turn a light golden brown and a toothpick inserted into the center should come out clean. Keep an eye on it to prevent overbaking, which can dry the cake out.
Step 4: Cool the Cake
Once baked, remove the cake from the oven and let it cool in the pan for about 10 minutes. After that, transfer it to a wire rack to cool completely. This cooling process is crucial for your Hawaiian Guava Cake, as it prevents the cream cheese layer from melting.
Step 5: Prepare the Cream Cheese Layer
While the cake cools, in another bowl, beat the cream cheese with an electric mixer until fluffy. Gradually mix in the granulated sugar and vanilla extract. Once smooth, fold in the Cool Whip gently until fully incorporated. This creamy layer will add a delightful richness to your dessert.
Step 6: Spread the Cream Cheese Layer
After the cake has cooled completely, spread the cream cheese mixture evenly over the top of the cake using a spatula. Ensure the layer is nicely spread for a luscious finish. Place the cake in the refrigerator to chill for at least 30 minutes, allowing the layers to set perfectly.
Step 7: Make the Guava Gel
For the guava gel, combine guava juice and granulated sugar in a saucepan and bring to a boil over medium heat. In a separate bowl, mix cornstarch with cold water to create a slurry. Once the juice boils, whisk the slurry into it and return to heat, stirring until thickened, about 2-3 minutes.
Step 8: Cool the Guava Gel
After thickening, remove the guava gel from heat and let it cool slightly. It’s important to cool this gel before spreading it over the cake, as this prevents it from melting the cream cheese layer. The vibrant hue of the gel adds the finishing touch to your Hawaiian Guava Cake.
Step 9: Glaze the Cake
Once the guava gel has cooled but is still pourable, gently spread it over the chilled cream cheese layer, ensuring even coverage. This step adds a beautiful shine and a burst of tropical flavor to each slice. Return the cake to the fridge for a final chill to set the glaze.
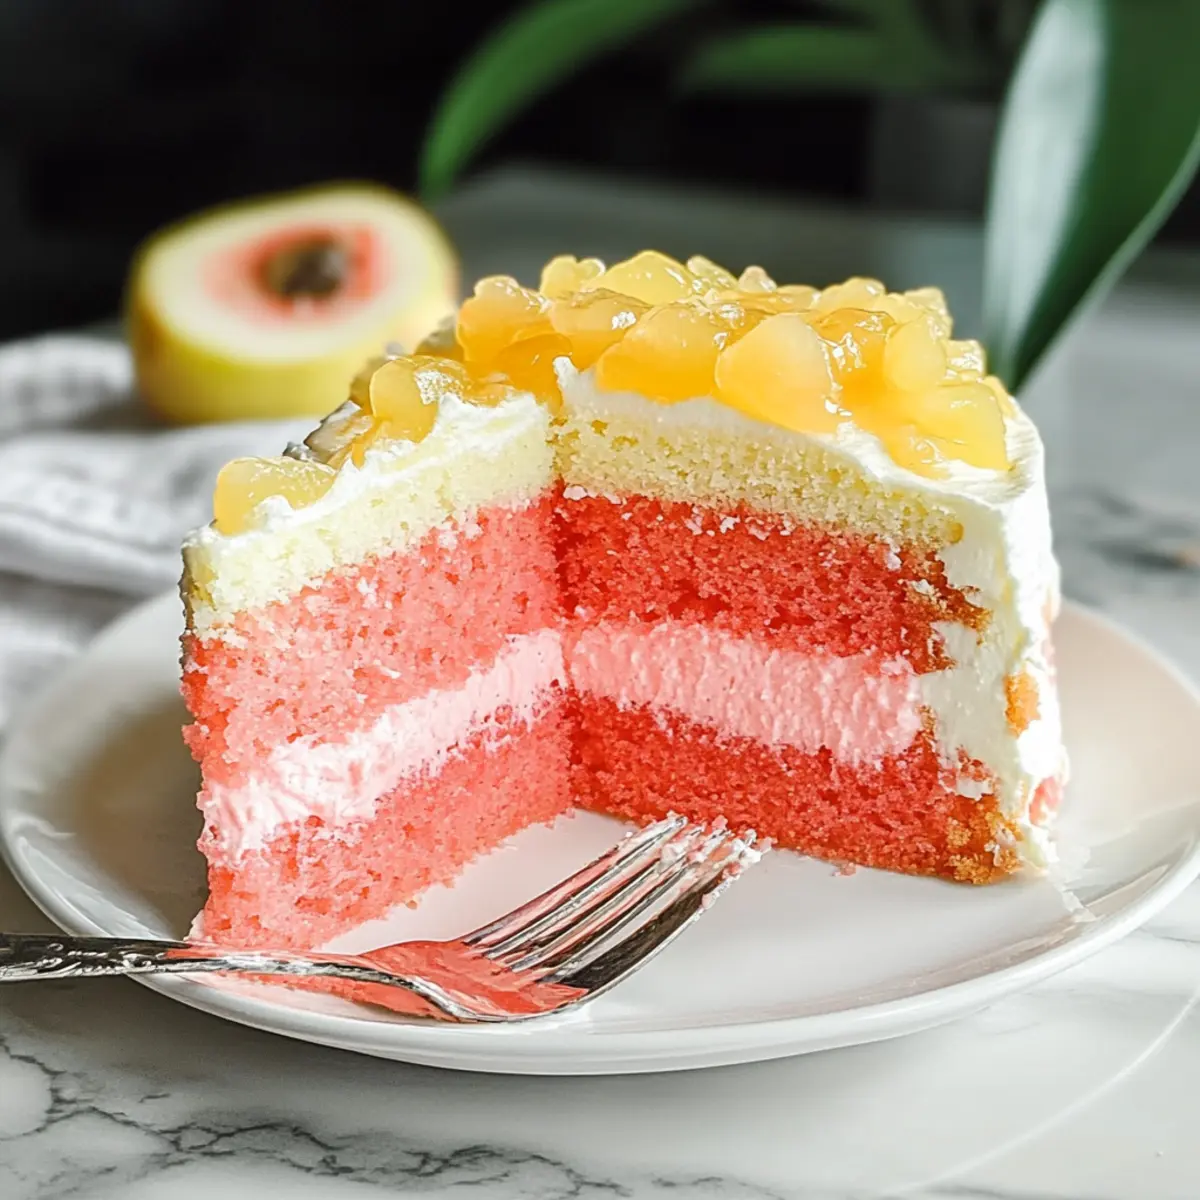
Step 10: Serve and Enjoy
Before serving, you can optionally sprinkle some coconut flakes on top for added texture and flavor. Slice your Hawaiian Guava Cake and serve chilled for the best experience. The delicious combination of tropical flavors will surely transport you and your guests to a sunny paradise!
Expert Tips for Hawaiian Guava Cake
-
Room Temperature Ingredients: Ensure all ingredients, especially eggs and cream cheese, are at room temperature for a smoother blend and perfectly fluffy texture in your Hawaiian Guava Cake.
-
Avoid Overbaking: Keep an eye on your cake while it bakes to prevent a dry texture. A toothpick should come out with a few moist crumbs for the best result.
-
Cool Completely: Allow the cake to cool completely before layering with cream cheese to prevent melting. Patience here will lead to a beautiful presentation.
-
Thickening the Gel: When making the guava gel, ensure the cornstarch slurry is cold before adding to the heated juice; this prevents lumps and ensures a smooth glaze.
-
Chill Before Serving: After glazing, refrigerate the cake for at least 30 minutes. This allows the flavors to meld beautifully and enhances the overall taste experience!
Hawaiian Guava Cake Variations & Substitutions
Feel free to play around with this recipe and customize it to suit your taste buds!
- Gluten-Free: Substitute with a gluten-free cake mix to enjoy this tropical treat without worry.
- Fresh Fruit Addition: Add diced fresh pineapple or mango to the batter for an extra fruity flavor twist that brightens each bite!
- Dairy-Free Delight: Swap cream cheese for dairy-free cream cheese and use a plant-based whipped topping for a delightful version everyone can savor.
- Zesty Freshness: Incorporate lemon zest into the cream cheese layer for a bright and refreshing flavor that’s simply irresistible.
- Chocolate Indulgence: Drizzle melted dark chocolate over the top for a delicious contrast to the tropical flavors, creating a heavenly combination.
- Nutty Crunch: Fold in chopped macadamia nuts to the cake batter for added texture and that authentic Hawaiian flavor profile.
- Coconut Cream Finish: Use whipped coconut cream instead of Cool Whip for a rich, tropical twist on the cream layer that’ll make your taste buds dance!
- Citrus Burst: Add a splash of orange or lime juice to the guava gel for a tangy kick that perfectly complements the sweetness.
With these fun variations, your Hawaiian Guava Cake will always be a delightful surprise! If you’re craving more sweet options, you may also enjoy the luscious Peach Cobbler Cheesecake or refreshing Berry Icebox Cake.
Make Ahead Options
These Hawaiian Guava Cake preparations are perfect for busy home cooks looking to save time without sacrificing flavor! You can bake the cake base up to 24 hours in advance and allow it to cool completely. Wrap the cooled cake tightly in plastic wrap to maintain its moisture, then refrigerate until you’re ready to proceed. Additionally, the cream cheese layer can be made up to 3 days ahead—just prepare it and refrigerate it until needed. Once you’re ready to serve, simply spread the cream cheese layer over the cake, top with the guava gel, and chill for about 30 minutes before serving. This way, you’ll have a delightful dessert ready to impress with minimal last-minute effort!
How to Store and Freeze Hawaiian Guava Cake
Fridge: Keep leftover Hawaiian Guava Cake in an airtight container for up to 3 days for the best flavor and texture.
Freezer: For longer storage, freeze individual slices wrapped tightly in plastic wrap or foil for up to 2 months.
Thawing: To enjoy, simply place frozen slices in the fridge overnight to thaw and serve chilled.
Reheating: If desired, reheat individual slices in the microwave for 10-15 seconds, being careful not to overheat, as this can alter the creamy layer’s texture.
What to Serve with Hawaiian Guava Cake?
Imagine pairing this tropical delight with equally vibrant sides that enhance its fruity charm and create a delightful feast experience.
-
Savory Coconut Curry: This dish’s creamy, fragrant sauce beautifully complements the cake, providing a savory balance to the sweet dessert. The coconut flavors bridge both dishes, transporting your taste buds straight to the islands.
-
Tropical Fruit Salad: A medley of fresh mango, pineapple, and kiwi not only delights the senses but also echoes the cake’s tropical essence. The light, juicy textures offer a refreshing contrast to the cake’s richness.
-
Crispy Thai Spring Rolls: Filled with fresh vegetables and served with a sweet chili dipping sauce, these crunchy bites add texture and a hint of spice, making for a delightful appetizer before dessert.
-
Grilled Chicken Skewers: Marinated in a tangy citrus glaze, tender chicken skewers offer a savory punch that pairs perfectly with the fruity flavors of the cake, creating a well-rounded meal.
-
Chill with Sparkling Water: A light and refreshing drink, infused with lime or a splash of guava juice, enhances your tropical theme while keeping the palate refreshed between bites.
-
Creamy Coconut Ice Cream: This luscious treat ties in the tropical theme, providing a cold and creamy texture that pairs like a dream with the moist, fluffy cake.
Elevate your meal and make every bite feel like a taste of paradise!
Hawaiian Guava Cake Recipe FAQs
What type of guava juice should I use for the cake?
I recommend using a high-quality guava nectar or juice, as it really enhances the tropical flavor of the cake. If fresh guava is available, that’s an excellent choice too—just puree the fruit and strain to get a smooth juice. This will give your Hawaiian Guava Cake a fresher and more vibrant taste!
How do I store leftover Hawaiian Guava Cake?
Store your leftover cake in an airtight container in the refrigerator for up to 3 days. This helps maintain its freshness and texture. If you’re not planning to finish it within that time, I often suggest freezing it to preserve it longer. It can be frozen in individual slices, wrapped tightly in plastic wrap or foil, for up to 2 months.
Can I freeze Hawaiian Guava Cake?
Absolutely! To freeze your Hawaiian Guava Cake, slice it into portions and wrap each piece tightly in plastic wrap or foil. Place them in a freezer-safe bag or container to prevent freezer burn. When you’re ready to enjoy, simply transfer the slices to the fridge overnight to thaw, or reheat individual slices briefly in the microwave for a warm treat!
What should I do if my guava gel is too runny?
If you find that your guava gel is too liquidy, it might need a bit more cornstarch. Next time, try mixing an extra teaspoon of cornstarch with cold water to make a slurry and add it to the heated guava juice mixture. Whisk it in and let it cook for additional minutes until it thickens to your desired consistency. This will ensure the glaze sets beautifully on your Hawaiian Guava Cake!
Are there any dietary considerations with this recipe?
Yes! This Hawaiian Guava Cake can easily accommodate various dietary needs. For a gluten-free option, simply switch to a gluten-free cake mix. To make it dairy-free, use dairy-free cream cheese and whipped coconut cream. Always check for allergies, especially if you’re serving guests, and feel free to personalize the recipe to suit everyone’s taste.
How long does it take for the cake to cool completely before frosting?
You’ll want to allow your cake to cool for about 30 minutes in the pan and then transfer it to a wire rack for another 30-60 minutes until completely cool. This ensures the layers stay distinct and doesn’t melt when you add the cream cheese layer, making sure your Hawaiian Guava Cake is perfectly layered!
Delightful Hawaiian Guava Cake That Takes You to Paradise
Ingredients
Equipment
Method
- Preheat your oven to 350°F (175°C) and prepare a 13 x 9-inch baking dish by spraying it with vegetable oil.
- In a large mixing bowl, combine the strawberry cake mix, guava juice, eggs, and melted coconut oil. Mix until smooth and well combined.
- Pour the batter into the baking pan and bake for 24-26 minutes until golden brown and a toothpick comes out clean.
- Let the cake cool in the pan for about 10 minutes, then transfer to a wire rack to cool completely.
- Beat the cream cheese until fluffy, then mix in the sugar and vanilla extract, folding in the Cool Whip.
- Spread the cream cheese mixture evenly over the cooled cake and chill for at least 30 minutes.
- In a saucepan, combine guava juice and granulated sugar and bring to a boil. Mix cornstarch with cold water to create a slurry and whisk into the boiling juice.
- Once thickened, cool the guava gel slightly before spreading it over the cream cheese layer.
- Spread the cooled guava gel over the chilled cake and refrigerate to set the glaze.
- Optionally sprinkle coconut flakes on top before serving. Slice and enjoy chilled.
Leave a Reply