
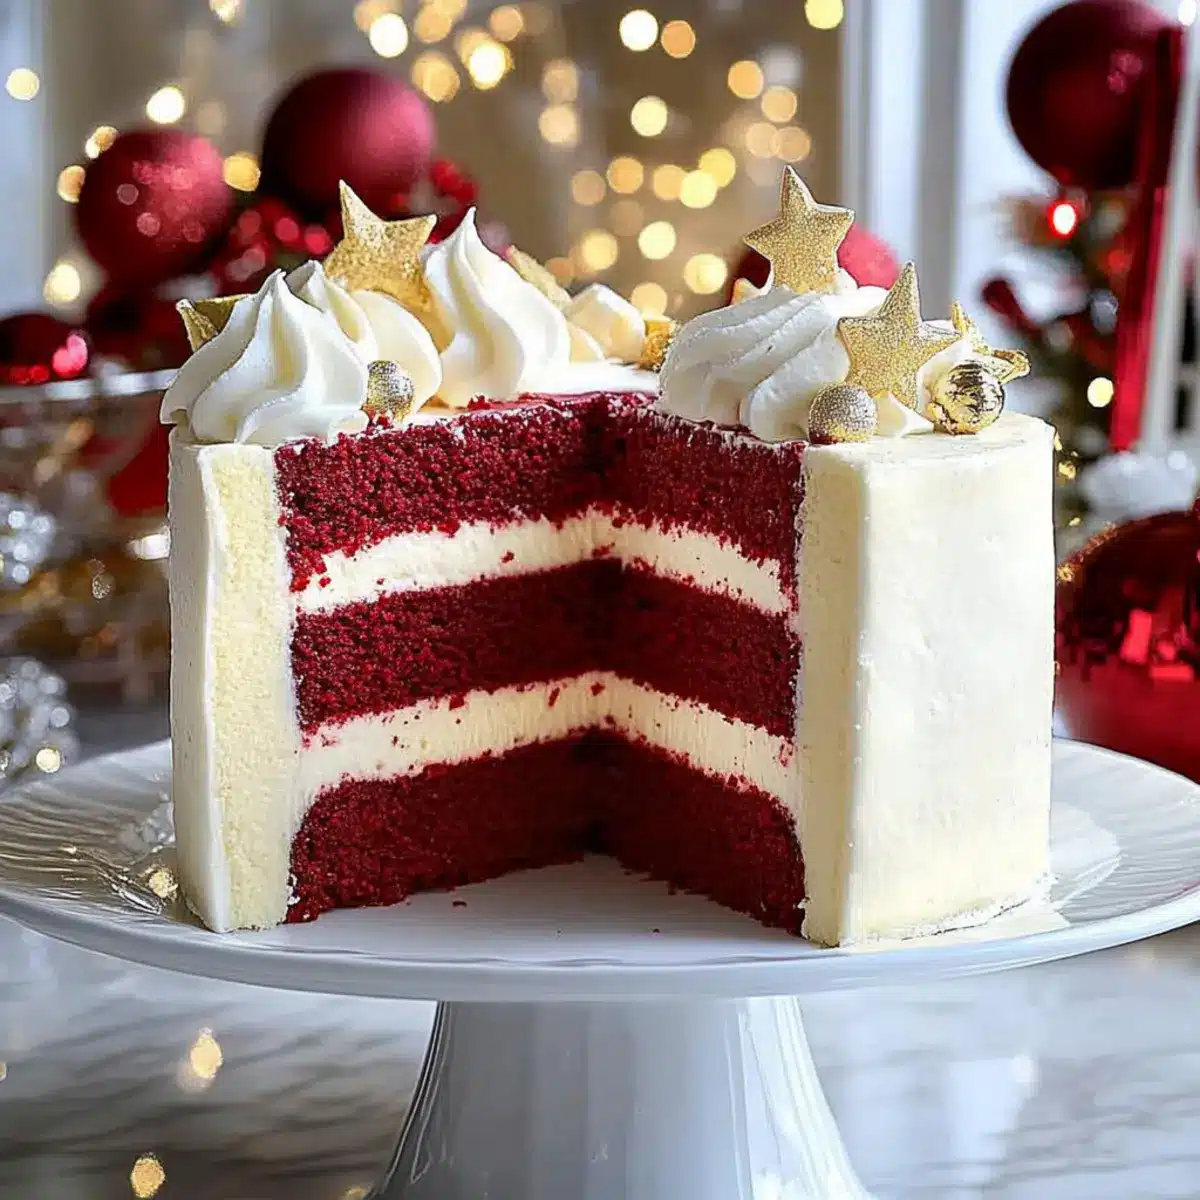
As the holiday season approaches, the sweet scent of festive baking fills my kitchen, instantly transforming it into a warm and inviting space. This year, I’m excited to share my Christmas Red Velvet Cheesecake—a stunning holiday dessert that invites both a visual feast and a taste sensation to your table. With its beautiful layers of rich red velvet complemented by a creamy cheesecake filling, this decadent dessert not only dazzles the eyes but also creates a moment of indulgence for your loved ones. It’s a delightful crowd-pleaser that can elevate any gathering, and the best part? It’s surprisingly simple to make, so you can spend less time whisking and more time celebrating. Are you ready to create a showstopper that will leave everyone asking for seconds? Let’s get baking!
Why Is This Cheesecake So Irresistible?
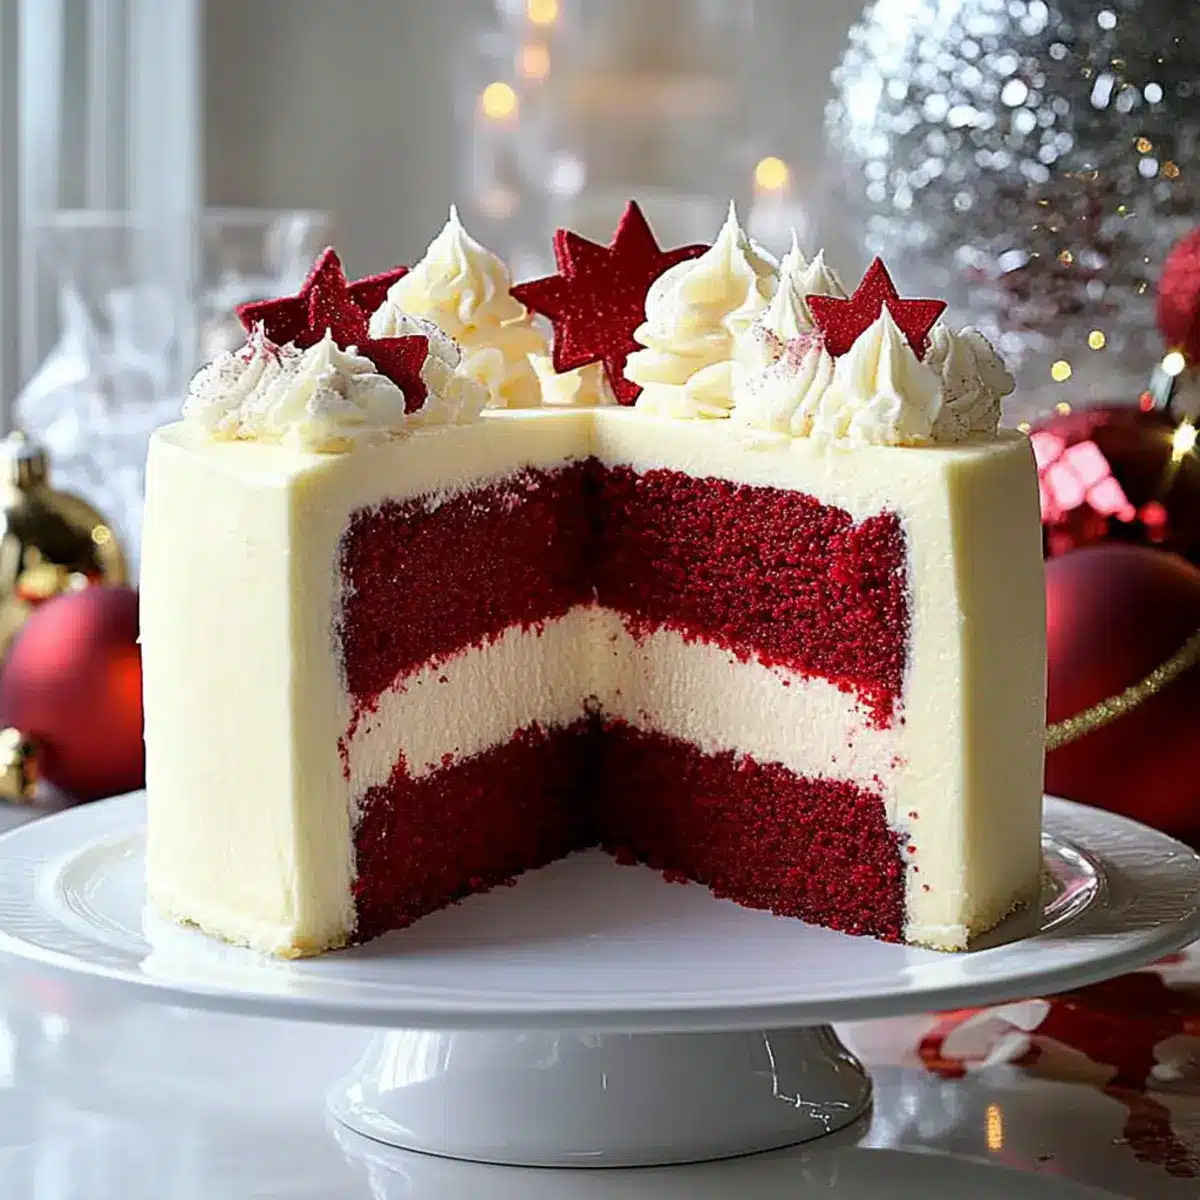
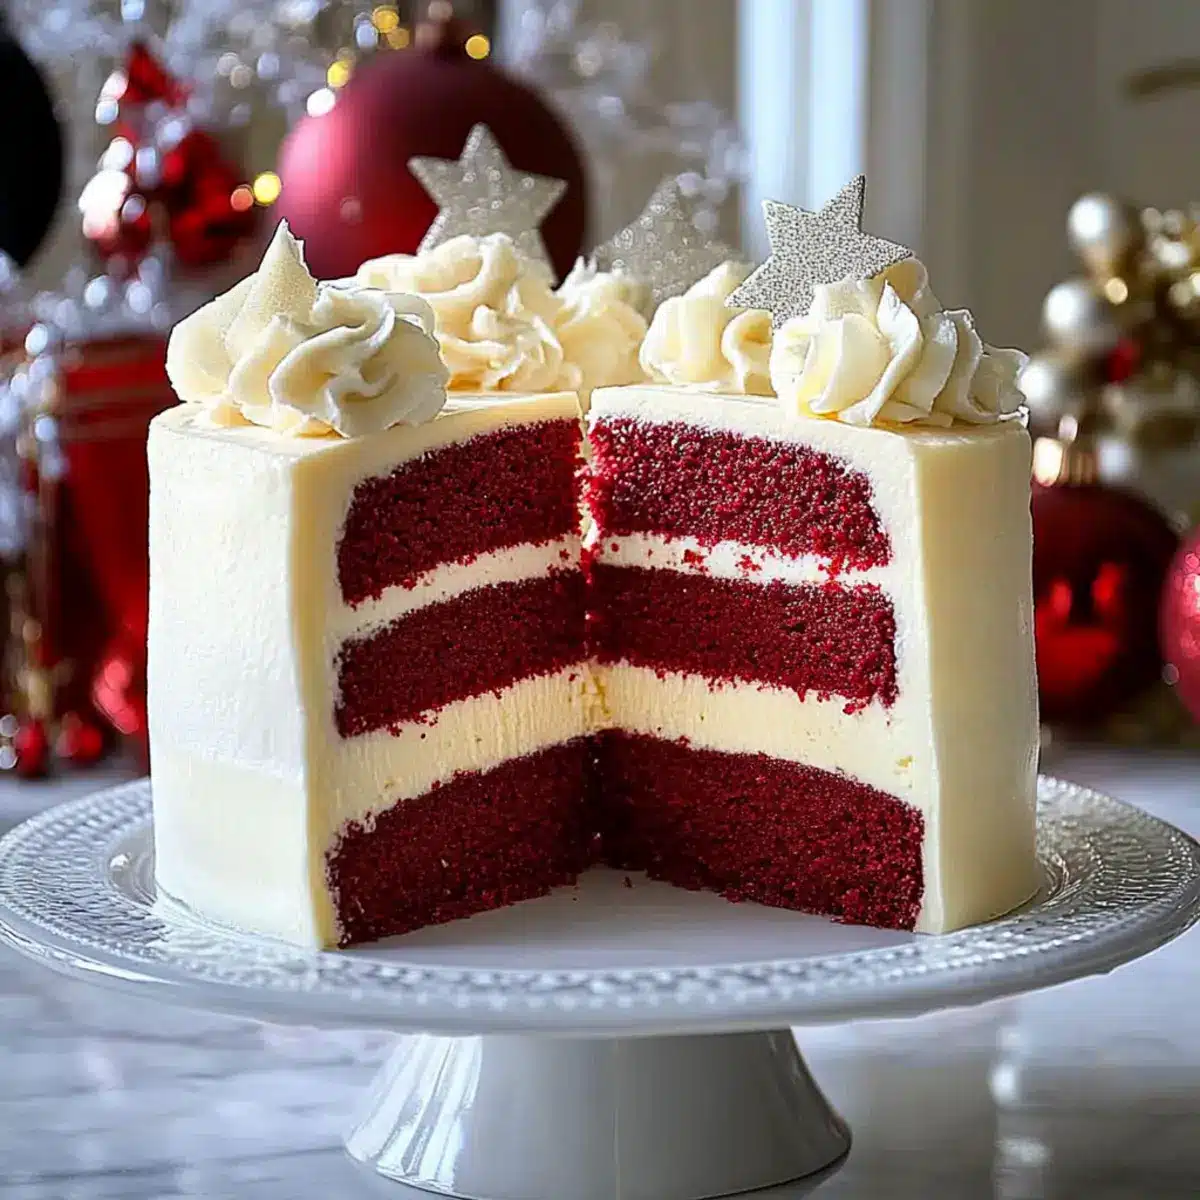
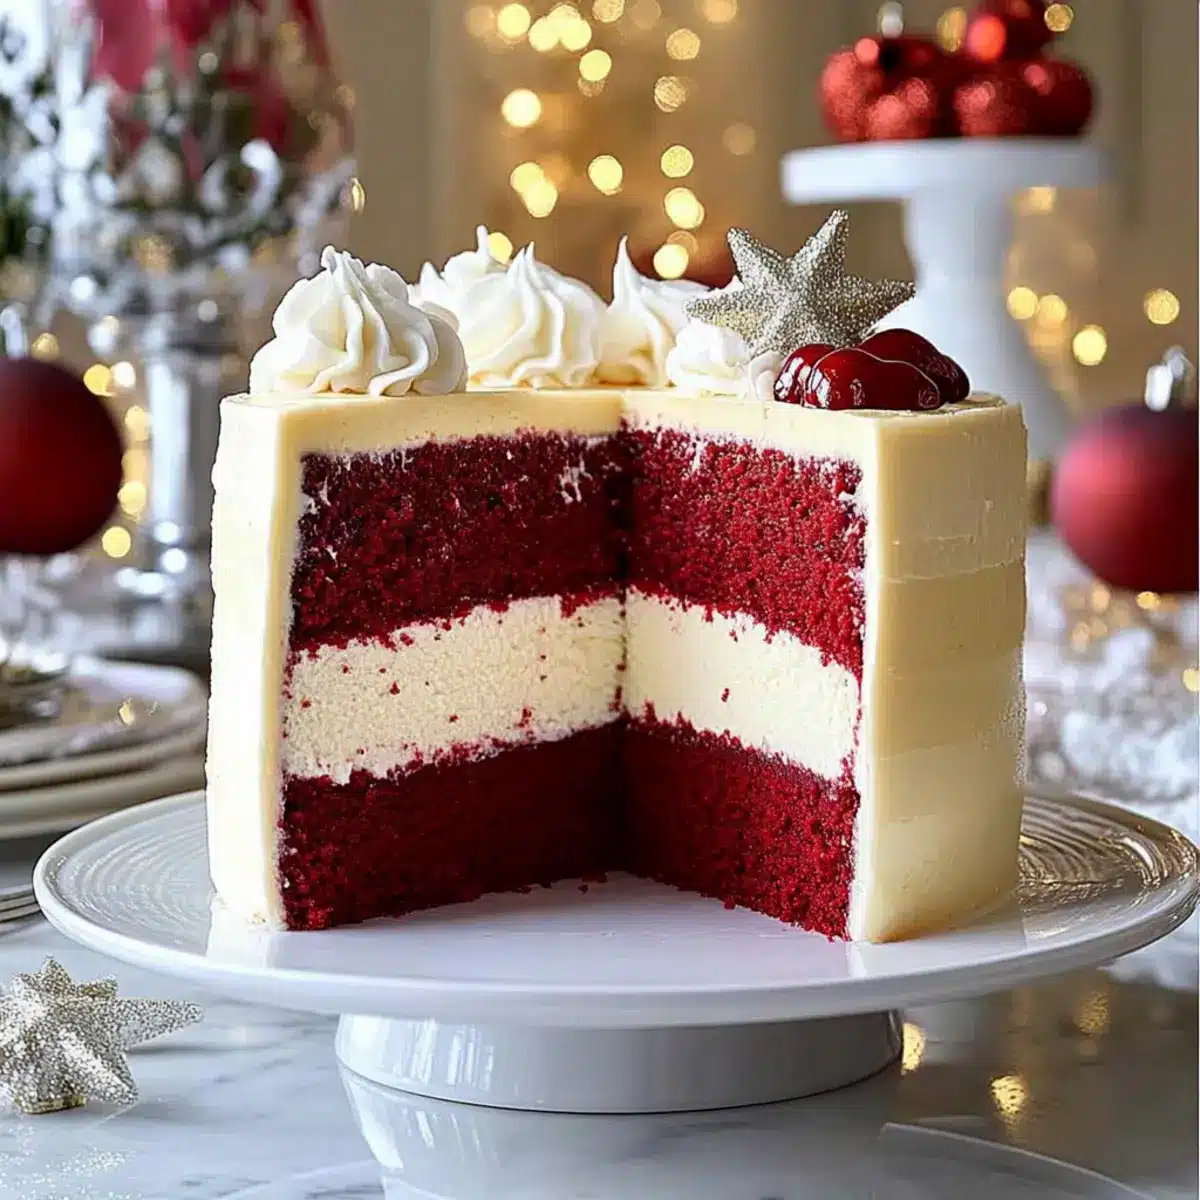
Visual Appeal: The striking contrast of red velvet and creamy white cheesecake creates a dessert that is as beautiful as it is delicious.
Flavor Explosion: With layers of rich cocoa and tangy cream cheese, each bite is a delightful festival of flavors that will have your guests raving.
Easily Adaptable: Whether you want to swap in natural coloring with beet juice or add chocolate chips to the filling, this recipe allows for creativity.
Meal-Making Marvel: Perfect as a centerpiece dessert, it complements festive meals with ease—serve with hot cocoa or sparkling wine for a complete experience.
Quick Prep Time: Despite its impressive looks, this cheesecake is surprisingly easy to whip up, allowing you to enjoy more precious holiday moments.
Treat yourself to a slice of this festive delight, and if you’re feeling adventurous, check out options like Christmas Tree Cheesecake or Velvet Strawberry Cheesecake for more festive inspiration!
Christmas Red Velvet Cheesecake Ingredients
The perfect combination for a holiday masterpiece!
For the Cake Layers
• All-purpose flour – Provides the structure of the cake layers; can substitute with a gluten-free blend.
• Unsweetened cocoa powder – Adds depth to the chocolate flavor for an enhanced taste.
• Baking powder – Creates lift, ensuring a light and airy texture.
• Baking soda – Pairs with the acid in buttermilk for effective leavening.
• Salt – Enhances flavor and balances sweetness.
• Granulated sugar – Sweetens and aids moisture retention for a tender cake.
• Vegetable oil – Keeps the cake moist; can swap for canola oil or melted coconut oil.
• Buttermilk – Contributes tanginess and moisture; use milk plus vinegar as a substitute.
• Large eggs – Bind the ingredients and help structure the cake.
• Red food coloring – Provides the signature vibrant color; gel food coloring is recommended for intensity.
• Vanilla extract – Adds complexity and warmth to the flavor.
• White vinegar – Reacts with baking soda to enhance leavening.
For the Cheesecake Layer
• Cream cheese – The creamy base for the cheesecake; opt for block cream cheese for best texture.
• Granulated sugar (cheesecake) – Sweetens the cheesecake layer to perfection.
• Sour cream – Introduces a tangy balance; Greek yogurt can be used as a substitute.
For the Frosting
• Unsalted butter – Adds richness; ensure it’s at room temperature for smooth consistency.
• Powdered sugar – Sweetens and stabilizes the frosting for perfect spreading.
With these ingredients arranged, you’re just a few steps away from creating your stunning Christmas Red Velvet Cheesecake!
Step‑by‑Step Instructions for Christmas Red Velvet Cheesecake
Step 1: Preheat the Oven
Begin by preheating your oven to 350°F (175°C). This temperature is essential for baking the cake layers to perfection. While the oven heats, prepare two 9-inch round cake pans by greasing them and lining the bottoms with parchment paper to ensure easy removal after baking.
Step 2: Make Red Velvet Cake Batter
In a large mixing bowl, whisk together the all-purpose flour, cocoa powder, baking powder, baking soda, and salt until evenly combined. In another bowl, mix the vegetable oil, buttermilk, eggs, red food coloring, and vanilla extract. Gradually combine the wet ingredients into the dry ingredients until smooth and no lumps remain, creating your rich red velvet cake batter.
Step 3: Bake Cake Layers
Divide the red velvet cake batter evenly between the prepared cake pans. Smooth the tops with a spatula for even baking. Place the pans in the preheated oven and bake for 25 to 30 minutes. You’ll know they’re ready when a toothpick inserted in the center comes out clean. Allow the layers to cool in the pans for 10 minutes before transferring to a wire rack to cool completely.
Step 4: Prepare Cheesecake Filling
While the cake layers cool, make the cheesecake filling. In a large bowl, beat the cream cheese until smooth and creamy. Gradually add the granulated sugar and sour cream, mixing until well combined. Add the vanilla extract, followed by the eggs, mixing just until incorporated. Avoid overbeating to keep the cheesecake layer from cracking.
Step 5: Bake Cheesecake
Preheat your oven to 325°F (160°C) for the cheesecake layer. Pour the cheesecake filling into a greased 9-inch springform pan. To create a water bath, wrap the pan in aluminum foil and place it in a larger baking dish filled with water. Bake for 50 to 60 minutes until the edges are set, but the center slightly jiggles. Allow it to cool in the water bath for an hour before chilling in the refrigerator.
Step 6: Assemble Cake
Once the cake layers and cheesecake are completely cool, it’s time to assemble your Christmas Red Velvet Cheesecake. Start with one red velvet layer on a serving plate, spread a thick layer of cheesecake on top, and then add the second red velvet layer.
Step 7: Frost the Cake
For a delightful finishing touch, prepare the cream cheese frosting by beating room temperature unsalted butter with powdered sugar until fluffy. Carefully frost the top and sides of the assembled cake, ensuring the vibrant red velvet layers peek through.
Step 8: Chill and Serve
Once frosted, refrigerate the cheesecake for at least 2 hours to set the layers. This chilling step ensures clean cuts when slicing. Before serving, feel free to decorate with festive toppings like crushed candy canes or chocolate shavings for added holiday cheer!
Christmas Red Velvet Cheesecake Variations
Feel free to make this delightful dessert your own with these fun twists and substitutions!
- Gluten-Free: Substitute all-purpose flour with a gluten-free blend for a safe option that everyone can enjoy.
- Natural Coloring: Use beet juice instead of red food coloring to achieve a beautiful, natural hue with a unique flavor twist.
- Chocolate Chunk Cheesecake: Fold in chocolate chips to the cheesecake mixture for extra richness in every slice. Your guests will be in chocolate heaven!
- Add Some Zest: Mix in a teaspoon of orange or lemon zest to elevate the cheesecake layer, giving it a fresh, citrusy kick.
- Coconut Craze: Swap out half of the cream cheese with coconut cream for a tropical flavor that’s unexpected and oh-so-delicious.
- Nutty Layer: Incorporate crushed walnuts or pecans into the cake layers for an added crunch that complements the smooth cheesecake beautifully.
- Heat Things Up: Add a pinch of cayenne pepper or a drizzle of spicy chocolate sauce for a surprising kick that will leave guests intrigued.
- Mini Versions: Create individual mini cheesecakes using muffin tins, perfect for smaller gatherings and sweet moments to savor.
When you try these variations, you might even spark your own creativity. For instance, you could explore the delightful flavors of Christmas Tree Cheesecake or the fruity allure of Velvet Strawberry Cheesecake!
How to Store and Freeze Christmas Red Velvet Cheesecake
Fridge: Store leftover cheesecake in an airtight container for up to 3 days to maintain its freshness and flavor.
Freezer: For longer storage, freeze slices wrapped tightly in plastic wrap and aluminum foil for up to 2 months. Thaw in the fridge overnight before serving.
Reheating: If desired, gently warm individual slices in the microwave for about 15-20 seconds; take care not to overheat, as the textures may change.
Assembly Tip: You can prepare the cheesecake layer a day in advance and store it in the fridge, making your festive baking even easier when you assemble your Christmas Red Velvet Cheesecake!
What to Serve with Christmas Red Velvet Cheesecake
The perfect festive meal deserves equally delightful accompaniments to create a memorable holiday spread.
-
Creamy Mashed Potatoes: Their buttery richness provides a comforting contrast to the cheesecake’s sweetness, making your plate a balanced feast.
-
Spiced Apple Cider: Warm, aromatic, and mildly sweet, this cozy drink enhances the festive ambiance while complementing the delicious layers of cheesecake.
-
Roasted Brussels Sprouts: Their nutty flavor and slightly crispy texture add a savory touch that beautifully contrasts the rich dessert, balancing your meal perfectly.
-
Vanilla Ice Cream: A scoop of creamy vanilla ice cream brings a lush creaminess that pairs exquisitely with the velvet cake and cheesecake layers, making each bite even more indulgent.
-
Chocolate Covered Strawberries: Enjoy a playful palate of flavors—juicy and slightly tart strawberries dipped in rich chocolate enhance the cheesecake’s luxurious experience.
-
Peppermint Hot Chocolate: The sweet and minty flavors of this drink embrace the holiday spirit, creating a delightful pairing that warms your heart along with every fantastic slice.
Be sure to incorporate these delectable pairings into your festive gathering for a truly unforgettable holiday experience!
Make Ahead Options
Making your Christmas Red Velvet Cheesecake ahead of time is a brilliant way to save precious moments during the holiday hustle! You can prepare the cheesecake layer up to 24 hours in advance and store it tightly wrapped in the refrigerator to maintain its creamy texture. Additionally, the cake layers can also be baked 3 days ahead; just allow them to cool completely, wrap them in plastic wrap, and refrigerate. When you’re ready to serve, simply assemble the layers and frost the cake. This way, you’ll have a stunning, delicious dessert that tastes just as fresh and festive as when it first came out of the oven, allowing you to enjoy your celebration stress-free!
Expert Tips for the Best Christmas Red Velvet Cheesecake
-
Ingredient Preparation: Make sure cream cheese, eggs, and buttermilk are at room temperature for a smooth and creamy texture in your cheesecake layer.
-
Avoid Overmixing: When combining your cheesecake ingredients, mix gently after adding eggs to prevent cracks in the layer, ensuring your Christmas Red Velvet Cheesecake looks flawless.
-
Use a Water Bath: For a perfectly dense cheesecake, bake in a water bath to keep moisture in and prevent overcooking; this trick can elevate your dessert’s texture.
-
Don’t Skip the Chill: Allow the assembled cheesecake to chill for at least 2 hours. This step helps layers set and makes slicing much easier.
-
Garnish with Care: When adding festive toppings, be cautious not to overwhelm the delicate flavor. A light sprinkle of crushed candy canes or a few chocolate shavings can enhance visual appeal without overwhelming the taste.
Christmas Red Velvet Cheesecake Recipe FAQs
How do I choose the right ripeness of my ingredients?
For the best results, ensure your cream cheese and eggs are at room temperature before mixing. This helps create a smooth and creamy cheesecake filling. Additionally, your eggs should be fresh—check the expiration date on the carton for peace of mind.
What is the best way to store leftover cheesecake?
Store any leftover Christmas Red Velvet Cheesecake in an airtight container in the refrigerator for up to 3 days. This keeps it fresh while preserving its delicious flavors. For best results, cover it tightly to prevent drying out.
Can I freeze my cheesecake?
Absolutely! To freeze your Christmas Red Velvet Cheesecake, wrap individual slices tightly in plastic wrap, and then in aluminum foil to protect against freezer burn. It will keep well for up to 2 months. When you’re ready to enjoy, simply transfer a slice to the fridge to thaw overnight.
What should I do if my cheesecake cracks?
No worries! A cracked cheesecake is still delicious. To prevent cracks, avoid overbeating the filling, especially after adding eggs. Always use a water bath when baking to keep moisture in. If cracks do form, simply cover the top with frosting or festive toppings for a beautiful finish.
Can this recipe be adjusted for dietary restrictions, like gluten-free options?
Yes, you can make this Christmas Red Velvet Cheesecake gluten-free by substituting all-purpose flour with a gluten-free blend. Make sure all other ingredients, especially your baking powder and vanilla extract, are gluten-free as well. Always check labels to ensure they meet your dietary needs.
Is this cheesecake safe for pets?
The ingredients in the Christmas Red Velvet Cheesecake, especially those like chocolate, sugar, and dairy, can be harmful to pets. It’s best to keep this decadent dessert away from your furry friends. If you want a pet-friendly treat, consider making a special pet treat just for them!
Decadent Christmas Red Velvet Cheesecake to Dazzle Your Guests
Ingredients
Equipment
Method
- Preheat your oven to 350°F (175°C) and prepare two 9-inch round cake pans by greasing and lining with parchment paper.
- In one bowl, whisk together flour, cocoa powder, baking powder, baking soda, and salt. In another bowl, mix vegetable oil, buttermilk, eggs, red food coloring, and vanilla extract. Combine wet and dry ingredients until smooth.
- Divide batter between cake pans and bake for 25-30 minutes. Cool in pans for 10 minutes before transferring to a wire rack.
- Beat cream cheese until smooth, add sugar and sour cream, mix well, then fold in vanilla and eggs.
- Preheat oven to 325°F (160°C) for the cheesecake layer. Pour filling into a greased springform pan, create a water bath, and bake for 50-60 minutes until edges are set.
- Assemble the cheesecake by placing one red velvet layer on a plate, adding a thick layer of cheesecake, then topping with the second red velvet layer.
- Beat butter with powdered sugar until fluffy. Frost the assembled cake, allowing layers to show.
- Refrigerate for at least 2 hours before serving for clean cuts.
Leave a Reply