
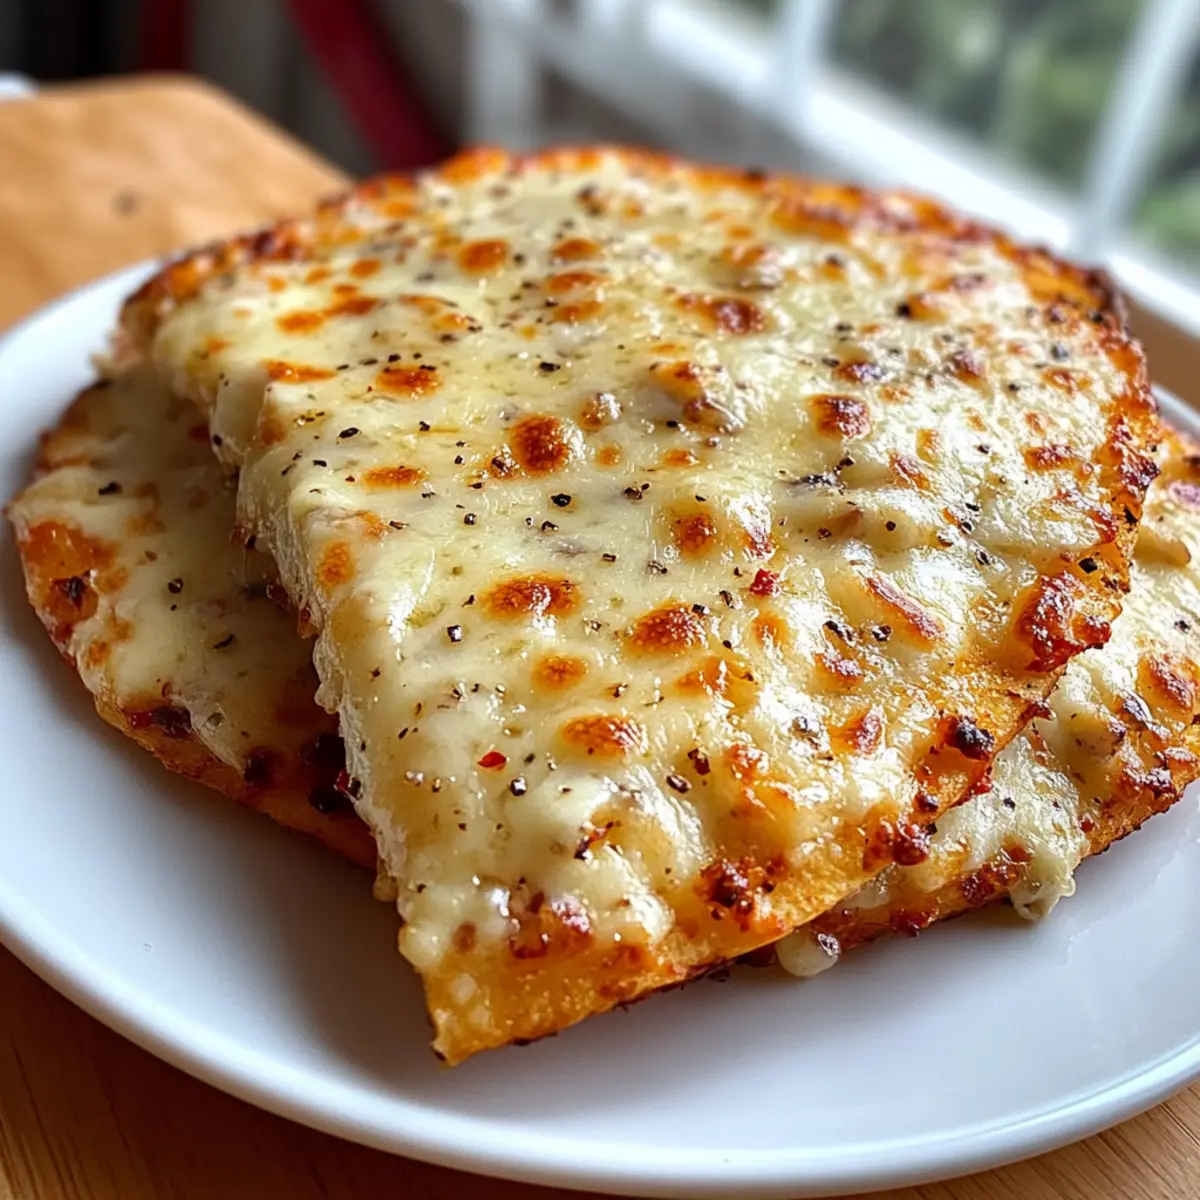
As I rummaged through my pantry one evening, I stumbled upon a forgotten package of tortillas and an idea sparked. What if I could create a crispy, cheesy delight that would satisfy my garlic bread cravings without the fuss of kneading dough? That’s how this Air Fryer Cheesy Tortilla Garlic Bread was born! It’s a delightful twist on classic garlic bread, presenting a perfect combination of gooey melted cheese and rich garlic flavor, all in a matter of minutes. Its quick prep makes it an ideal snack or an impressive appetizer for guests at your door. Plus, with its irresistible crunch, it might just become your new go-to party pleaser! Curious about how to whip this magic up in your own kitchen? Let’s get cooking!

Why Choose This Cheesy Tortilla Delight?
Quick and Easy: The beauty of this recipe lies in its simplicity. With just a few ingredients and minimal prep time, you can enjoy a delicious treat in under 10 minutes!
Zesty Flavor: Infused with garlic and topped with gooey melted cheese, every bite is a burst of flavor that’s hard to resist.
Versatile Base: Use any tortillas you have on hand, whether flour or corn, making it adaptable to your taste and dietary needs.
Crowd-Pleasing Appeal: Perfect for parties or family gatherings, this dish is sure to wow your guests. Serve it alongside marinara sauce for a delightful dipping experience!
Crispy Texture: The air fryer ensures a perfectly crispy exterior, while keeping the inside delightfully cheesy, creating a perfect blend of textures.
If you’re also looking to explore other delightful appetizers, don’t miss out on the Korean Soy Garlic Chicken for another unforgettable flavor experience!
Cheesy Tortilla Garlic Bread Ingredients
For the Tortillas
- Tortillas – The perfect crispy base; choose flour or corn based on your preference.
For the Garlic Butter
- Unsalted Butter – Adds richness and allows the garlic flavor to blend beautifully; can be substituted with plant-based butter for a dairy-free option.
- Garlic – Essential for that classic garlic taste; fresh minced garlic or garlic powder both work wonderfully.
For the Cheese
- Shredded Cheese (e.g., Mozzarella) – Key for achieving that gooey, cheesy goodness; feel free to mix this with cheddar or pepper jack for a flavor twist.
For Seasoning
- Salt – Elevates all the flavors; adjust to taste especially if using salted butter.
- Red Pepper Flakes (Optional) – A sprinkle adds a nice kick; omit if you prefer a milder flavor.
- Onion Powder (Optional) – For extra savory depth; this can also be left out if desired.
Enjoy whipping up this quick and delightful Cheesy Tortilla Garlic Bread, perfect for any occasion!
Step‑by‑Step Instructions for Cheesy Tortilla Garlic Bread
Step 1: Preheat the Air Fryer
Begin by preheating your air fryer to 350°F (180°C). This crucial initial step ensures that your Cheesy Tortilla Garlic Bread cooks evenly, resulting in that perfect crispy texture. Allow the air fryer to reach the desired temperature for about 5 minutes while you prepare the garlic butter mixture.
Step 2: Prepare the Garlic Butter
In a small bowl, melt approximately two tablespoons of unsalted butter. Once melted, mix in minced garlic and any optional spices like red pepper flakes or onion powder for added flavor. Stir well until combined, allowing the robust aroma of garlic to fill your kitchen, enticing everyone with the delightful smell of your upcoming dish.
Step 3: Brush the Tortillas
Take your chosen tortillas and lay them flat on a clean surface. Generously brush the garlic butter mixture over one side of each tortilla, ensuring even coverage. This step is vital as it allows the garlic flavor to infuse beautifully into the Cheesy Tortilla Garlic Bread, enhancing its overall taste and richness.
Step 4: Add the Cheese
Now, sprinkle a generous amount of shredded cheese on top of the garlic buttered side of each tortilla. Feel free to mix different cheese types for a more complex flavor profile. The cheese will melt beautifully in the air fryer, creating that gooey texture we all love, making it truly irresistible.
Step 5: Cook in the Air Fryer
Carefully place the prepared tortillas in the air fryer basket, cheese side up, ensuring they do not overlap for even cooking. Cook them for about 6 minutes, or until the cheese is melted and the edges are golden brown and crispy. Keep a close eye on them, as cooking times may vary based on your air fryer model.
Step 6: Slice and Serve
Once cooked, carefully remove the Cheesy Tortilla Garlic Bread from the air fryer using tongs or a spatula. Allow them to cool for a moment before slicing into wedges. Serve warm, perhaps alongside a bowl of marinara sauce for a delightful dipping experience, and watch as everyone enjoys your delicious creation!
Cheesy Tortilla Garlic Bread Variations
Feel free to explore these variations and make this dish uniquely yours, enhancing every delicious bite!
-
Dairy-Free: Substitute shredded cheese with a dairy-free blend or nutritional yeast for a cheesy flavor without the dairy.
-
Spicy Twist: Add finely chopped jalapeños or a dash of hot sauce to the garlic butter for an extra kick that awakens your taste buds.
-
Herb-Infused: Incorporate diced fresh herbs like basil or cilantro into the garlic butter for a fragrant touch that brightens the overall flavor.
-
Crunchy Topping: Sprinkle panko breadcrumbs on top of the cheese before air frying for an added layer of crunch that takes your appetizer to the next level.
-
Sweet & Savory: Drizzle a light honey or balsamic glaze over the top after cooking to create a wonderful sweet contrast to the savory garlic and cheese.
-
Are you a fan of sweet treats? Try pairing with a comforting dessert like Gingerbread Brownies Cozy for a delightful finish to your meal!
-
Veggie-Packed: Add sautéed bell peppers or spinach to the cheese layer for a nutritious twist that gives your Cheesy Tortilla Garlic Bread a vibrant color and extra flavor.
-
Garlic Lovers: For a robust garlic experience, double the amount of garlic in the butter, or mix roasted garlic for a sweeter, caramelized flavor profile.
Feel empowered to mix and match these ideas to suit your taste and pantry staples!
Make Ahead Options
These Air Fryer Cheesy Tortilla Garlic Bread are perfect for busy home cooks looking to save time during meal prep! You can prepare the garlic butter mixture and brush it onto the tortillas up to 24 hours in advance, then store them in the refrigerator. Additionally, assemble the tortillas with cheese and refrigerate for up to 3 days prior to cooking, ensuring they stay fresh and delicious. When you’re ready to serve, simply pop them in the air fryer for about 6 minutes until the cheese melts and the edges are crispy. This way, you can enjoy a flavorful, cheesy treat with minimal effort, perfect for unexpected gatherings or quick snacks!
Expert Tips for Cheesy Tortilla Garlic Bread
-
Preheat Right: Always preheat your air fryer to 350°F (180°C) to achieve the best crispiness in your Cheesy Tortilla Garlic Bread.
-
Mind the Time: Keep a close eye on the cooking time of about 6 minutes, as air fryer models may vary in heat intensity.
-
Brush Generously: Apply the garlic butter mixture generously to every tortilla to ensure the flavor permeates through every bite.
-
Mix Cheeses: For a richer flavor, try mixing different cheeses like cheddar and mozzarella; it elevates the gooeyness!
-
Use Fresh Ingredients: Always opt for fresh garlic and high-quality cheese to enhance the overall taste of your Cheesy Tortilla Garlic Bread.
-
Slice Carefully: Allow the bread to cool slightly before slicing to avoid messy edges and preserve the crispy texture.
How to Store and Freeze Cheesy Tortilla Garlic Bread
Fridge: Store any leftover Cheesy Tortilla Garlic Bread in an airtight container in the fridge for up to 2 days to maintain freshness and flavor.
Freezer: If you want to keep it longer, wrap each piece in plastic wrap and place them in a freezer-safe bag. They can be frozen for up to 1 month.
Reheating: When ready to enjoy again, reheat in the air fryer at 350°F (180°C) for about 3-4 minutes, ensuring they come out crispy and warm, just like fresh!
Room Temperature: For best taste, avoid leaving the Cheesy Tortilla Garlic Bread out at room temperature for more than 2 hours, as it’s best enjoyed fresh!
What to Serve with Air Fryer Cheesy Tortilla Garlic Bread?
Dive into the delightful experience of pairing this crispy treat with the perfect accompaniments that enhance its flavor.
-
Marinara Sauce: A classic dip that complements the garlic and cheese, adding a tangy twist to every bite. Perfect for those who love a little extra zest!
-
Caesar Salad: The crisp romaine and creamy dressing create a refreshing contrast, balancing the richness of the cheesy goodness. This pairing adds brightness to your meal.
-
Bruschetta: This fresh tomato and basil mix brings a burst of flavor, making it a great side that harmonizes with the savory garlic bread.
-
Roasted Vegetables: Roasted zucchini, bell peppers, and asparagus add a healthy element to your meal, delivering color and nutrition to balance the indulgence of cheesy goodness.
-
Garlic Herb Dip: Blend Greek yogurt with fresh herbs to create a cooling dip that’s perfect for contrasting the warm, cheesy bread while enhancing its flavor.
-
Iced Lemonade: A refreshing, tangy drink to cleanse your palate. The citrus notes will uplift the buttery richness of the cheesy tortilla bread.
-
Chocolate Chip Cookies: For dessert, indulge in warm chocolate chip cookies. The sweet contrast after the cheesy appetizer rounds out a comforting meal beautifully.
Air Fryer Cheesy Tortilla Garlic Bread Recipe FAQs
What type of tortillas work best for this recipe?
Absolutely! You can use both flour and corn tortillas for this Air Fryer Cheesy Tortilla Garlic Bread. Flour tortillas tend to get a bit more soft and pliable, while corn tortillas offer a firmer, more robust texture. Choose based on your personal preference!
How do I store leftover Cheesy Tortilla Garlic Bread?
You can store any leftover Cheesy Tortilla Garlic Bread in an airtight container in the fridge for up to 2 days. Just make sure to let it cool completely before sealing it, which helps to preserve its yummy flavors!
Can I freeze Cheesy Tortilla Garlic Bread?
Yes, you can freeze it! To freeze, wrap each piece of the Cheesy Tortilla Garlic Bread in plastic wrap and place them in a freezer-safe bag. They can be frozen for up to 1 month. When you’re ready to indulge again, reheat them in the air fryer at 350°F (180°C) for about 3-4 minutes to get that crispy texture back!
What should I do if my Cheesy Tortilla Garlic Bread turns out soggy?
If your Cheesy Tortilla Garlic Bread ends up soggy, it might be due to not preheating the air fryer or overcrowding the basket. Always preheat to 350°F (180°C), and ensure that the tortillas have space around them in the air fryer to cook evenly. If you see any excess moisture, you can re-crisp them in the air fryer for an additional minute or two!
Are there any dietary considerations for this recipe?
Certainly! If you have dairy allergies, you can substitute the unsalted butter with a plant-based butter alternative. You can also choose vegan cheese for a dairy-free version of the Cheesy Tortilla Garlic Bread. Just keep an eye on ingredient labels to ensure they meet your dietary needs!
Crispy Cheesy Tortilla Garlic Bread: A Quick Delight!
Ingredients
Equipment
Method
- Preheat the air fryer to 350°F (180°C) for about 5 minutes.
- Melt butter in a small bowl and mix in minced garlic and optional spices.
- Brush garlic butter mixture evenly on one side of each tortilla.
- Sprinkle shredded cheese on the garlic-buttered side of each tortilla.
- Place tortillas in the air fryer basket, cheese side up, and cook for about 6 minutes.
- Remove from the air fryer, cool slightly, slice into wedges, and serve warm.
Leave a Reply