
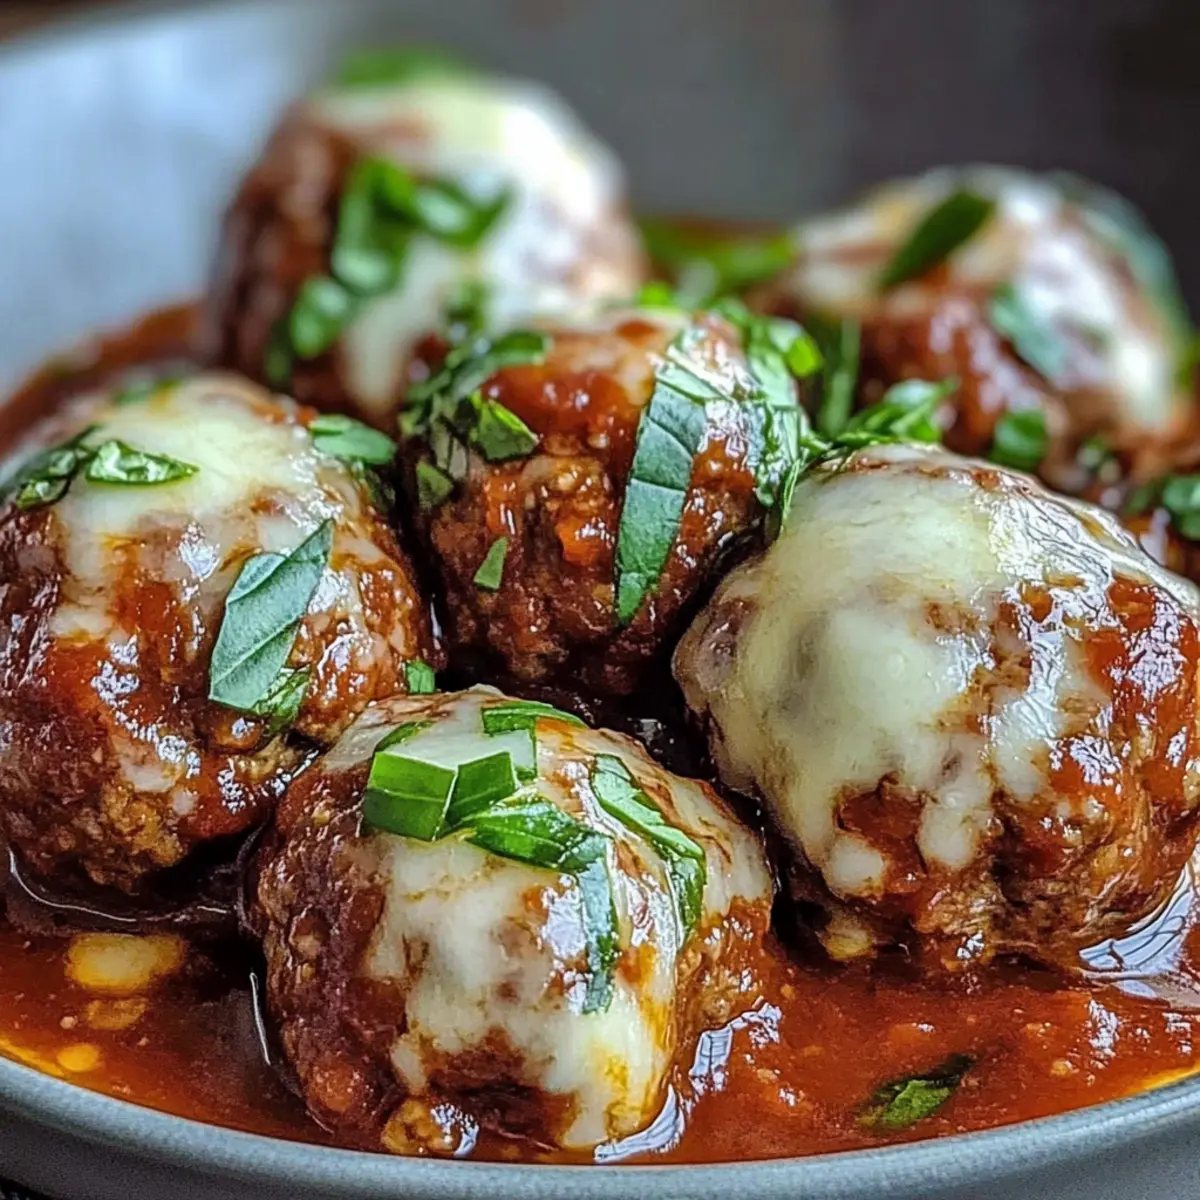
As I stood in my kitchen, the savory scent of garlic wafted through the air, instantly transporting me to a quaint Italian trattoria. Today, I’m excited to share my recipe for Cheesy Garlicky Meatballs with Marinara, a family favorite that combines tender meatballs with a rich, flavorful sauce. This dish not only promises quick preparation in under an hour, but it also features a gluten-free option, making it accessible for everyone at the dinner table. Perfectly browned and simmered to perfection, these meatballs practically melt in your mouth, delivering that comforting Italian charm we all crave. Curious how to elevate your weeknight dinners with these easy-to-make meatballs? Let’s dive into this delicious culinary adventure together!
Why You’ll Crave These Meatballs?
Irresistible Flavor: Garlic takes center stage in these cheesy meatballs, creating an aromatic explosion that will make your taste buds dance.
Quick and Easy: Prepared in under an hour, this recipe is perfect for busy weeknights when you want homemade goodness without the fuss.
Versatile Options: Customize your meatballs with beef, pork, or gluten-free breadcrumbs—everyone at the table can enjoy a delightful version.
Crowd-Pleasing Appeal: Whether serving family or friends, these meatballs will have everyone asking for seconds, just like a cozy Italian gathering.
Perfect Pairings: Serve alongside crusty bread or a simple salad to balance the rich flavors, and consider making a batch of Cranberry Meatballs Holiday for another crowd favorite!
Cheesy Garlicky Meatballs Ingredients
For the Meatballs
• Ground Beef – Provides a rich flavor and structure; substitute with all pork for a different flavor profile.
• Ground Pork – Adds moisture and tenderness; can be substituted with all beef if preferred.
• Fresh Breadcrumbs – Acts as a binder and adds texture; gluten-free breadcrumbs work well as a substitute.
• Grated Parmesan Cheese – Enhances flavor and provides a cheesy profile; optional substitution: Pecorino Romano for sharper taste.
• Shredded Mozzarella Cheese – Melts beautifully for a gooey texture; can be swapped with other melty cheeses like fontina.
• Eggs – Bind the meat mixture together for structure; no substitutions required in context.
• Minced Garlic – Provides aromatic flavor; essential for the dish.
• Finely Chopped Onion – Offers sweetness and depth of flavor; can be omitted if needed.
• Chopped Fresh Parsley – Adds freshness and color to the meatballs; substitute with dried parsley if fresh is not available.
• Dried Oregano – For classic Italian seasoning; other herbs like thyme could be used for variation.
• Salt and Pepper – Essential for seasoning; adjust to taste.
• Whole Milk – Helps hydrate the mixture, ensuring juicy meatballs; can use buttermilk for a richer flavor.
• Olive Oil – For browning and flavor; can substitute with vegetable oil if preferred.
For the Marinara Sauce
• Canned Crushed Tomatoes – Base for the marinara sauce; fresh tomatoes can be used but will require longer cooking time.
• Dried Basil – Additional flavor for marinara; fresh basil can be used for a fresher taste.
• Crushed Red Pepper Flakes – Add heat; reduce or omit if desired.
• Sugar – Balances acidity in the sauce; can be adjusted to taste.
• Fresh Basil for Garnish – Enhances presentation and flavor.
Step‑by‑Step Instructions for Cheesy Garlicky Meatballs
Step 1: Prepare Meatball Mixture
In a large mixing bowl, combine ground beef, ground pork, fresh breadcrumbs, grated Parmesan cheese, shredded mozzarella, eggs, minced garlic, finely chopped onion, chopped parsley, dried oregano, salt, pepper, and whole milk. Use your hands to gently mix the ingredients until just combined, being careful not to overwork the mixture, as this can toughen the Cheesy Garlicky Meatballs.
Step 2: Shape Meatballs
Once the meat mixture is ready, take small portions and roll them into golf ball-sized meatballs, aiming for about 24 pieces. Place the formed meatballs on a baking sheet lined with parchment paper as you work. This will make handling them easier when it’s time to cook and will keep them from sticking together.
Step 3: Brown Meatballs
In a large skillet, heat a couple of tablespoons of olive oil over medium heat. Once hot, carefully add the meatballs, ensuring not to overcrowd the pan. Brown the meatballs for 2-3 minutes on each side, watching for a golden-brown color to form. Once browned, remove them from the skillet and set aside on a plate.
Step 4: Prepare Sauce Base
Using the same skillet, add a bit more olive oil if needed, and sauté minced garlic over medium heat until fragrant, about 30 seconds. Be careful not to burn the garlic as it can become bitter. This step infuses the oil with a rich garlic flavor, setting a delicious base for your marinara sauce.
Step 5: Build Marinara Sauce
To the sautéed garlic, add canned crushed tomatoes, dried basil, dried oregano, crushed red pepper flakes, and sugar. Season the mixture with salt and pepper to taste. Stir everything together and let the sauce come to a gentle simmer over medium-low heat for about 5 minutes, allowing flavors to meld beautifully.
Step 6: Simmer Meatballs
Gently place the browned meatballs back into the sauce, ensuring they are mostly submerged. Cover the skillet with a lid and let the Cheesy Garlicky Meatballs simmer on low for 20-25 minutes. This will cook them through and soak up all the savory flavors of the marinara sauce, making them incredibly tender.
Step 7: Serve
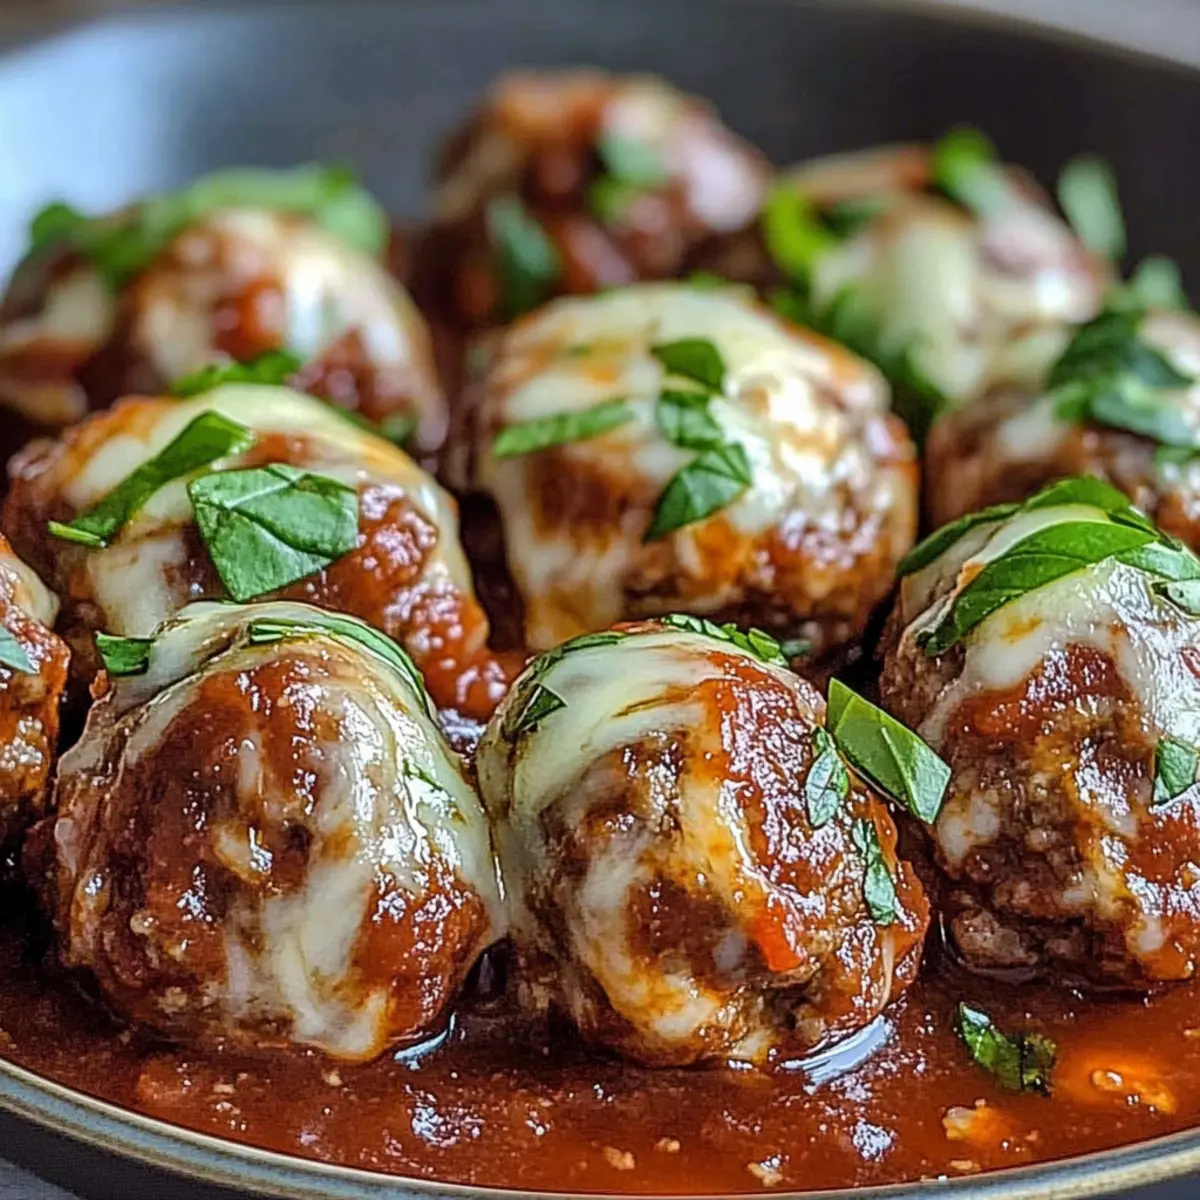
Once the meatballs are cooked and the sauce is bubbling invitingly, remove from heat. Garnish with fresh basil leaves for a vibrant touch, and serve the meatballs hot with your choice of pasta, crusty bread, or creamy polenta. The comforting aroma of these Cheesy Garlicky Meatballs will surely awaken everyone’s appetite!

What to Serve with Cheesy Garlicky Meatballs?
Elevate your meal with delightful pairings that enhance the comforting essence of these tender, cheesy meatballs.
-
Creamy Mashed Potatoes: Their velvety texture beautifully contrasts the savory meatballs, creating a heartwarming plate that’s pure comfort.
-
Garlic Bread: Crunchy on the outside and soft within, it’s perfect for soaking up that luscious marinara sauce.
-
Simple Green Salad: A fresh salad with crisp greens and a zesty vinaigrette adds brightness and balances the rich flavors on your plate.
-
Roasted Vegetables: Seasonal veggies seasoned and roasted add earthy flavors and a crunchy texture that complements the meatballs perfectly.
-
Pasta: Serve these meatballs over spaghetti or penne tossed in olive oil and garlic for a satisfying, hearty experience. You’ll get that classic Italian vibe!
-
Polenta: Creamy polenta makes an excellent base, delivering a comforting and slightly sweet counterpoint to the robust meatballs.
-
Wine Pairing: A glass of Chianti or a light-bodied Pinot Noir beautifully harmonizes with the rich tomato sauce and flavorful meatballs.
-
Tiramisu: End your meal on a sweet note with this classic Italian dessert, balancing the savory course with luscious layers of coffee-soaked goodness.
Make Ahead Options
These Cheesy Garlicky Meatballs are a fantastic choice for meal prep enthusiasts! You can prepare the meatball mixture up to 24 hours in advance—just combine all the ingredients, shape them into balls, and refrigerate them (this helps the flavors meld beautifully). Additionally, you can cook the meatballs and simply refrigerate them in the marinara sauce for up to 3 days; when you’re ready to serve, gently reheat them on the stove. For longer storage, freeze uncooked meatballs on a baking sheet, then transfer them to a freezer bag for up to 3 months. This way, you can enjoy homemade comfort food with minimal fuss during busy weeknights!
How to Store and Freeze Cheesy Garlicky Meatballs
Fridge: Store cooled meatballs and marinara sauce in an airtight container for up to 4 days. Make sure they are fully cooled to prevent condensation.
Freezer: For longer storage, freeze the meatballs individually on a baking sheet. Once frozen, transfer to a freezer bag and store for up to 3 months.
Reheating: To reheat, thaw overnight in the fridge, then warm in a skillet over low heat until heated through, stirring occasionally. Enjoy the delicious flavors of your Cheesy Garlicky Meatballs!
Expert Tips for Cheesy Garlicky Meatballs
-
Don’t Overmix: Gently combine the meat mixture to avoid tough meatballs. Overworking it leads to a dense texture that’s less enjoyable.
-
Brown for Flavor: Properly brown the meatballs in olive oil for a rich flavor. Make sure not to overcrowd the skillet, or they won’t brown evenly.
-
Simmer Gently: Once added to the sauce, let them simmer on low heat. This allows the Cheesy Garlicky Meatballs to absorb the marinara flavors, keeping them moist.
-
Freezing Tip: For future meals, freeze uncooked meatballs on a baking sheet before transferring them to a freezer bag. This makes for easy, quick dinners later!
-
Experiment with Herbs: Don’t hesitate to customize flavors by swapping dried oregano with fresh or trying other herbs, such as thyme, for a unique twist in your cooking.
Cheesy Garlicky Meatballs Variations
Feel free to get creative and tailor these meatballs to your taste or dietary needs!
-
Gluten-Free: Swap fresh breadcrumbs for gluten-free breadcrumbs to make this dish accessible for those avoiding gluten.
But gluten-free dining doesn’t mean sacrificing flavor! These meatballs can still boast that delightful texture everyone loves. -
Pork-Only Option: Use all ground pork for extra moisture and tenderness in your meatballs.
This change will make your meatballs incredibly juicy, giving them a uniquely rich flavor that delightfully surprises at every bite. -
Cheese Exchange: Opt for Fontina cheese instead of mozzarella for a gourmet twist.
Fontina melts beautifully, and its nutty flavor can elevate the meatballs to a whole new level of indulgence. -
Veggie Boost: Stir in some chopped spinach for a nutritious pop of color and added vitamins.
This subtle addition not only enhances the dish’s visual appeal but also sneaks in some green goodness for the health-conscious eaters. -
Marinara Shortcuts: Use ready-made marinara sauce instead of crushed tomatoes for convenience.
Feel free to pour your favorite jarred sauce into the skillet; it’s an easy way to keep the cooking simple during busy nights! -
Creamy Polenta Base: Serve the meatballs over creamy polenta instead of pasta for a comforting alternative.
Imagine your meatballs nestled on a bed of silky polenta, soaking up that rich sauce—just heavenly! -
Herb Variations: Experiment with different herbs, such as thyme or basil, to give the sauce a refreshing twist.
Herbs can completely transform the dish, adding seasonal flavors that make the meal even more enticing with each season. -
Heat Index: Add crushed red pepper flakes for an extra kick of heat.
If you love a touch of spice, this little addition will take the flavor explosion to new heights, ensuring every bite has that satisfying warmth!
Feeling inspired? Before you dive into these tasty variations, don’t forget to check out these Cranberry Meatballs Holiday for another crowd-pleasing recipe that’s perfect for festive gatherings or cozy family dinners!
Cheesy Garlicky Meatballs Recipe FAQs
What type of ground meat is best for these meatballs?
Absolutely! Ground beef provides a rich flavor and structure, while ground pork adds moisture and tenderness. You can mix both for the best of both worlds or stick with just one type based on your preferences. If you’re looking for something lighter, feel free to use turkey or chicken as well!
How can I customize these meatballs for a gluten-free diet?
Very simply! Use gluten-free breadcrumbs instead of fresh ones. There are fantastic options available at most grocery stores today, and you won’t miss the gluten in the finished dish at all. It’s a wonderful way to make these Cheesy Garlicky Meatballs accessible for everyone at the dinner table.
How do I properly store and reheat leftovers?
Store any cooled meatballs and marinara sauce in an airtight container in the refrigerator for up to 4 days. To reheat, warm them gently in a skillet over low heat, stirring occasionally to ensure even heating. If you’re short on time, you can also microwave them in 30-second increments until heated through!
Can I freeze the meatballs, and if so, how?
Absolutely! To freeze uncooked meatballs, arrange them on a baking sheet lined with parchment paper, making sure they aren’t touching. Freeze until firm, then transfer them to a resealable freezer bag. This method prevents them from sticking together, allowing you to pull out just the number you need later. You can freeze them for up to 3 months—perfect for quick weeknight dinners!
What should I do if my meatballs are too dry?
If your meatballs turn out dry, it could be that they were overcooked or that the meat mixture was too lean. For future attempts, ensure you’re using ground meat with some fat content. Also, try adding a splash of milk or a bit more shredded cheese into the mixture for added moisture. Remember, they should simmer in the sauce for at least 20 minutes to stay juicy!
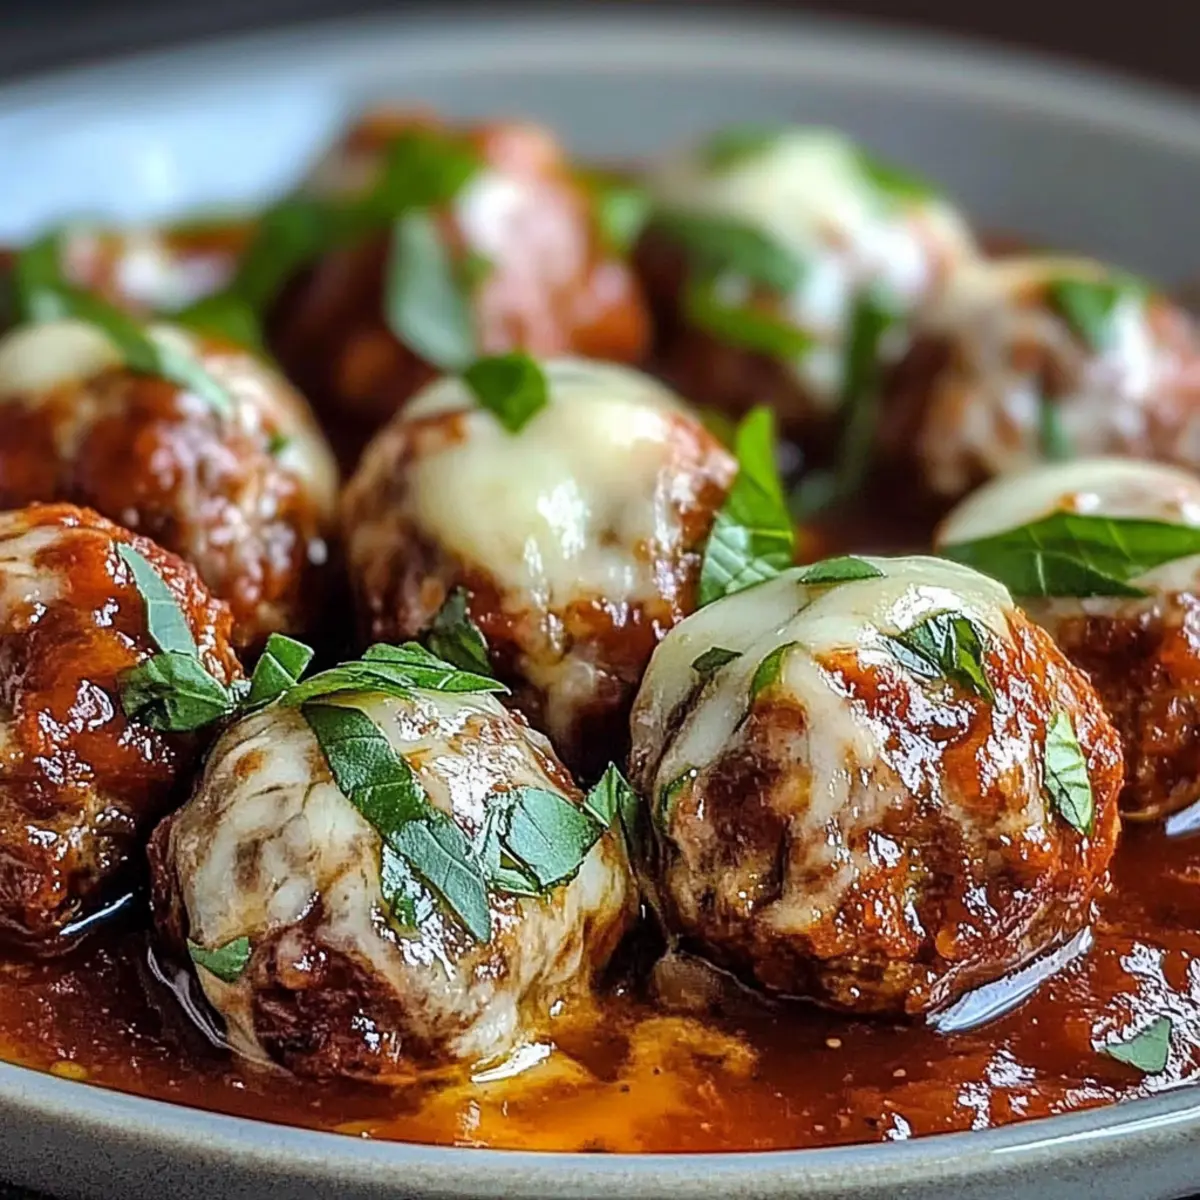
Irresistibly Cheesy Garlicky Meatballs for Comfort Food Bliss
Ingredients
Equipment
Method
- In a large mixing bowl, combine ground beef, ground pork, fresh breadcrumbs, grated Parmesan cheese, shredded mozzarella, eggs, minced garlic, finely chopped onion, chopped parsley, dried oregano, salt, pepper, and whole milk. Mix gently until just combined.
- Roll the meat mixture into golf ball-sized meatballs, about 24 pieces. Place them on a baking sheet lined with parchment paper.
- Heat olive oil in a large skillet over medium heat. Brown the meatballs for 2-3 minutes on each side until golden-brown. Remove from skillet.
- In the same skillet, add more olive oil if needed, and sauté minced garlic until fragrant, about 30 seconds.
- Add canned crushed tomatoes, dried basil, dried oregano, crushed red pepper flakes, and sugar to the sautéed garlic. Season with salt and pepper. Let the sauce simmer for 5 minutes.
- Return browned meatballs to the sauce, cover, and let them simmer on low for 20-25 minutes.
- Remove from heat and garnish with fresh basil leaves. Serve with pasta, bread, or creamy polenta.
Leave a Reply