
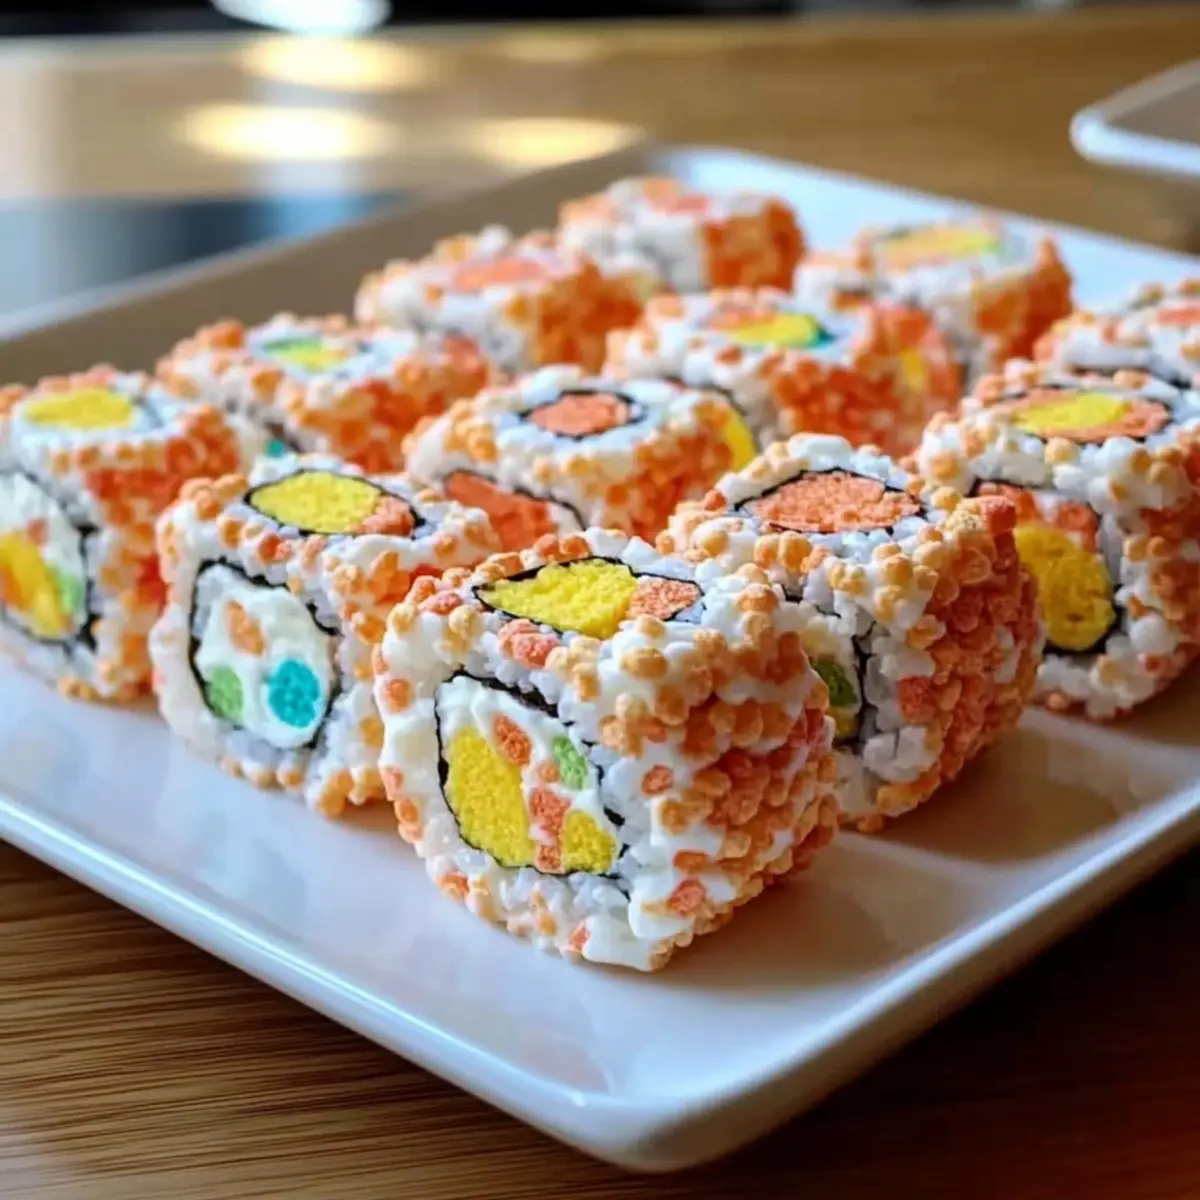
“Have you ever found yourself in the kitchen, trying to ignite the joy of cooking but craving something delightfully different? Let’s shake things up with a scrumptious project that combines childhood nostalgia and creativity: Fruity Pebbles Sushi! This no-bake treat is not just a feast for the eyes, but also a fun-filled culinary adventure to tackle with family and friends. It’s a playful way to bring everyone together, whether for a special celebration or just a casual dessert night. The best part? It’s gluten-free and easily adaptable to your taste, making it a fantastic choice for those who want to steer clear of fast food without sacrificing fun. Ready to roll up sweetness and color in your own kitchen? Let’s dive into this delightful recipe!”
Why is Fruity Pebbles Sushi a Must-Try?
Unique Twist: Fruity Pebbles Sushi transforms a traditional dessert into a colorful, playful experience that delights both kids and adults.
No-Bake Fun: Quick and easy, this no-bake treat allows you to enjoy sweet creations without the hassle of an oven.
Creative Options: With endless variations, from filling choices to cereal swaps, you can customize each roll to match any occasion or preference.
Crowd-Pleaser: Perfect for parties or family gatherings, everyone will love the chewy and crunchy texture combo.
Memory Maker: This recipe isn’t just about food; it’s a fantastic way to make lasting memories in the kitchen with loved ones! Whether you’re enjoying it as a fun afternoon project or serving it at your next celebration, you can also check out our batch cooking tips for more delightful ideas!
Fruity Pebbles Sushi Ingredients
Here’s everything you’ll need to create this delightful Fruity Pebbles Sushi!
For the Base
- Marshmallows – Provide sweetness and the chewy base for the sushi; use fresh for optimal texture.
- Fruity Pebbles – Act as the colorful “rice,” delivering a fun and fruity crunch; can substitute with Cocoa Pebbles for a chocolate variant.
- Butter – Greases your hands for easy handling of the sticky mixture.
For Optional Fillings
- Gummy candies – Serve as fillings for added texture and sweetness; consider mini chocolate chips or Nutella for delicious variations.
For Serving
- Baking parchment – Use to layer between pieces to prevent sticking when storing your Fruity Pebbles Sushi.
Enjoy your creative cooking adventure, and get ready for smiles all around!
Step‑by‑Step Instructions for Fruity Pebbles Sushi
Step 1: Melt the Marshmallows
In a medium saucepan, melt 2 cups of marshmallows and a tablespoon of butter over low heat, stirring continuously for about 5 minutes. Use a spatula to ensure all the marshmallows are evenly melted and the mixture is smooth and glossy without any lumps. Remove from heat once fully melted, and be careful not to scorch the mixture.
Step 2: Add Fruity Pebbles
Quickly fold 4 cups of Fruity Pebbles into the gooey marshmallow mixture, ensuring each piece is coated. Use a gentle folding motion with a spatula to keep the cereal from breaking apart, and this should take about 2-3 minutes. The vibrant colors of the Fruity Pebbles will start to pop against the gooey white base, creating a playful look.
Step 3: Shape the Mixture
Transfer the mixture onto a greased surface, such as a baking mat or parchment paper. Using your hands (greased with butter), flatten the mixture into a rectangular shape, roughly ½ inch thick. Make sure to spread it evenly, which should take about 2 minutes, and aim for a size that’s easy to roll later.
Step 4: Add Fillings
If you’re incorporating fillings, sprinkle your choice of gummy candies or mini chocolate chips across the flattened mixture now. Press them gently into the mixture to ensure they stick as you roll. This adds bursts of flavor and sweetness, allowing you to customize your Fruity Pebbles Sushi to your liking.
Step 5: Roll the Sushi
Starting at one end, carefully roll the mixture tightly into a log shape, similar to rolling sushi. Use the parchment or your hands to help guide the roll as you work, making sure it maintains its form. This should take about 2-3 minutes, and you want a firm roll to help hold everything together.
Step 6: Cool and Slice
Let the rolled Fruity Pebbles Sushi cool for about 15 minutes at room temperature until it firms up. Once cooled, use a sharp knife to slice the log into bite-sized pieces, aiming for roughly 1-inch sections. The colorful slices will reveal their fun interior, making them perfect for sharing.
Step 7: Serve and Enjoy
Arrange the slices on a serving platter or in a colorful bowl for a festive touch. These fruity, chewy treats are ready to be enjoyed at parties or family gatherings. Remember to store any leftovers in an airtight container at room temperature for up to three days, and savor the smiles you’ll get from this delightful adventure!
Expert Tips for Fruity Pebbles Sushi
• Work Quickly: The marshmallow mixture sets fast, so make sure to have all your ingredients ready before starting.
• Grease is Key: Use butter or non-stick spray on your hands when shaping the sushi to prevent sticking, ensuring an easy, smooth process.
• Cut Small Pieces: For even melting, cut marshmallows into smaller pieces before heating. This helps to achieve that perfect, gooey texture without scorching.
• Customize Fillings: Don’t hesitate to experiment with different fillings like Nutella or shredded coconut! Keeping it adaptable is the secret to a fun Fruity Pebbles Sushi.
• Store Properly: To keep your sushi fresh for up to three days, layer pieces with baking parchment in an airtight container to avoid sticking.
What to Serve with Fruity Pebbles Sushi
Pair this fun dessert with delightful sides that enhance its colorful charm and sweet flavors.
-
Fresh Fruit Salad: A mix of berries and citrus offers a refreshing counterpoint to the sweetness of the sushi. The vibrant colors also make the meal visually appealing.
-
Chocolate Dipped Strawberries: These add a touch of decadence! The rich chocolate and juicy strawberries create a delightful contrast with the chewy, fruity treats.
-
Whipped Cream: A light, airy topping that complements the chewy texture of Fruity Pebbles Sushi, making it feel indulgent. Consider adding a sprinkle of cinnamon for a twist!
-
Rainbow Sprinkles: Enhance the fun factor by serving this colorful treat with extra sprinkles on top. They add a delightful crunch and nostalgic flair.
-
Vanilla Ice Cream: The creamy richness of ice cream brings a contrasting texture to the chewy sushi. It’s a classic pairing everyone will love!
-
Sparkling Fruit Punch: A vibrant, fizzy beverage makes the perfect companion, adding a festive twist to your dessert experience. Refreshing and fun, it brings in a party spirit!
How to Store and Freeze Fruity Pebbles Sushi
Room Temperature: Store your Fruity Pebbles Sushi in an airtight container at room temperature for up to 3 days to maintain its chewy texture and vibrant colors.
Layering: To prevent pieces from sticking together, layer them with baking parchment in the airtight container. This simple trick keeps each colorful slice intact!
Freezer: If you want to store them longer, place the sushi in the freezer for up to 2 months. Just make sure to wrap them tightly in plastic wrap before placing them in a freezer-safe bag.
Reheating: For best results, thaw in the fridge overnight and enjoy at room temperature. Avoid microwaving, as it can alter the texture of the Fruity Pebbles.
Fruity Pebbles Sushi Variations & Substitutions
Feel free to get creative and customize your Fruity Pebbles Sushi with these fun twists that will tickle your taste buds!
-
Chocolate Delight: Replace Fruity Pebbles with Cocoa Pebbles for a rich, chocolatey version that’s still just as fun!
-
Nut-free Fun: Swap the marshmallows with a nut-free butter or sunflower seed butter to keep it allergy-friendly while maintaining that delightful sweetness.
-
Tropical Twist: Add in shredded coconut along with the Fruity Pebbles for a tropical flair that brings a taste of the islands straight to your kitchen.
-
Fruity Fusion: Mix different flavored cereals, like Apple Jacks or Froot Loops, with Fruity Pebbles for a colorful and unique blend that adds depth to each bite.
-
Gummy Heaven: Make a candy lover’s dream by using a variety of gummy candies like sour worms and bears as fillings, creating bursts of flavor in every slice.
-
Spicy Kick: If you’re feeling adventurous, consider adding a hint of cayenne pepper to the marshmallow mix for a delightful sweet-spicy contrast.
-
Seasonal Sprinkles: For festive occasions, add themed sprinkles to match the holiday spirit, such as red and green for Christmas or pastel for Easter celebrations.
-
Mini Treats: Cut the sushi into smaller, bite-sized pieces to create mini versions that are perfect for parties or snacks; the smaller size makes them even more fun to eat.
By exploring these variations, you can elevate your Fruity Pebbles Sushi experience and make every occasion a little more special. If you’re looking for more ideas for fun desserts, check out our delightful dessert recipes for further inspiration!
Make Ahead Options
These Fruity Pebbles Sushi are perfect for busy home cooks looking to save time while still delighting family and friends! You can prepare the base mixture (marshmallows and Fruity Pebbles) up to 24 hours in advance. Simply follow steps 1 to 4, roll them tightly, and let them cool before storing in an airtight container at room temperature. This keeps them just as delicious and fresh, preventing the cereal from getting too soggy. When you’re ready to serve, slice them into pieces and present them on a colorful platter for instant joy! These prep-ahead tips make it easy to enjoy this fun dessert without the last-minute rush.
Fruity Pebbles Sushi Recipe FAQs
What type of marshmallows should I use?
Absolutely! Using fresh, regular-sized marshmallows will provide the best chewy texture for your Fruity Pebbles Sushi. Avoid stale marshmallows as they won’t melt properly, leading to a dry end result.
How should I store my Fruity Pebbles Sushi?
To keep your Fruity Pebbles Sushi fresh, store it in an airtight container at room temperature for up to 3 days. Layer the slices with baking parchment to prevent them from sticking together and losing their colorful appeal.
Can I freeze Fruity Pebbles Sushi?
Yes, you can! If you’d like to store your Fruity Pebbles Sushi for a longer time, wrap it tightly in plastic wrap and place it in a freezer-safe bag or container. It will stay fresh for up to 2 months. When you’re ready to enjoy, simply thaw it in the fridge overnight and serve at room temperature.
What if my marshmallows scorch while melting?
Very! To avoid scorching, make sure to melt the marshmallows over low heat and stir continuously until smooth. If you notice any scorching, you may want to start over with fresh marshmallows to ensure your Fruity Pebbles Sushi has that delightful, gooey texture.
Are there any dietary considerations for my Fruity Pebbles Sushi?
Absolutely! If you’re making this treat for someone with dietary restrictions, check the packaging of your ingredients. Some marshmallows and Fruity Pebbles may contain gluten or allergens like dairy or nuts. For a gluten-free option, ensure both your marshmallows and cereal are labeled as gluten-free. It’s a fun way to accommodate various dietary needs!
Can I customize the fillings in my Fruity Pebbles Sushi?
The more the merrier! Customize your Fruity Pebbles Sushi by adding a variety of fillings like mini chocolate chips, Nutella, or even seasonal gummy candies. Don’t hesitate to experiment with flavors—this is the fun part!
Fruity Pebbles Sushi: A Colorful No-Bake Delight for Everyone
Ingredients
Equipment
Method
- In a medium saucepan, melt 2 cups of marshmallows and a tablespoon of butter over low heat, stirring continuously for about 5 minutes until smooth and glossy.
- Fold 4 cups of Fruity Pebbles into the melted marshmallow mixture, ensuring each piece is coated without breaking apart.
- Transfer the mixture onto a greased surface and flatten into a rectangular shape about ½ inch thick, which should take about 2 minutes.
- Sprinkle your choice of gummy candies or mini chocolate chips on the flattened mixture and press gently to stick.
- Roll the mixture tightly into a log shape, using parchment or hands to help guide the roll for about 2-3 minutes.
- Cool the rolled sushi for about 15 minutes until firm, then slice into 1-inch pieces.
- Serve the slices on a platter and store any leftovers in an airtight container for up to three days.
Leave a Reply