
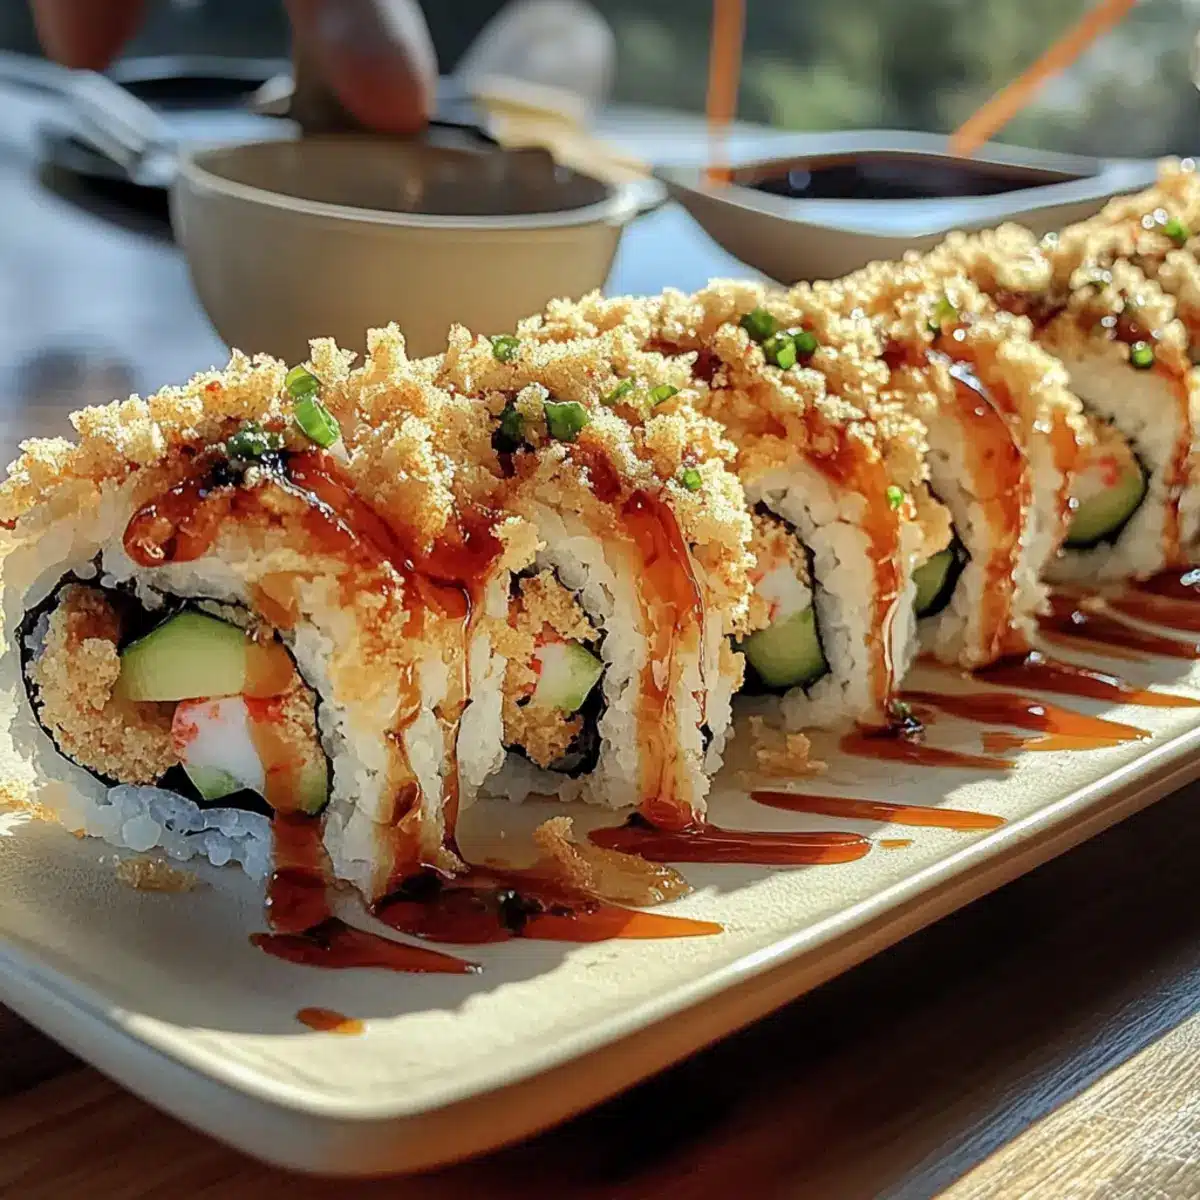
As I was savoring a delicious sushi night at home, a realization struck me: homemade sushi can be an exhilarating culinary adventure, especially when it comes to making your own California Crunch Roll Sushi! This delightful roll features creamy avocado, crunchy cucumber, and a crispy topping that transports you straight to your favorite sushi restaurant, all from the comfort of your kitchen. Not only is it beginner-friendly and fully cooked—no raw fish here—but it also opens the door to endless customization options. You can even swap in healthier ingredients like brown rice or cauliflower rice to suit your preferences. Why settle for takeout when you can whip up this crowd-pleaser yourself? Are you ready to roll up your sleeves and dive into this fun sushi-making experience?
Why Make California Crunch Roll Sushi?
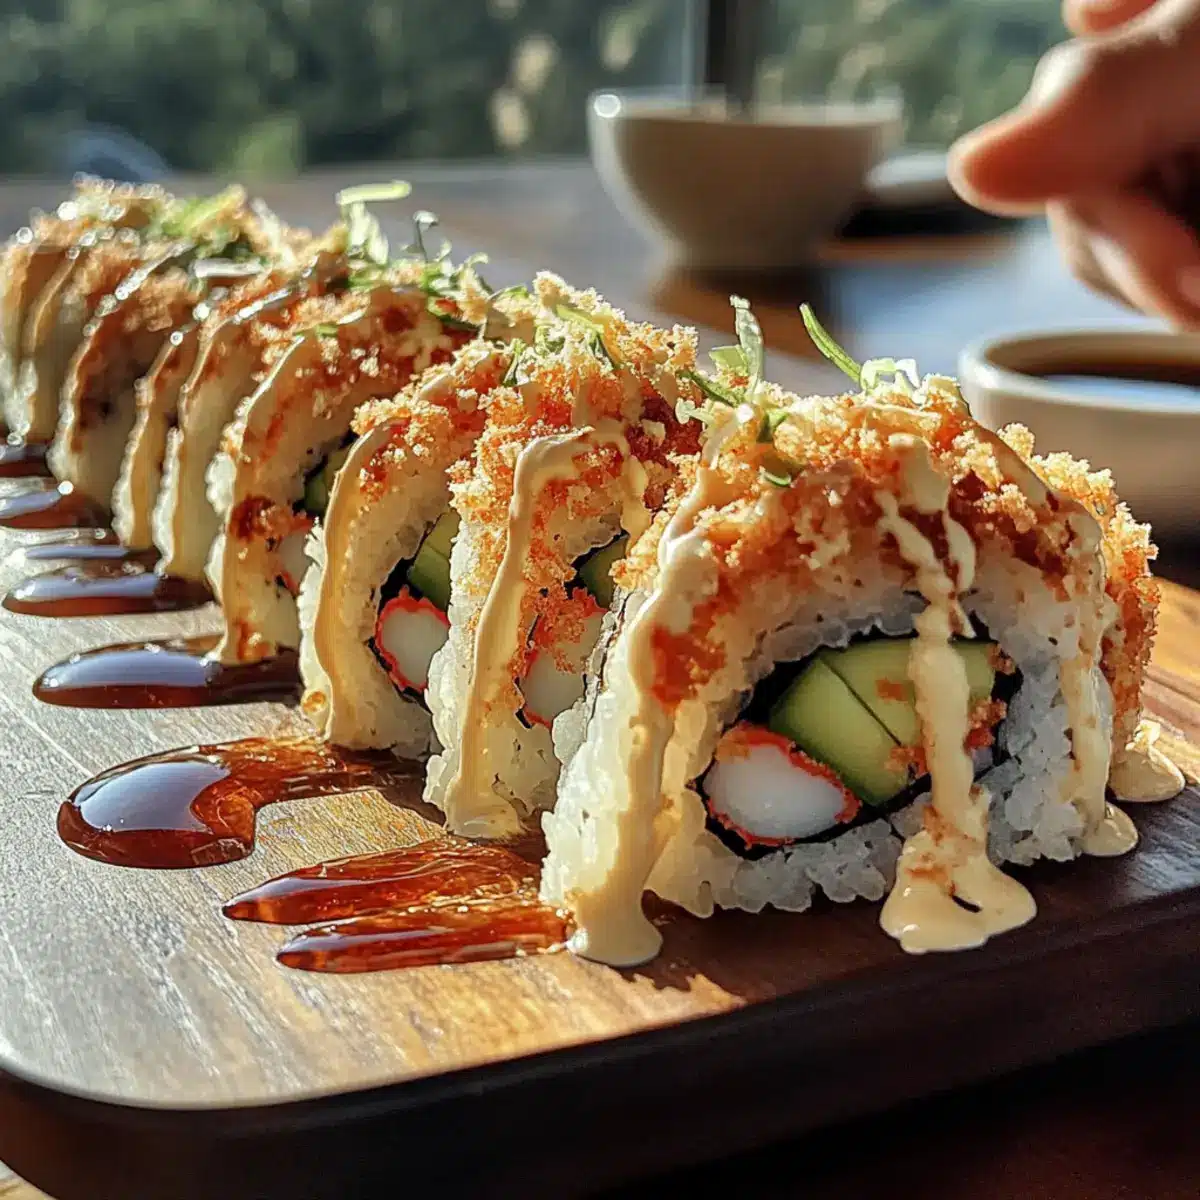
Flavor Explosion: Each bite delivers a delightful contrast between creamy avocado and crispy toppings, elevating your sushi experience to the next level.
Beginner-Friendly: With no raw fish involved, this recipe is perfect for novices seeking to impress family and friends.
Customizable: Feel free to tweak ingredients—try swapping in brown rice or add jalapeños for a spicy kick.
Fun Sushi Night: Transform your kitchen into a sushi bar, making it a perfect activity for gatherings.
Healthy Options: Control what goes into your rolls, allowing for lighter meals that still satisfy. Consider pairing your rolls with refreshing salads like Pineapple Cucumber Salad.
Get ready to impress your guests with your sushi-making skills!
Homemade California Crunch Roll Sushi Ingredients
For the Sushi Rice
• Short-grain white rice – Serves as the base to create a sticky texture for holding the roll together; brown sushi rice can be used for a healthier option.
• Water – Essential for cooking the rice to the right consistency.
• Rice vinegar – Provides the tangy flavor that elevates sushi rice.
• Sugar – Balances the acidity of the vinegar, enhancing the overall flavor.
• Salt – Elevates and enriches the taste of your sushi rice.
For the Filling
• Nori sheets (sushi-grade) – Wraps your roll, adding a distinct seaweed flavor to every bite.
• Imitation crab (or real crab) – The main protein filling that’s easy to handle for beginners; if desired, feel free to use crab meat for an authentic touch.
• Avocado – Offers a creamy texture that pairs perfectly with the crunchy elements.
• Cucumber – Adds a refreshing crunch that complements the soft fillings.
For the Toppings
• Spicy mayo – Blends mayonnaise and sriracha (2:1 ratio) for a deliciously creamy and spicy kick.
• Eel sauce – Enhances your rolls with a sweet and savory glaze for that restaurant-quality experience.
• Toasted panko breadcrumbs or French fried onions – These toppings provide the signature crunch; mix both for added texture.
Now that you have all the ingredients ready, you’re one step closer to making your own Homemade California Crunch Roll Sushi! Enjoy the delightful journey of sushi-making!
Step‑by‑Step Instructions for Homemade California Crunch Roll Sushi
Step 1: Prepare Sushi Rice
Begin by rinsing 1 cup of short-grain white rice under cold water until the water runs clear, which helps remove excess starch. Cook the rice in a rice cooker or on the stovetop with 1¼ cups of water until tender, usually around 15-20 minutes. Meanwhile, combine 2 tablespoons of rice vinegar, 1 tablespoon of sugar, and ½ teaspoon of salt in a saucepan over low heat until dissolved. Once the rice is cooked, gently fold this mixture into the rice and allow it to cool to room temperature.
Step 2: Set Up the Rolling Station
Prepare your rolling station by laying a bamboo sushi mat on a clean surface and covering it with plastic wrap for easy cleanup. Keep a small bowl of water mixed with a splash of rice vinegar nearby to moisten your fingers. This will prevent the rice from sticking. Having all your ingredients organized and within reach will make assembling your Homemade California Crunch Roll Sushi a breeze.
Step 3: Assemble the Roll
Take a sheet of sushi nori, placing it shiny side down on the bamboo mat. With wet fingers, spread a thin layer of sushi rice (about ¾ cup) over the nori, leaving a ½ inch gap at the top. Gently flip the nori so the rice is now facing down. Layer your imitation crab, slices of avocado, cucumber, and any optional fillings such as cream cheese or jalapeños across the center of the rice.
Step 4: Roll the Sushi
With your thumbs pressing the filling gently, begin to lift the edge of the mat closest to you and start rolling away from you, tucking the filling as you go. Keep the roll tight but not too tight, as you don’t want the contents to spill out. Once you reach the exposed edge, dampen it slightly with water to seal the roll. Place the roll seam side down on the mat to rest for a moment.
Step 5: Add the Crunch
To create that signature crunch, brush the top of your rolled sushi with a generous amount of spicy mayo or eel sauce, ensuring good coverage. Next, sprinkle toasted panko breadcrumbs or French fried onions over the sauce, pressing lightly to adhere them. This step brings the delightful texture of the Homemade California Crunch Roll Sushi to life, adding a delicious, crispy topping.
Step 6: Slice and Serve
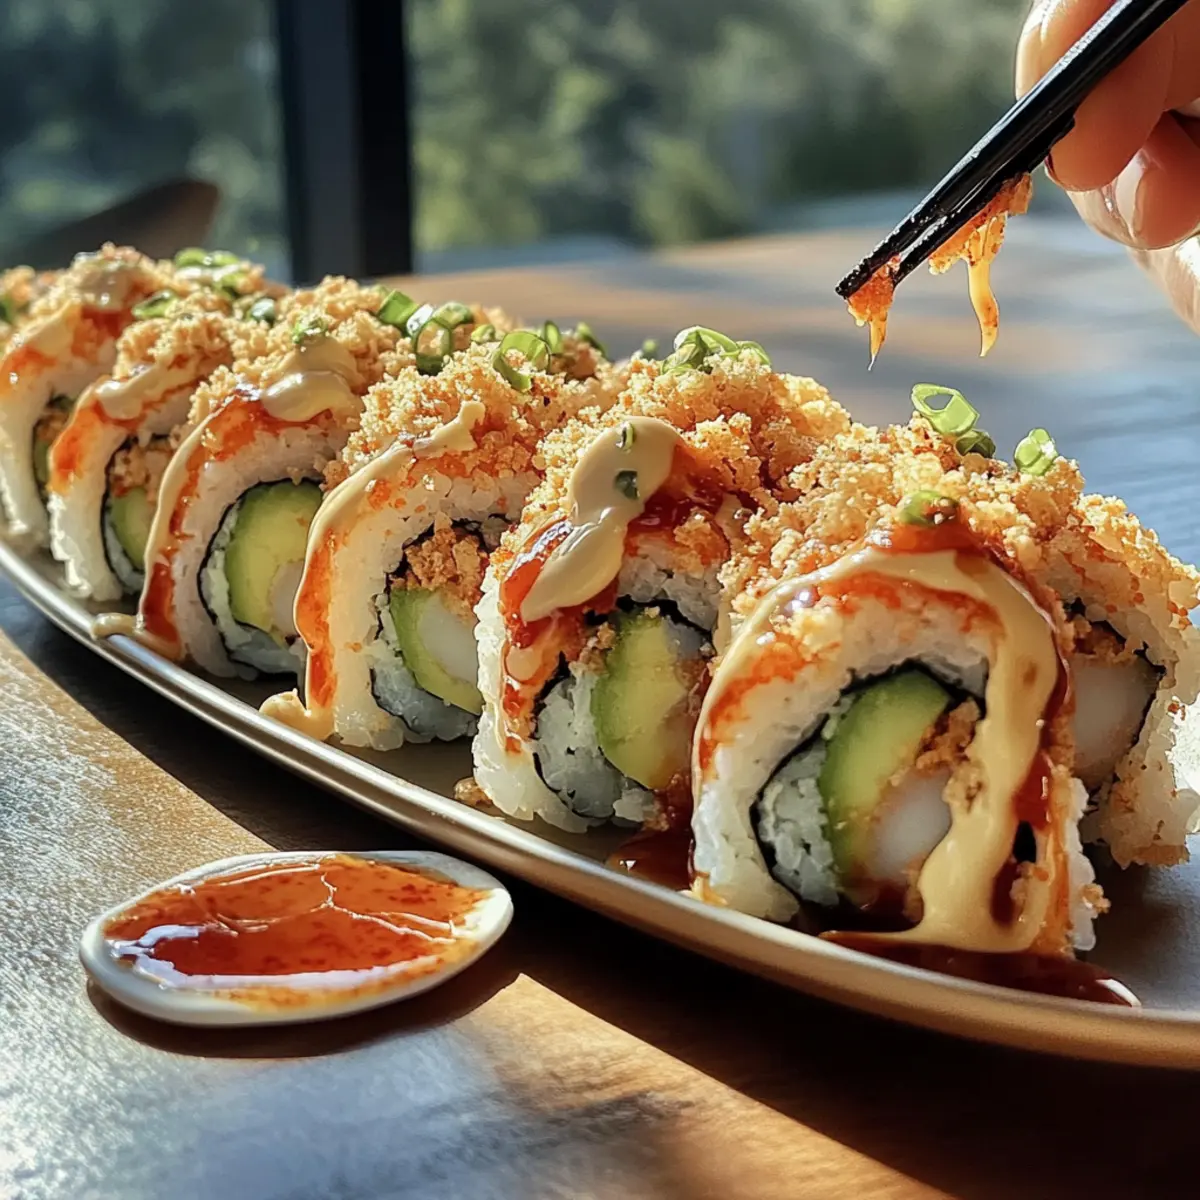
Using a sharp knife dampened with water, slice the roll into eight equal pieces for a beautiful presentation. Make sure to clean the knife with a damp cloth between cuts to prevent sticking. Arrange the sushi on a platter, and if desired, drizzle additional spicy mayo or eel sauce on top. Your Homemade California Crunch Roll Sushi is now ready to be enjoyed with soy sauce, pickled ginger, and wasabi!

Make Ahead Options
These Homemade California Crunch Roll Sushi are perfect for meal prep enthusiasts! You can prepare the sushi rice and fillings up to 24 hours in advance, keeping them fresh and ready to assemble. Simply cook the rice, season it, and refrigerate it in an airtight container. You can also slice the avocado and cucumber ahead of time; just sprinkle them with a bit of lemon juice to prevent browning. When you’re ready to enjoy, simply roll the sushi like normal, add your crispy toppings, and slice. This method not only saves precious time on busy weeknights but ensures that your homemade sushi is just as delicious as when made fresh!
Homemade California Crunch Roll Sushi Variations
Feel free to get creative with your sushi-making adventure and customize your roll in delightful ways!
- Healthier Rice: Swap white rice for brown sushi rice or even cauliflower rice for a nutritious twist.
- Creamy Addition: Add strips of cream cheese inside for an extra creamy texture that complements the crab and avocado.
- Spicy Kick: Incorporate thinly sliced jalapeños in your filling for a fiery bite that will awaken your taste buds.
- Flavor Boost: Drizzle teriyaki sauce inside your rolls for a sweet and savory surprise that amplifies the flavor profile.
- Crunchy Topping: Mix toasted panko with crispy fried onions for an extra layer of texture and crunch that everyone will love.
- Vegan Delight: Replace imitation crab with marinated tofu or hearts of palm for a satisfying vegetarian option that’s just as delicious.
- Herb Infusion: Add fresh herbs like cilantro or basil to your fillings for a fragrant lift that brightens each bite.
- Fruit Surprise: Consider adding a slice of mango or a few thinly sliced strawberries for a sweet contrast that enhances the roll’s complexity.
As you explore these variations, why not try pairing your rolls with sides like a refreshing Pineapple Cucumber Salad or even serve them alongside the elegant Pistachio Raspberry Crunch for a complete meal experience? Enjoy your culinary journey!
Expert Tips for Homemade California Crunch Roll Sushi
-
Perfect Rice Texture: Ensure your sushi rice is sticky but not mushy; rinse thoroughly and cook until tender for ideal results.
-
Less is More: Avoid overfilling your rolls to prevent bursting; keep it simple with a balance of ingredients.
-
Sealing the Edges: Dampen the exposed nori edge with water to ensure a tight seal, which keeps everything intact during slicing.
-
Fresh Cuts: Use a damp, sharp knife for slicing to maintain clean, beautiful edges on your rolls; this enhances the presentation of your Homemade California Crunch Roll Sushi.
-
Topping Variations: Experiment with different crunchy toppings like fried onions or sesame seeds to personalize the texture and flavor of your rolls.
What to Serve with Homemade California Crunch Roll Sushi
Create the perfect sushi night by pairing vibrant flavors and textures that enhance your homemade rolls!
-
Soy Sauce: A classic condiment that adds a salty depth, enhancing the umami flavors of the sushi.
-
Pickled Ginger: Refreshing and tangy, it cleanses the palate between bites, balancing the rich and savory elements of the rolls.
-
Wasabi: For those who enjoy a spicy kick, a dab of wasabi elevates your sushi experience and brings an exciting heat.
-
Pineapple Cucumber Salad: The sweet and crunchy salad complements the savory sushi beautifully, adding a refreshing twist that’s perfect for summer meals.
-
Edamame: Lightly salted and served warm, these tender soybeans provide a protein-packed side that pairs wonderfully with sushi.
-
Sake: This traditional Japanese rice wine enhances the authentic dining experience, creating a delightful harmony with the sushi.
-
Miso Soup: A warm, comforting bowl of miso soup with soft tofu provides a soothing start that perfectly complements your sushi feast.
-
Fruit Platter: Fresh fruit like strawberries, kiwi, and mandarin oranges adds a vibrant, sweet finish to your meal, balancing the savory sushi.
Crafting a multi-course dinner ensures a delightful home dining experience that transports your taste buds straight to Japan!
How to Store and Freeze Homemade California Crunch Roll Sushi
Fridge: Store homemade California Crunch Roll Sushi wrapped tightly in plastic wrap or placed in an airtight container for up to 3 days to maintain its freshness.
Freezer: While not ideal, you can freeze unassembled sushi rolls for up to 1 month. Wrap tightly in plastic wrap and place in an airtight container. Thaw in the fridge before assembling.
Room Temperature: For best taste and texture, avoid leaving sushi at room temperature for more than 2 hours to prevent spoilage.
Reheating: If you have leftover sushi, enjoy it cold, as reheating can affect the texture of the rice and the fillings.
Homemade California Crunch Roll Sushi Recipe FAQs
What is the best way to select ripe avocados for this sushi?
When choosing avocados, look for ones that are slightly soft when gently squeezed, indicating they are ripe and ready to enjoy. Avoid avocados with dark spots all over or deep indentations, as these can indicate overripeness. If you’re not ready to use them, you can buy firmer ones and let them ripen at room temperature for a few days.
How should I store leftover California Crunch Roll Sushi?
Store any leftover homemade California Crunch Roll Sushi wrapped tightly in plastic wrap or in an airtight container in the refrigerator. It should be consumed within 2 to 3 days for the best taste and freshness. Ensure that it’s kept cool to prevent the rice and fillings from drying out.
Can I freeze California Crunch Roll Sushi?
While it’s best enjoyed fresh, you can freeze unassembled California Crunch Roll Sushi for up to 1 month. Wrap the rolls tightly in plastic wrap and place them in an airtight container or freezer bag. To thaw, transfer them to the refrigerator overnight before assembling them. Note that once assembled, the roll’s texture may suffer if frozen.
What should I do if my sushi rolls keep falling apart?
If your sushi rolls are falling apart, it usually means you need to adjust your rice. Ensure that your sushi rice has the right stickiness; if it’s too dry, it won’t hold together well. Also, consider using less filling; if the rolls are overstuffed, they may burst. Finally, when rolling, use firm, even pressure to keep the roll tight.
Are there any dietary considerations for this sushi?
Absolutely! This Homemade California Crunch Roll Sushi can easily be made to suit various dietary preferences. If you need a gluten-free option, replace regular soy sauce with a gluten-free version. For those with shellfish allergies, you can use marinated tofu or hearts of palm instead of imitation crab. Always double-check your ingredients to ensure they’re safe for your specific dietary needs.
How long can I keep sushi at room temperature before it goes bad?
Sushi should not be left at room temperature for more than 2 hours. After that time, bacteria can grow quickly, putting you at risk for foodborne illnesses. If you’re enjoying sushi during gatherings, keep it chilled on ice until it’s time to serve.
Homemade California Crunch Roll Sushi
Ingredients
Equipment
Method
- Prepare Sushi Rice: Rinse the rice under cold water until clear. Cook in a rice cooker with water. Combine vinegar, sugar, and salt in a saucepan until dissolved. Fold into rice after cooking and cool.
- Set Up the Rolling Station: Lay a bamboo mat and cover with plastic wrap. Have a bowl of water mixed with rice vinegar to prevent sticking.
- Assemble the Roll: Place a nori sheet shiny side down, spread sushi rice over it, then add crab, avocado, cucumber, and optional fillings.
- Roll the Sushi: Gently roll using the mat, keeping it tight but not too tight. Dampen the exposed edge to seal the roll.
- Add the Crunch: Brush with spicy mayo or eel sauce, then sprinkle panko or fried onions on top.
- Slice and Serve: Cut into eight equal pieces with a damp knife. Plate and drizzle additional sauces if desired.
Leave a Reply