
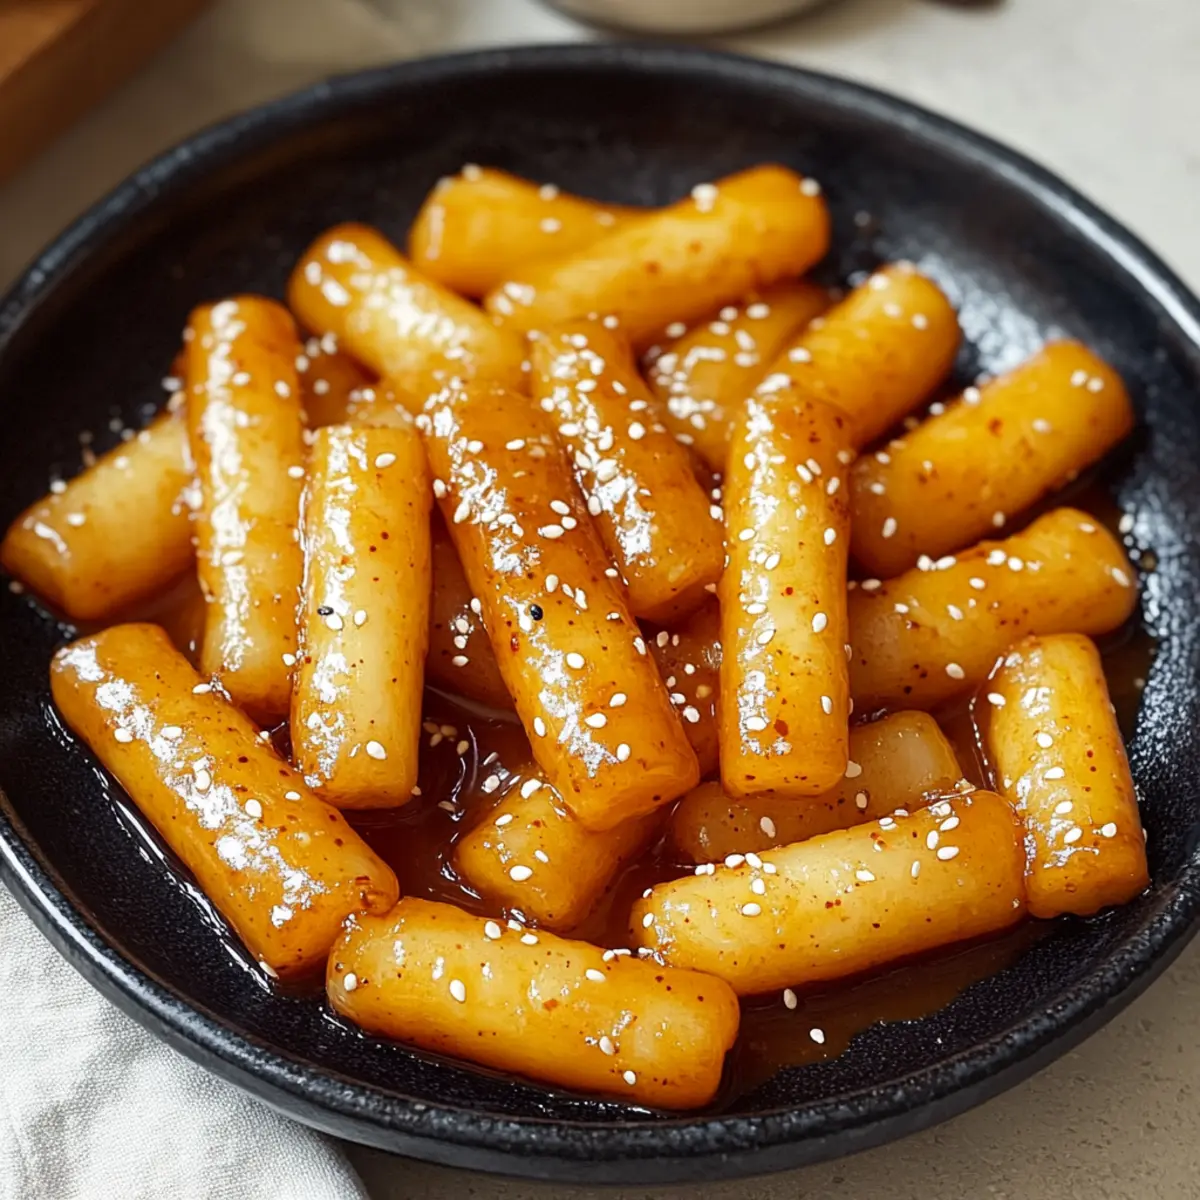
As I stood in my kitchen, a tantalizing scent wafted through the air, instantly transporting me to the lively streets of Seoul. There’s something magical about Honey Butter Tteokbokki, those irresistible Korean rice cakes coated in a luscious, sticky glaze that balances sweet and savory to perfection. This quick snack is not only easy to whip up in just 10 minutes, but it also brings a delightful crunch on the outside, paired with a chewy interior that’s simply impossible to resist. Whether you’re hosting a gathering or just craving a tasty treat, these customizable rice cakes are sure to impress. Have you ever wondered how a simple dish like this could transform your snacking game? Let’s dive in!
Why is Honey Butter Tteokbokki a Must-Try?
Simplicity: This recipe is incredibly easy to follow, perfect for both novice cooks and experienced chefs alike.
Quick Snack: In just 10 minutes, you can have a delicious treat ready to serve, making it an ideal option for busy weeknights.
Customizable: Feel free to play with ingredients! Substitute honey with maple syrup for a vegan version, or add chili flakes for a spicy kick.
Crowd-Pleaser: These little bites pack a punch of flavor, guaranteed to impress your guests as a unique appetizer or fun snack at gatherings.
Perfect Pair: Serve alongside dishes like Spicy Buttermilk Fried Chicken for a delightful fusion meal that’s sure to satisfy.
Honey Butter Tteokbokki Ingredients
Discover the delightful components that create the magic behind this quick, sweet, and savory treat!
For the Rice Cakes
- Korean Rice Cakes (Tteok) – These chewy delights give the dish its unique texture; either soak frozen ones for 20-30 minutes or use fresh for immediate cooking.
For the Cooking
- Neutral Oil – Essential for frying to achieve that golden, crispy exterior; vegetable, canola, or grapeseed work wonderfully as substitutes.
- Unsalted Butter – This key ingredient adds a rich creaminess to the sauce; coconut oil can be used for a lighter, dairy-free version.
For the Sweet and Savory Glaze
- Honey – The star of the show that brings sweetness and that glossy finish; maple syrup or agave nectar can replace it for a vegan alternative.
- Brown Sugar – Enhances the glaze’s depth; feel free to use coconut sugar if preferred.
- Soy Sauce – Balances the sweetness with its umami notes; switch to tamari or liquid aminos for a gluten-free option.
For Garnishing
- Toasted Sesame Seeds (optional) – Adds a nutty flavor and crunch; can be replaced with chopped green onions or a sprinkle of furikake for variety.
Step‑by‑Step Instructions for Honey Butter Tteokbokki
Step 1: Prepare Rice Cakes
If using frozen Korean rice cakes, soak them in warm water for 20-30 minutes until softened, then pat dry with a clean towel. If you have fresh rice cakes, there’s no need to soak them—just set them aside. This step ensures your Honey Butter Tteokbokki will have the perfect texture when cooked.
Step 2: Fry Rice Cakes
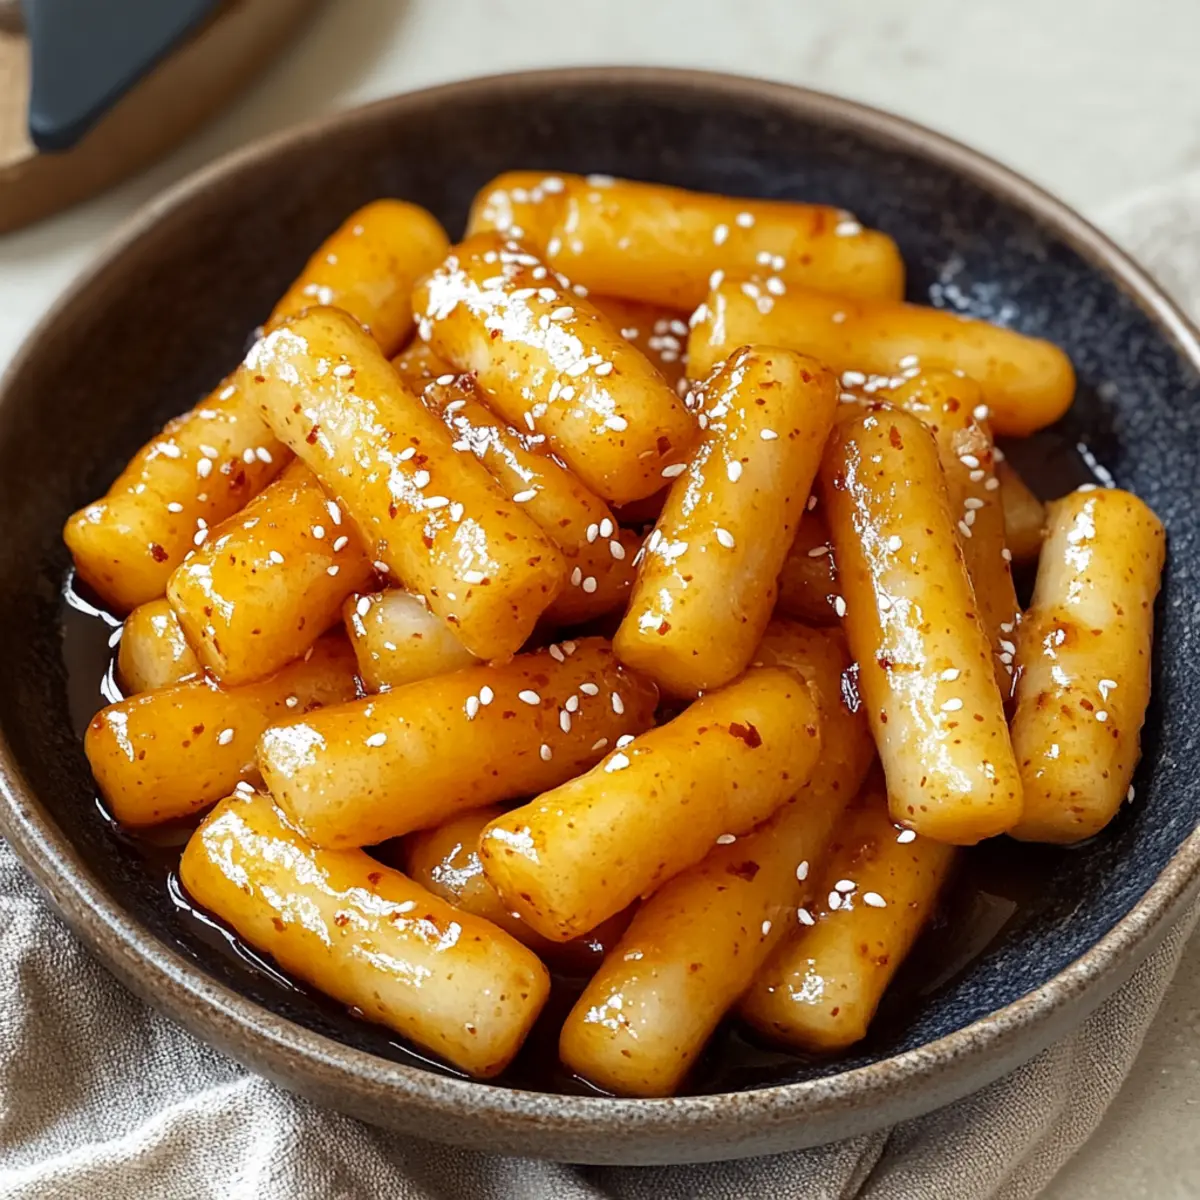
Heat a generous splash of neutral oil in a large skillet over medium-high heat. Once the oil shimmers, add the rice cakes in a single layer. Let them fry undisturbed for about 2 minutes or until they turn golden brown. Flip each piece and cook for an additional 3 minutes, stirring occasionally until evenly golden and crispy. Remove the rice cakes and set them aside.
Step 3: Make Sauce
Lower the heat to medium and add unsalted butter to the same skillet. As it melts, stir in honey, brown sugar, and soy sauce. Continue stirring for about 1 minute, allowing the sugar to dissolve completely and the mixture to become a smooth, glossy glaze. This sweet and savory blend is the heart of your Honey Butter Tteokbokki.
Step 4: Glaze Rice Cakes
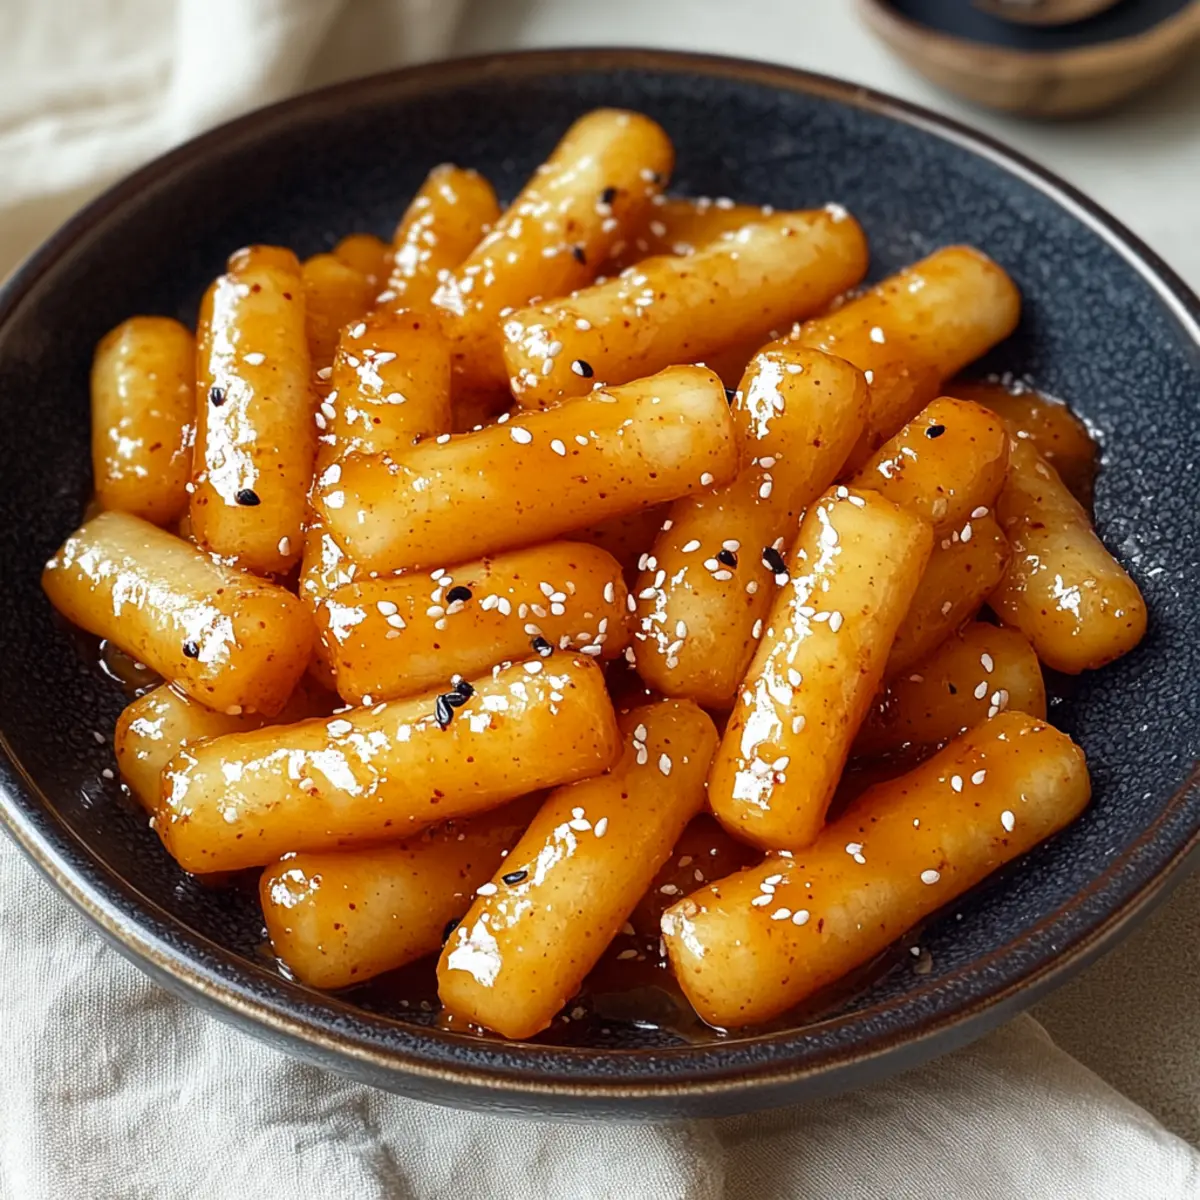
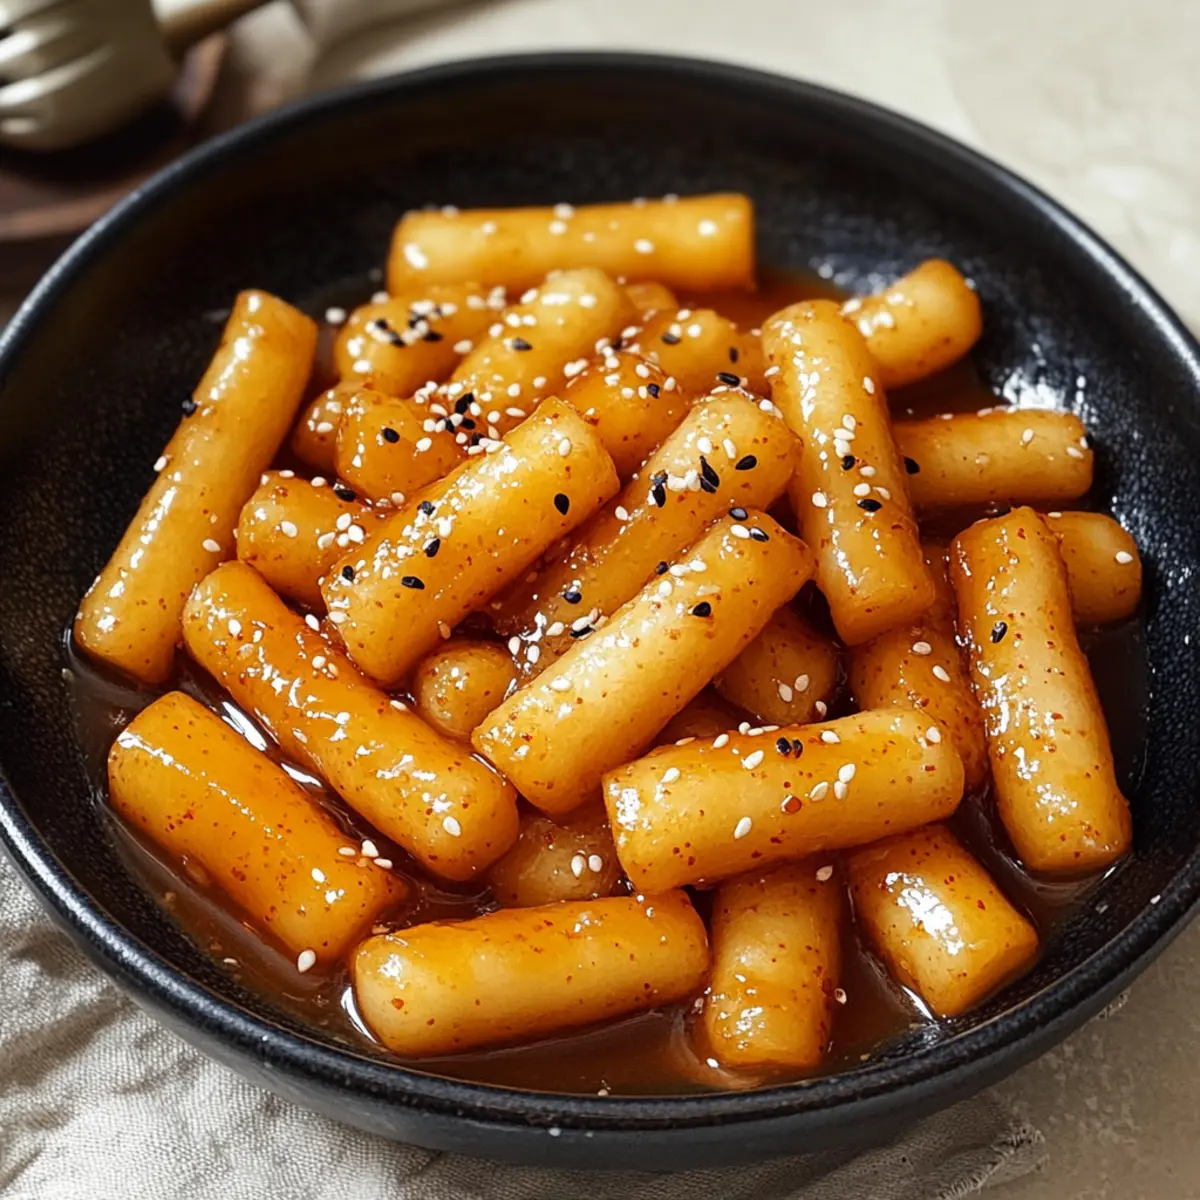
Return the fried rice cakes to the skillet, and toss them in the honey butter sauce. Cook for an additional 1-2 minutes over low heat, ensuring that every piece is well-coated in the luscious glaze. The rice cakes should appear shiny and sticky, showcasing the beautiful flavors of the sauce.
Step 5: Serve
Transfer the Honey Butter Tteokbokki to a serving plate, and if you’re using toasted sesame seeds, sprinkle them generously on top for added texture and flavor. Serve the dish hot, allowing everyone to enjoy the crispy, chewy goodness as a delightful snack or unique appetizer at your next gathering.
Honey Butter Tteokbokki Variations & Substitutions
Feel free to get creative and customize your Honey Butter Tteokbokki with these tempting twists!
-
Spicy Kick: Add chili flakes or gochugaru to the sauce for a delightful heat that balances the sweetness beautifully. Just a sprinkle will do wonders!
-
Vegan-Friendly: Substitute honey with maple syrup or agave nectar and use coconut oil instead of butter for a deliciously vegan version of this beloved dish.
-
Crispy Alternative: For an extra crunchy texture, try using air-fried rice cakes instead of pan-frying. It gives you that satisfying crisp without the extra oil!
-
Flavorful Infusion: Mix in some minced garlic or ginger to the sauce for an aromatic twist that deepens the dish’s flavor profile. It’s a small change that makes a big impact.
-
Texture Variation: Replace toasted sesame seeds with crushed peanuts or sunflower seeds for a different crunch and added nuttiness. It’s perfect for those who crave a little extra texture.
-
Sweet & Savory: Experiment with different sweeteners like coconut sugar or even brown rice syrup to see how they alter the glaze’s flavor. Each option brings its own unique charm!
-
Dipping Sauces: Don’t forget to serve alongside zesty dips like creamy sriracha mayo or sweet chili sauce for an added layer of flavor and experience. Your taste buds will thank you!
As you prepare your Honey Butter Tteokbokki, consider pairing it with other delightful options like Peanut Butter Greek Yogurt Bites for a sweet finish or serve it as a side with Spicy Buttermilk Fried Chicken for a fusion feast!
What to Serve with Honey Butter Tteokbokki?
Imagine a feast filled with various flavors and textures that entice your taste buds, creating a perfect harmony alongside your sweet and savory treat!
-
Spicy Buttermilk Fried Chicken: The crispy and spicy flavors from the chicken pair beautifully with the sweet glaze of the tteokbokki, creating a delightful contrast.
-
Korean Fried Veggies: Lightly battered and fried vegetables give a crispy, savory crunch that balances the soft, chewy rice cakes perfectly.
-
Pickled Radishes: These tangy, crunchy bites offer a refreshing contrast to the richness of the honey butter glaze, cleansing the palate with each bite.
-
Korean BBQ Beef (Galbi): Serving tender, savory beef alongside the sweet tteokbokki makes for a mouthwatering combo that embodies Korean culinary bliss.
-
Kimchi: The spicy, fermented flavors of kimchi add an exciting kick to each mouthful, enhancing the umami experience of your meal.
-
Cold Beer or Soju: Pairing with a chilled beer or a sip of soju can elevate your snacking experience, bringing a lively element to your gathering.
-
Green Salad with Sesame Dressing: A fresh salad tossed with a nutty sesame dressing offers a light, crisp accompaniment to balance the flavors of the tteokbokki.
-
Chocolate Dango or Mochi Ice Cream: For dessert, these treats provide a sweet finale with their chewy texture while remaining harmonious with the rice cakes.
Make Ahead Options
These Honey Butter Tteokbokki are perfect for busy home cooks looking to save time during the week! You can prepare the rice cakes up to 24 hours in advance by soaking the frozen ones and patting them dry, or simply have fresh ones ready to go. The sauce can also be made and stored in an airtight container in the refrigerator for up to 3 days. When you’re ready to serve, all you need to do is fry the rice cakes until golden, reheat the sauce in a skillet, and toss the two together for a deliciously timed snack. To maintain that delightful texture, be sure to keep the fried rice cakes separate from the sauce until serving; this way, they’ll stay crispy and just as delicious!
Storage Tips for Honey Butter Tteokbokki
Room Temperature: Best enjoyed fresh, but if necessary, store at room temperature for up to 2 hours. Just cover lightly with a towel to keep warm.
Fridge: If you have leftovers, refrigerate in an airtight container for up to 3 days. Ensure the rice cakes are completely cooled before storing to maintain texture.
Freezer: For longer storage, freeze the cooked rice cakes in a single layer on a baking sheet, then transfer to a freezer-safe bag for up to 1 month. Reheat directly from frozen for the best results.
Reheating: To revive any chilled or frozen Honey Butter Tteokbokki, reheat in a skillet over medium heat, adding a splash of oil to regain that crispy texture. Enjoy the sweet and savory goodness!
Expert Tips for Honey Butter Tteokbokki
-
Crispiness Boost: For extra crispiness, consider air frying the rice cakes at 400°F for about 10 minutes, flipping halfway through for even texture.
-
Oil Temperature: Make sure your oil is hot enough before adding the rice cakes; this prevents them from sticking and ensures they turn golden brown.
-
Sauce Consistency: If the sauce seems too thick, add a splash of water to achieve a glossy glaze that perfectly clings to each piece of Honey Butter Tteokbokki.
-
Flavor Experimentation: Don’t hesitate to get creative! Adding chili flakes will enhance the flavor and give a delightful kick to the sweetness.
-
Quick Serving: Enjoy your Honey Butter Tteokbokki fresh off the stove to capture that perfect blend of crispy and chewy textures. Reheating may alter the quality.
Honey Butter Tteokbokki Recipe FAQs
What kind of rice cakes should I use for Honey Butter Tteokbokki?
You can use fresh Korean rice cakes (Tteok) for the best texture. If using frozen rice cakes, soak them in warm water for 20-30 minutes until softened, then pat them dry. This step is essential to ensure they cook evenly and maintain that delightful chewiness.
How can I store leftover Honey Butter Tteokbokki?
For best results, enjoy your Honey Butter Tteokbokki fresh. However, if you have leftovers, store them in an airtight container in the fridge for up to 3 days. Make sure the rice cakes are completely cooled before storage. This helps to prevent them from becoming soggy!
Can I freeze Honey Butter Tteokbokki?
Absolutely! To freeze, spread the cooked rice cakes in a single layer on a baking sheet and freeze until solid. Once frozen, transfer them to a freezer-safe bag for up to 1 month. Reheat directly from frozen in a skillet with a splash of oil to restore their crispy exterior.
Why is my Honey Butter Tteokbokki not crispy?
If your tteokbokki isn’t crispy, it might be due to the oil temperature. Ensure the oil is hot enough before adding the rice cakes—ideally around 350°F (175°C). Additionally, be careful not to overcrowd the pan, as this can cause steaming rather than frying. Cooking them in batches can help achieve that perfect crunch!
Is there a way to make the dish dairy-free?
Yes! To make your Honey Butter Tteokbokki dairy-free, simply substitute unsalted butter with coconut oil in the glaze. Just keep in mind that this will add a subtle coconut flavor, which can complement the sweetness beautifully. For the glaze, you can also use maple syrup instead of honey to keep it entirely plant-based.
Can pets eat Honey Butter Tteokbokki?
It’s best to avoid giving Honey Butter Tteokbokki to your pets. The ingredients, particularly honey, soy sauce, and the potential for high sodium from seasonings, may not be suitable for them. Always check with a vet if you’re unsure about what to share with your furry friends!
Sweet and Savory Honey Butter Tteokbokki in 10 Minutes
Ingredients
Equipment
Method
- Prepare Rice Cakes: Soak frozen Korean rice cakes in warm water for 20-30 minutes until softened, then pat dry.
- Fry Rice Cakes: Heat oil in a skillet over medium-high heat. Fry rice cakes in a single layer for about 2 minutes until golden brown, then flip and cook for an additional 3 minutes.
- Make Sauce: Lower heat and add butter to the skillet. Stir in honey, brown sugar, and soy sauce, cooking for about 1 minute until smooth.
- Glaze Rice Cakes: Return fried rice cakes to the skillet, tossing them in the sauce for 1-2 minutes over low heat.
- Serve: Transfer to a plate and sprinkle with sesame seeds if using. Enjoy hot.
Leave a Reply