
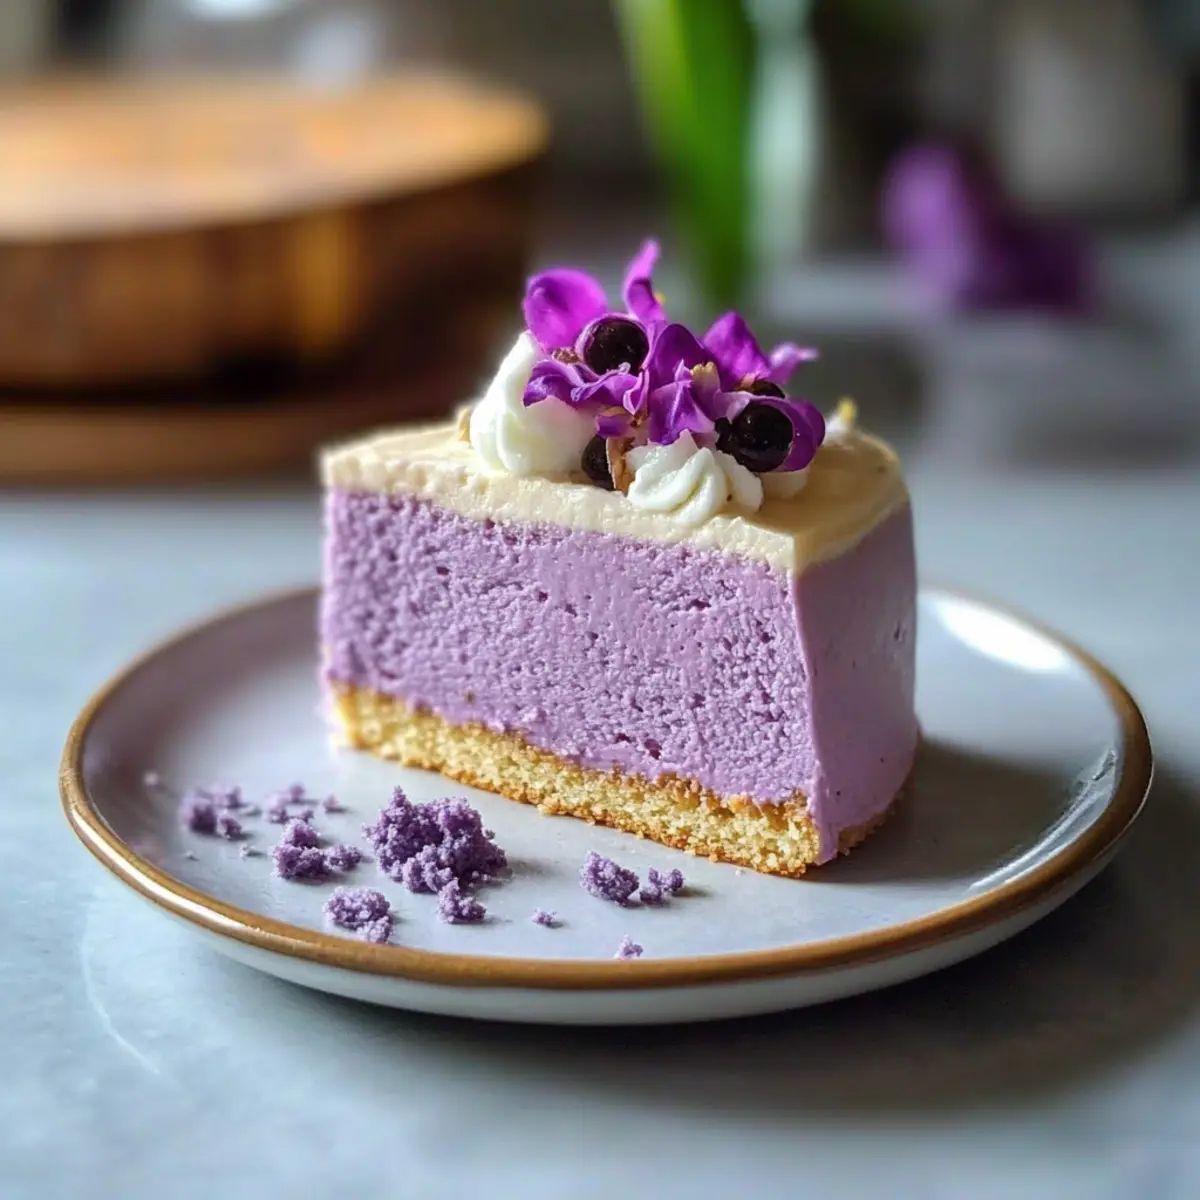
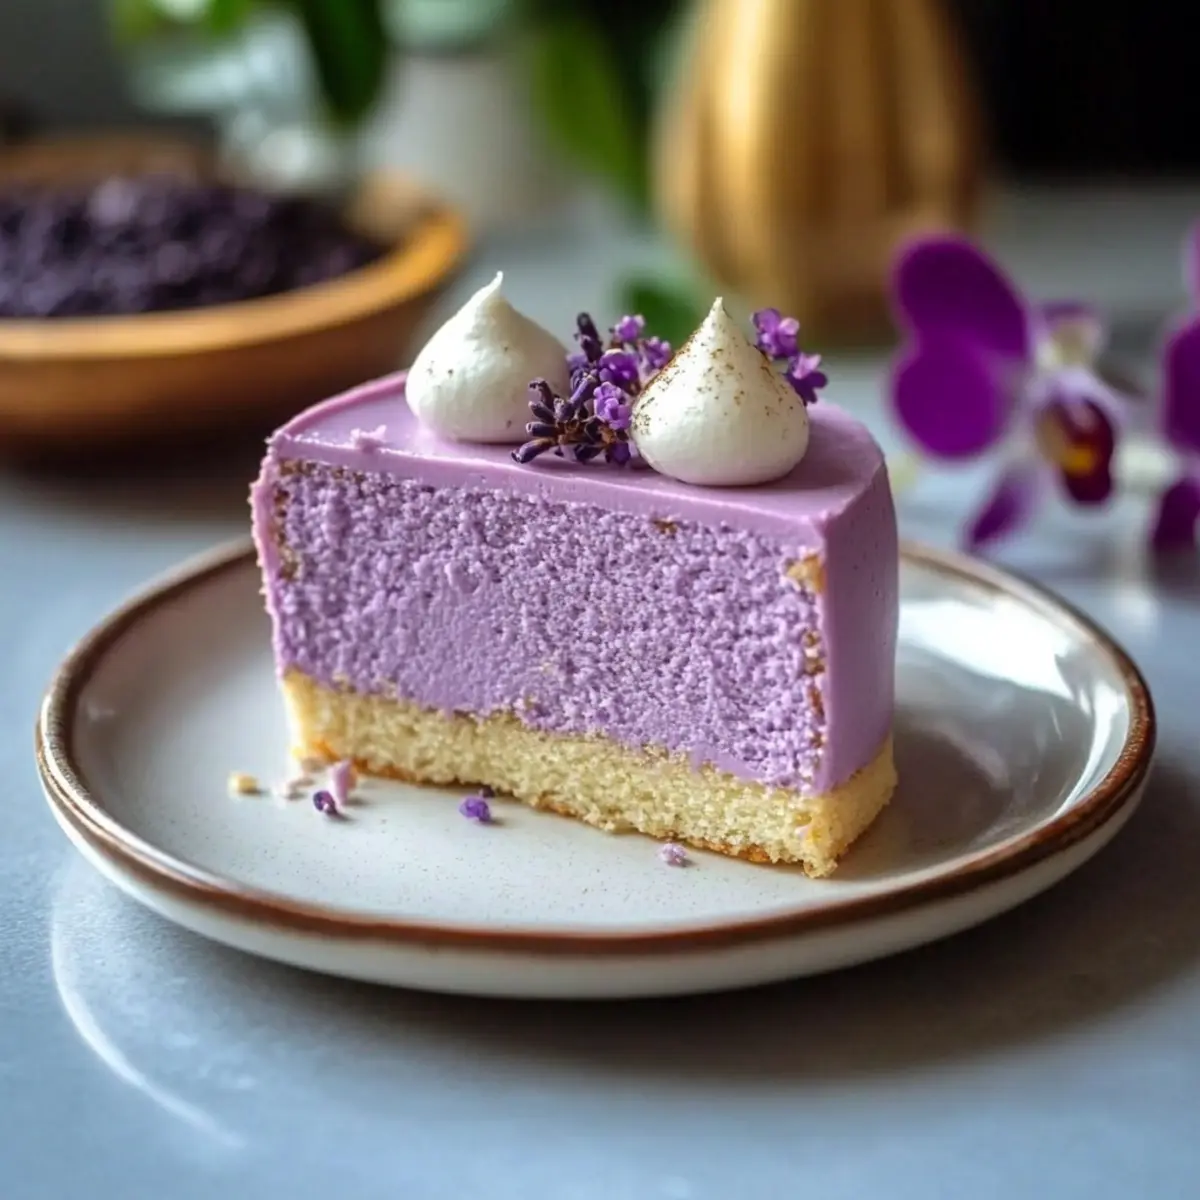
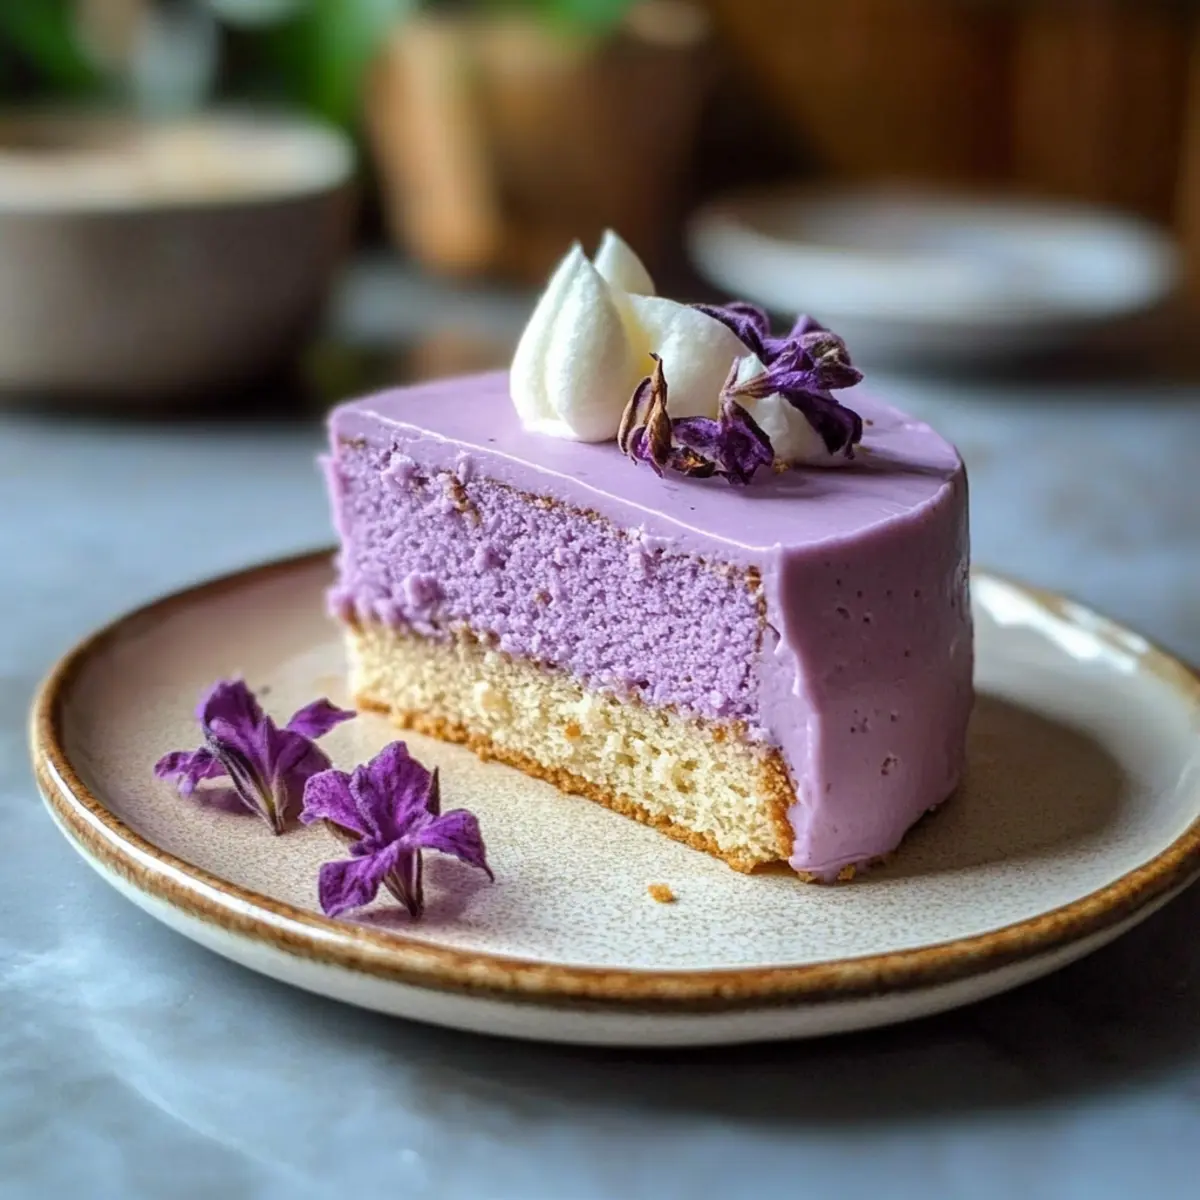
As I stood by the kitchen counter, the warm aroma of freshly brewed black tea filled the air, transporting me to a bustling Taiwanese café. This Taro Milk Tea Cake, with its soft, lavender-hued sponge, brilliantly captures the essence of my favorite bubble tea treat in dessert form. Not only does it bring the delightful flavors of creamy taro and robust tea into every slice, but it’s also surprisingly easy to whip up, making it the perfect crowd-pleaser for gatherings or cozy afternoons. Plus, with the option for a gluten-free twist, everyone can indulge in this fragrant delight. Are you ready to bring a touch of café culture to your home baking?
Why is Taro Milk Tea Cake Irresistible?
Uniqueness: The Taro Milk Tea Cake is a delightful fusion of flavors that mirrors your favorite bubble tea in a soft and airy cake form.
Easy Preparation: With simple steps and just a few key ingredients, you can create this sublime dessert without any baking expertise.
Elevates Any Occasion: Its stunning lavender hue and rich taste make it a showstopper, perfect for gatherings, celebrations, or an afternoon treat.
Versatile: Whether enjoyed as cake slices or in cupcake form, this recipe invites endless customization—like a Matcha Swirl Cake or paired with hot taro milk tea for a complete experience!
Crowd-Pleaser: Crafted to please both taro lovers and new enthusiasts alike, it promises to become a staple in your baking repertoire. Don’t miss the chance to impress your friends with this sumptuous treat!
Consider pairing it with an iced taro milk tea or for something different, why not try our Sweetened Condensed Milk recipe for a tasty twist?
Taro Milk Tea Cake Ingredients
-
For the Cake
-
Fresh Taro Root – Provides natural flavor and a moist crumb; can substitute with reconstituted instant taro powder if needed.
-
Whole Milk – Adds richness to the batter; use almond milk for a dairy-free version.
-
Loose-leaf Strong Black Tea – Imparts robust flavor to the cake; choose a strong tea like Assam or Ceylon for the best results.
-
Unsalted Butter – Contributes to the cake’s tenderness; margarine can be used as a substitute.
-
Caster (Superfine) Sugar – Ensures a smooth batter; regular sugar works but may slightly alter the texture.
-
Large Eggs – Essential for structure and lift; remember to bring them to room temperature for optimal mixing.
-
Vanilla Extract – Enhances the flavor profile beautifully.
-
Cake Flour – Key for achieving a light texture; all-purpose flour can be used but results may vary.
-
Baking Powder – Provides necessary lift for the cake.
-
Fine Sea Salt – Balances the cake’s sweetness to perfection.
-
Purple Sweet-Potato Powder (optional) – Adds a vibrant hue while being optional for flavor enhancement.
-
For Taro-Cream Cheese Frosting
-
Cooked Taro Purée – Adds both flavor and stunning color; be sure to cool it before use for the best texture.
-
Cream Cheese – Offers tanginess and richness in the frosting; mascarpone can be substituted for a milder flavor.
-
Unsalted Butter – Provides creaminess and helps achieve a smooth frosting consistency.
-
Icing Sugar – Sweetener that gives the frosting its desirable texture.
-
Heavy Cream – Adjusts the frosting consistency; milk can be a lighter option.
-
Pinch of Salt – A tiny amount enhances the overall flavor beautifully.
Step‑by‑Step Instructions for Taro Milk Tea Cake
Step 1: Brew Milk Tea
In a small saucepan, heat 2 cups of whole milk over medium heat until it reaches a gentle simmer. Remove from heat, add 2 tablespoons of loose-leaf strong black tea, and let it steep for 10 minutes. Strain the tea to remove the leaves, then set aside to cool to room temperature while you prepare the rest of the ingredients.
Step 2: Cook Taro
Peel and dice 1 medium fresh taro root into small cubes. Place the diced taro in a steamer basket over boiling water, covering it with a lid. Steam for about 15 minutes or until the taro is fork-tender. Remove it from the heat and mash it into a smooth purée, allowing it to cool completely before incorporating it into the cake batter.
Step 3: Prepare Baking Pans
While the taro cools, preheat your oven to 350°F (175°C). Grease and line two 8-inch round cake pans with parchment paper. This ensures easy release and clean edges for your Taro Milk Tea Cake. Set the prepared pans aside for later use.
Step 4: Cream Butter and Sugar
In a large mixing bowl, use an electric mixer to beat ½ cup of softened unsalted butter and 1 cup of caster sugar together until the mixture is light and fluffy. This should take about 3 minutes. The airy texture created is essential for a tender cake, so ensure the mixture has a pale color before proceeding.
Step 5: Add Eggs and Flavorings
Add 3 large eggs one at a time to the creamed butter and sugar, mixing well after each addition until fully incorporated. Next, blend in 1 teaspoon of vanilla extract and 120 grams (about ½ cup) of the cooled taro purée, mixing until the batter is smooth and well combined, releasing a pleasant aroma.
Step 6: Mix Dry Ingredients
In a separate bowl, combine 1 ½ cups of cake flour, 2 teaspoons of baking powder, and ½ teaspoon of fine sea salt. Gradually fold this dry mixture into the wet batter, alternating with the cooled milk tea. Stir gently until just combined to avoid overmixing, which can lead to a dense cake.
Step 7: Bake
Divide the cake batter evenly between the prepared pans, smoothing the tops with a spatula. Place them in the preheated oven and bake for 25–30 minutes. The cakes are done when a toothpick inserted in the center comes out clean. Let them cool in the pans for about 10 minutes before transferring them to a wire rack to cool completely.
Step 8: Make Frosting
For the taro-cream cheese frosting, in a large bowl, beat together 8 ounces of softened cream cheese and ¼ cup of unsalted butter until smooth. Gradually add 2 cups of icing sugar along with the remaining cooled taro purée, mixing until creamy. Adjust the consistency with a splash of heavy cream or milk as needed, and add a pinch of salt to enhance the flavors.
Step 9: Assemble the Cake
Once the cakes are completely cool, level the tops if necessary. Place one layer on a serving plate, spreading a generous layer of frosting over the top. Add the second layer and frost the top and sides of the cake. Chill in the refrigerator for 30 minutes to set the frosting before slicing, which helps achieve clean edges.
Step 10: Optional Toppings
For a delightful finish, consider garnishing your Taro Milk Tea Cake with brown-sugar tapioca pearls for added texture. Serve with a side of iced taro milk tea to enhance the flavors and experience of this lovely Taiwanese dessert, perfect for sharing with friends or family.
What to Serve with Taro Milk Tea Cake
Indulging in a slice of Taro Milk Tea Cake invites you to create a delightful meal experience that tantalizes all senses.
-
Iced Taro Milk Tea: A refreshing pairing that mirrors the flavors in the cake, enhancing the creamy taro and tea notes beautifully.
-
Light Asian Salad: Brighten up your plate with crisp, refreshing greens dressed in sesame vinaigrette; it offers a contrast to the cake’s richness.
-
Mango Sticky Rice: This classic dessert brings tropical sweetness to your meal, creating a lovely harmony with the taro flavor. It’s a perfect balance.
-
Soft Strawberry Mochi: The chewy texture and fruity flavor of mochi complement the cake’s fluffiness, creating a delightful contrast that’s sure to please.
-
Coconut Ice Cream: A scoop of this creamy paradise adds a luscious cold element, counterbalancing the cake’s warmth while echoing Asian-inspired flavors.
-
Matcha Latte: This earthy beverage adds depth and a unique flavor profile, enhancing the experience and pairing well with the cake’s sweetness.
-
Butter Cookies: The crunch of these buttery treats offers a wonderful textural contrast to the soft cake, making for a delightful nibble between bites.
-
Fruit Tart: A sweet and tangy fruit tart adds a crisp element to the dessert experience, brightening the palate with its vibrant flavors.
-
Lychee Sorbet: This fruity, icy treat provides a refreshing cleanse between bites of cake, spotlighting the earthy taro beautifully.
-
Jasmine Tea: The floral notes from this aromatic tea make a delicate pairing, grounding the experience and enhancing the cake’s soft aromas.
Make Ahead Options
These Taro Milk Tea Cake preparations are perfect for busy home cooks looking to save time! You can prepare the cake layers up to 24 hours in advance by baking them, allowing them to cool completely, and then wrapping them tightly in plastic wrap before refrigerating. The taro purée for the frosting can also be made ahead and stored in the fridge for up to 3 days in an airtight container. When ready to serve, simply frost the cooled cake layers with the pre-made taro-cream cheese frosting and let them chill for 30 minutes to set. This way, your delightful Taro Milk Tea Cake will be just as delicious and ready to impress with minimal effort!
Taro Milk Tea Cake Variations
Feel free to explore these delightful twists and make this cake truly your own!
-
Dairy-Free: Use almond or oat milk instead of whole milk for a completely dairy-free cake. You won’t lose any of that delicious creaminess!
-
Gluten-Free: Swap out cake flour for a 1:1 gluten-free baking blend. Just remember to add a bit of xanthan gum for structure.
-
Flavor Boost: Add a teaspoon of almond or coconut extract for a nutty flavor. This simple twist can elevate the taste!
-
Boba Topping: Sprinkle homemade or store-bought tapioca pearls atop the frosted cake for a fun, bubble tea-inspired texture. It’s a charming visual and textural surprise!
-
Different Frosting: Try a whipped cream frosting instead of cream cheese for a lighter option. Dress it with seasonal fruits for added freshness.
-
Matcha Delight: Fold in matcha powder into part of the batter or frosting for a vibrant green swirl that ties in another beloved tea flavor.
-
Cupcake Version: Transform the cake into cupcakes, baking for 18–20 minutes. These portable delights are perfect for parties!
-
Sweetened Condensed Milk Drizzle: Finish with a drizzle of sweetened condensed milk over the cake for an extra touch of sweetness. For a recipe, check out our Sweetened Condensed Milk guide.
Feel inspired to mix and match these variations, or combine them with dishes like our delicious Peach Cobbler Cheesecake for a delightful dessert experience. Happy baking!
Storage Tips for Taro Milk Tea Cake
-
Room Temperature: Store cake slices in an airtight container at room temperature for up to 4 days to maintain freshness and flavor.
-
Fridge: If you prefer a cooler dessert, you can refrigerate the cake for up to 5 days; just ensure it’s wrapped tightly to prevent drying out.
-
Freezer: For longer storage, wrap individual slices or the whole cake securely in plastic wrap and aluminum foil, then freeze for up to 2 months.
-
Reheating: When ready to enjoy, allow the Taro Milk Tea Cake to thaw in the fridge overnight for the best texture; bring it to room temperature before serving for optimal taste.
Expert Tips for Taro Milk Tea Cake
-
Room Temperature Ingredients: Ensure all ingredients, especially eggs and butter, are at room temperature to guarantee a smoothly blended batter and a fluffy cake.
-
Careful Mixing: Avoid over-mixing the batter once the flour is added to keep the Taro Milk Tea Cake light and airy.
-
Perfect Baking Time: Keep an eye on your cakes as they bake; check for doneness at the 25-minute mark to prevent dryness.
-
Chill Before Slicing: After frosting the cake, chilling it for 30 minutes before slicing helps achieve clean, beautiful edges.
-
Gluten-Free Option: For a gluten-free version, use a 1:1 gluten-free baking flour blend, adding xanthan gum as directed for the best texture.

Taro Milk Tea Cake Recipe FAQs
What type of taro should I use for this recipe?
Absolutely! Fresh taro root is recommended as it provides a natural flavor and moist crumb. However, if fresh taro is unavailable, you can substitute it with reconstituted instant taro powder. Just make sure to follow the package instructions for the best results!
How long can I store leftover Taro Milk Tea Cake?
You can store cake slices in an airtight container at room temperature for up to 4 days. For longer freshness, consider refrigerating the cake where it can last for up to 5 days, provided it’s tightly wrapped to prevent drying out.
Can I freeze Taro Milk Tea Cake? If so, how?
Yes, you can freeze Taro Milk Tea Cake! Wrap individual slices or the whole cake securely in plastic wrap, then cover it with aluminum foil to prevent freezer burn. It can be frozen for up to 2 months. When you’re ready to enjoy it, simply thaw in the fridge overnight and bring it to room temperature before serving.
My cake turned out dense; what might have gone wrong?
Very common! If your Taro Milk Tea Cake turned out dense, it might be due to over-mixing the batter after adding the flour, which can develop the gluten and lead to a heavier texture. Make sure to fold the dry ingredients gently and avoid mixing too much. Additionally, ensure your baking powder is fresh for proper leavening.
Is this Taro Milk Tea Cake suitable for those with dietary restrictions?
Definitely! This cake is vegetarian-friendly, and for those with gluten sensitivities, you can easily make a gluten-free version by using a 1:1 gluten-free baking flour blend. Adding xanthan gum will help maintain the cake’s texture, ensuring everyone can indulge and enjoy this delightful treat!
Can pets safely consume taro?
No, it’s best to avoid giving your pets taro. While it’s safe for human consumption, certain components in taro can be problematic for pets, especially in large quantities. Stick to pet-friendly treats when it comes to spoiling your furry friends!
Delightful Taro Milk Tea Cake That Whisks You to Taiwan
Ingredients
Equipment
Method
- In a small saucepan, heat 2 cups of whole milk over medium heat until it reaches a gentle simmer. Remove from heat, add 2 tablespoons of loose-leaf strong black tea, and let it steep for 10 minutes. Strain the tea to remove the leaves, then set aside to cool to room temperature.
- Peel and dice 1 medium fresh taro root into small cubes. Place the diced taro in a steamer basket over boiling water. Steam for about 15 minutes until fork-tender. Mash into a smooth purée and cool completely.
- Preheat oven to 350°F (175°C). Grease and line two 8-inch round cake pans with parchment paper.
- In a large mixing bowl, beat ½ cup butter and 1 cup caster sugar until light and fluffy, about 3 minutes.
- Add 3 large eggs one at a time, mixing well after each. Blend in 1 teaspoon vanilla extract and 120 grams (about ½ cup) cooled taro purée.
- Combine 1 ½ cups cake flour, 2 teaspoons baking powder, and ½ teaspoon fine sea salt. Gradually fold this dry mixture into the wet batter, alternating with the cooled milk tea.
- Divide the batter between the prepared pans and bake for 25–30 minutes, until a toothpick inserted comes out clean. Cool in the pans for 10 minutes before transferring to a wire rack.
- For frosting, beat together 8 ounces cream cheese and ¼ cup butter until smooth. Gradually add 2 cups icing sugar and remaining cooled taro purée until creamy. Adjust consistency with heavy cream or milk as needed.
- Once cakes are cool, level tops if necessary. Place one layer on a plate, spread frosting, add second layer, and frost top and sides. Chill for 30 minutes before slicing.
- Optionally garnish with brown-sugar tapioca pearls and serve with iced taro milk tea.
Leave a Reply