
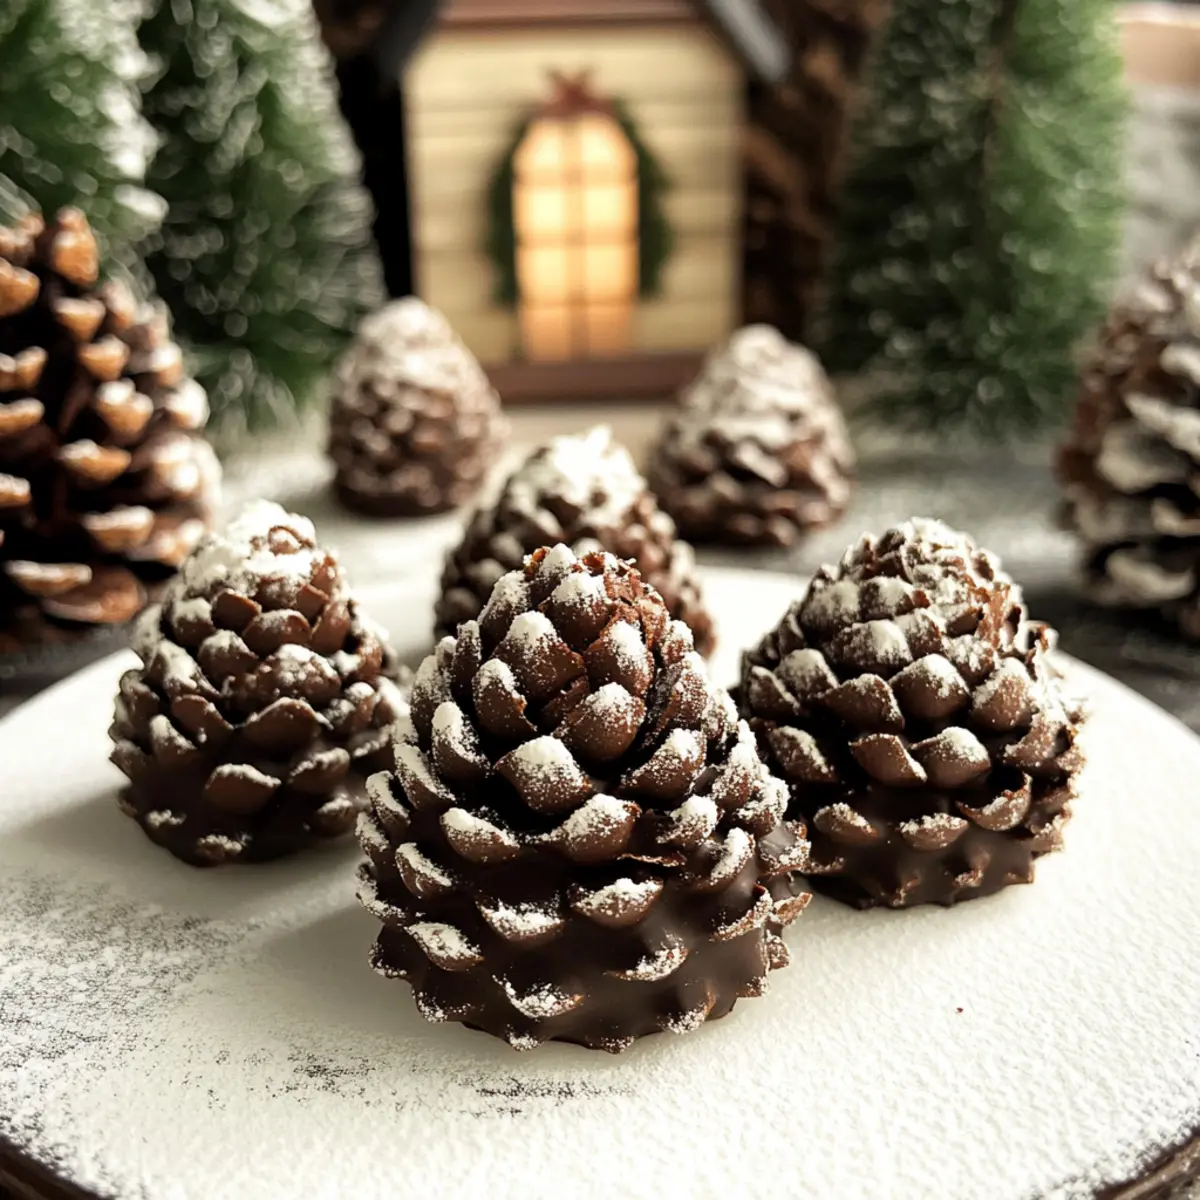
As I stood in my kitchen, the warmth of the holiday season wrapping around me, I couldn’t help but feel a whimsical spark at the idea of creating something truly delightful. Enter the Vegan Pine Cone Truffles—these no-bake wonders are not just easy to whip up with just five simple ingredients, but they also bring a festive cheer that brightens any gathering. With their charming, nature-inspired design, they effortlessly impress guests while keeping things plant-based and guilt-free. Plus, they’re perfect for those of us looking to trade in the fast-food rut for something homemade and heartwarming. Are you ready to transform your holiday treats into something extraordinary? Let’s dive into this deliciously fun recipe!
Why Try Making Vegan Pine Cone Truffles?
Ease of Preparation: You only need five simple ingredients to create these beautiful truffles, making it a hassle-free dessert option for any occasion.
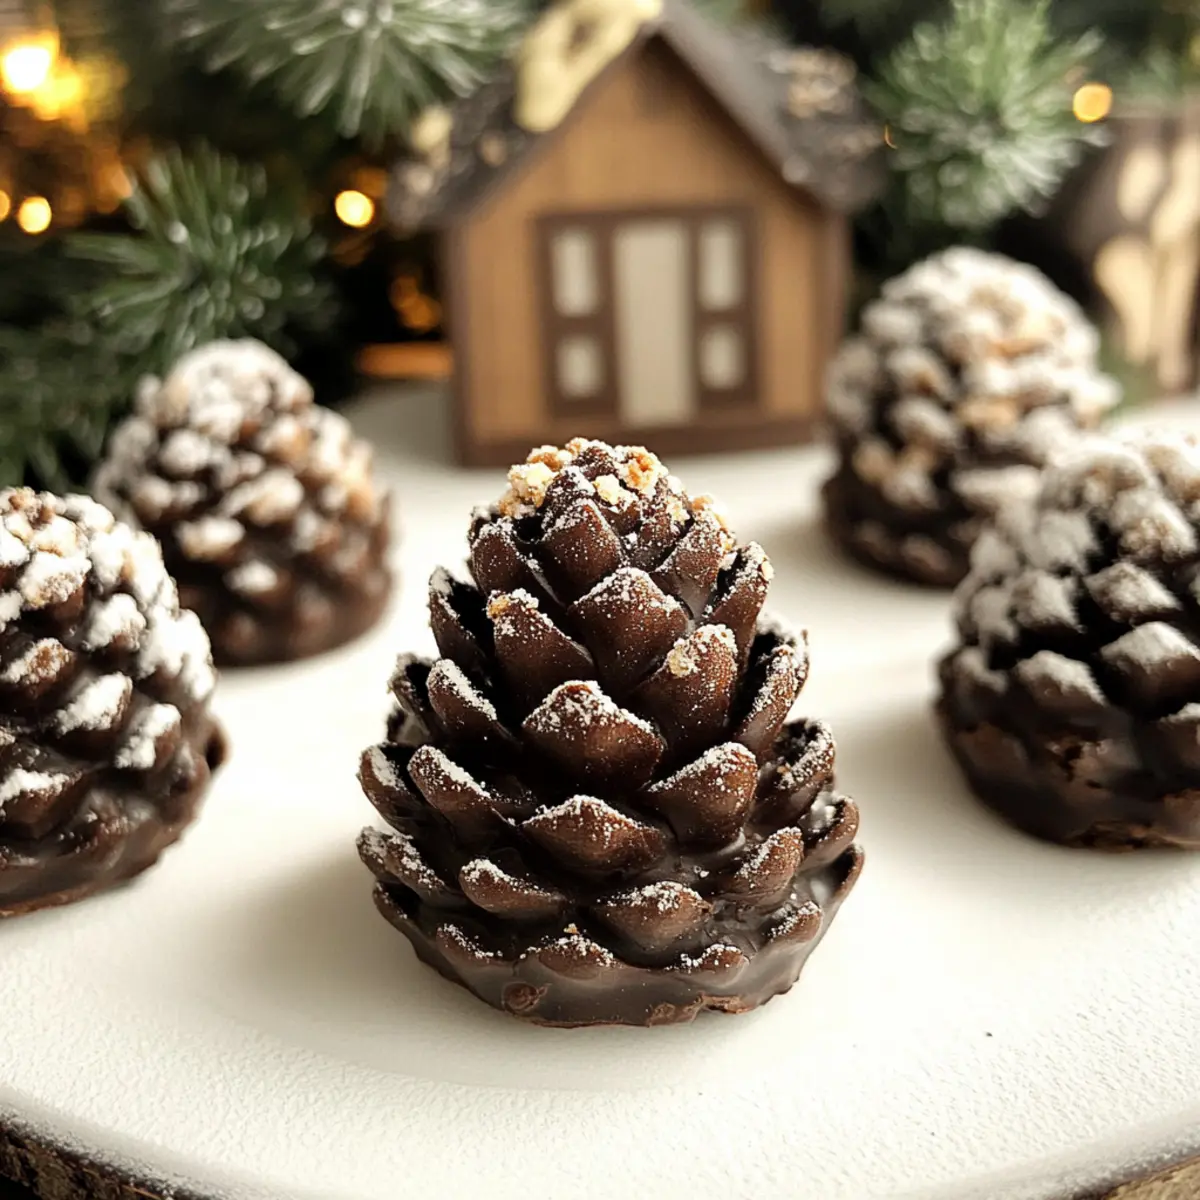
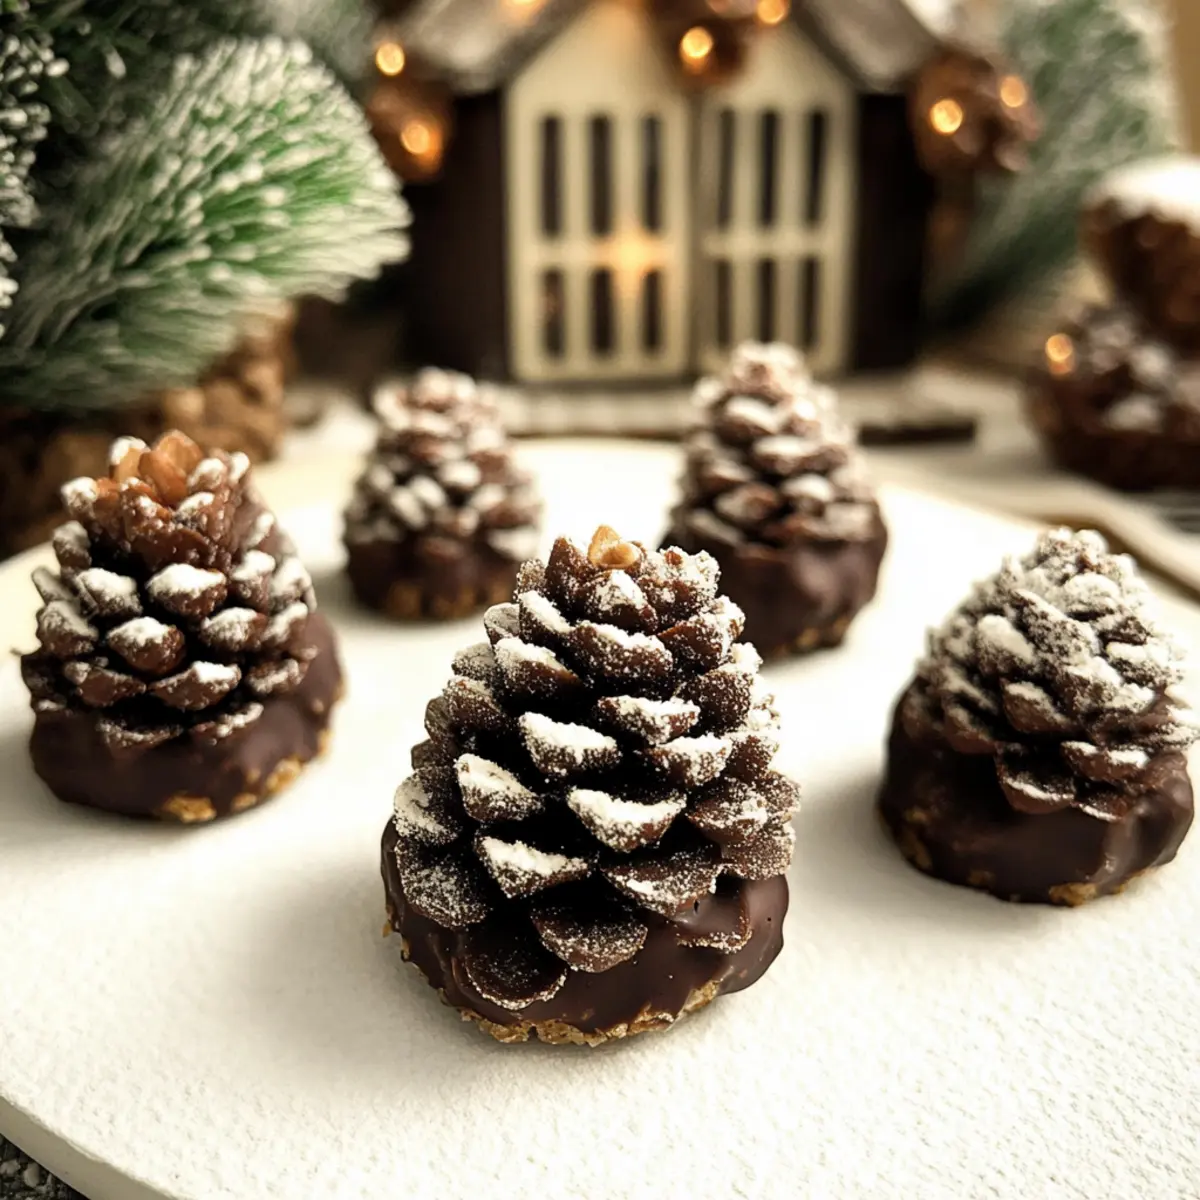
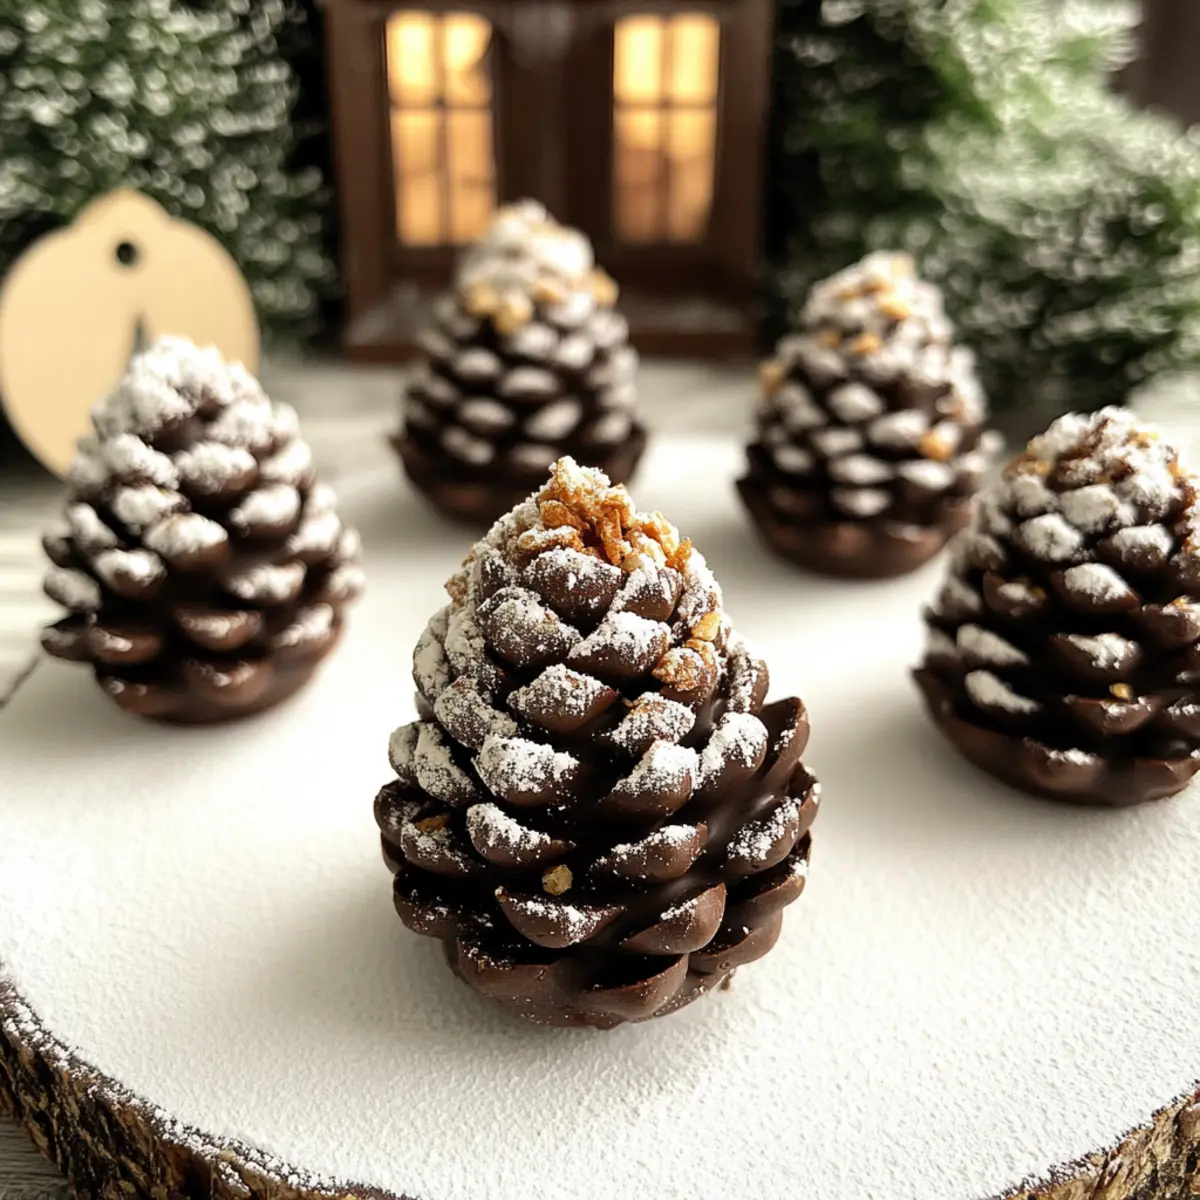
Festive Flair: These truffles are not just delicious; their pine cone shape adds a charming, seasonal touch to your dessert table, perfect for impressing family and friends.
Satisfying Crunch: The cornflake coating gives these truffles a delightful texture contrast, making each bite an enjoyable experience.
Health-Conscious Indulgence: With no dairy and a vegan twist, you can indulge guilt-free and cater to diverse dietary needs, just like with our Coconut Pineapple Cheesecake.
Gift-Worthy Treat: Easily pack these truffles in a festive box for a thoughtful homemade gift, sure to delight anyone who loves sweet treats!
Why stick to fast food when you can experience the joy of homemade goodness? Dive into this quirky recipe and make your holidays even sweeter!
Vegan Pine Cone Truffles Ingredients
• Here’s what you need to create these festive delights!
For the Base
- Chocolate Biscuits – These provide the essential structure and base flavor; opt for gluten-free if necessary.
- Dairy-Free Cream Cheese – This ingredient adds a creamy richness to the truffles; use vegan cream cheese for a no-dairy version.
For the Flavoring
- Cocoa Powder – It enhances the chocolatey goodness without needing a substitute; don’t skip this!
For the Coating
- Dairy-Free Dark Chocolate – This coating adds a delightful finish; any vegan dark chocolate works well, though traditional milk chocolate can be used if you’re not vegan.
For the Texture
- Vegan-friendly Cornflakes – These help create the charming pine cone appearance; ensure they’re gluten-free if required.
With this simple list of ingredients for your Vegan Pine Cone Truffles, you’re just one step away from creating a delightful holiday treat!
Step‑by‑Step Instructions for Vegan Pine Cone Truffles
Step 1: Prepare the Baking Tray
Begin by lining a baking tray with greaseproof paper to prevent the truffles from sticking. This surface will hold the finished Vegan Pine Cone Truffles while they set. Make sure the tray is large enough to accommodate all the truffles with some space between them.
Step 2: Crush the Biscuits
Using a food processor or a rolling pin, crush the chocolate biscuits into fine crumbs. Aim for a texture similar to sand; this will help create a sturdy base for the truffles. Transfer the crumbs to a mixing bowl for the next step, ensuring there are no large bits left.
Step 3: Mix the Filling
In the bowl with biscuit crumbs, add the dairy-free cream cheese and cocoa powder. Mix thoroughly until a sticky and uniform mixture forms—this should take about 2–3 minutes of vigorous stirring. The consistency should allow you to easily form balls; if it seems dry, add a touch more cream cheese.
Step 4: Shape the Truffles
Once mixed, take portions of the mixture, about 20g each, and begin rolling them into balls. Gently shape each ball into a slightly oval shape to resemble pine cones. Keep working until all the mixture is shaped, placing them on the lined tray as you go.
Step 5: Add the Cornflakes
Press vegan-friendly cornflakes into the surface of each truffle, starting from the base and working your way up, gradually using smaller pieces at the top so they mimic the look of pine cone scales. This step not only adjusts the look of your Vegan Pine Cone Truffles but also adds a delightful crunch.
Step 6: Freeze the Truffles
Place the shaped truffles in the freezer for about 25 minutes, or until they are firm to the touch. This process is crucial for helping the truffles maintain their shape when dipped in chocolate later. While they freeze, prepare for the next step.
Step 7: Melt the Chocolate
Using a bain-marie or a microwave, melt the dairy-free dark chocolate until smooth and fluid. If using the microwave, heat in 20-second intervals, stirring between bursts to prevent burning. The melted chocolate should be shiny and easily coat the truffles perfectly.
Step 8: Coat the Truffles
Once melted, remove the truffles from the freezer. Dip each one into the chocolate, ensuring they are fully coated. Gently shake off any excess chocolate before placing them back onto the lined tray. Allow them to sit for about 5–10 minutes in the fridge so the chocolate can set.
Step 9: Final Touches
After the chocolate has set, dust the Vegan Pine Cone Truffles with icing sugar for an elegant finish. This snowy coating emphasizes their festive look and adds a nice touch of sweetness. They’re now ready to be served or gifted!
Make Ahead Options
These Vegan Pine Cone Truffles are a fantastic choice for meal prep, saving you precious time during the busy holiday season! You can prep the truffle mixture and shape it into ovals up to 24 hours in advance. Just refrigerate them in an airtight container to maintain their freshness. Additionally, you can coat the truffles in chocolate up to 3 days ahead of serving, storing them in the fridge until you’re ready to enjoy or gift them. When you’re set to serve, simply dust with icing sugar for that festive touch, and you’ll have a delightful treat that’s just as delicious as when freshly made!
Vegan Pine Cone Truffles Variations
Feel free to add your personal touch to these truffles and make them uniquely yours!
-
Cinnamon Biscuits: Substitute chocolate biscuits with cinnamon biscuits for a warm, cozy flavor twist. The hint of spice will enliven each bite, giving your truffles a delightful depth.
-
Dried Fruits: Incorporate dried fruits like cherries or cranberries into the mixture for a sweet and chewy surprise. These fruity additions not only enhance the texture but also introduce a refreshing fruity note.
-
Nut Butters: Add a spoonful of almond or peanut butter to the mixture for a nutty flavor boost. This not only enhances the creaminess but also adds a protein punch, making them extra satisfying.
-
Spicy Kick: Sprinkle in a bit of cayenne pepper to the dark chocolate when melting for a subtle spicy heat. This unexpected twist may surprise and delight those who savor a hint of warmth with their sweets.
-
Crunchy Almonds: Mix in crushed almonds before rolling them into balls for an added crunch. These nuts bring an enjoyable texture that complements the cornflakes beautifully, creating a mouthwatering contrast.
-
Chocolate Drizzle: For a decorative touch, drizzle melted dairy-free chocolate over the coated truffles. This decadent addition will elevate the presentation, making them even more irresistible.
-
Experiment with Toppings: Replace cornflakes with crushed pretzels or chopped nuts for a different textural experience. Each topping brings its unique flavor, creating a fun tasting adventure with every bite!
For more delectable vegan recipes that can easily become a staple in your holiday baking, check out our Vegan Red Velvet or even indulge in our delicious Vegan Oreo Brownies. Happy customizing!
What to Serve with Vegan No-Bake Pine Cone Truffles?
To elevate your holiday gathering, consider these delightful accompaniments that will complement the charming flavors of your truffles.
-
Festive Fruit Platter: A colorful array of seasonal fruits adds a refreshing contrast to the chocolatey richness, bringing vibrant color to your dessert spread. Think juicy cranberries and crisp apples; they are visually appealing and palate-cleansing.
-
Decadent Hot Chocolate: This cozy drink pairs wonderfully with the truffles, enhancing the chocolate experience. Top it off with a sprinkle of cinnamon or whipped coconut cream for an extra touch of luxury.
-
Spiced Ginger Cookies: Their warm spices and crunchy texture perfectly contrast the creamy, rich truffles. These cookies not only add variety but also evoke feelings of nostalgia from childhood holiday gatherings.
-
Nutty Trail Mix: A crunchy, delicious blend of nuts and dried fruits provides a delightful bite alongside your truffles. It’s a great option for those who appreciate a mix of sweet and savory flavors.
-
Coconut Whipped Cream: Light and fluffy, this dairy-free topping drizzles beautifully over the truffles. Its subtle sweetness enhances the overall flavor without overpowering the delicate pine cone taste.
-
Homemade Eggnog (Vegan): Rich and creamy, this classic holiday beverage combines perfectly with the truffles, creating a comforting and festive pairing for a cozy night in with family and friends.
Indulge in these delightful combinations that will surely make your festive gathering even more memorable!
How to Store and Freeze Vegan Pine Cone Truffles
Fridge: Store the truffles in an airtight container in the fridge for up to 1 week. This helps maintain their freshness and flavor for those cozy holiday gatherings.
Freezer: For longer storage, freeze the truffles in a single layer on a baking sheet before transferring them to an airtight container. They can last in the freezer for up to 3 months.
Thawing: To enjoy, simply remove the desired number of truffles from the freezer and let them thaw in the fridge for a few hours before serving.
Reheating: There’s no need to reheat these treats; they are best enjoyed chilled or at room temperature for the perfect experience of your Vegan Pine Cone Truffles.
Expert Tips for Vegan Pine Cone Truffles
-
Stickiness Check: Ensure the mixture is sufficiently sticky. If it feels too crumbly, just add a bit more dairy-free cream cheese to help it hold together.
-
Cornflake Variety: Use varying sizes of cornflakes for a more natural pine cone appearance. This will add depth and a charmingly rustic look to your Vegan Pine Cone Truffles.
-
Chocolate Melting: Make sure the dairy-free dark chocolate is fully melted and smooth before dipping. A well-melted chocolate ensures an even coating without clumps.
-
Freezing Time: Don’t rush the freezing. Allow the truffles to firm up for the full 25 minutes; this will help them maintain their shape when coated in chocolate.
-
Icing Sugar Dusting: For a snowy finish, dust with icing sugar just before serving. It enhances the festive appearance and adds a touch of sweetness to each bite.
Vegan Pine Cone Truffles Recipe FAQs
What type of chocolate biscuits should I use?
I recommend using chocolate biscuits for a rich flavor, but you can easily substitute with gluten-free biscuits if needed for dietary restrictions. Be sure they are crushed into fine crumbs for the best texture in your truffles!
How should I store the Vegan Pine Cone Truffles?
Store your truffles in an airtight container in the fridge for up to 1 week. This keeps them fresh and delicious for delightful holiday snacking! If you want to keep them longer, freeze them in a single layer on a baking sheet before transferring to an airtight container; they can last in the freezer for up to 3 months.
Can I freeze Vegan Pine Cone Truffles?
Absolutely! To freeze, first freeze the truffles in a single layer for about 25 minutes. Then, transfer them to an airtight container, layering parchment paper between to prevent sticking. When you’re ready to enjoy, just take them out and thaw them in the fridge for a few hours before serving.
What if my truffle mixture is too crumbly?
If the filling feels too dry or crumbly, don’t worry! Just mix in a little more dairy-free cream cheese until you achieve a sticky consistency. This will help the truffles hold their shape better when rolling and molding.
Are these truffles suitable for those with nut allergies?
Yes! The Vegan Pine Cone Truffles can be a great option for those with nut allergies, as they don’t contain any nuts. Just make sure to double-check the ingredients of your chocolate biscuits and cornflakes to ensure they’re nut-free.
How can I achieve the perfect cornflake texture?
To make your pine cone truffles look more realistic, try using varying sizes of cornflakes. Start with larger pieces at the base and use smaller pieces as you move upward to mimic the shape of pine cones. This adds depth and a charming rustic look to your treats!
Delicious Vegan Pine Cone Truffles in Just 5 Easy Steps
Ingredients
Equipment
Method
- Prepare the baking tray by lining it with greaseproof paper.
- Crush the chocolate biscuits into fine crumbs and transfer to a mixing bowl.
- Mix the crushed biscuits with dairy-free cream cheese and cocoa powder until sticky and uniform.
- Roll portions of the mixture into balls and shape them into ovals to resemble pine cones.
- Press cornflakes into the surface of each truffle to mimic pine cone scales.
- Freeze the truffles for about 25 minutes or until firm.
- Melt the dairy-free dark chocolate until smooth.
- Dip each truffle into the melted chocolate, coating evenly and shaking off excess.
- Dust with icing sugar for a festive finish before serving.
Leave a Reply